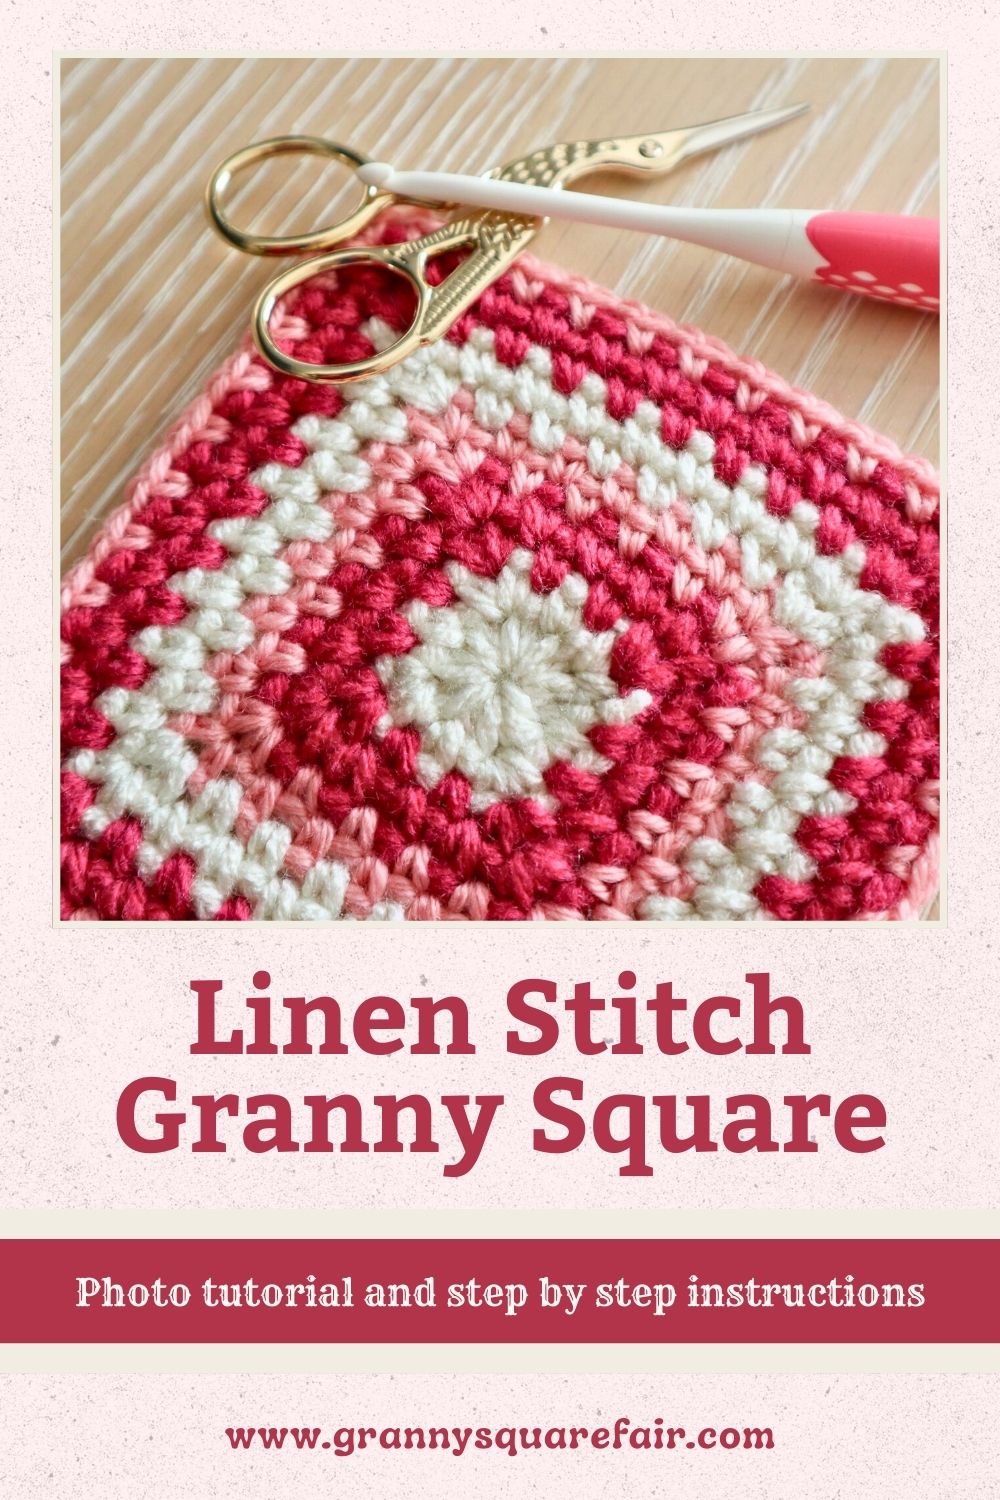

Linen Stitch Granny Square – Multicolor
You’re in for a treat with the linen stitch granny square! This one looks more closely related to knitting or weaving than crochet! And yet, it’s even simpler to work up than a traditional granny square!
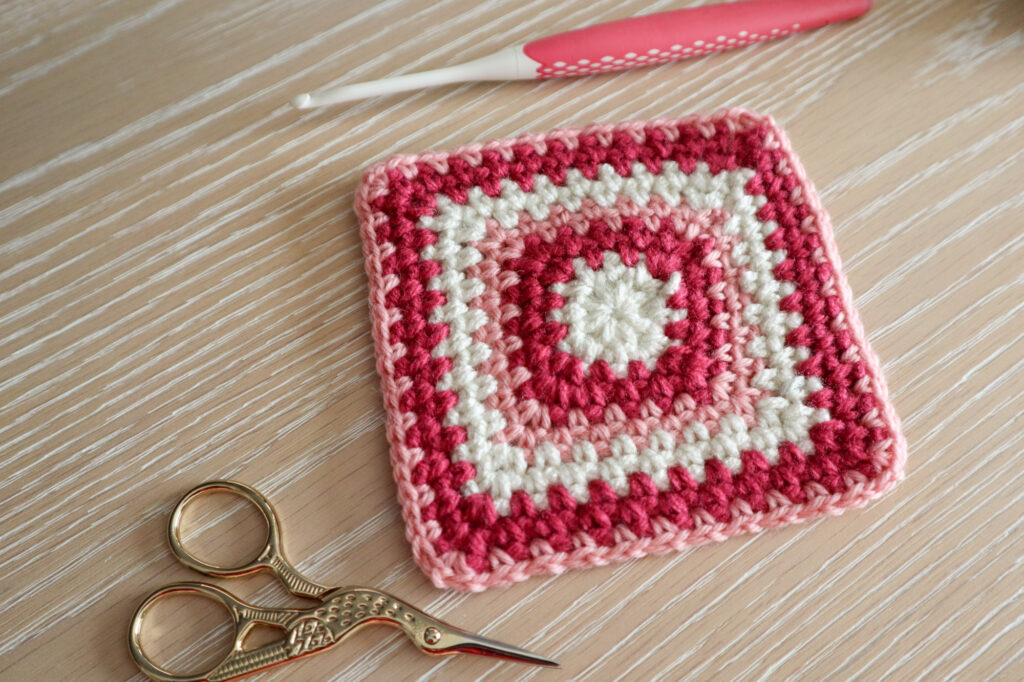
This pattern is perfect for confident beginners who want to explore the tightly woven magic of the linen stitch. By alternating colors, you get beautiful stripes reminiscent of the classic Scandinavian fair isle style.
Jump to:
Skill Level
Confident Beginner — If you’re comfortable with single crochets and chain stitches and can work in the round, you’ll be right at home here. Plus, you’ll get practice starting rounds without a “starting chain” which is an essential and unique part of this motif.
Stitch Abbreviations Used in the Pattern (U.S. Terms)
| Abbreviation | Stitch Name |
|---|---|
| ch | chain |
| sl st | slip stitch |
| sc | single crochet |
| st(s) | stitch(es) |
| sp | space |
| rep | repeat |
What You’ll Need
- Yarn: Any weight yarn you love – I used a few different worsted (4) weight yarns
- Hook: Use a hook that matches your yarn label’s recommendation. I used a 4.5mm hook which gave my square a very tight weave. No gaps!
- Notions: Scissors, a cozy seat in your favorite spot.
Gauge & Size
Gauge is up to you and your yarn and hook size! After 11 rounds, in my 4 weight yarn and 4.5mm hook, my square was 5″ across
Pattern Notes
- This pattern is worked in the round, joining at the end of each round.
- We will not turn our work at the start of each round.
- The linen stitch is also sometimes referred to as the moss stitch.
Linen Stitch Granny Square step by step
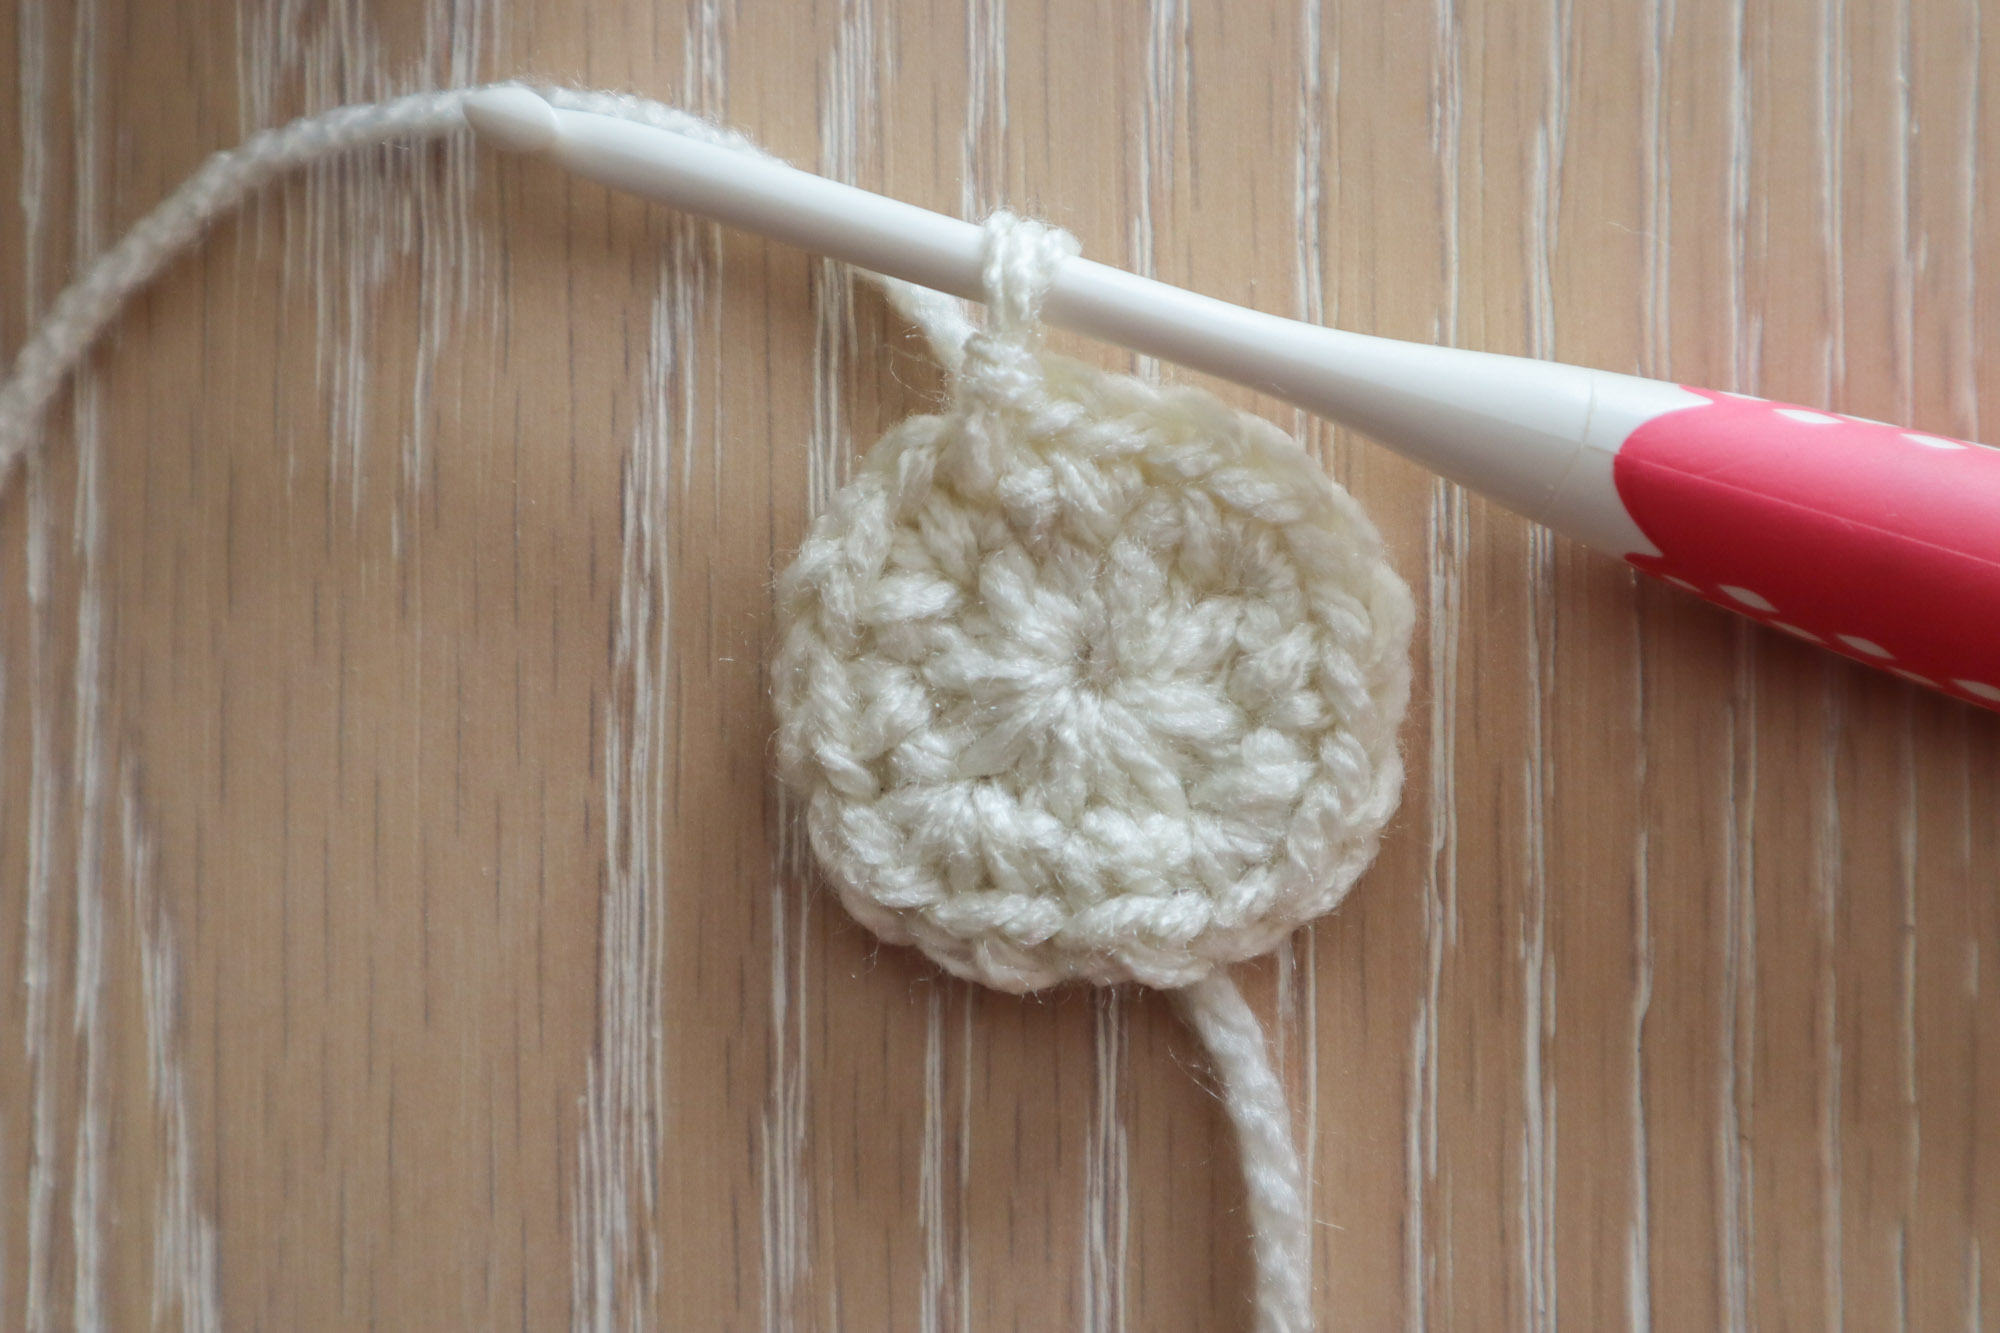
To begin, ch4. Sl st to the first ch to make a little ch4 ring. Alternatively, you could use a magic circle.
Round 1
Chain 1, then *work a single crochet (sc) into the circle, chain 1*, repeat between ** until you have 8 sc and 8 chain spaces. Slip stitch into the first sc to complete the rnd.
Round 2
Without chaining and without turning your work, *work 1sc into the next ch sp. Ch1 and work 1sc into the same ch sp. Ch1 and work 1sc in the next ch sp.* Rep between ** to the end of the rnd. Sl st to the first sc to complete the rnd.
Round 3 And Beyond
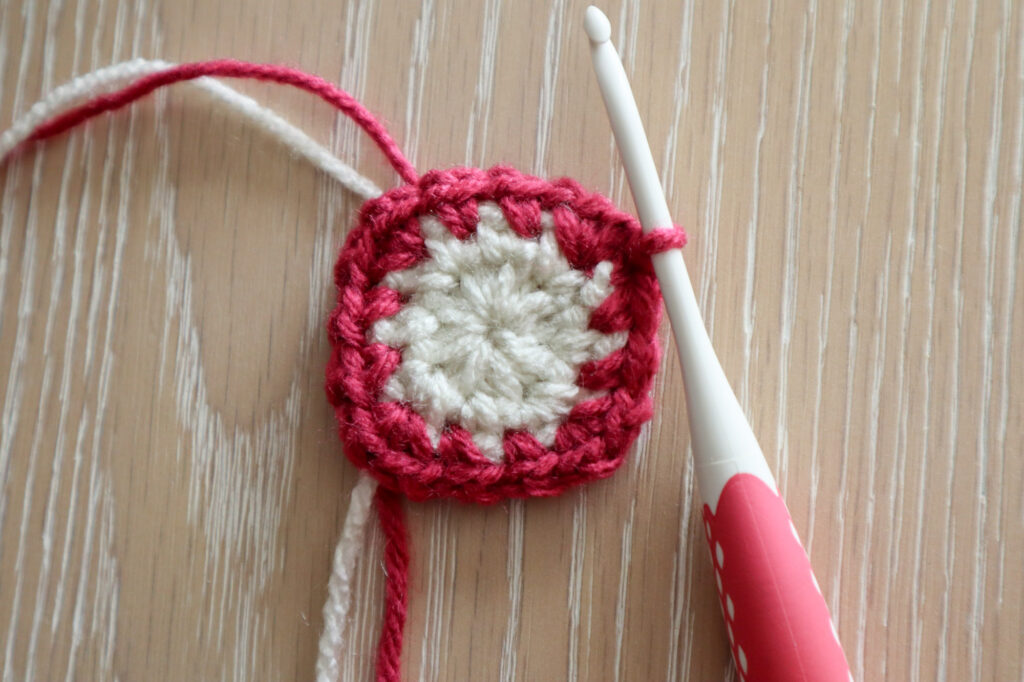
Change color here and every 2 rounds
Without chaining and without turning your work, Work 1 “corner” into the corner ch sp. In this pattern, a “corner” is 1sc, ch1, 1sc, ch1 all into the same chain space. Work 1sc, ch1 into each non-corner ch sp. Sl st to the first sc to complete the rnd.
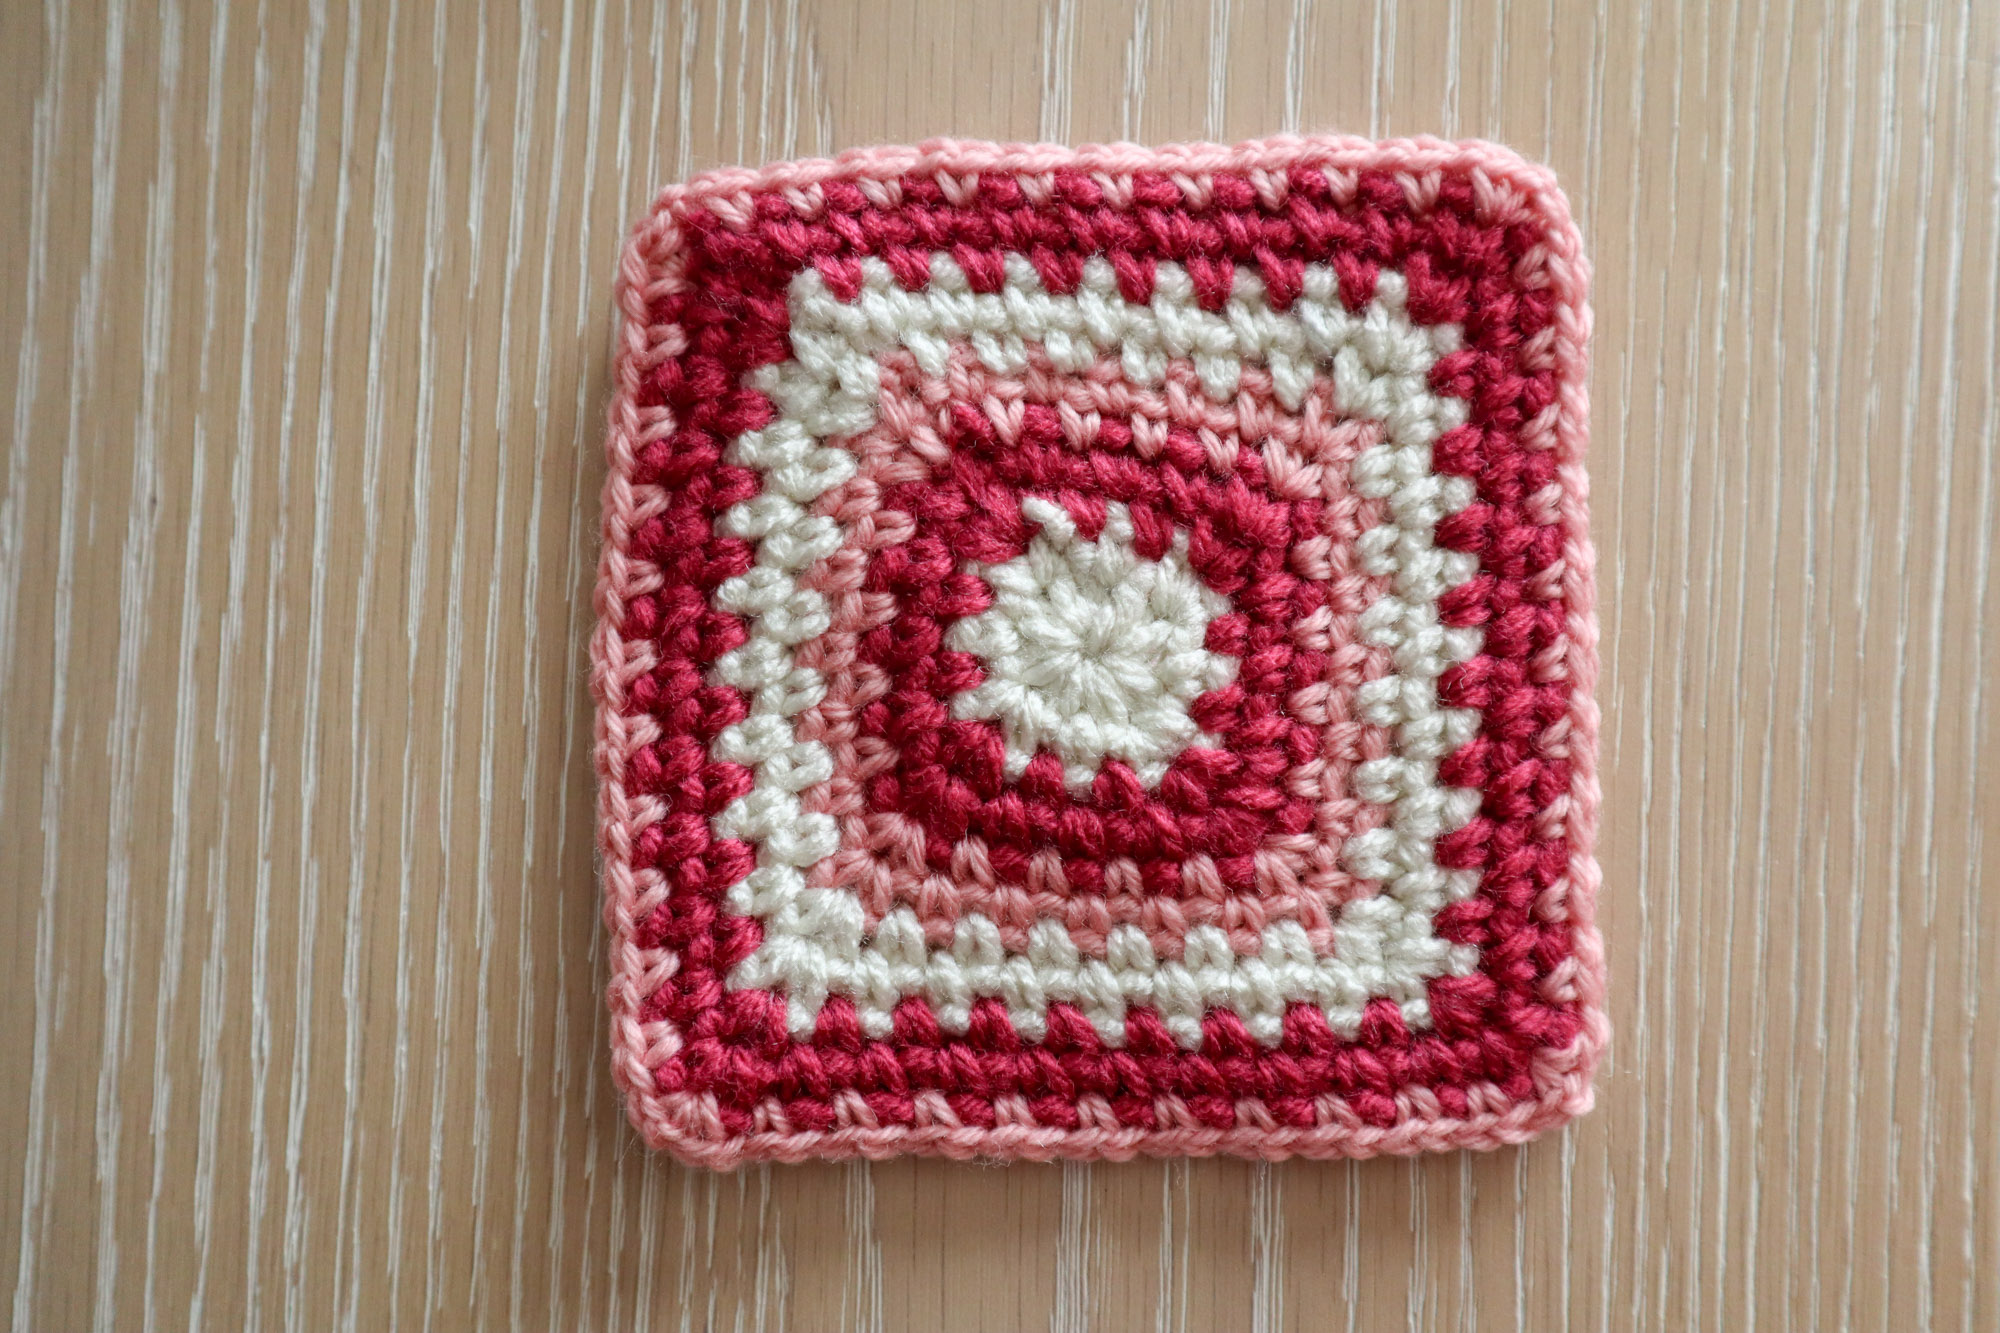
Continue in rounds, growing your square and change colors every 2 rounds.

Continue
Repeat round 3 until your square is as big as you’d like! Join many squares easily by working 1sc in each chain space on each square.

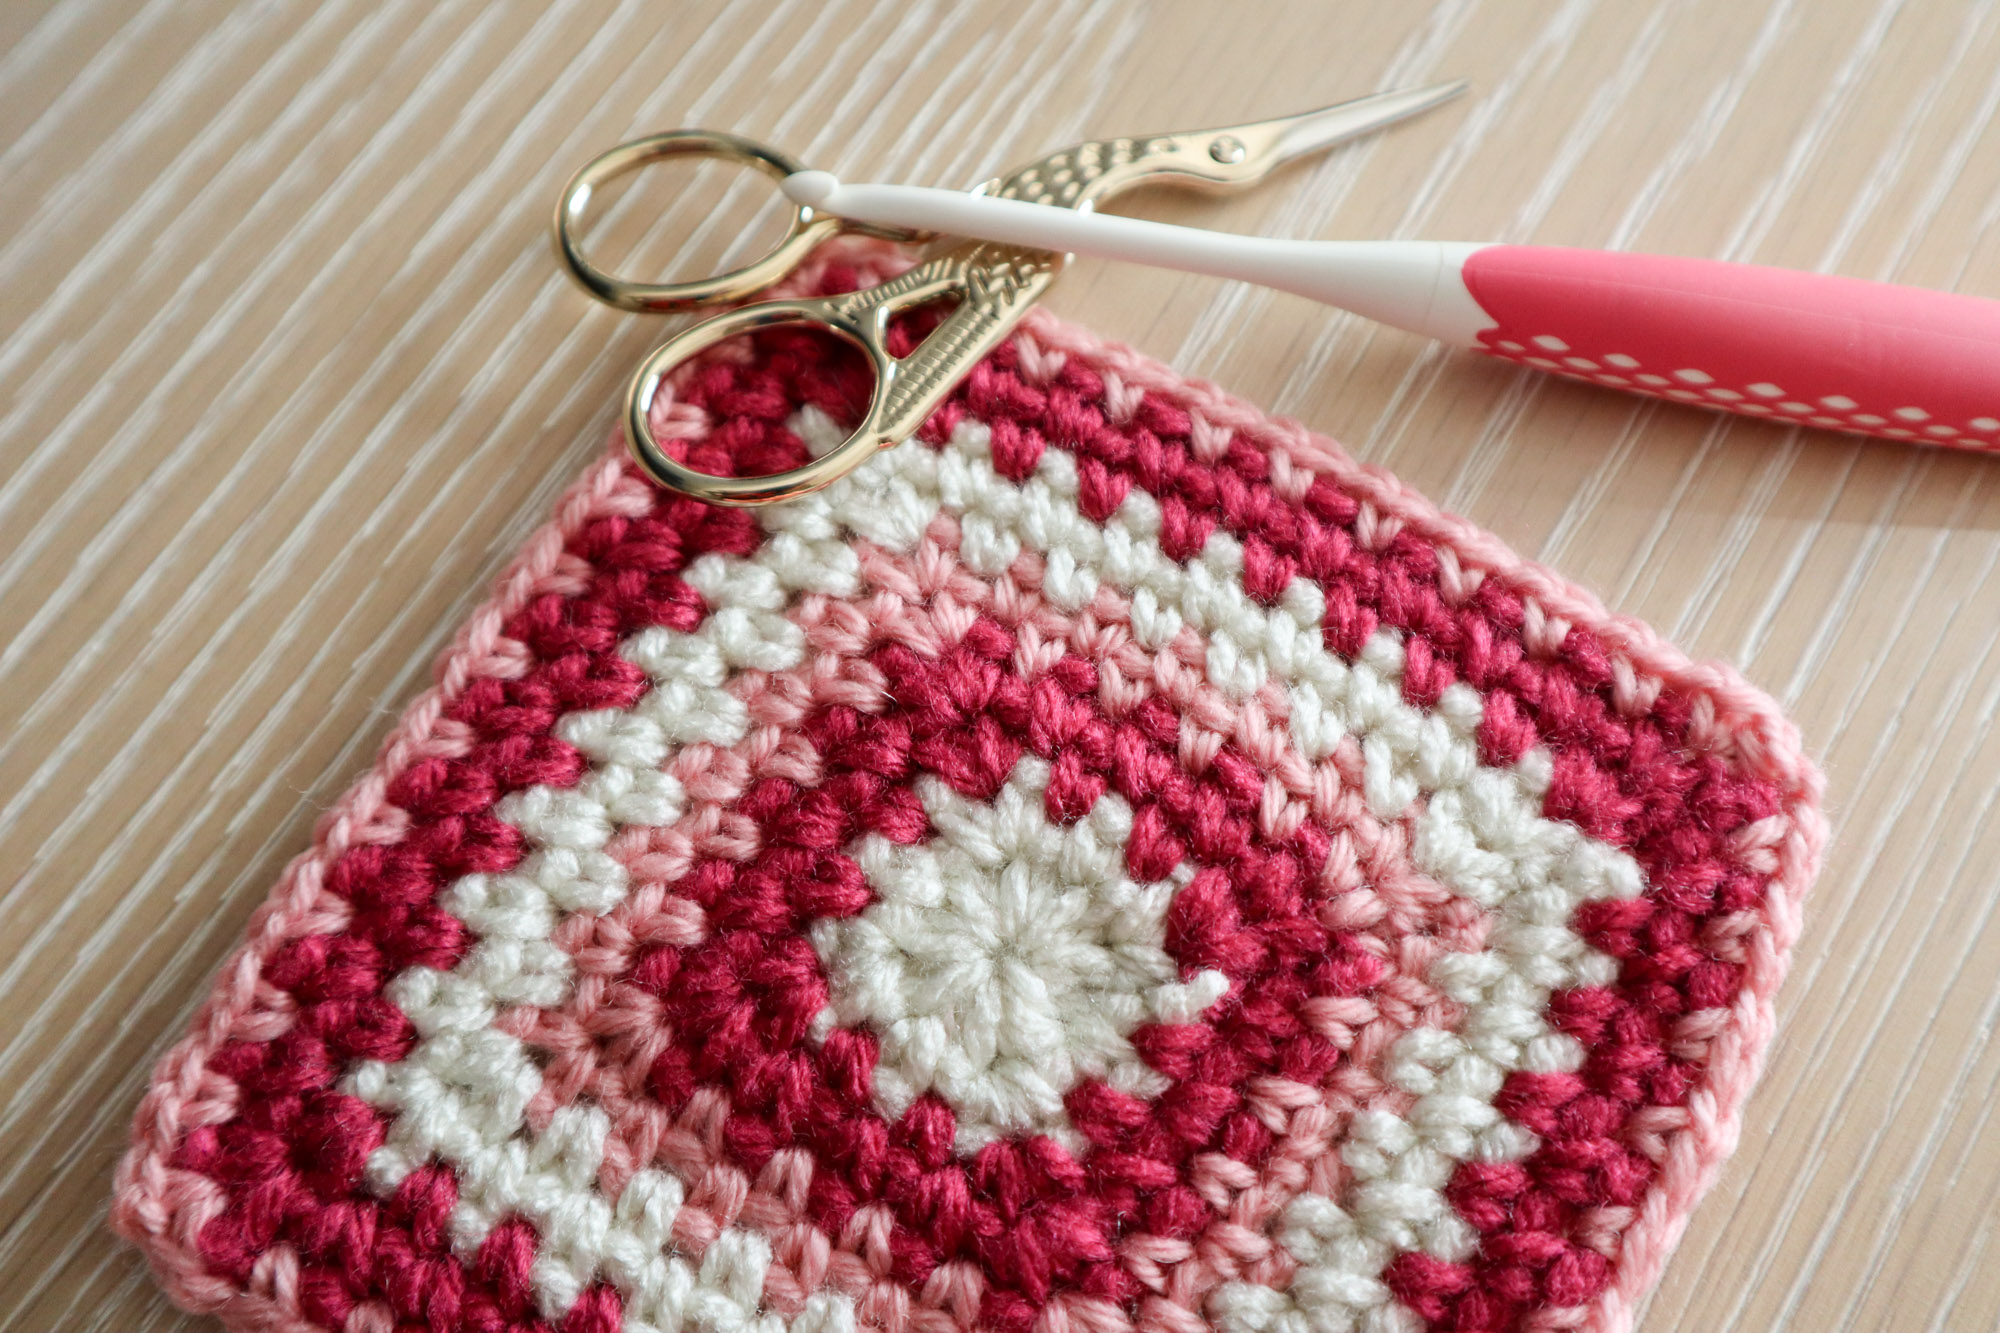
Finishing Touches
Fasten off and weave in your ends. This square benefits from blocking to keep it from getting a “twisted” look since we did not turn our work throughout the project. It can tend to slant. Which also looks pretty cool!
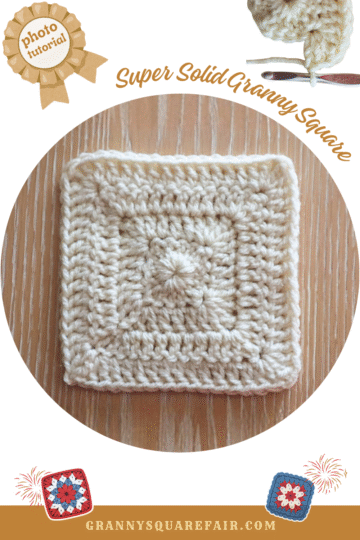
Your linen stitch granny square is ready for any granny square project where you needed short stitches, cool colorwork and a tighter weave. Check another approach to a tightly-woven granny square with our tutorial for the Super Solid Granny Square. And we’ll see ‘ya around at the granny square fair!
Pin for later!