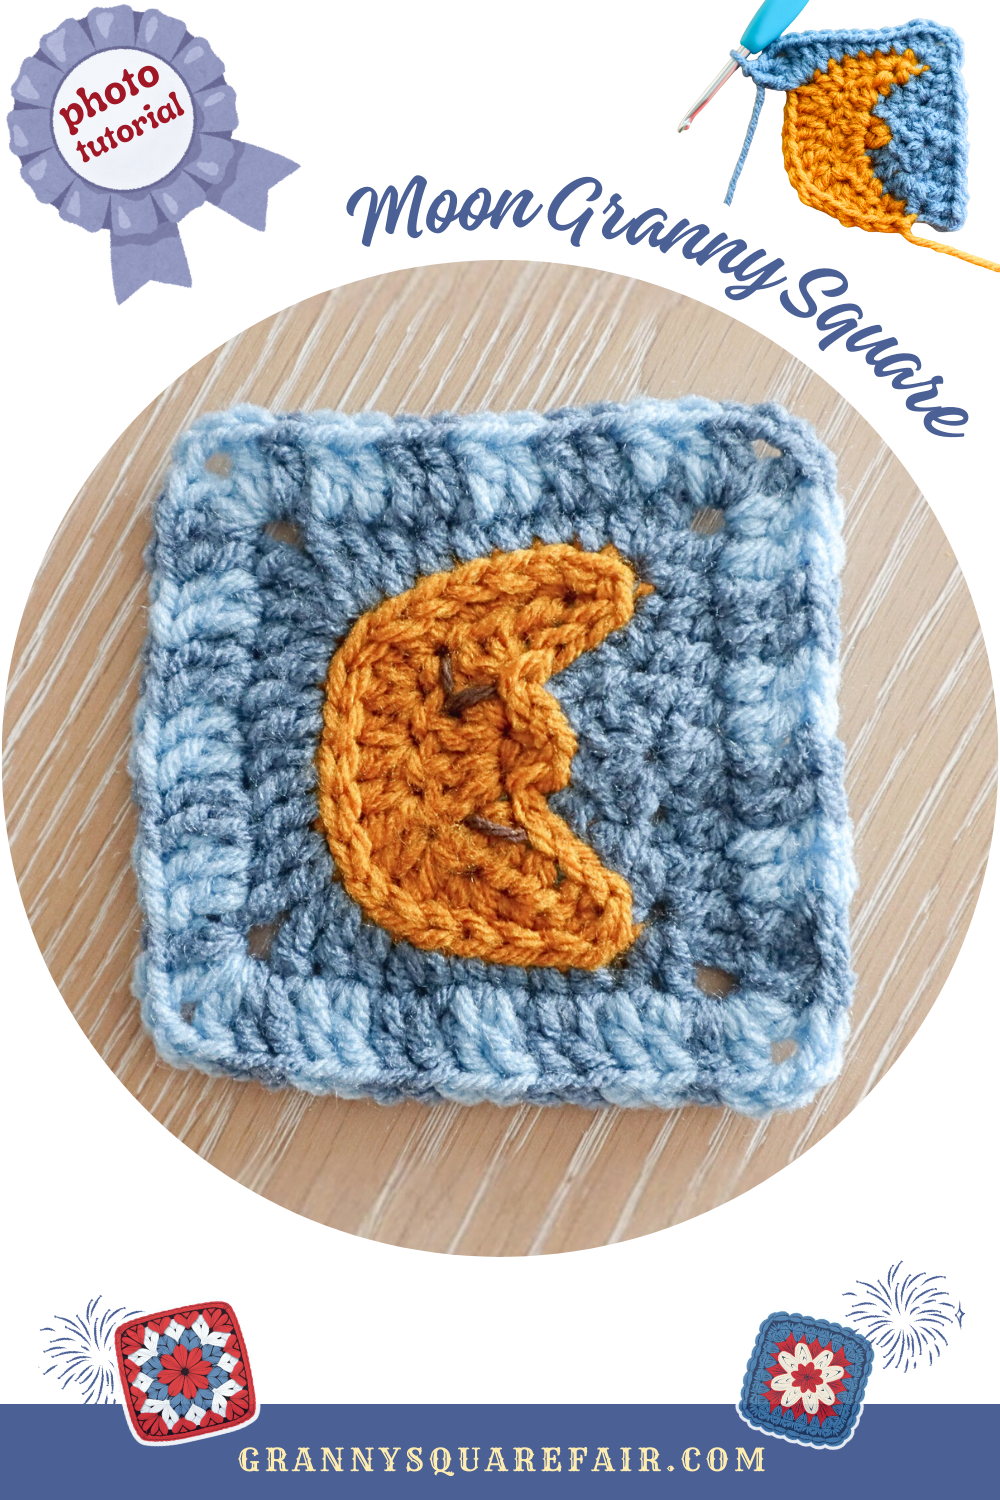
Man In The Moon Granny Square
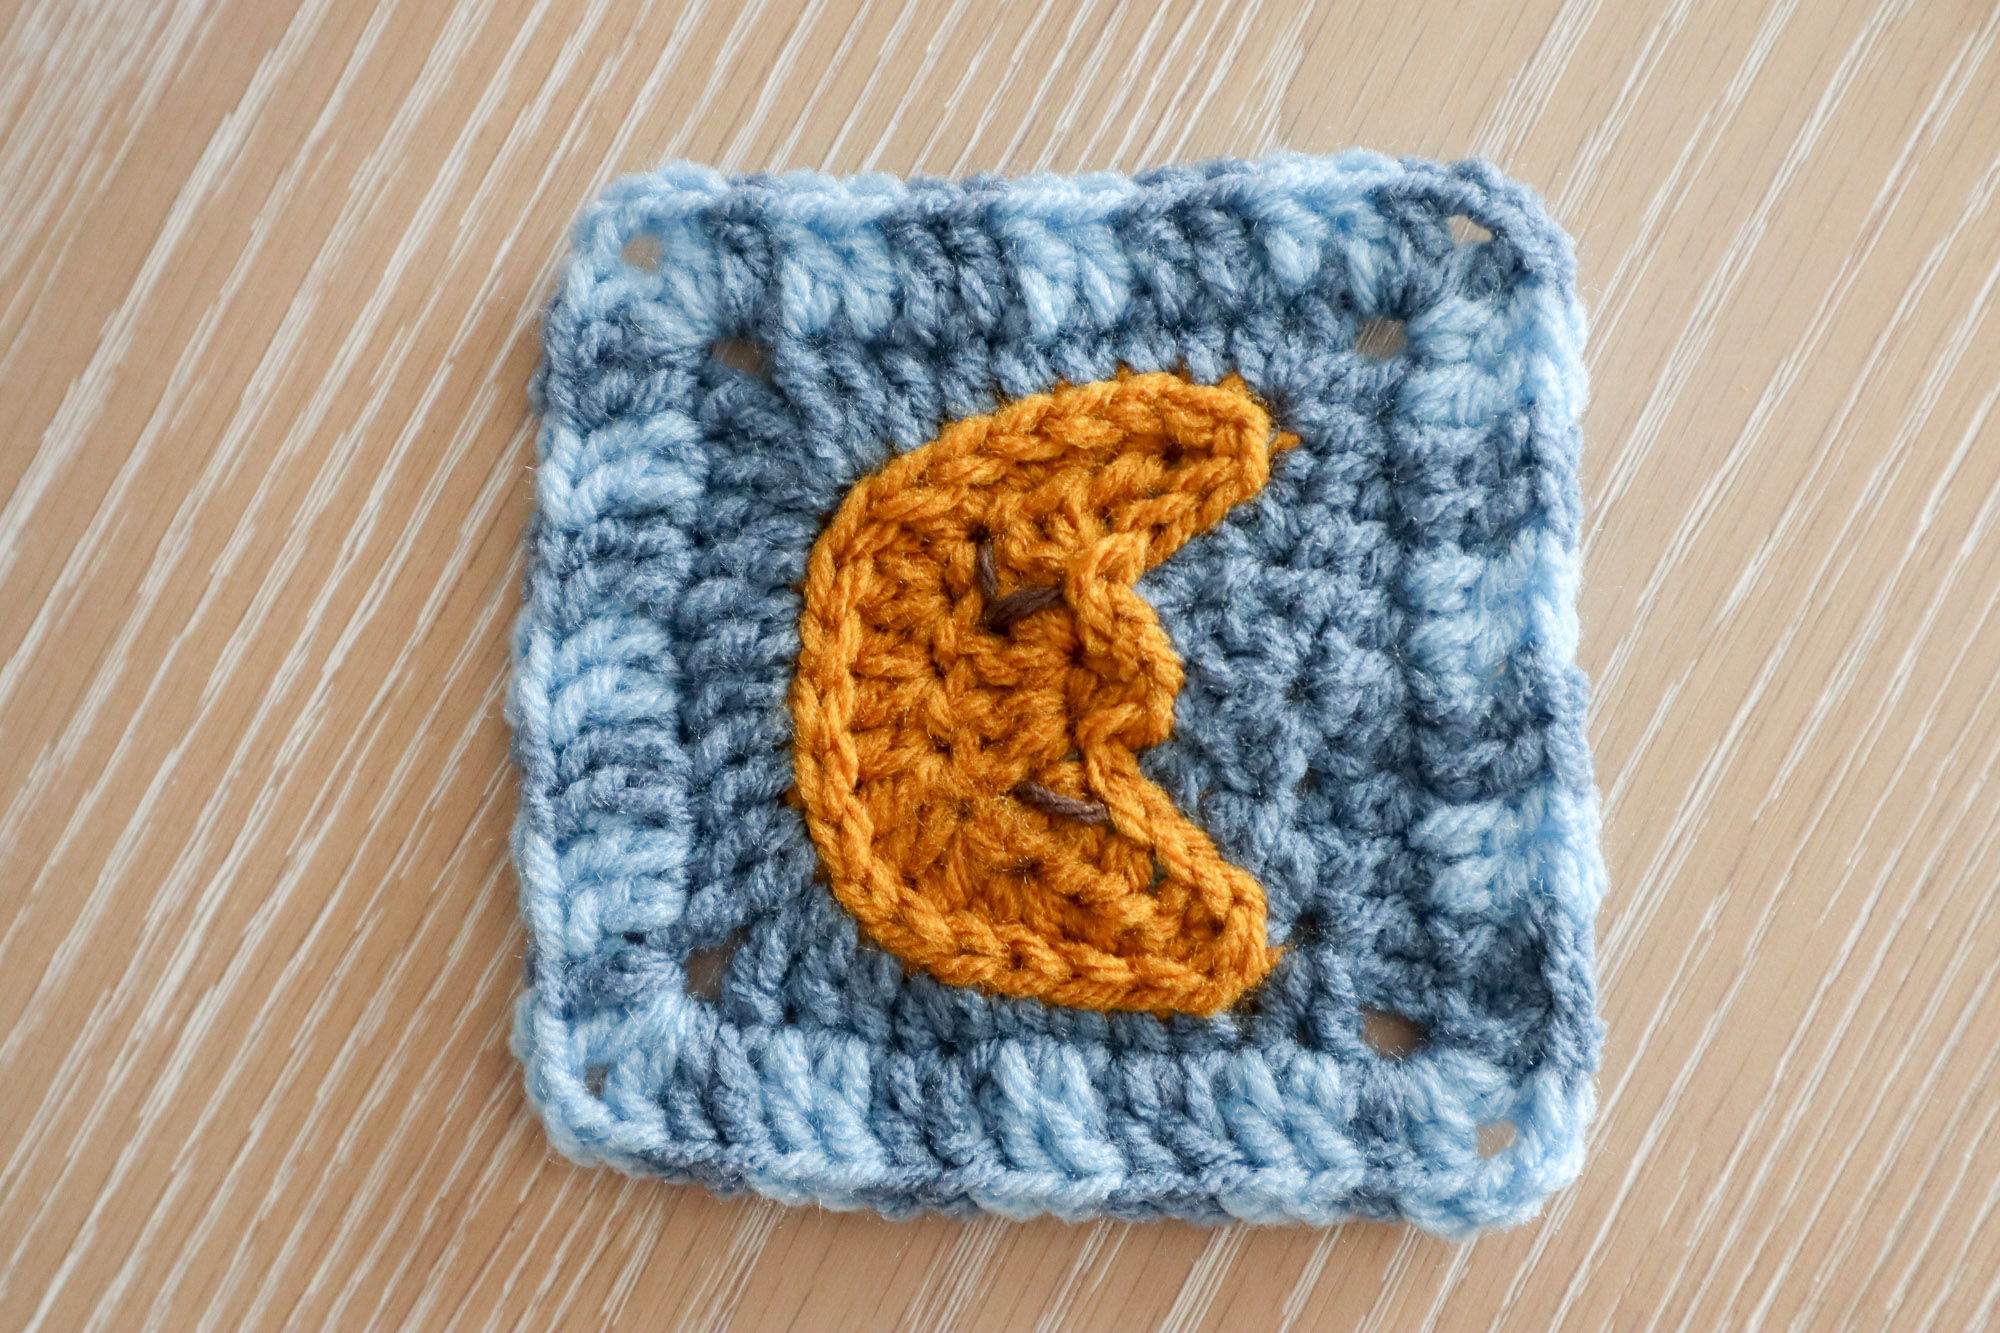
There’s definitely more than one way to make a granny square moon! With this variation, you get a solid granny square with a whimsical man-in-the-moon motif: A crescent moon in profile with the hint of a little nose. I was even able to stitch on a little eye and mouth after the fact to tie it all together.
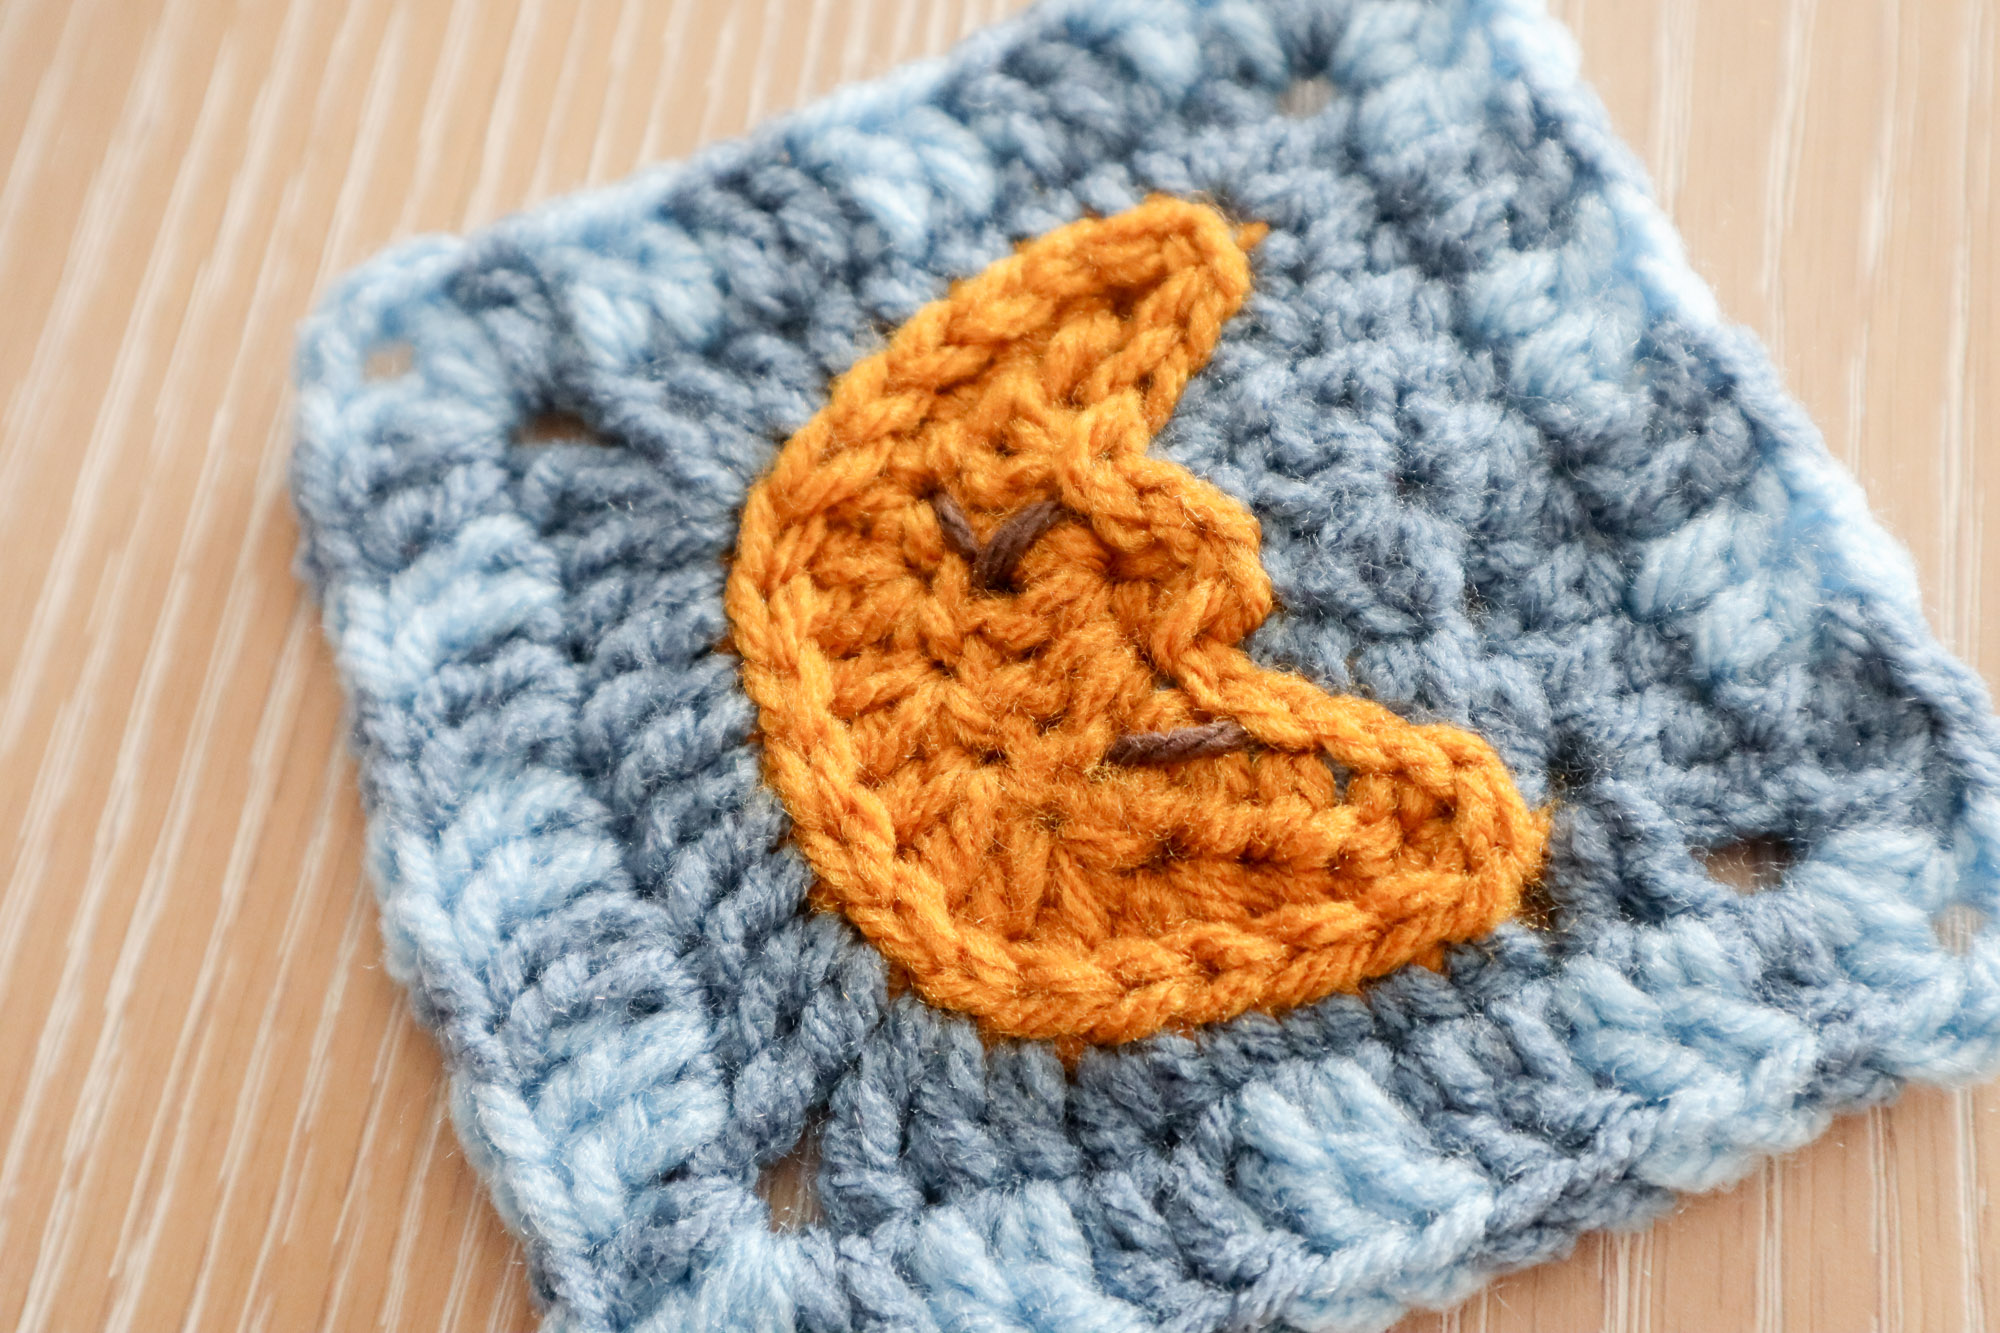
It’s a perfect celestial granny square for nursery items or anything where that classic, vintage moon face is called for. And it also pairs wonderfully with other solid granny square motifs like stars, suns, and all your favorite night sky companions!
Jump to:
Skill Level
Intermediate — While this granny square only uses basic stitches (single crochet, double crochet, treble crochet, chains and slip stitches), it does require you to have a good handle on counting your stitches and keeping track of where to put them.
Stitch Abbreviations Used in the Pattern (U.S. Terms)
| Abbreviation | Stitch Name |
|---|---|
| ch | chain |
| sl st | slip stitch |
| sc | single crochet |
| dc | double crochet |
| tr | treble (triple) crochet |
| st(s) | stitch(es) |
| sp | space |
| rep | repeat |
What You’ll Need
- Yarn: Any weight yarn you love – I used three colors of worsted (4) weight acrylic.
- Hook: Use a hook that matches your yarn label’s recommendation. I used a 4.5 mm hook.
- Notions: Scissors, a sleepy sweetie to crochet this moon for (it can be yourself!)
Gauge & Size
Gauge is up to you and your yarn and hook size! After 5 rounds, in my 4 weight yarn and 4.5mm hook, my square was a little over 4″ across.
Pattern Notes
- We first work a little piece in the border color to build our moon off of. Then change color to make the moon motif, then resume using the border color.
- Turning chains may or may not count as stitches depending on the row/round.
- We may or may not turn our work depending on the row/round so the pattern requires paying close attention to this.
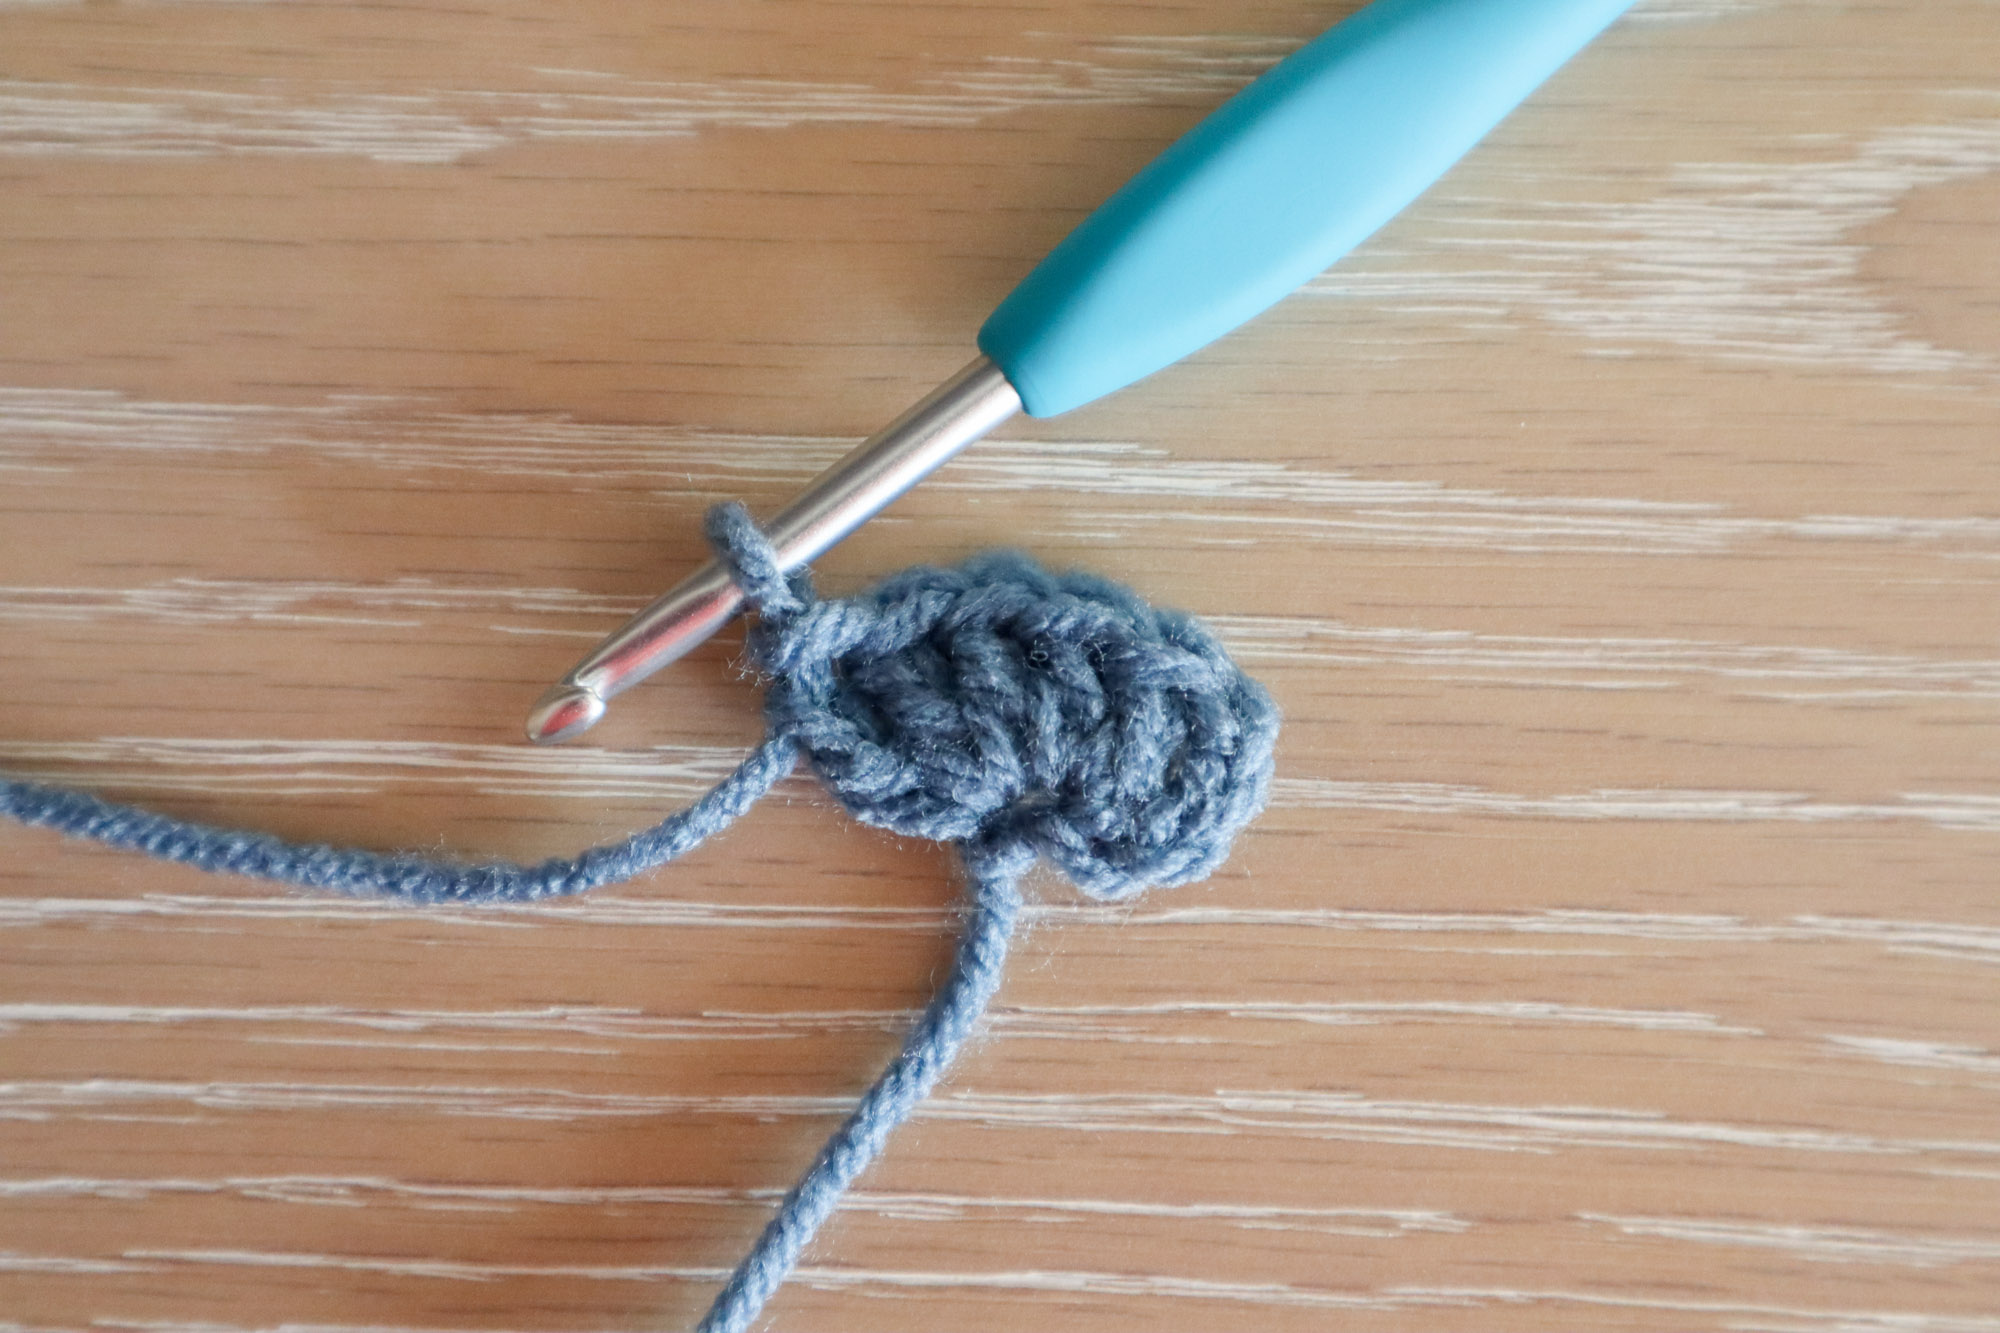
Row 1 – Semicircle to build moon on
In border color, Ch5 (counts as ch1, 1dc) and make 5 more dc into the first chain (6dc)
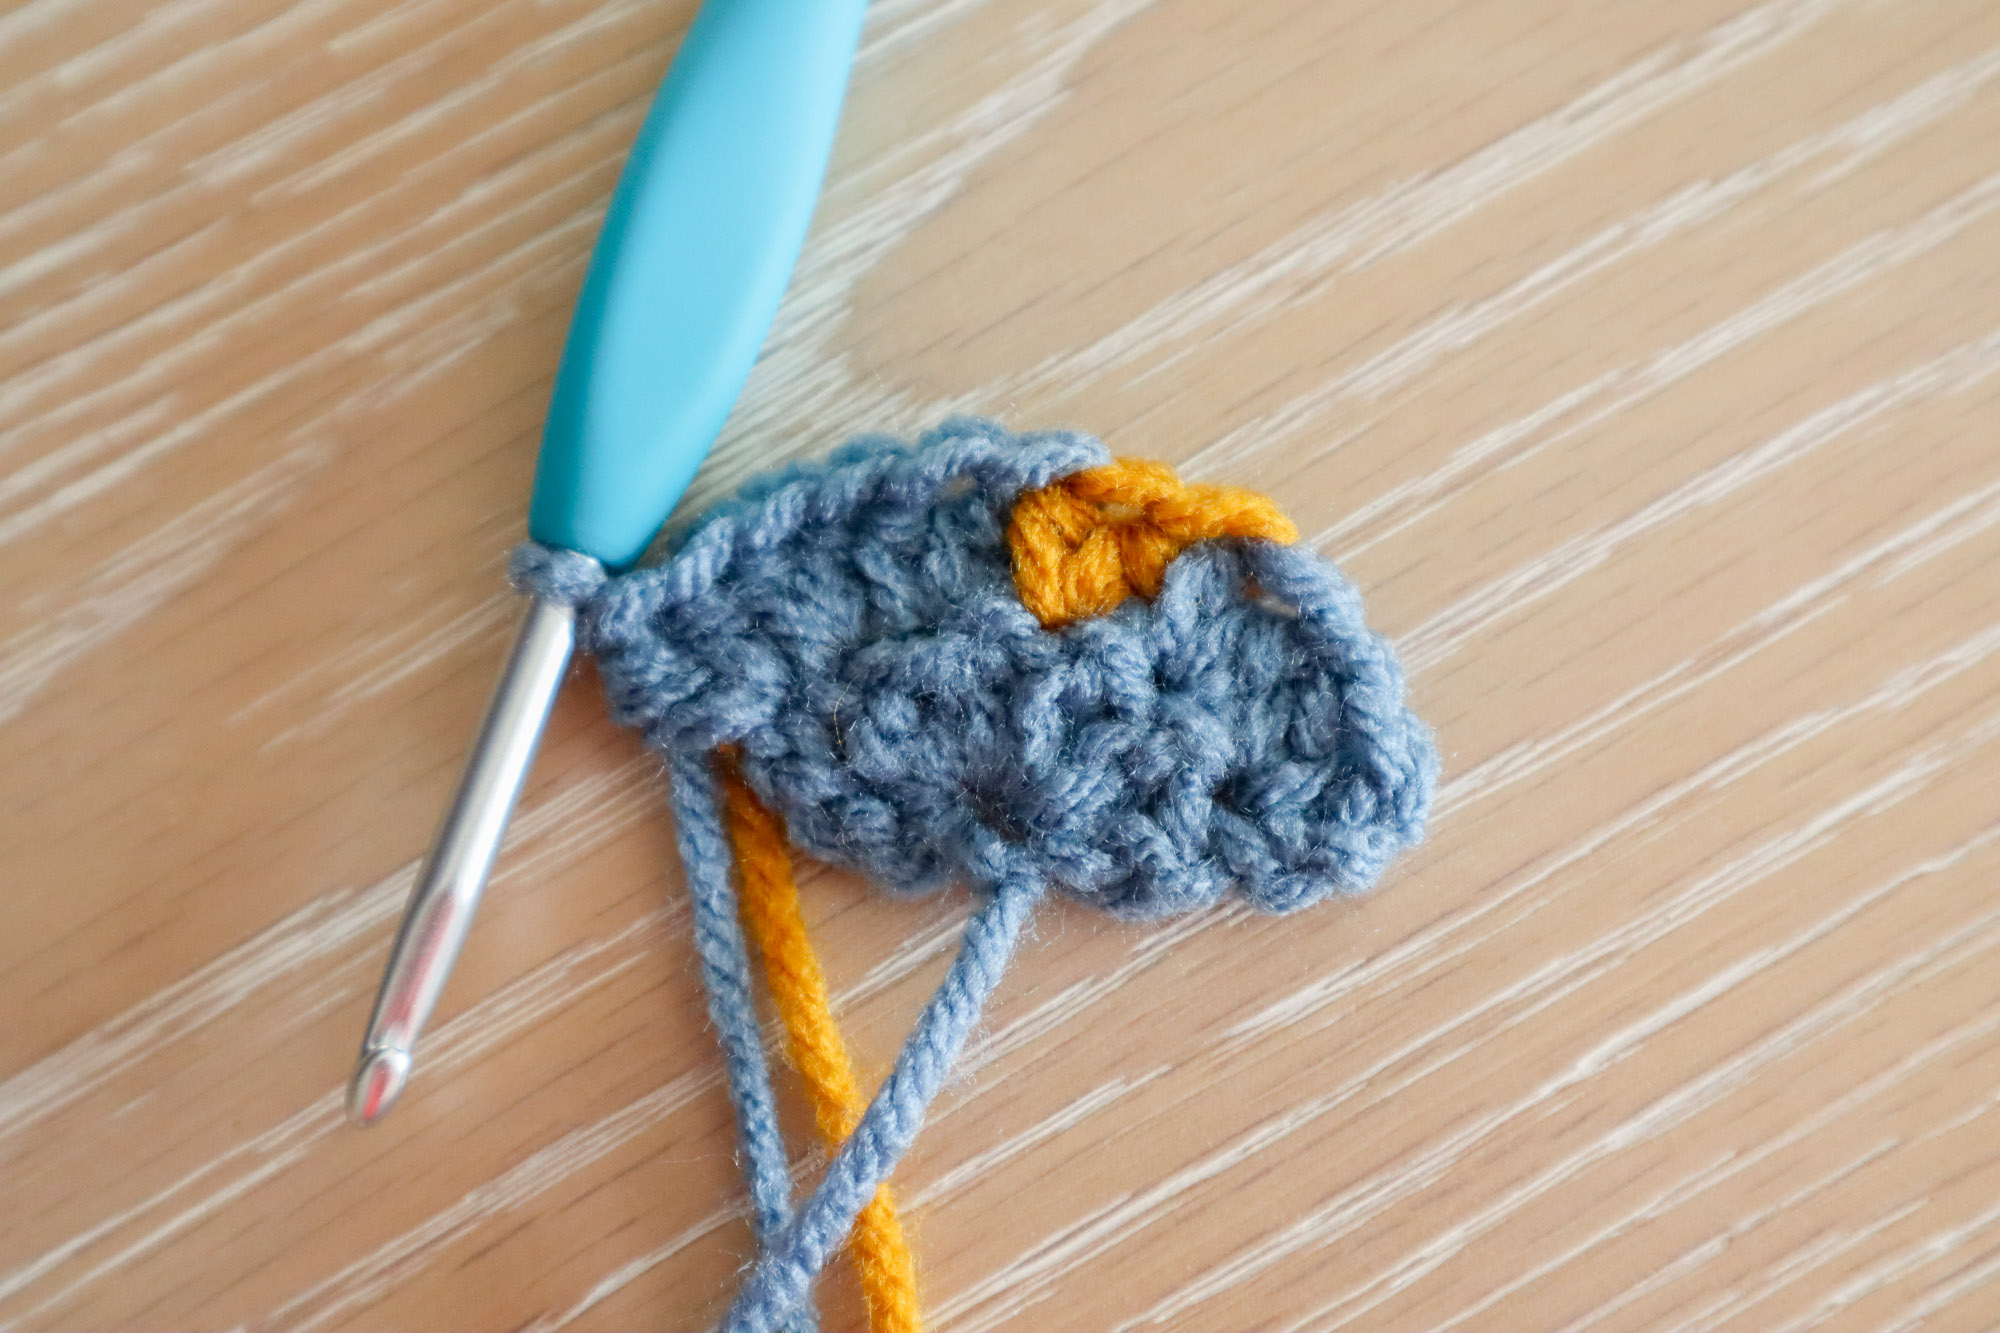
Row 2 – Continuing the semicircle and adding the “nose”
ch1 (does not count as a stitch), and turn. 2hdc in the first st, 2hdc in the next st. Switch to moon color and work 2hdc in the next stitch while carrying the border color. Switch back to border color and make 2hdc in each of the next 2 sts while carrying the moon color. Leave the moon color working yarn out, in back of your work, to pick up later and work 2hdc in border color in the last dc (prev row’s starting ch) to complete the row. (12hdc)
Row 3 – First moon motif row
Don’t fasten off border color but remove hook (use a stitch marker or other method to save live loop). Pick up moon color through the previous border color stitch.
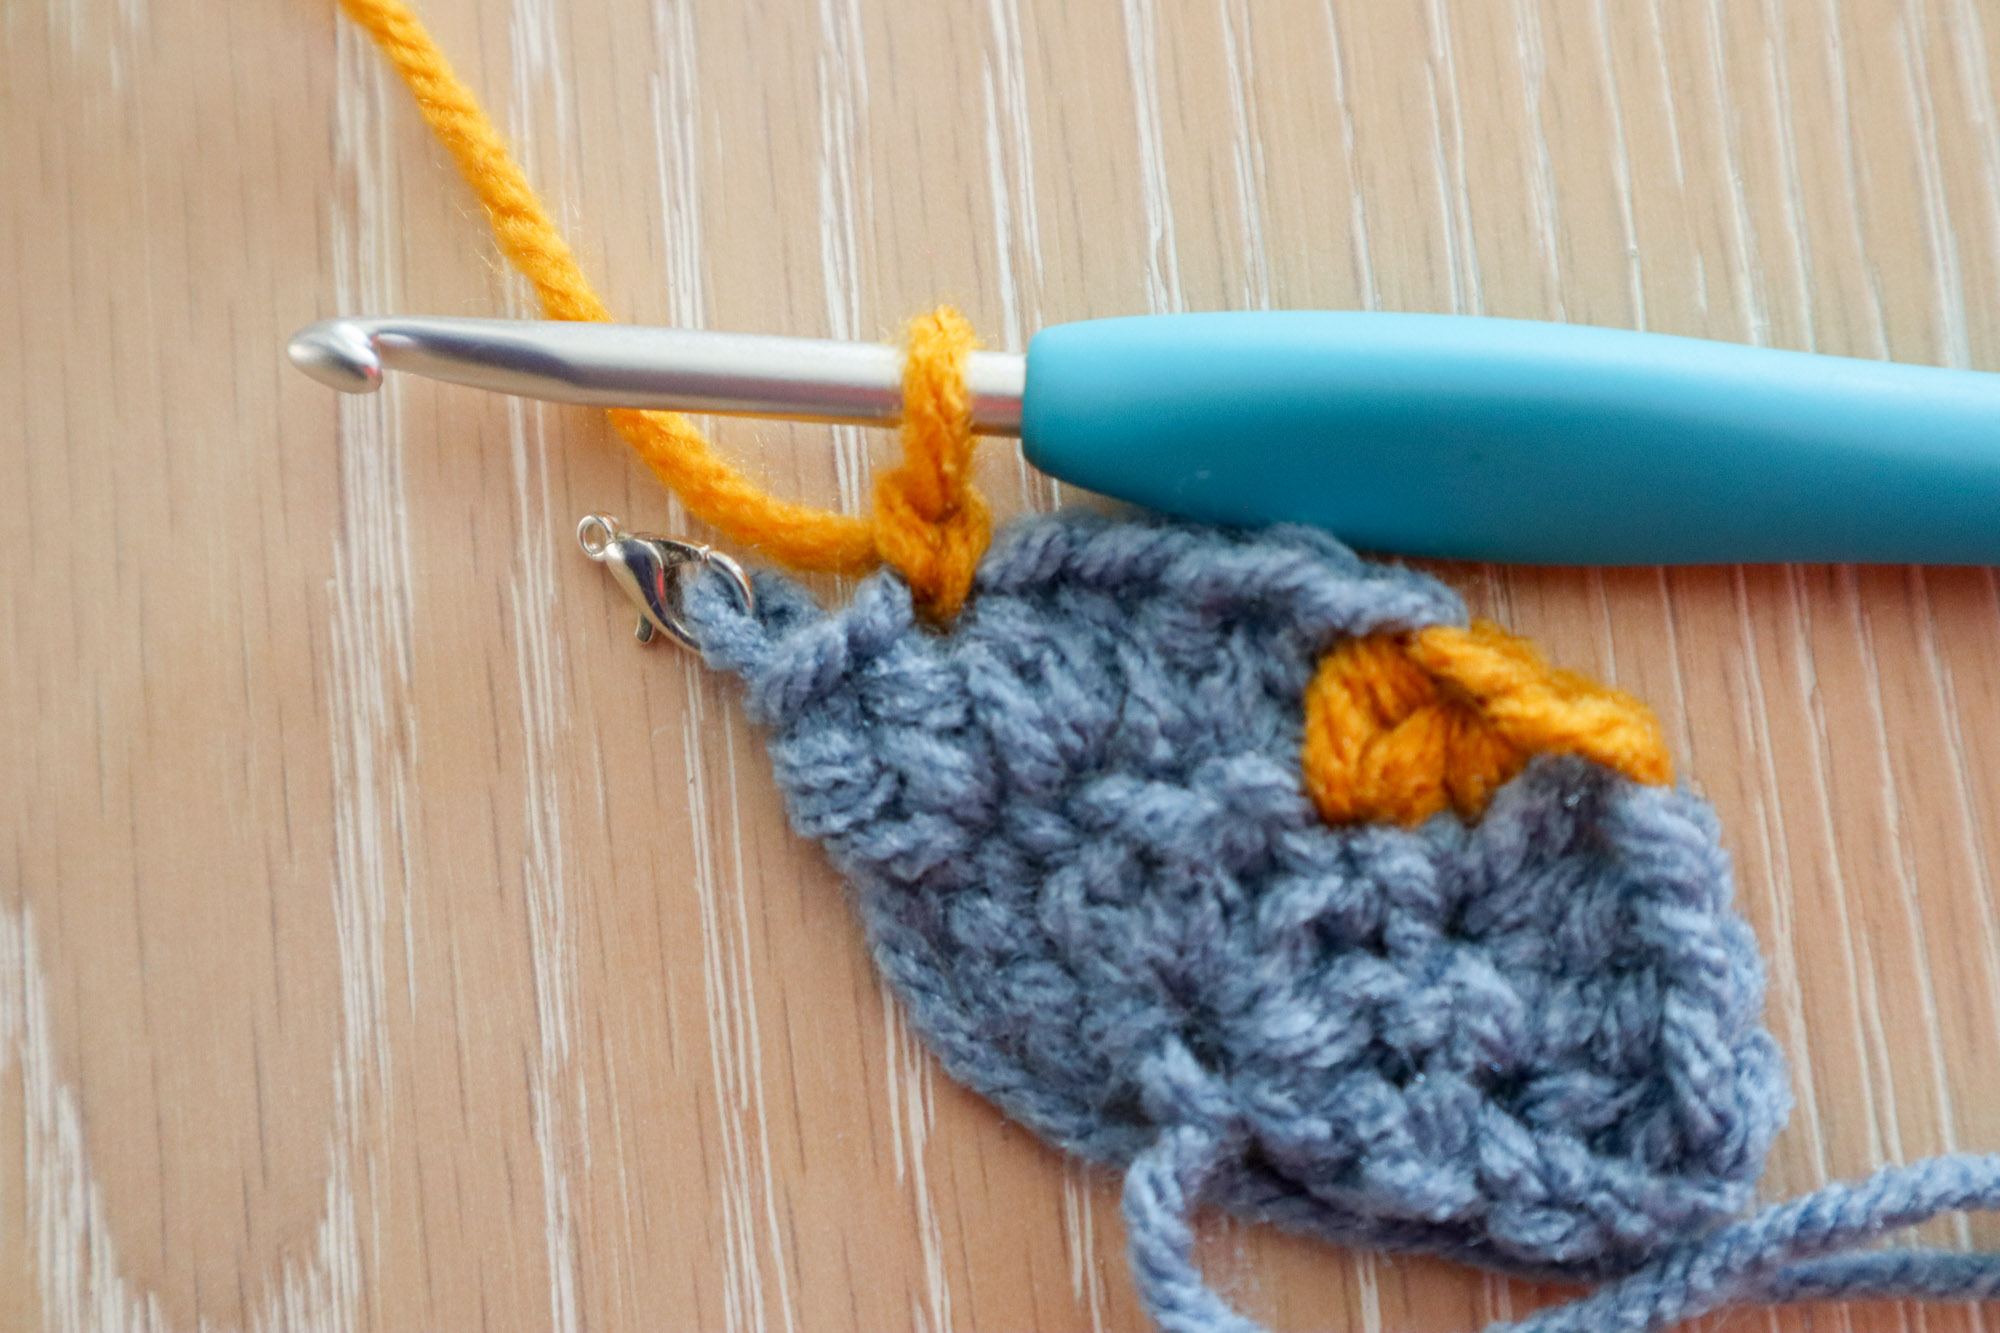
Ch1, turn, 1sc in the next st. 1hdc in the next st. 1hdc and 1dc in next st, 2dc in each of next two sts, 1dc and 1hdc in next st, 1hdc in the next, 1sc in the next st, sl st in the next st.
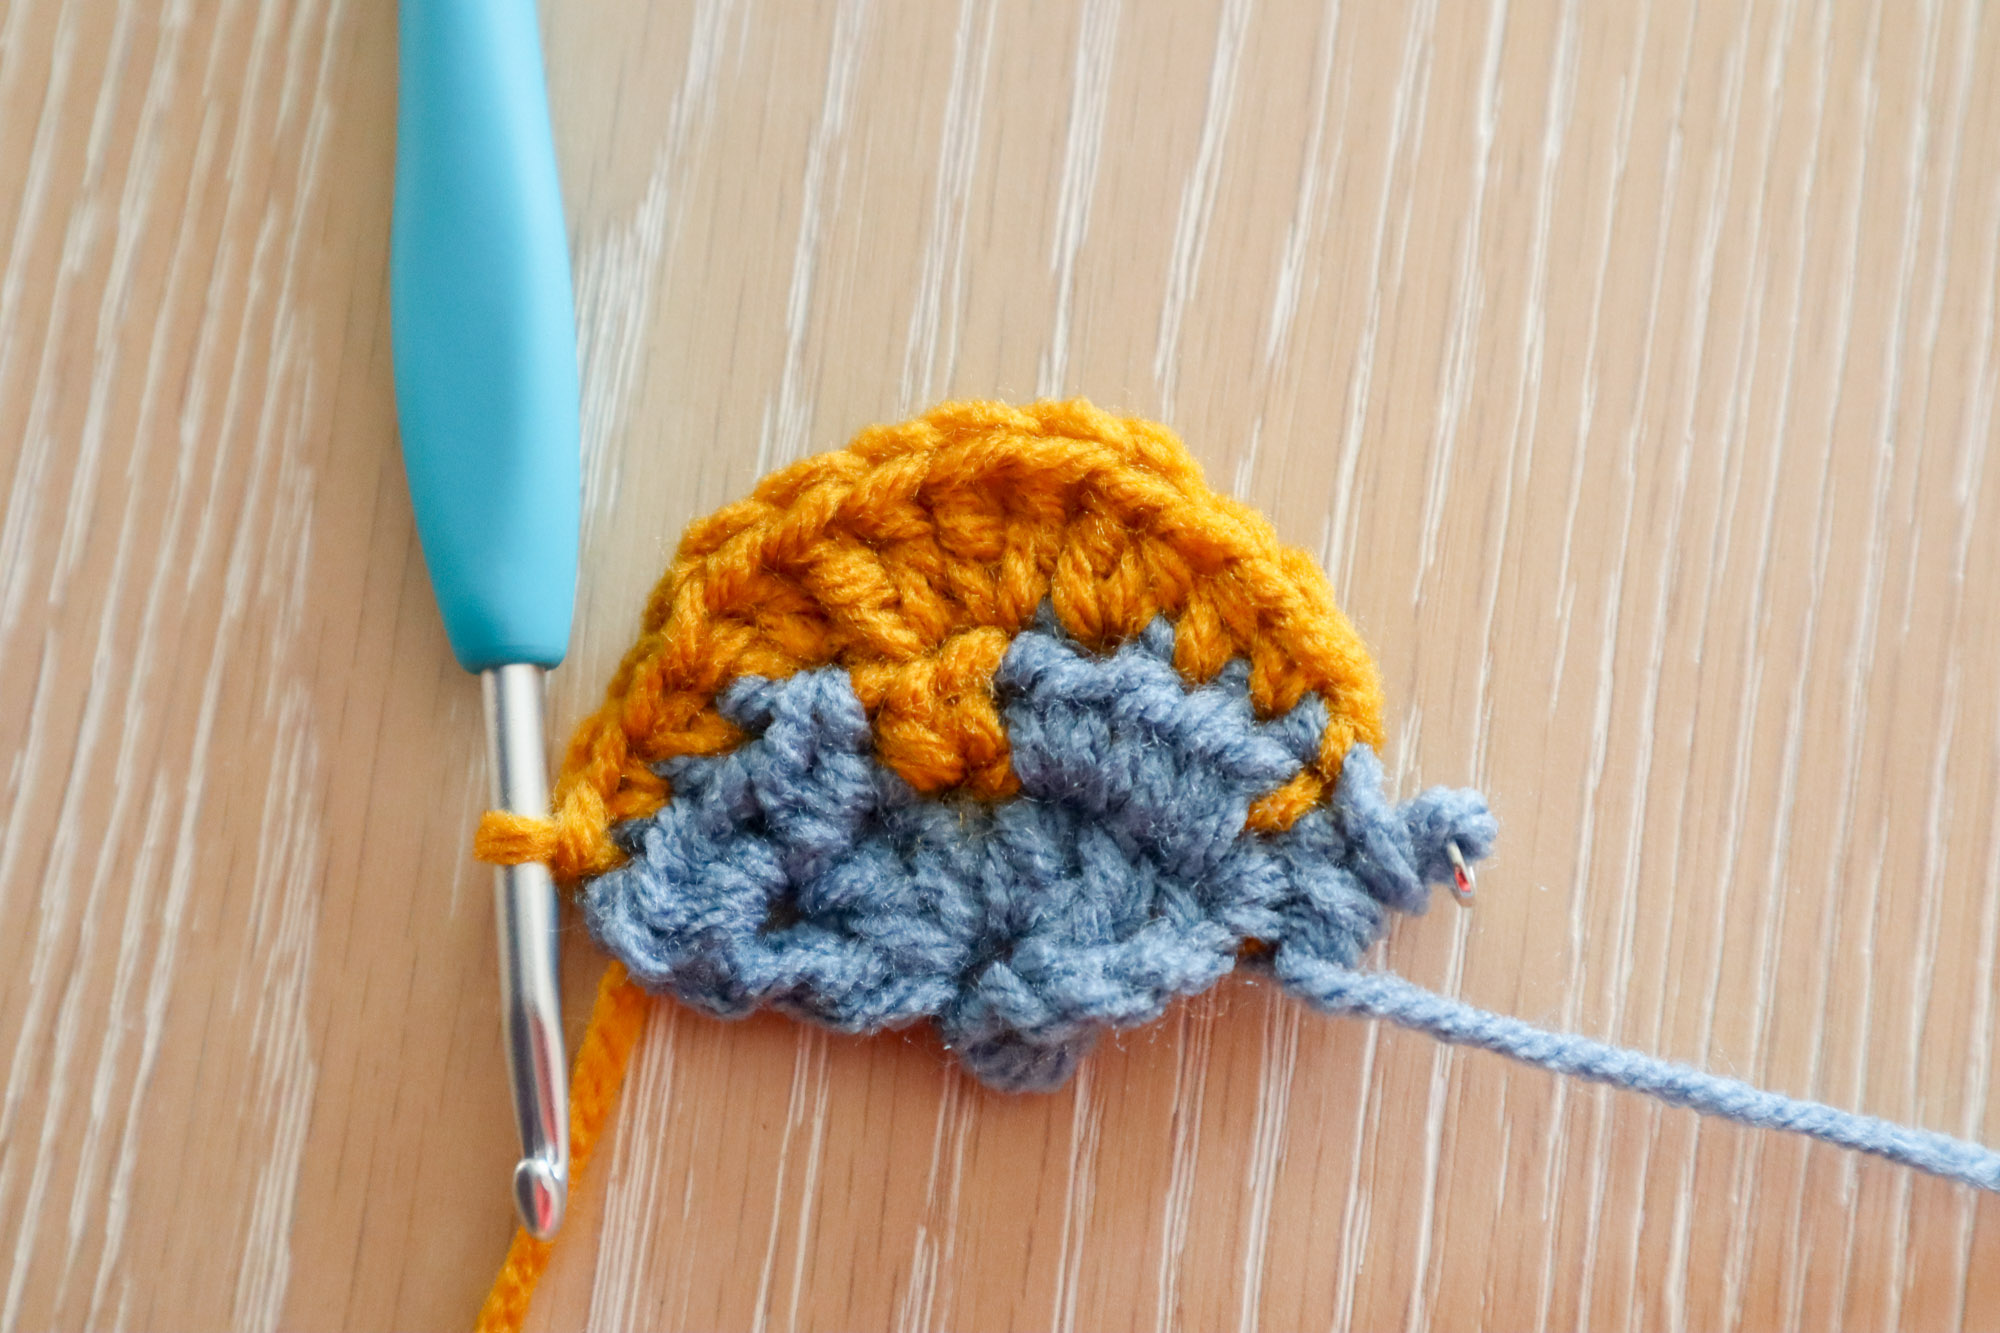
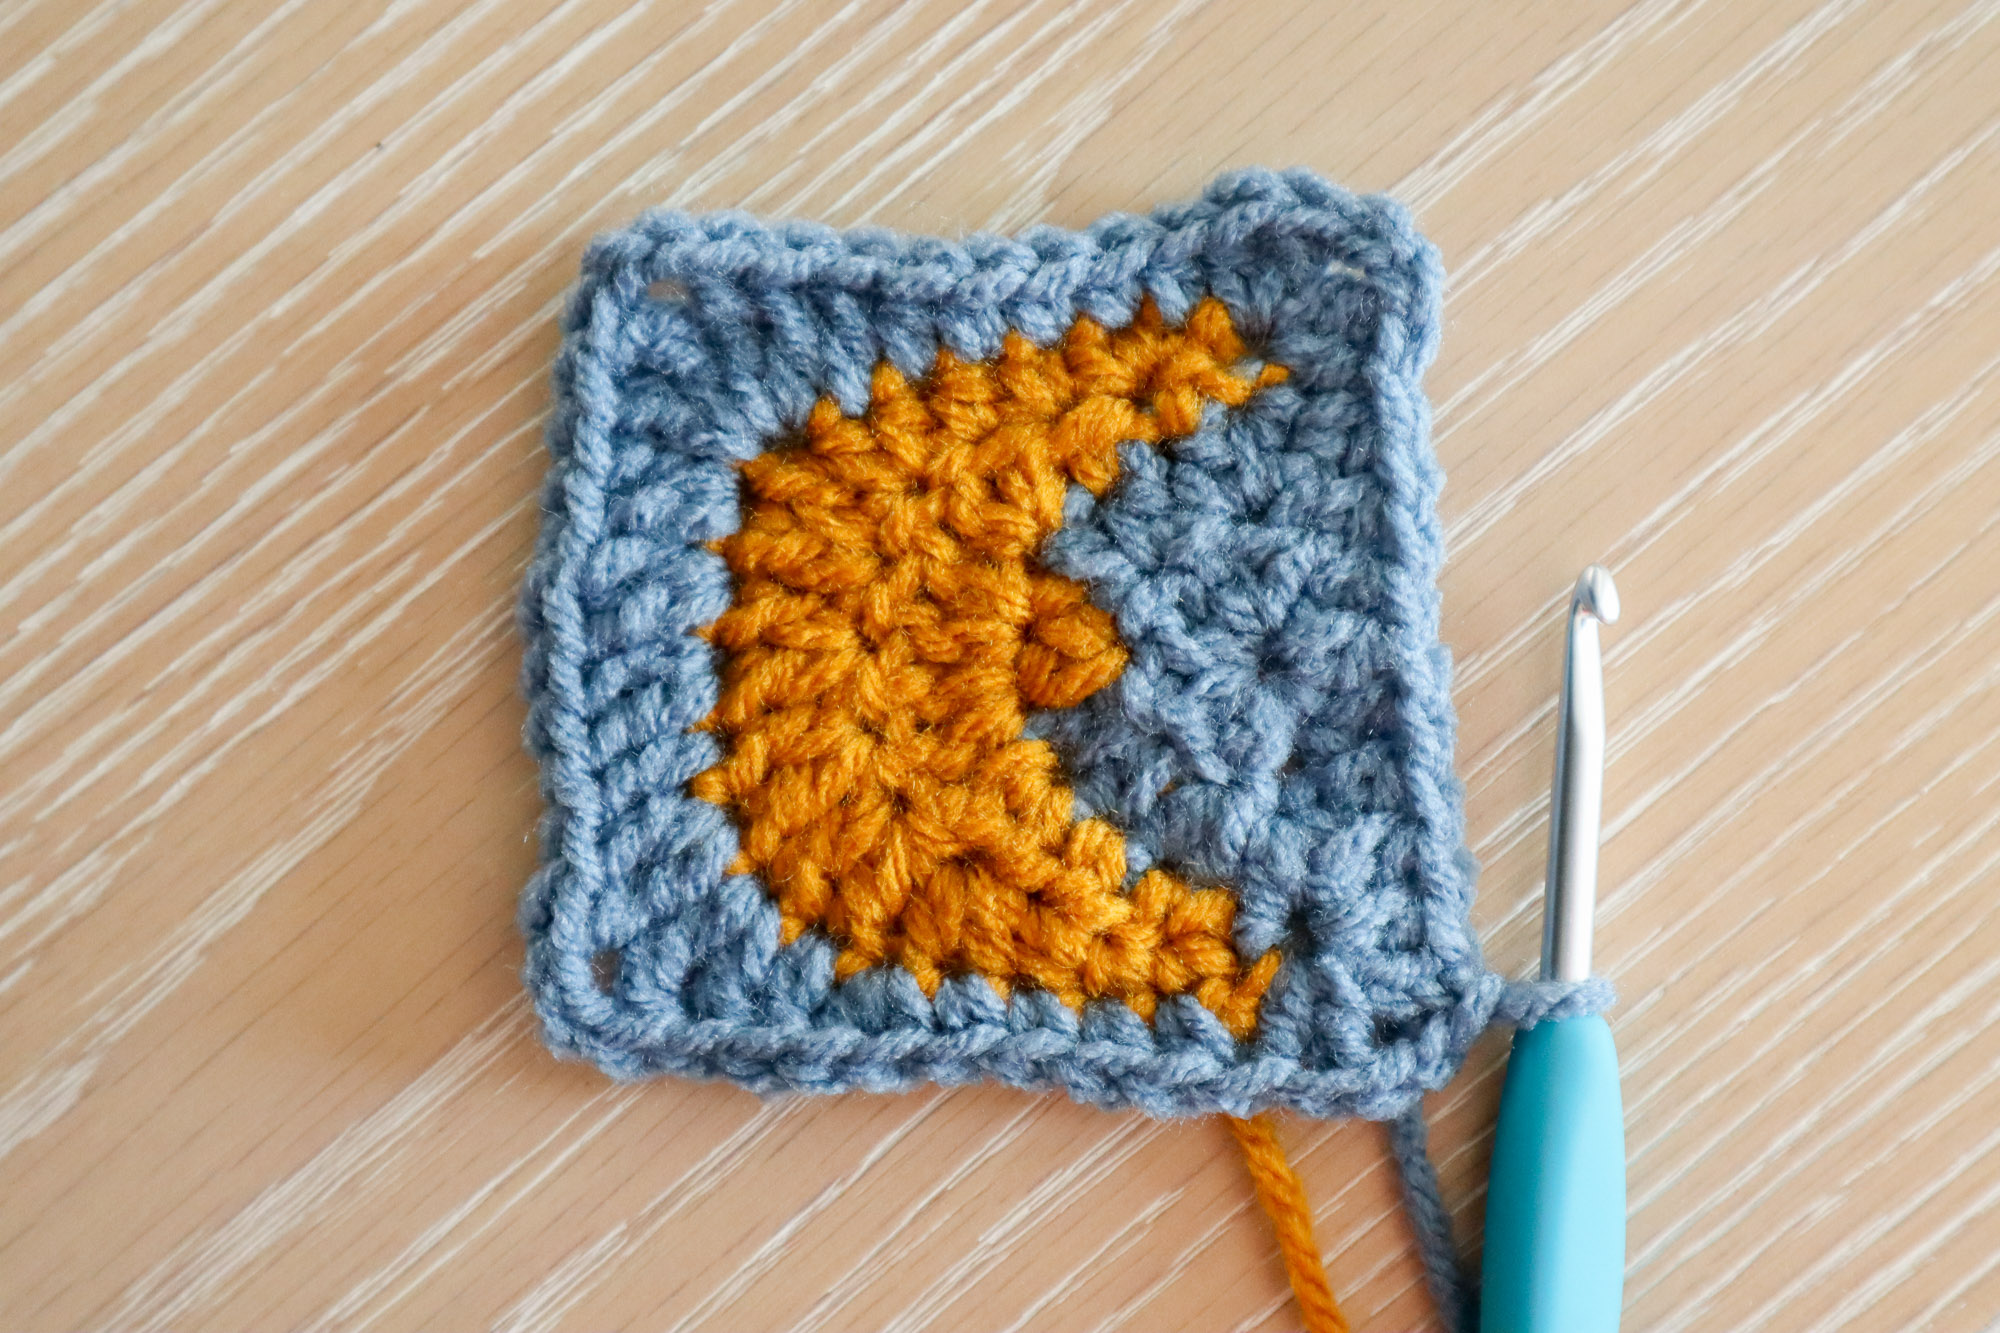
Row 4 – Second moon motif row
Ch1, turn. skip the slipped stitch from prev row, work 2sc in the next st. Work the following stitch sequence across the next ten sts: 1sc, 1hdc, 2hdc, 2dc, 2dc, 2dc, 2dc, 2hdc, 1hdc, 1sc, 1sc. Sl st into the next hdc of the border color. Fasten off moon color but leave a long tail for a surface crochet outline at the end.
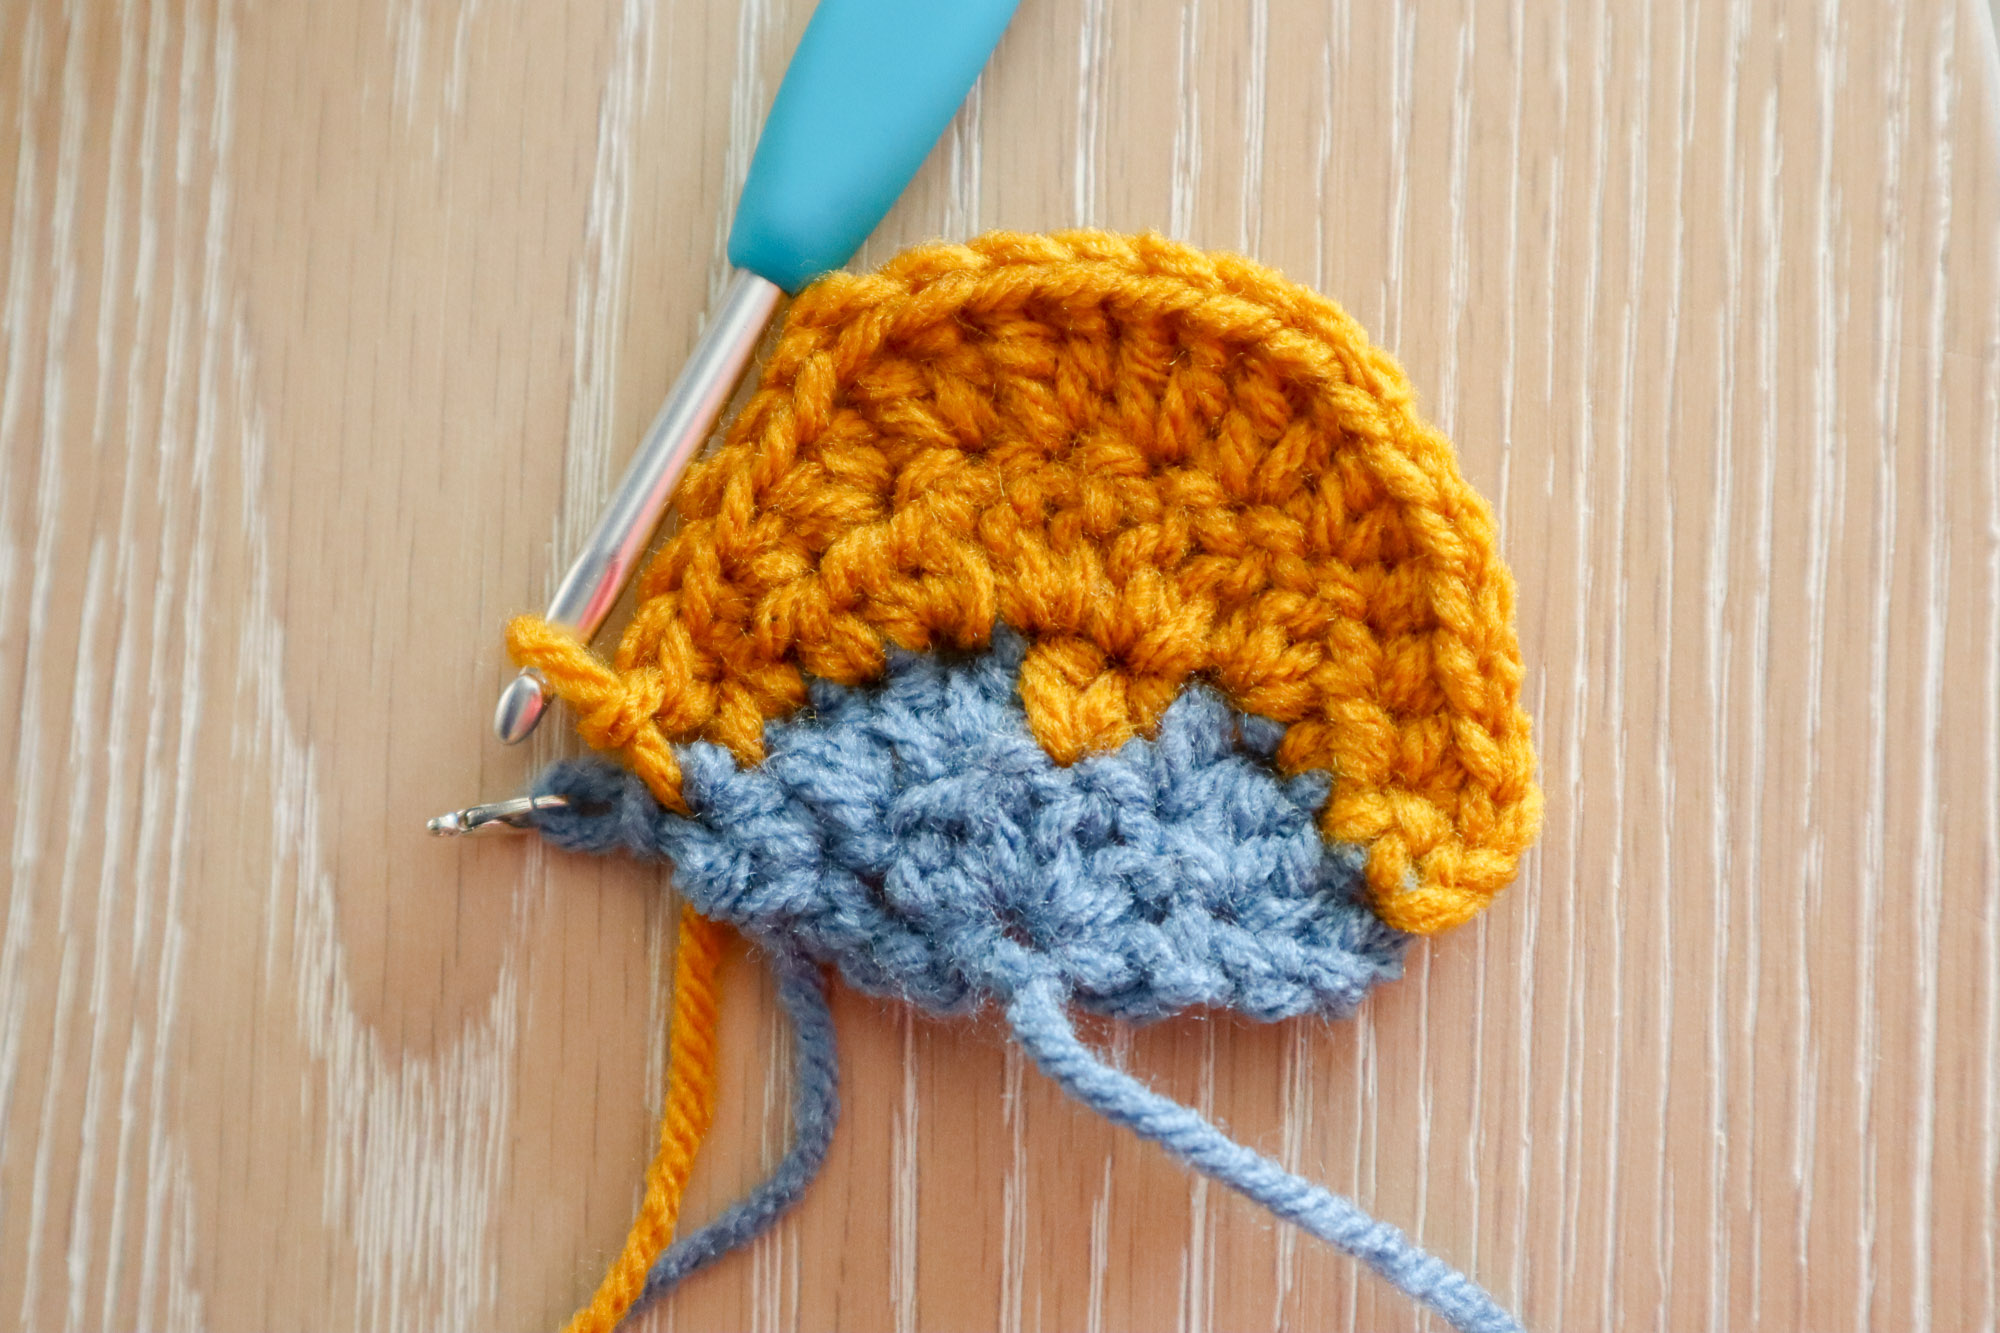
Squaring The Moon
Pick up the border color live stitch. Ch3 (counts as 1dc) do not turn your work. Work one more hdc into the same st. Evenly work 7 hdc along the underside of our starting half circle towards the opposite corner of the moon. Into the very corner of the moon (the sl st or turning chain from last moon row), work 1hdc, 1dc, ch2, 1dc, 1hdc.
You’ve worked a row of border color along the right side of the moon, completing the top right corner.
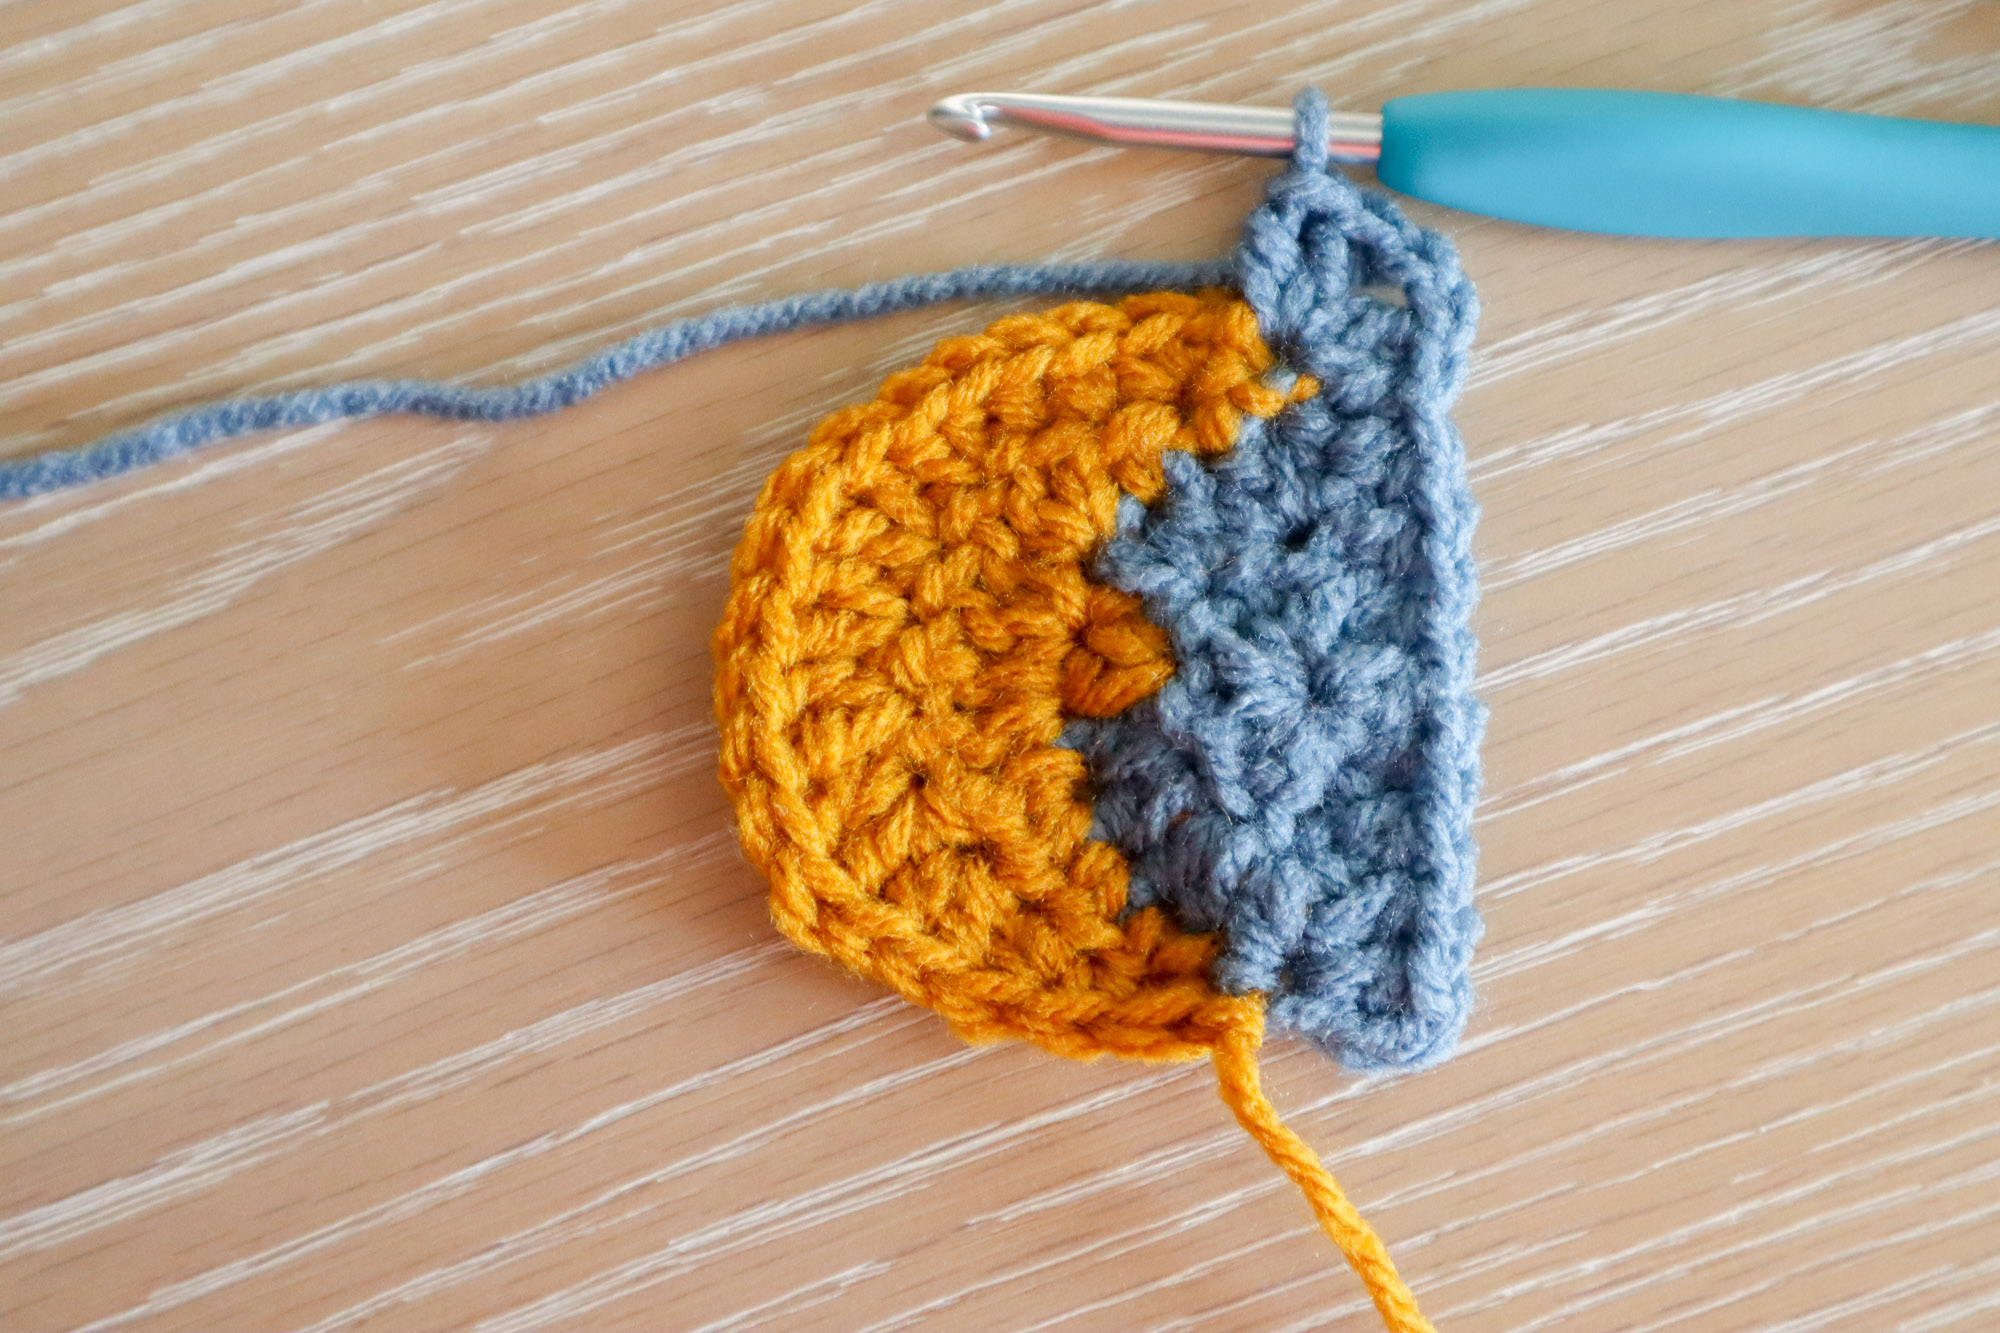
1hdc in the next moon st. 1sc in each of the next 3 moon sts. 1hdc in the next st. 1hdc in the next, 1dc in the next. Into the next moon st, work 1dc, 1tr, ch2, 1tr, 1dc, all in the same st.
You’ve worked a row of border color along the top of the moon, completing the top left corner.
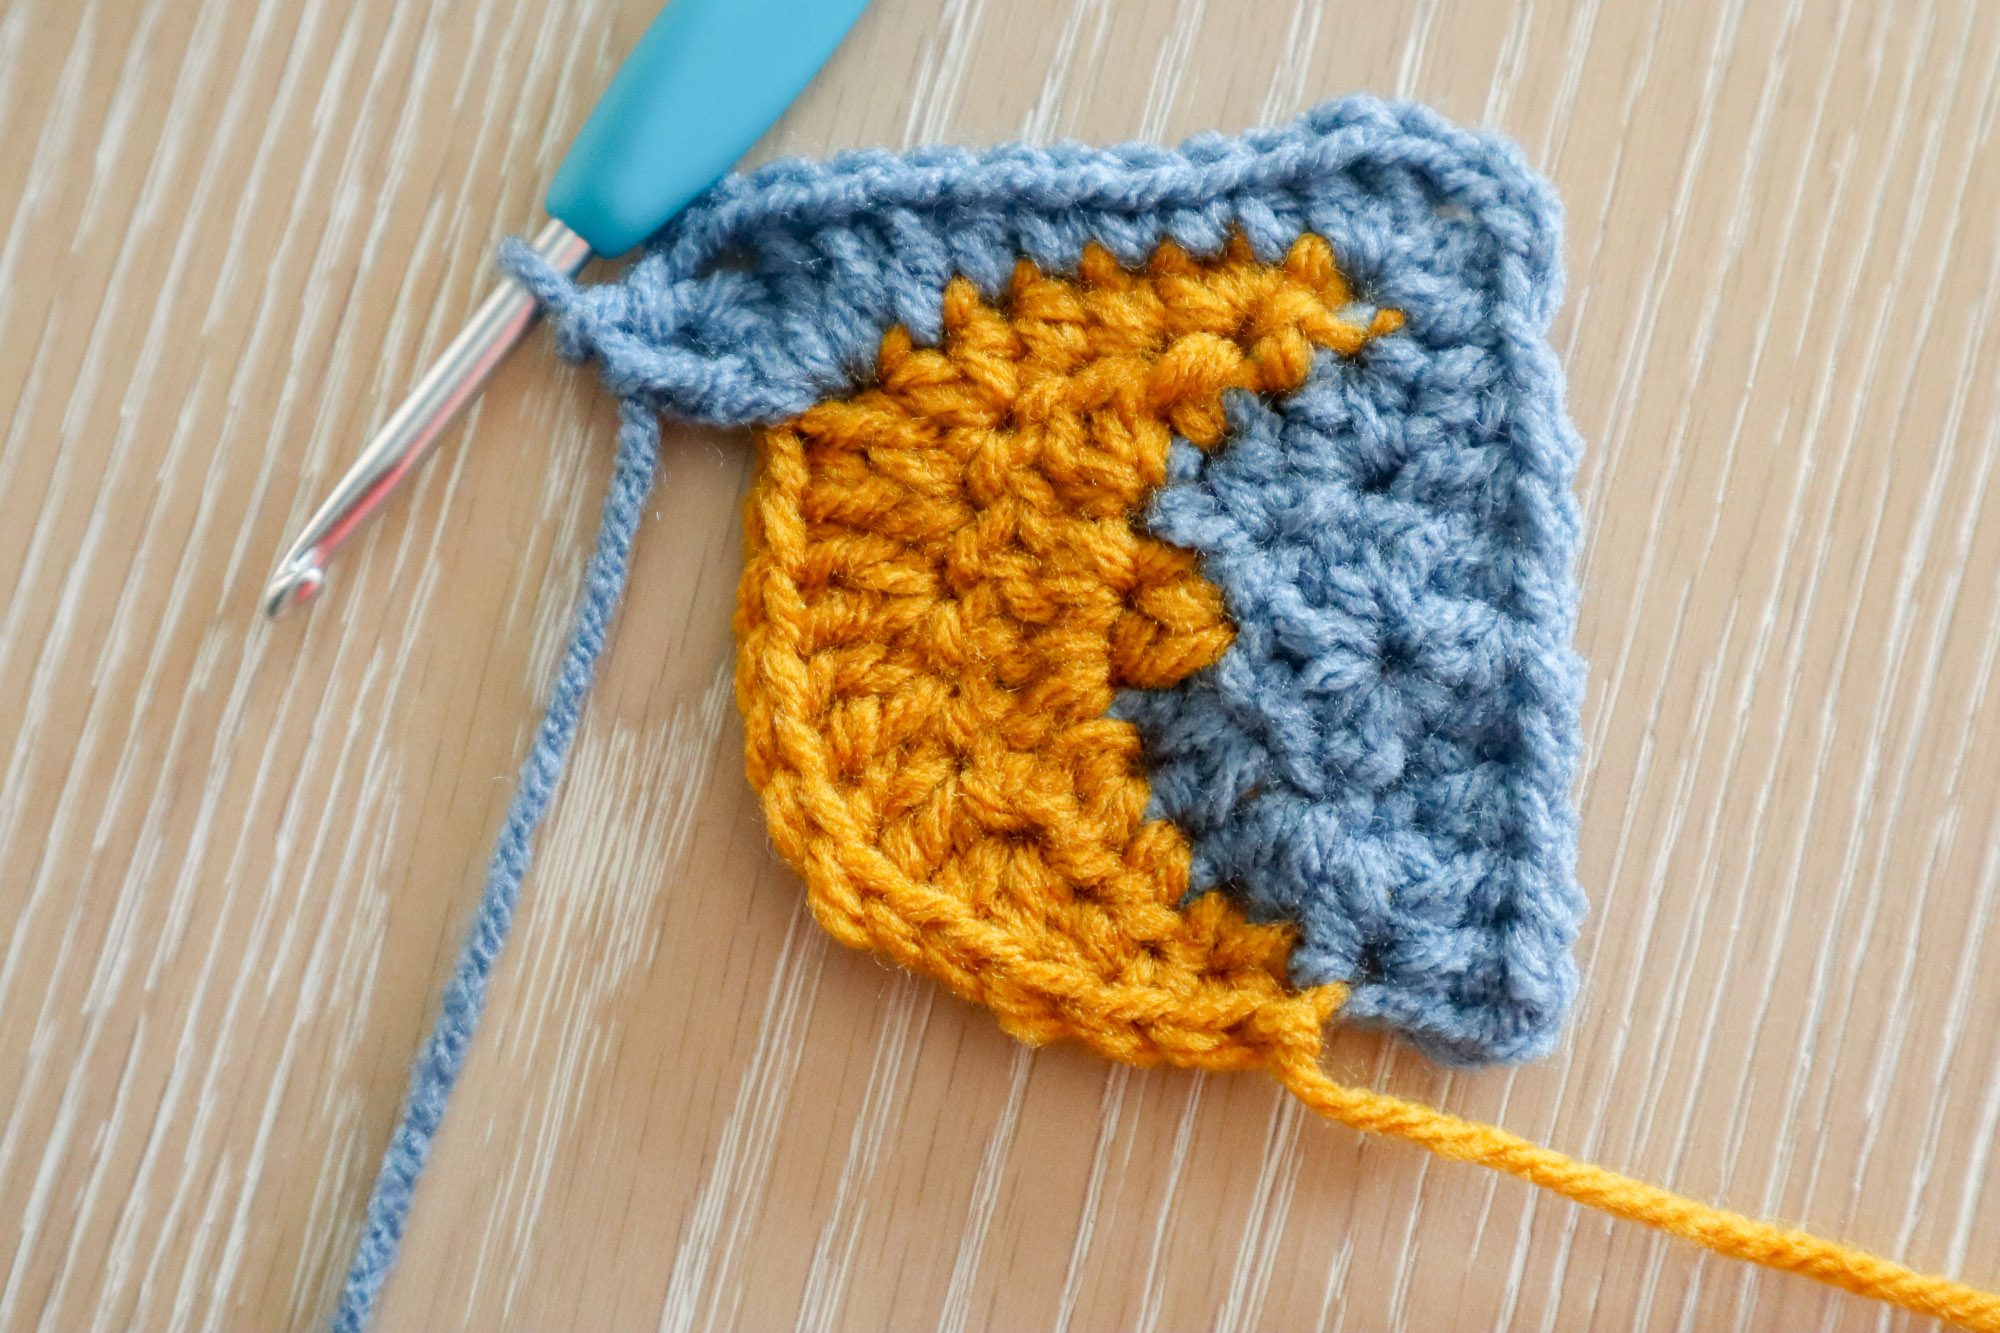
2dc in each of the next 3sts. 1dc in the next st. Into the next st work 1dc and 1tr. Ch2, and into the next st work 2tr.
You’ve worked a row of border color along the back of the moon, completing the bottom left corner.

Across the next 6 sts, work the following sequence: 1dc, 2hdc, 1sc, 1sc, 1sc, 1hdc. And in the same stitch as your starting ch3, work 1hdc, 1dc. Ch2 and sl st to the top of your starting ch3 to complete the rnd.
Round 6
Ch3 (counts as 1dc) and work 1dc in each stitch from the prev rnd. Into the ch2 corner, work 2dc, ch2, 2dc. Consider alternating colors every 2 stitches like I did in my square (optional).
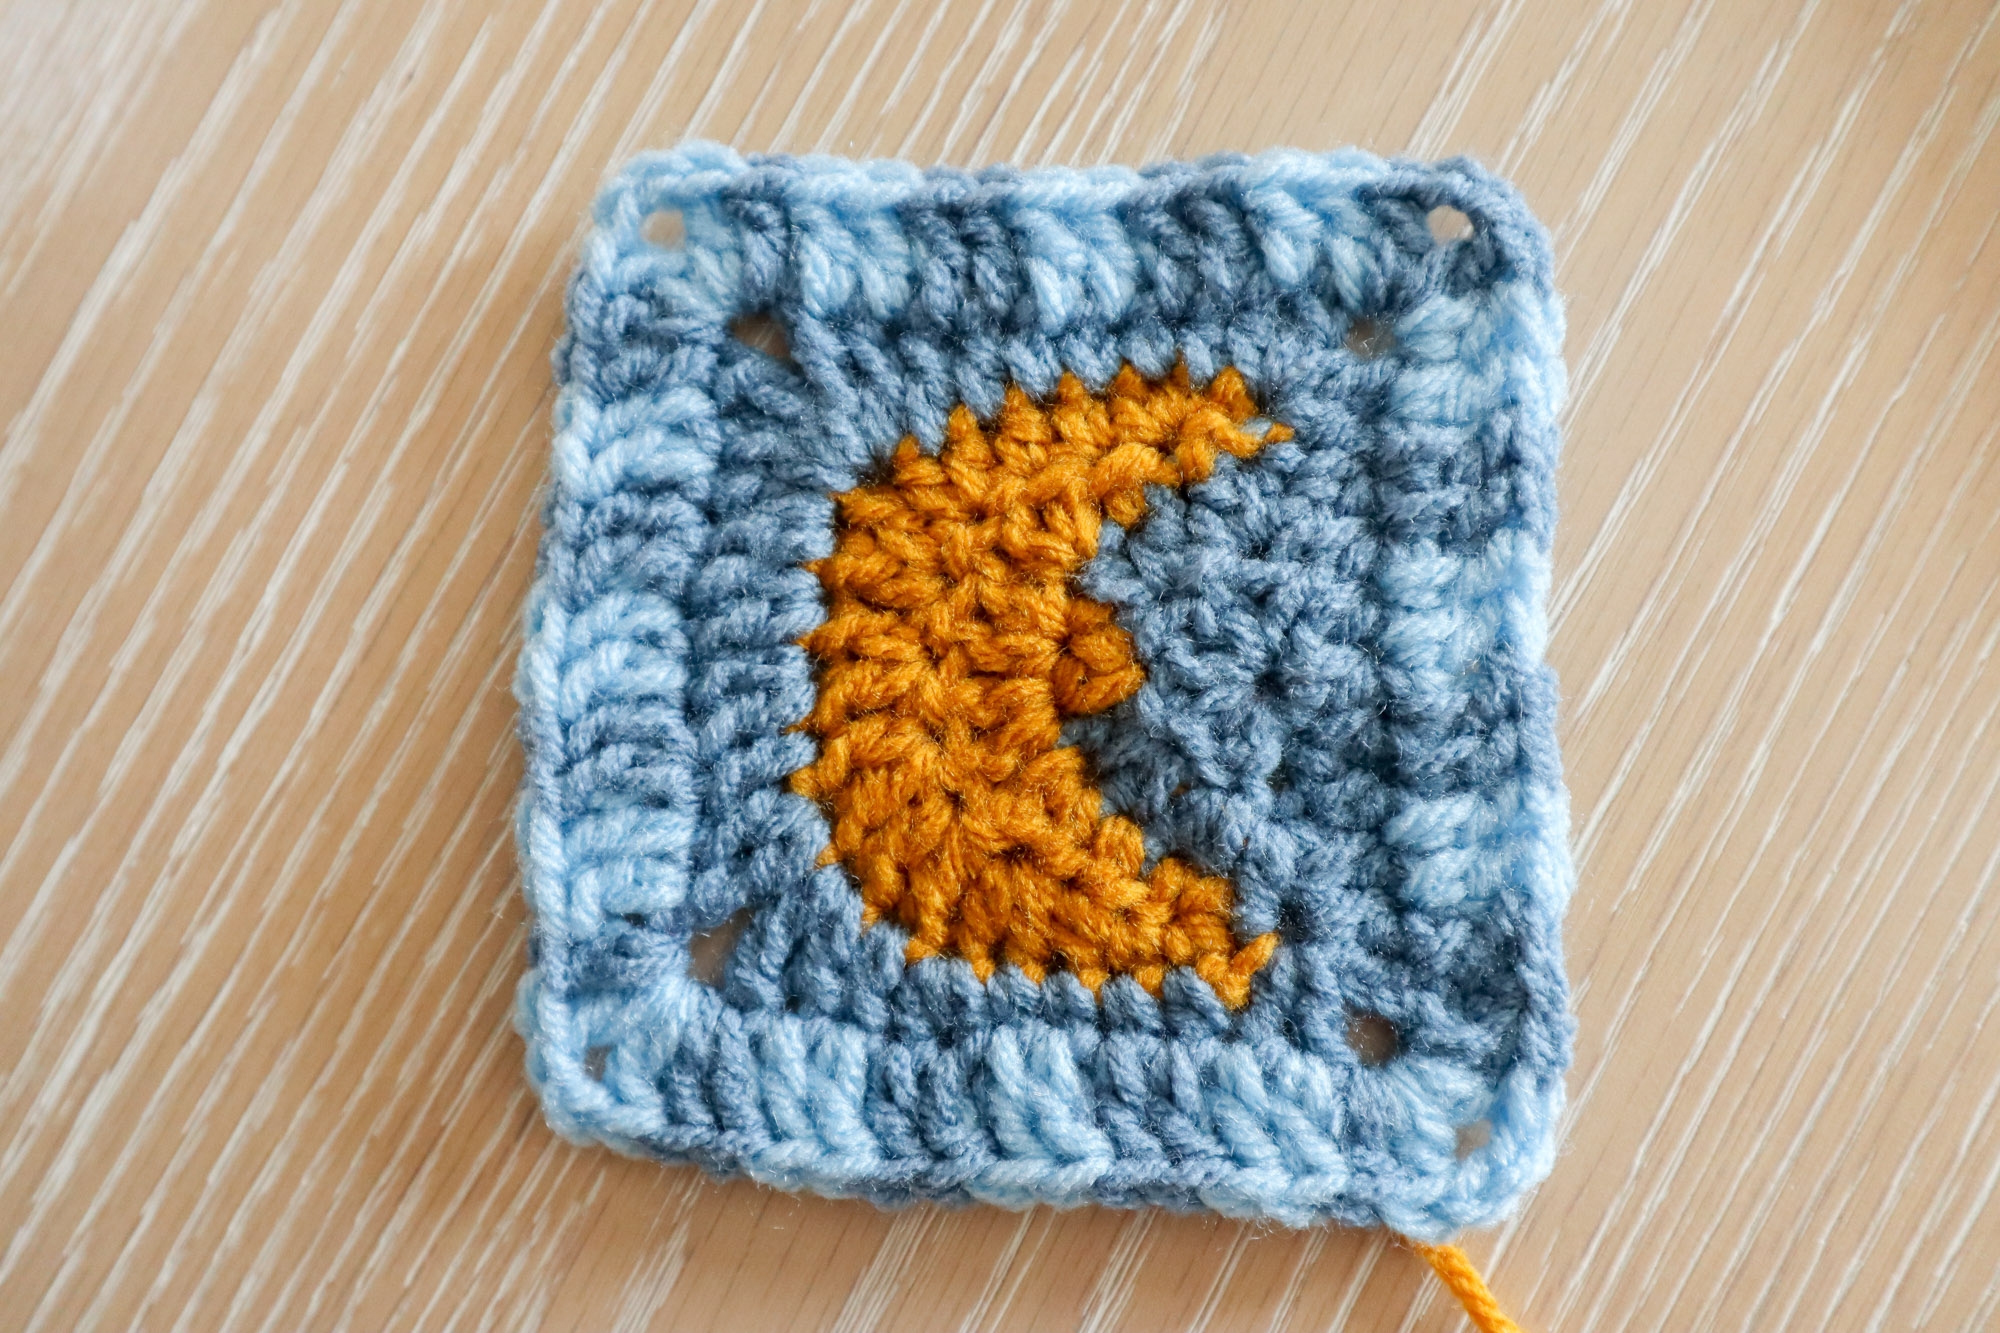
Continue working 1dc in each st from prev rnd and work 2dc, ch2, 2dc into corner ch2 spaces. Sl st to starting ch3 to complete the rnd. (15dcs between each corner)
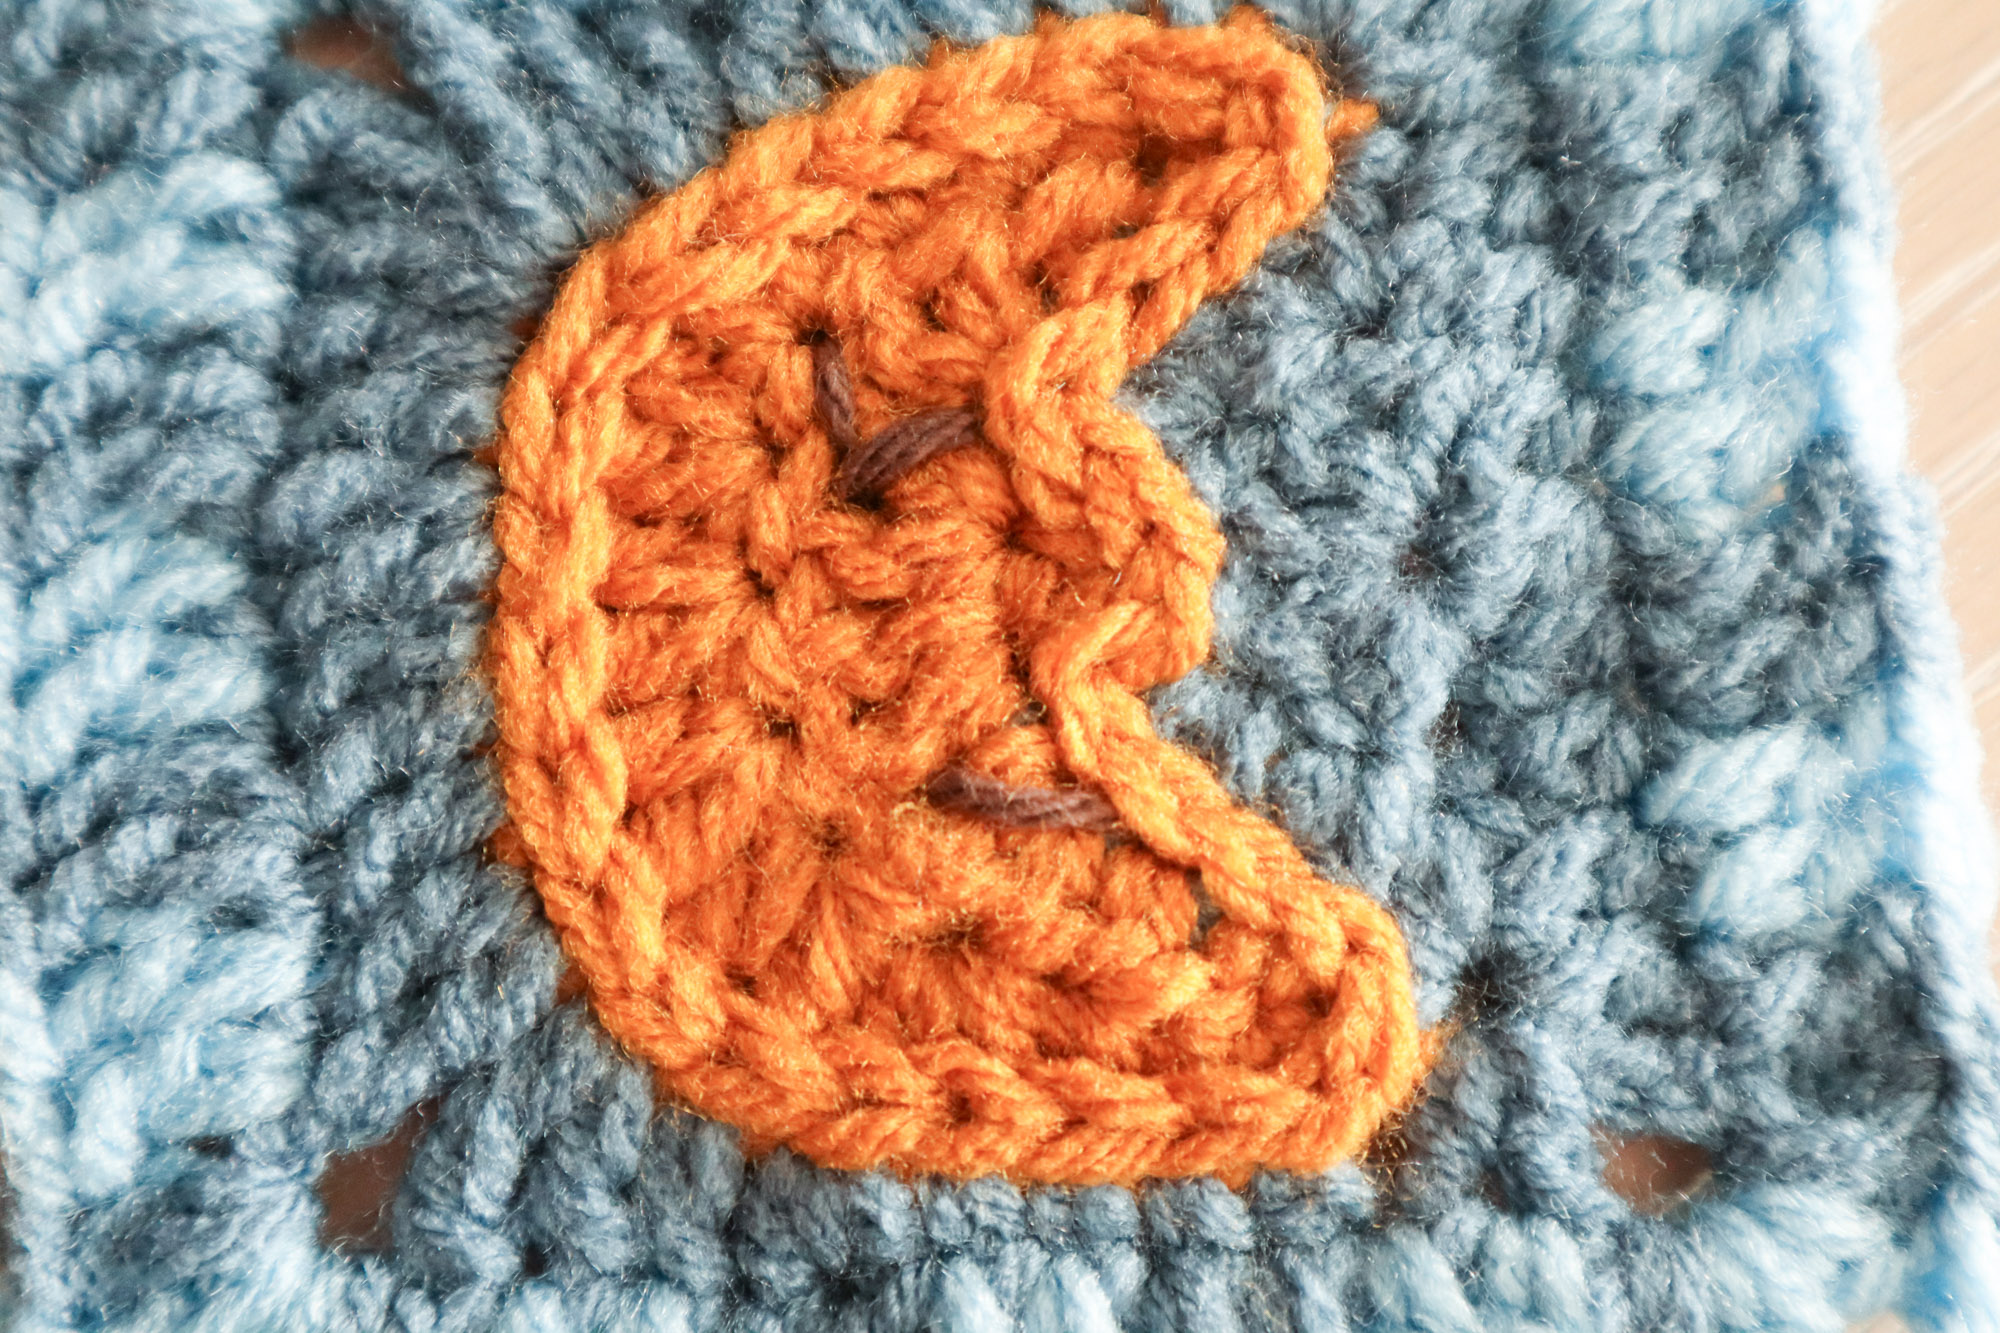
Surface Crochet Outline
With right side facing you (and with optional one size larger hook), insert hook into the corner of the moon and pull up a loop from the moon yarn tail.
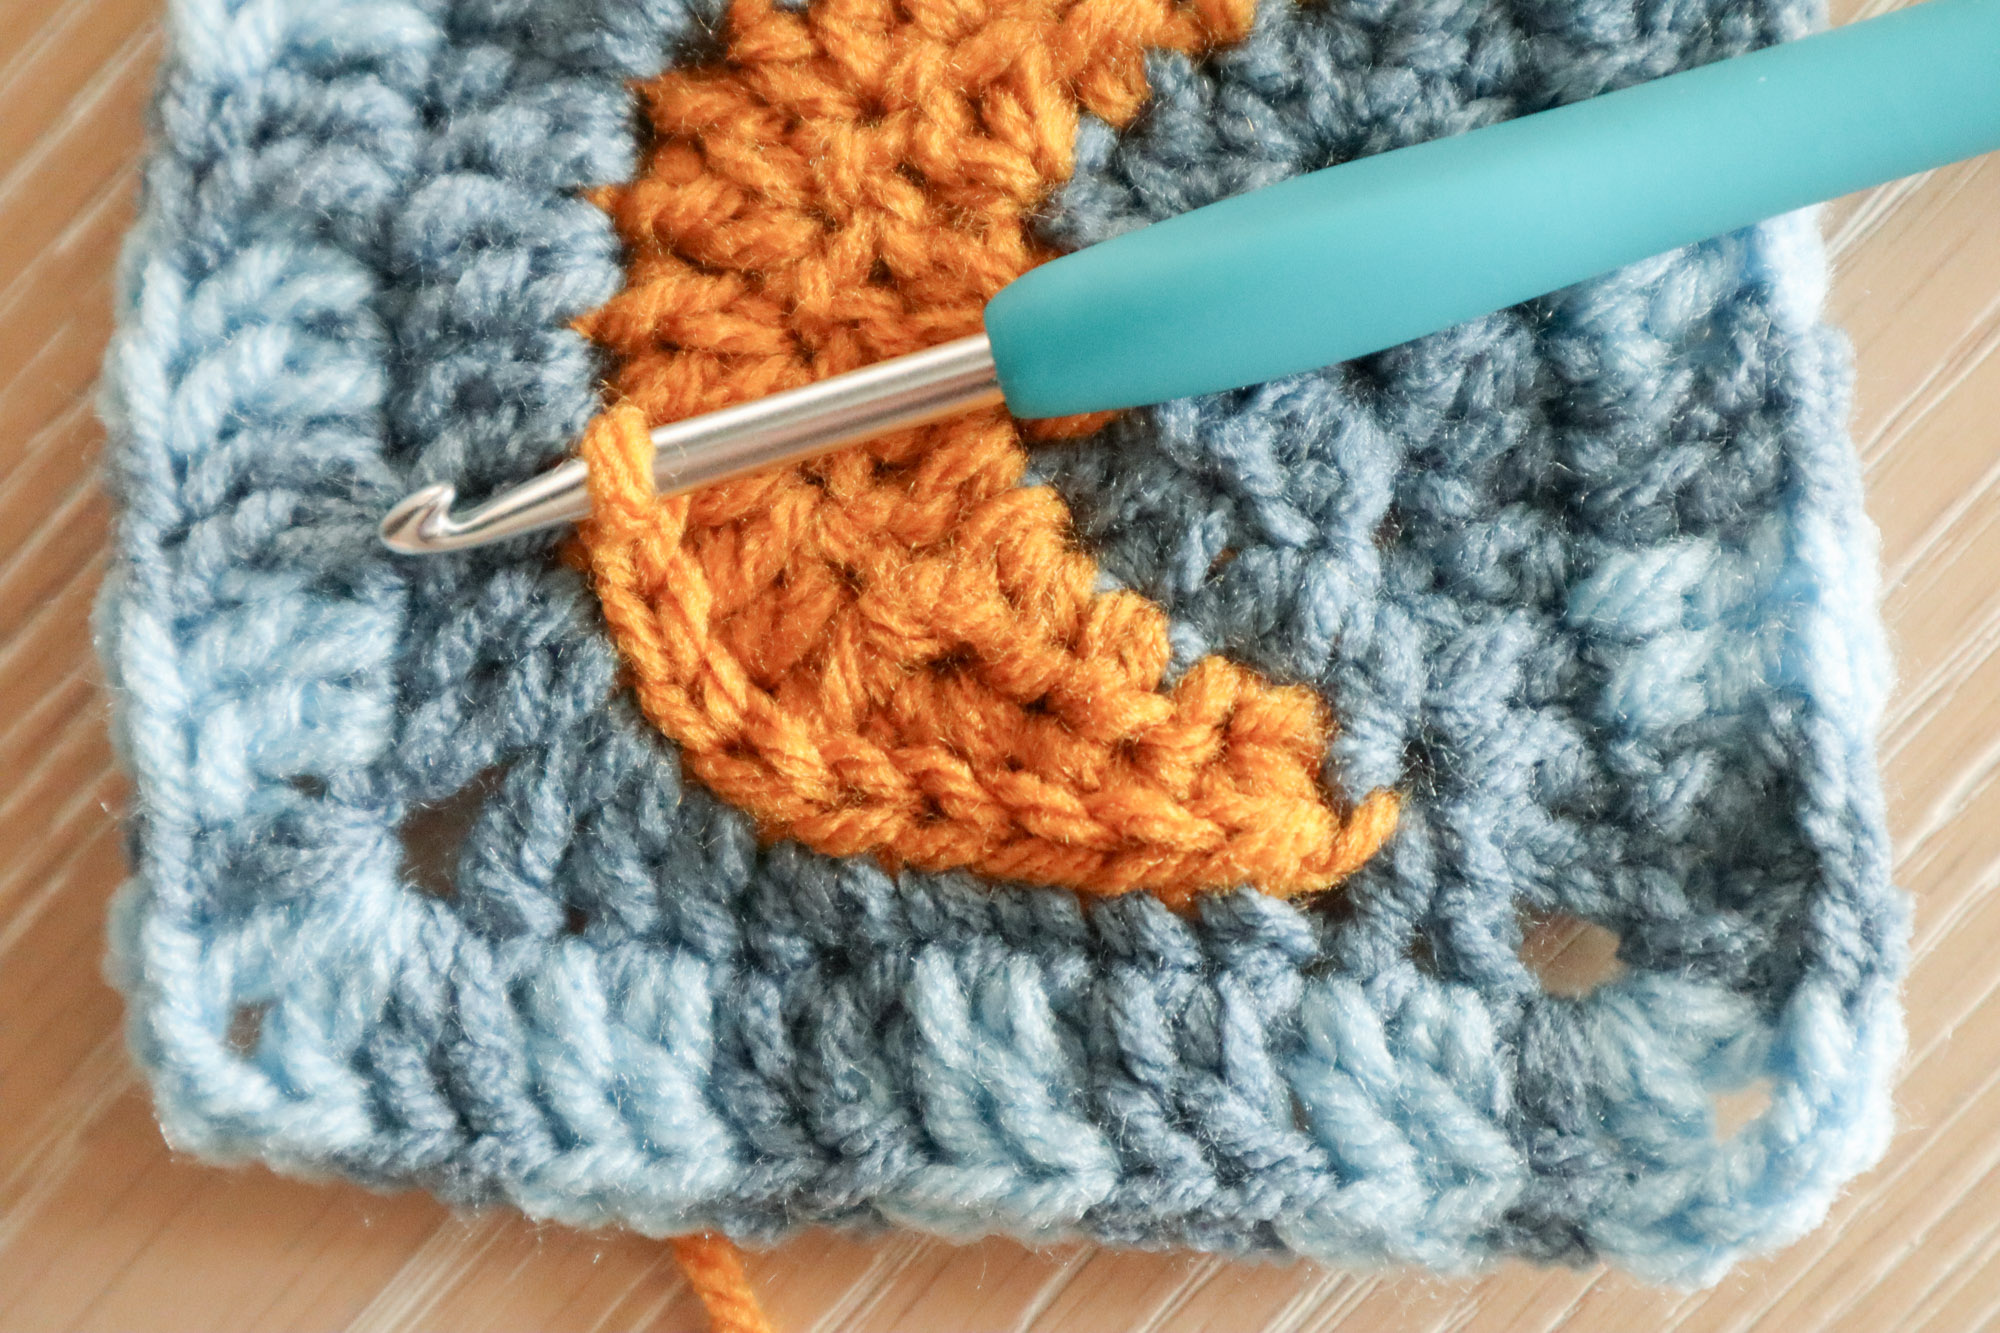
Work in surface crochet around the outline of the moon shape, taking care to highlight the little “nose.”
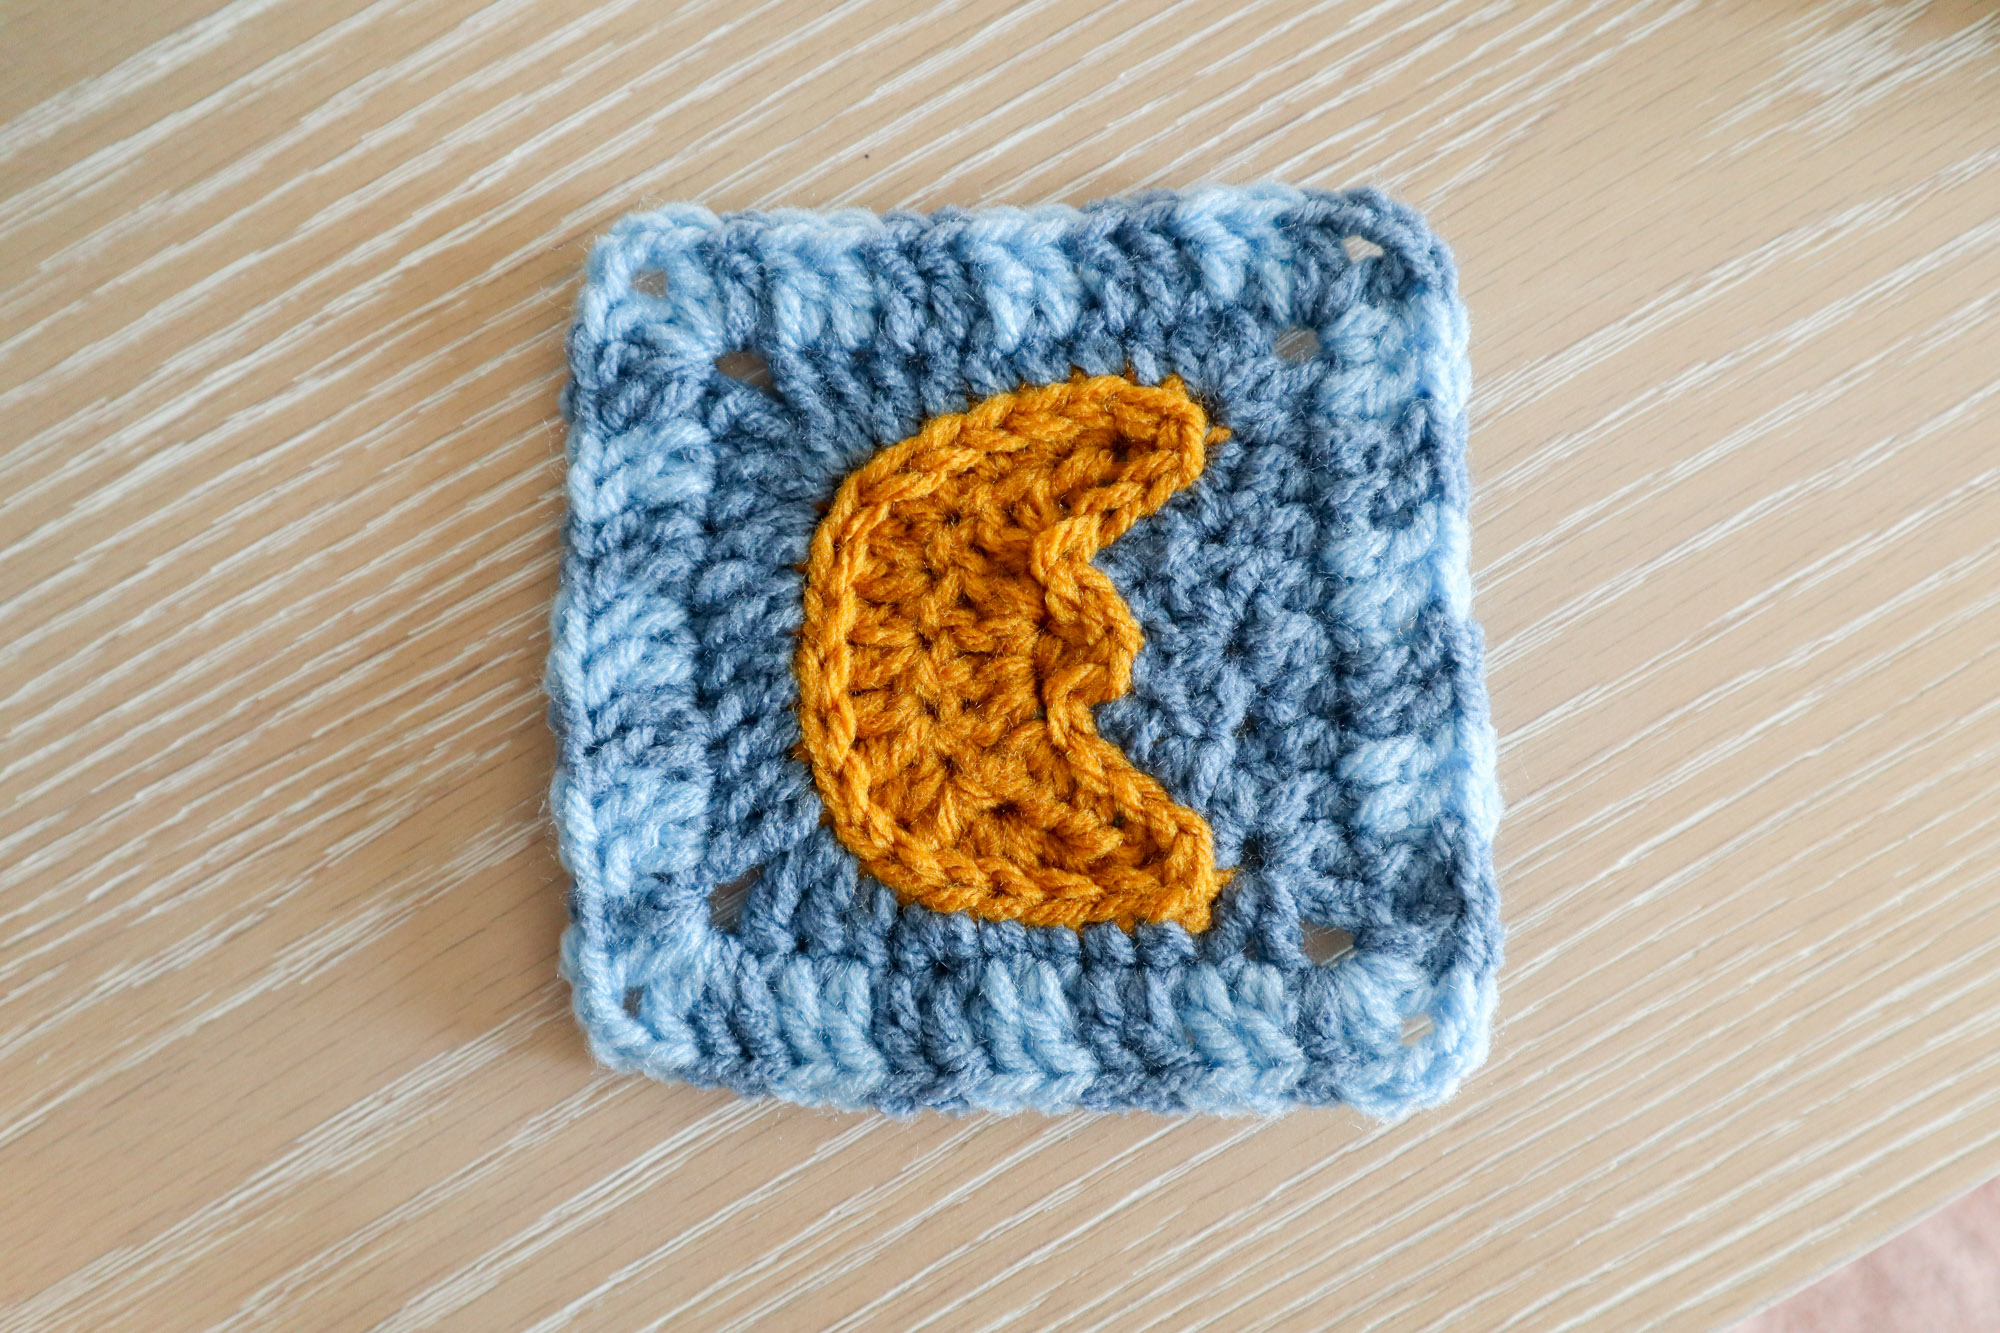
Eye And Mouth Details
Feel free to add little sleepy eye and mouth details with some artfully place strands of extra yarn. I made a little V shape for a closed eye and a slight smile.
And there you have it
Your very own vintage inspired man-in-the-moon granny square. I had an idea to put a little sleepy nightcap on his head but it didn’t make it into the final design. If you wind up doing that or, otherwise, making this unique granny square your own, make sure to tag the @grannysquarefair so we can see your spin on it! ’till next time!
Pin for later!