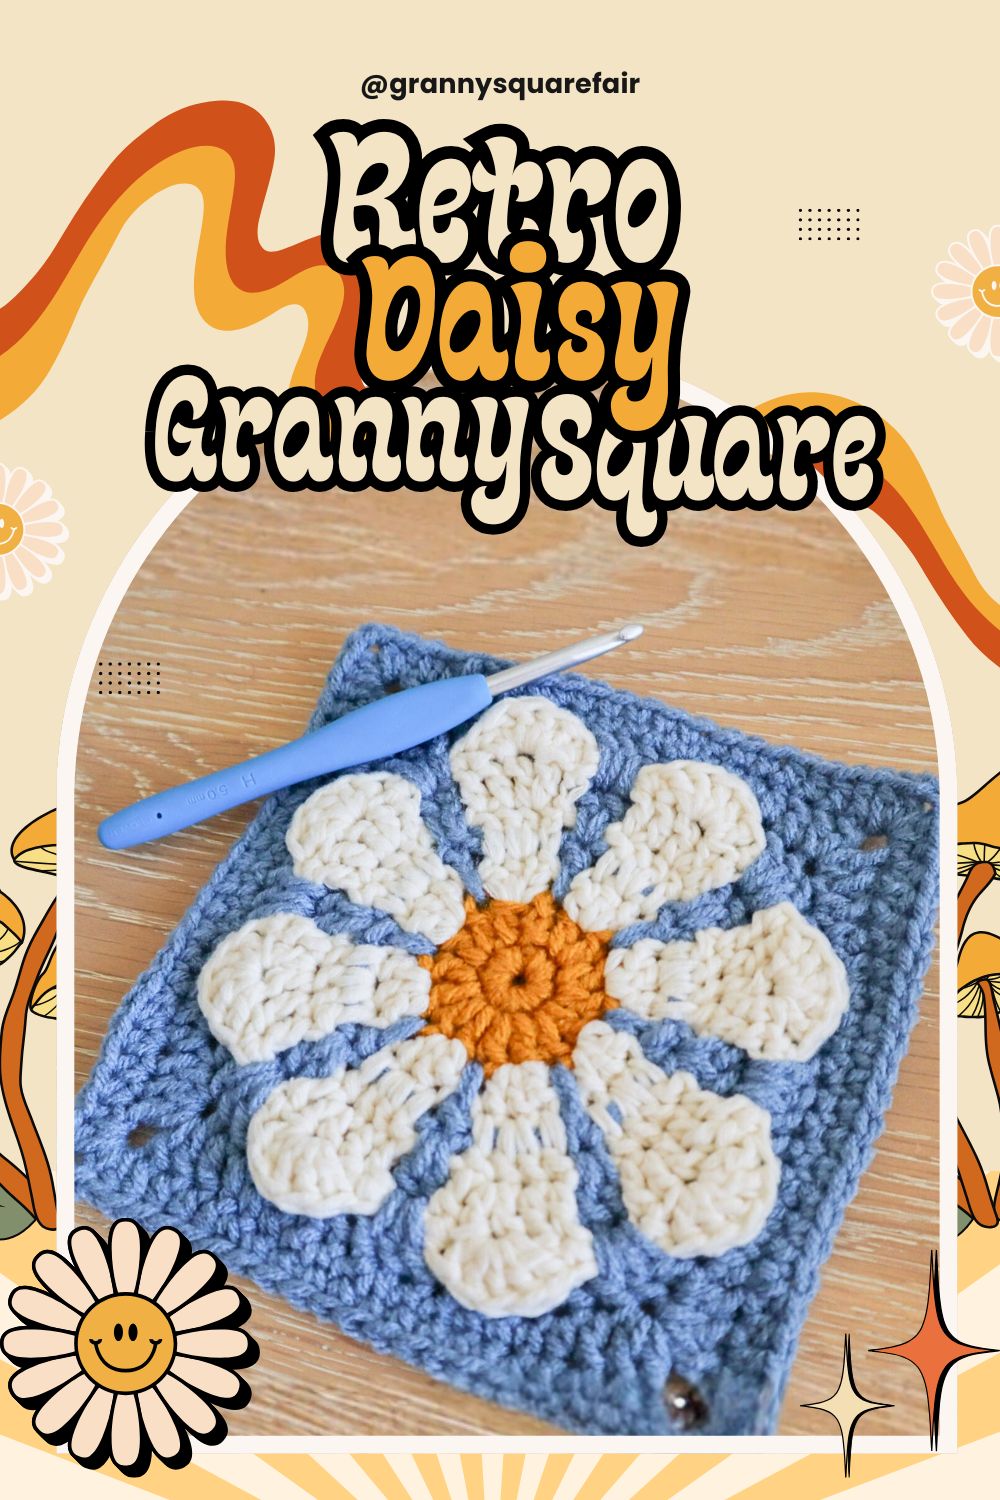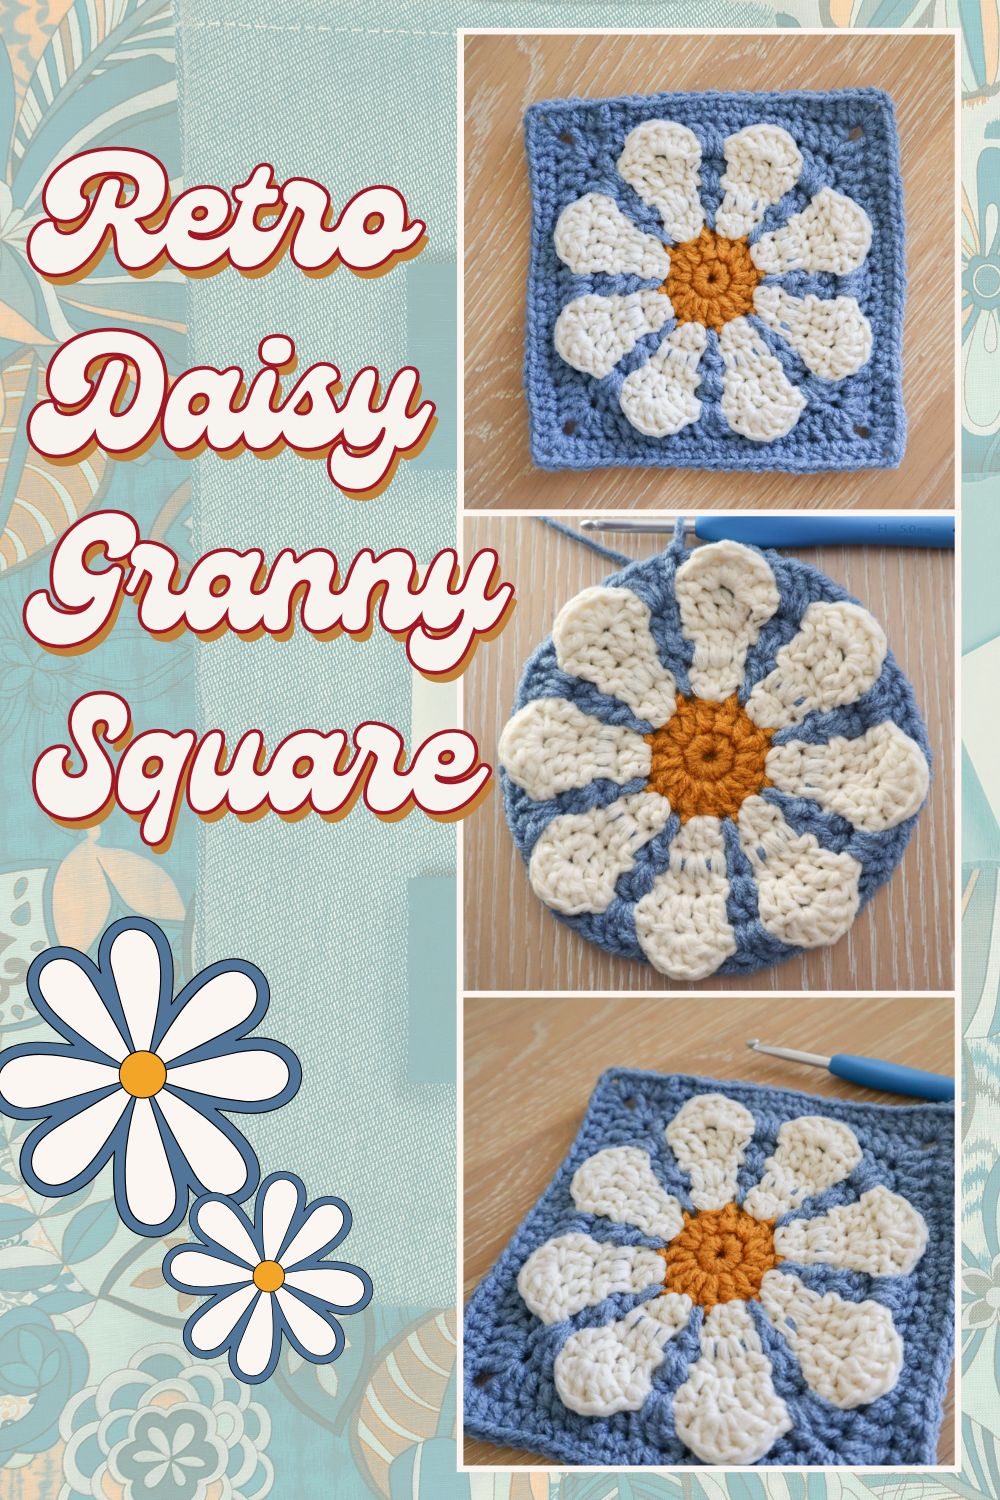
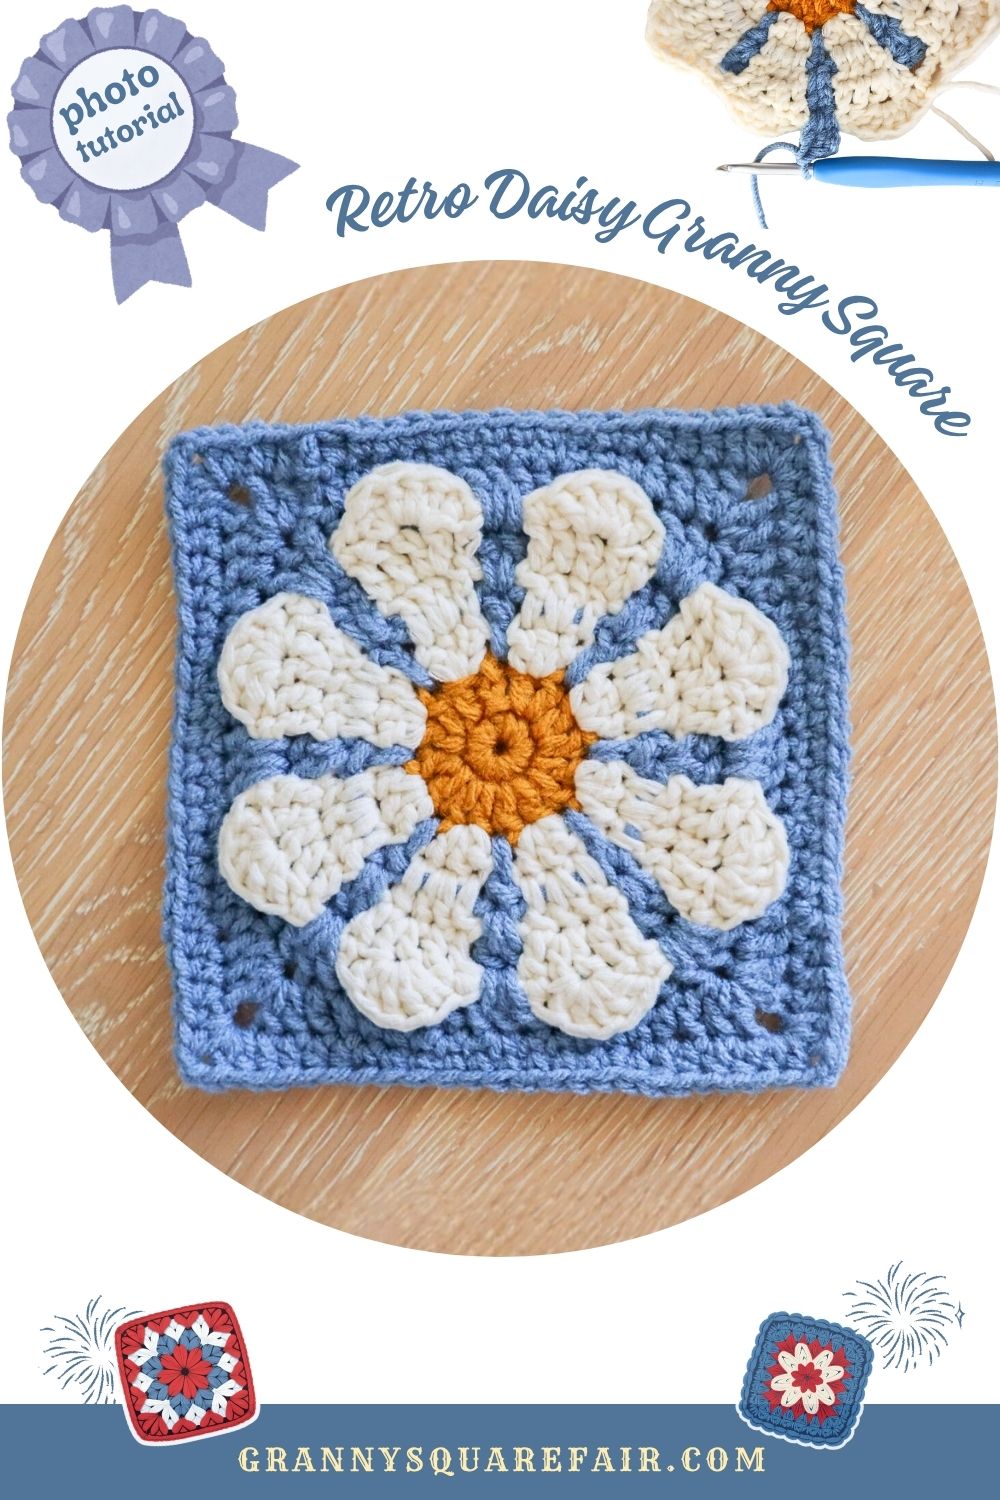
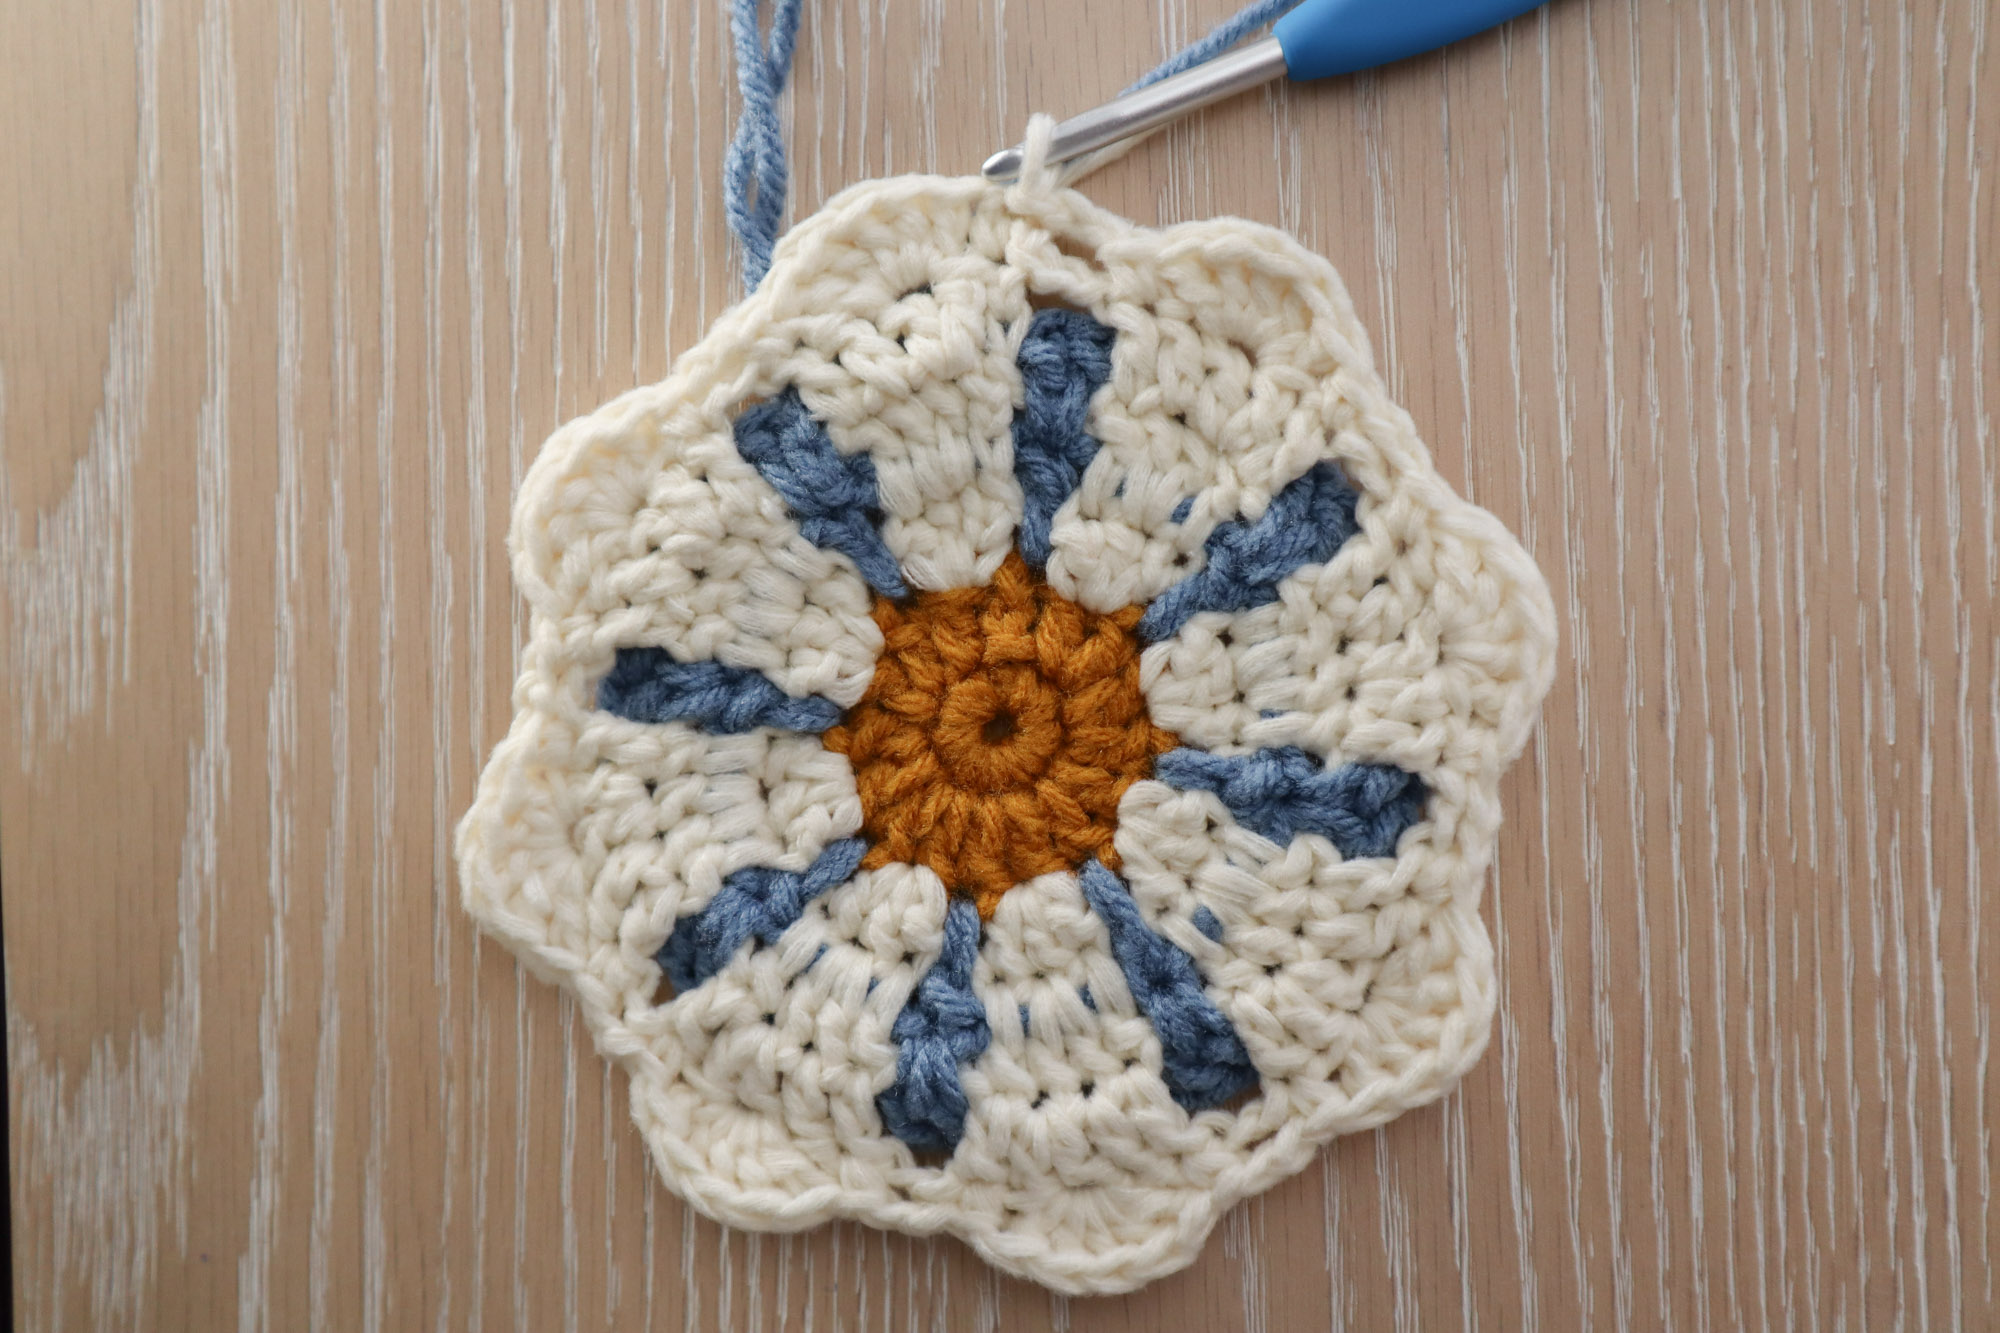
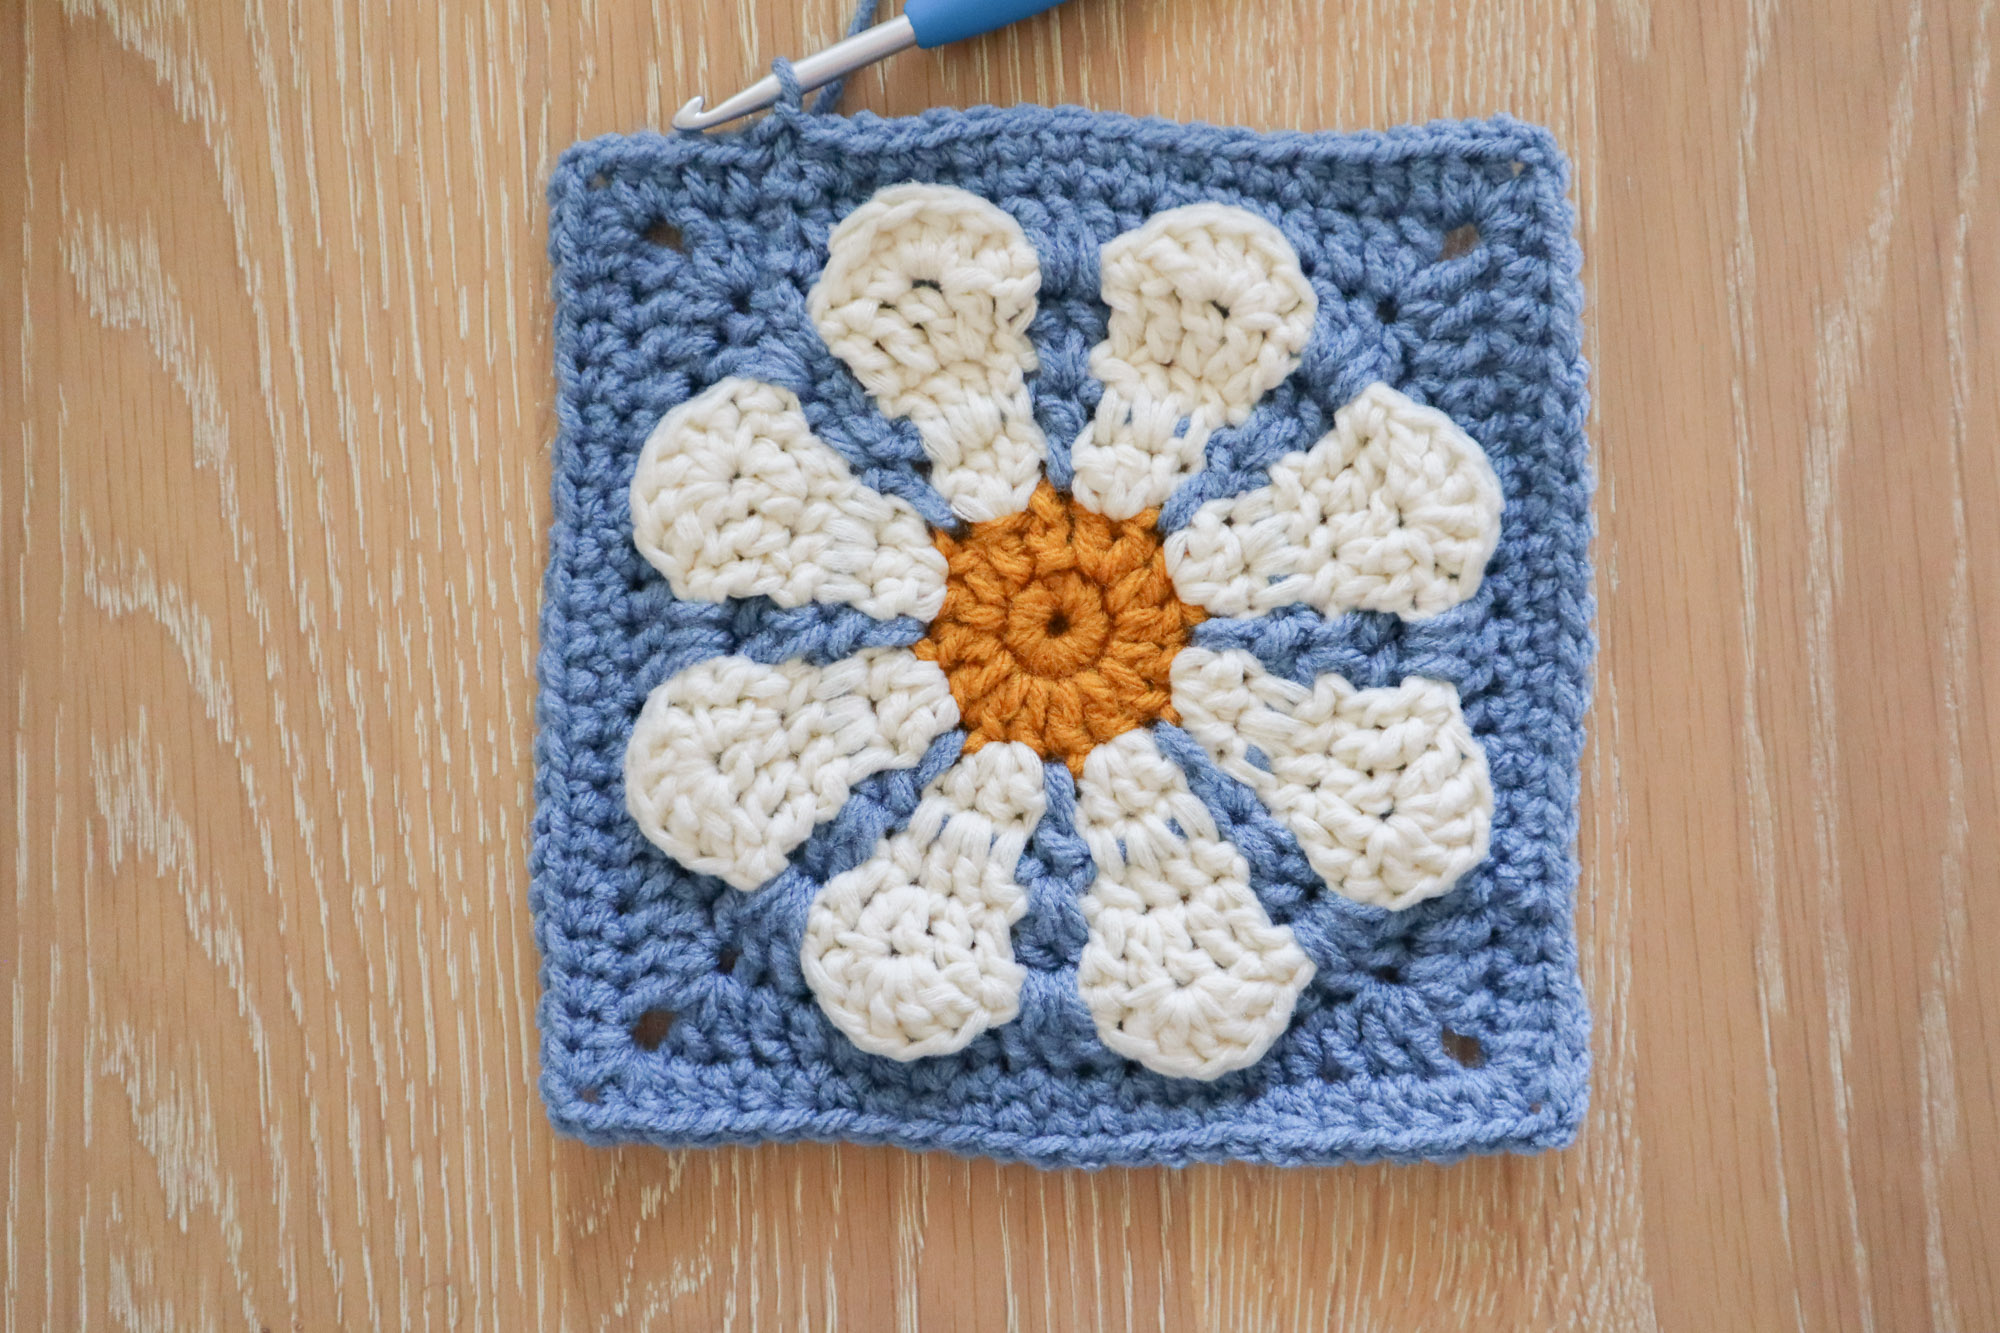
Retro Daisy Granny Square Instructions
There are many flower inspired granny squares out there but this one is a WOW! Take one look at the retro daisy granny square and you’re instantly transported to a groovy 70s primetime variety show (I can hear the jingle already). Not only is it unmistakably iconic, but it also produces a generously sized granny square, clocking in at over six inches when done in worsted weight yarn! This means you can make a far-out flower power afghan in no time.
Jump to:
Skill Level
Intermediate — This square uses basic stitches but has you switching between two colors almost every other row. You need to keep both colors live and be able to keep track of where those stitches are goin’ for everything to work out. The very last round introduces the waistcoat stitch, which is an extra short stitch used to help even out the square.
Stitch Abbreviations Used in the Pattern (U.S. Terms)
| Abbreviation | Stitch Name |
|---|---|
| ch | chain |
| sl st | slip stitch |
| sc | single crochet |
| sc into the post below | rather than working into the top of a stitch, work your single crochet into the middle of the single crochet stitch from the row below. Also known as the waistcoat stitch. |
| hdc | half double crochet |
| dc | double crochet |
| tr | treble crochet |
| st(s) | stitch(es) |
| sp | space |
| rep | repeat |
| prev | previous |
| rnd | round |
What You’ll Need
- Yarn: Any weight yarn you love – I used three colors of worsted (4) weight acrylic.
- Hook: Use a hook that matches your yarn label’s recommendation. I used a 5 mm hook.
- Notions: Scissors, a freshly mixed glass of Tang if you’re thirsty
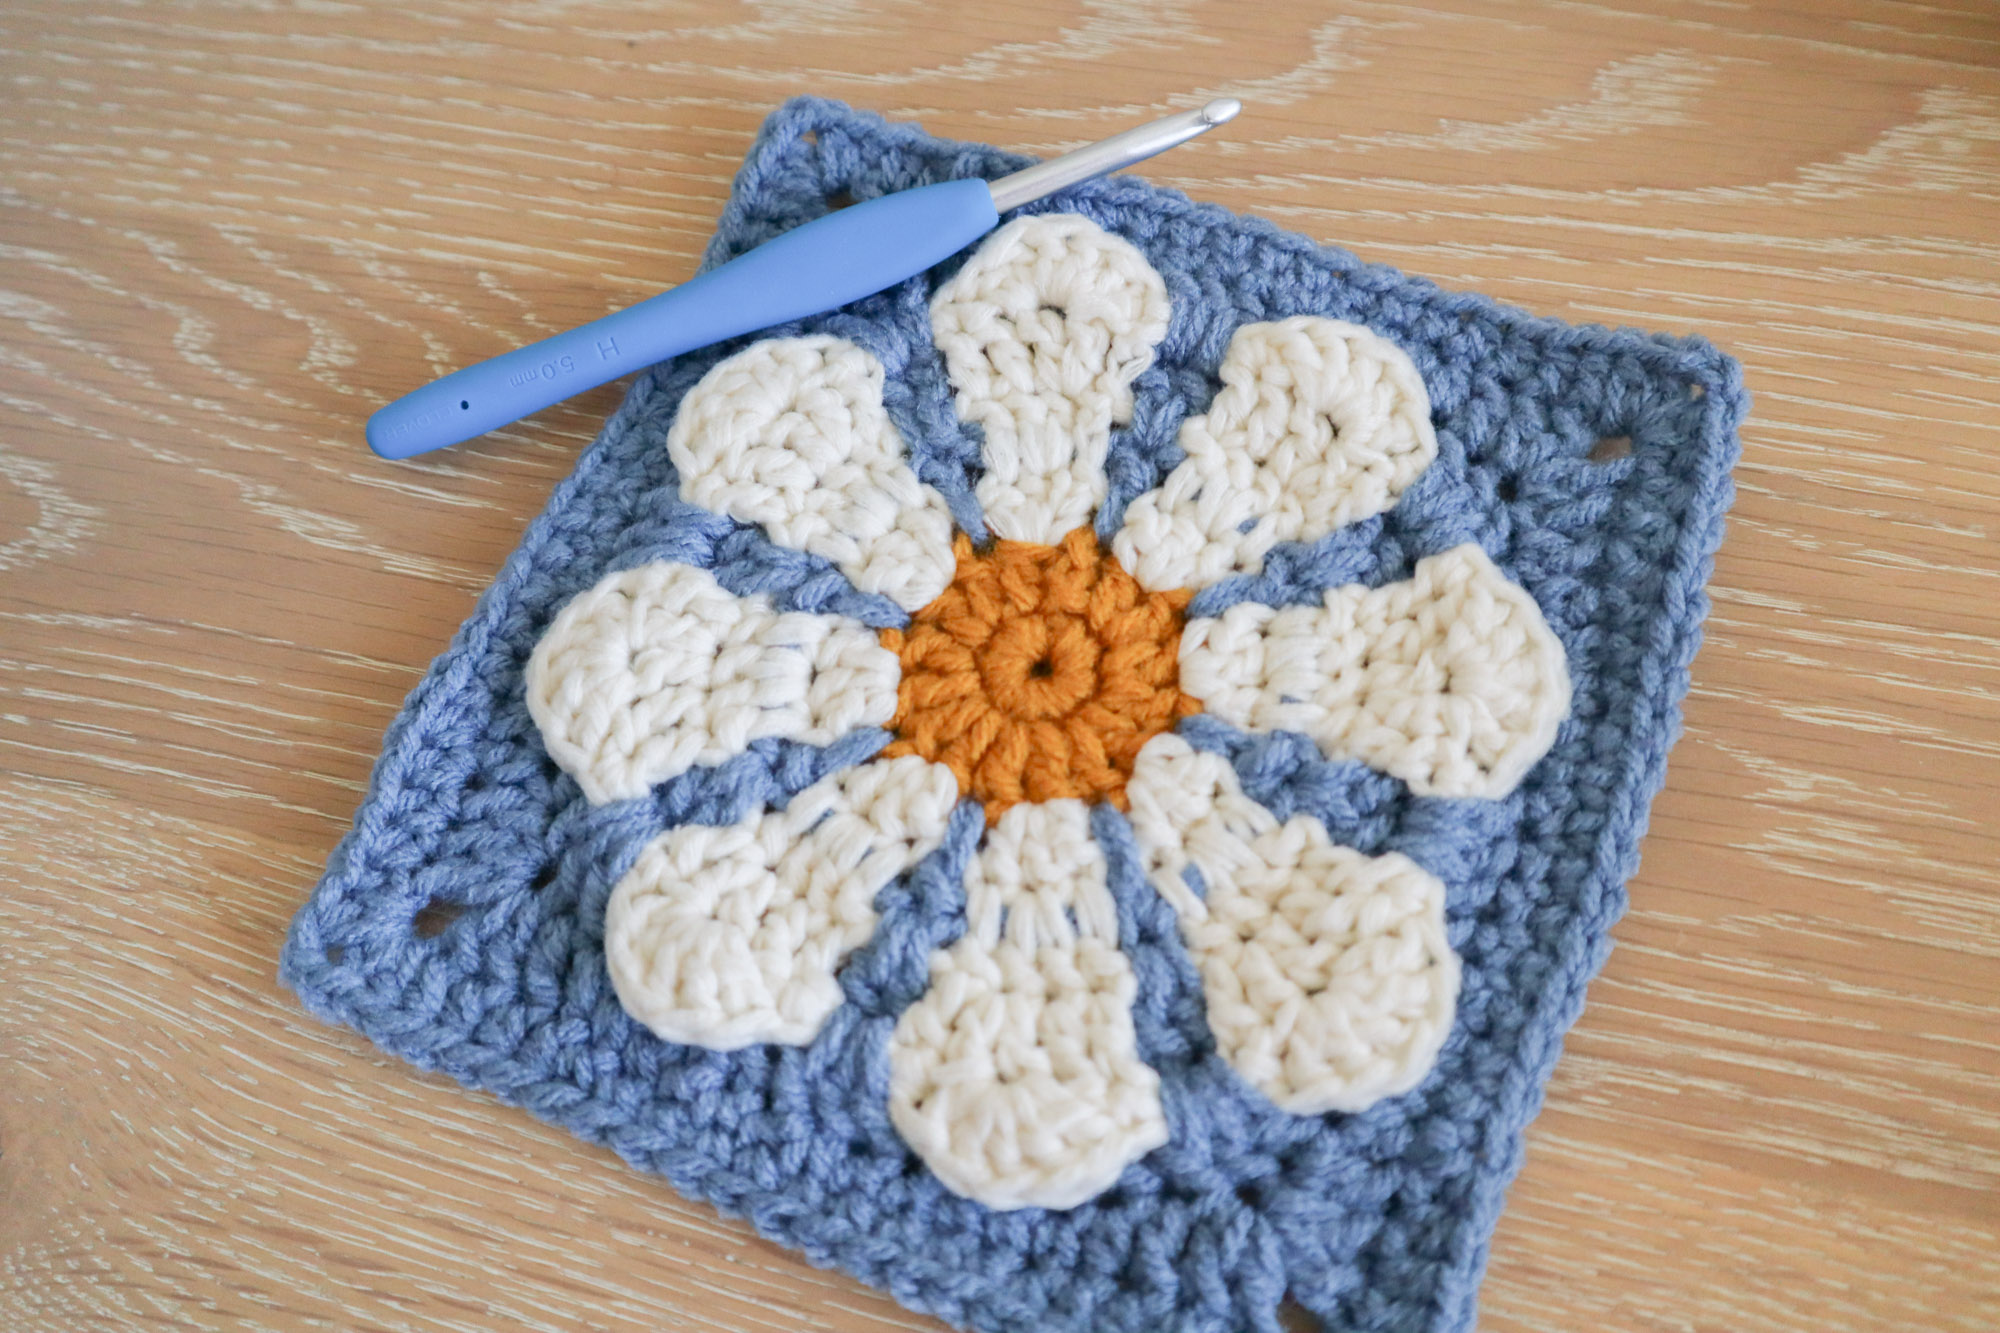
Gauge & Size
Gauge is up to you and your yarn and hook size but this square has a lot of rounds so, no matter what, you’ll end up with a sizeable square. Mine was over 6″ across!
Pattern Notes
- We first work the center of the daisy then add the petals then continue to work the petals and background color at the same time (alternating nearly every round)
- Starting chains will mostly count as stitches in this pattern. We’ll clarify in the instructions at the beginning of each round.
- We will not turn our work. The right side will always be facing you.
- You’ll often be working into rows below the row you just did in order to grow both the petal color and background colors at the same time.
- The last row uses the waistcoat stitch, which is a single crochet worked into the stitch post from the row below so it’s helpful to be familiar with this stitch.
To Start
In daisy center color, ch4, sl st to the first ch to create a ch4 ring. Alternatively, you could make a magic circle.
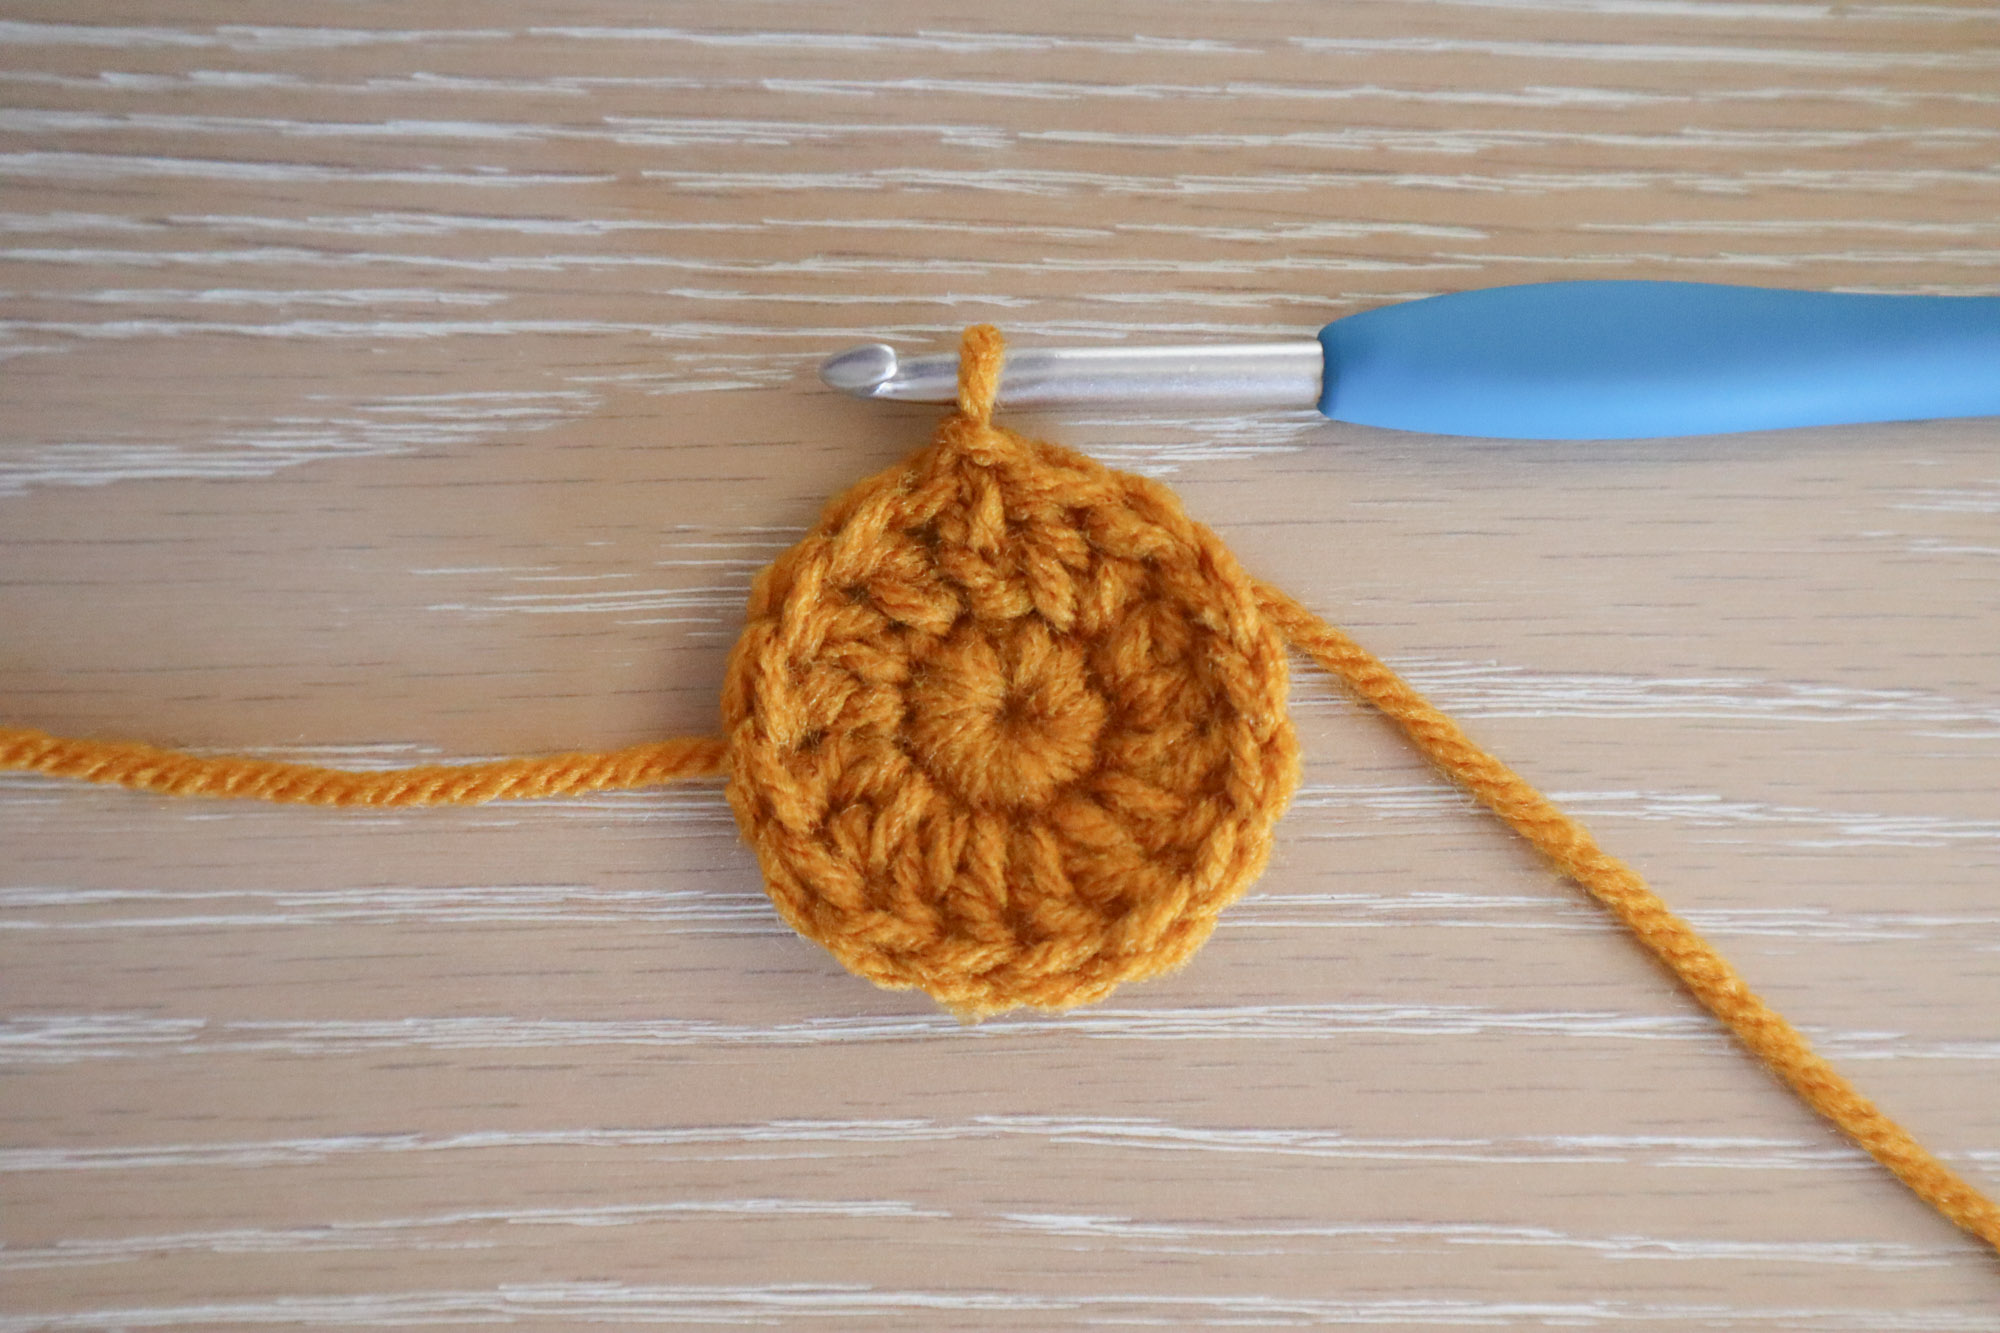
Round 1
Ch1 (does not count as a stitch). Work 8sc into the ch4 ring. Sl st to the first sc to complete the rnd. (8sc)

Round 2
Ch3 (counts as 1dc), make 1dc in the same st. Work 2dc in each st. Sl st to the top of your starting ch3 to complete the rnd. (16dc)
Fasten off and weave in ends.
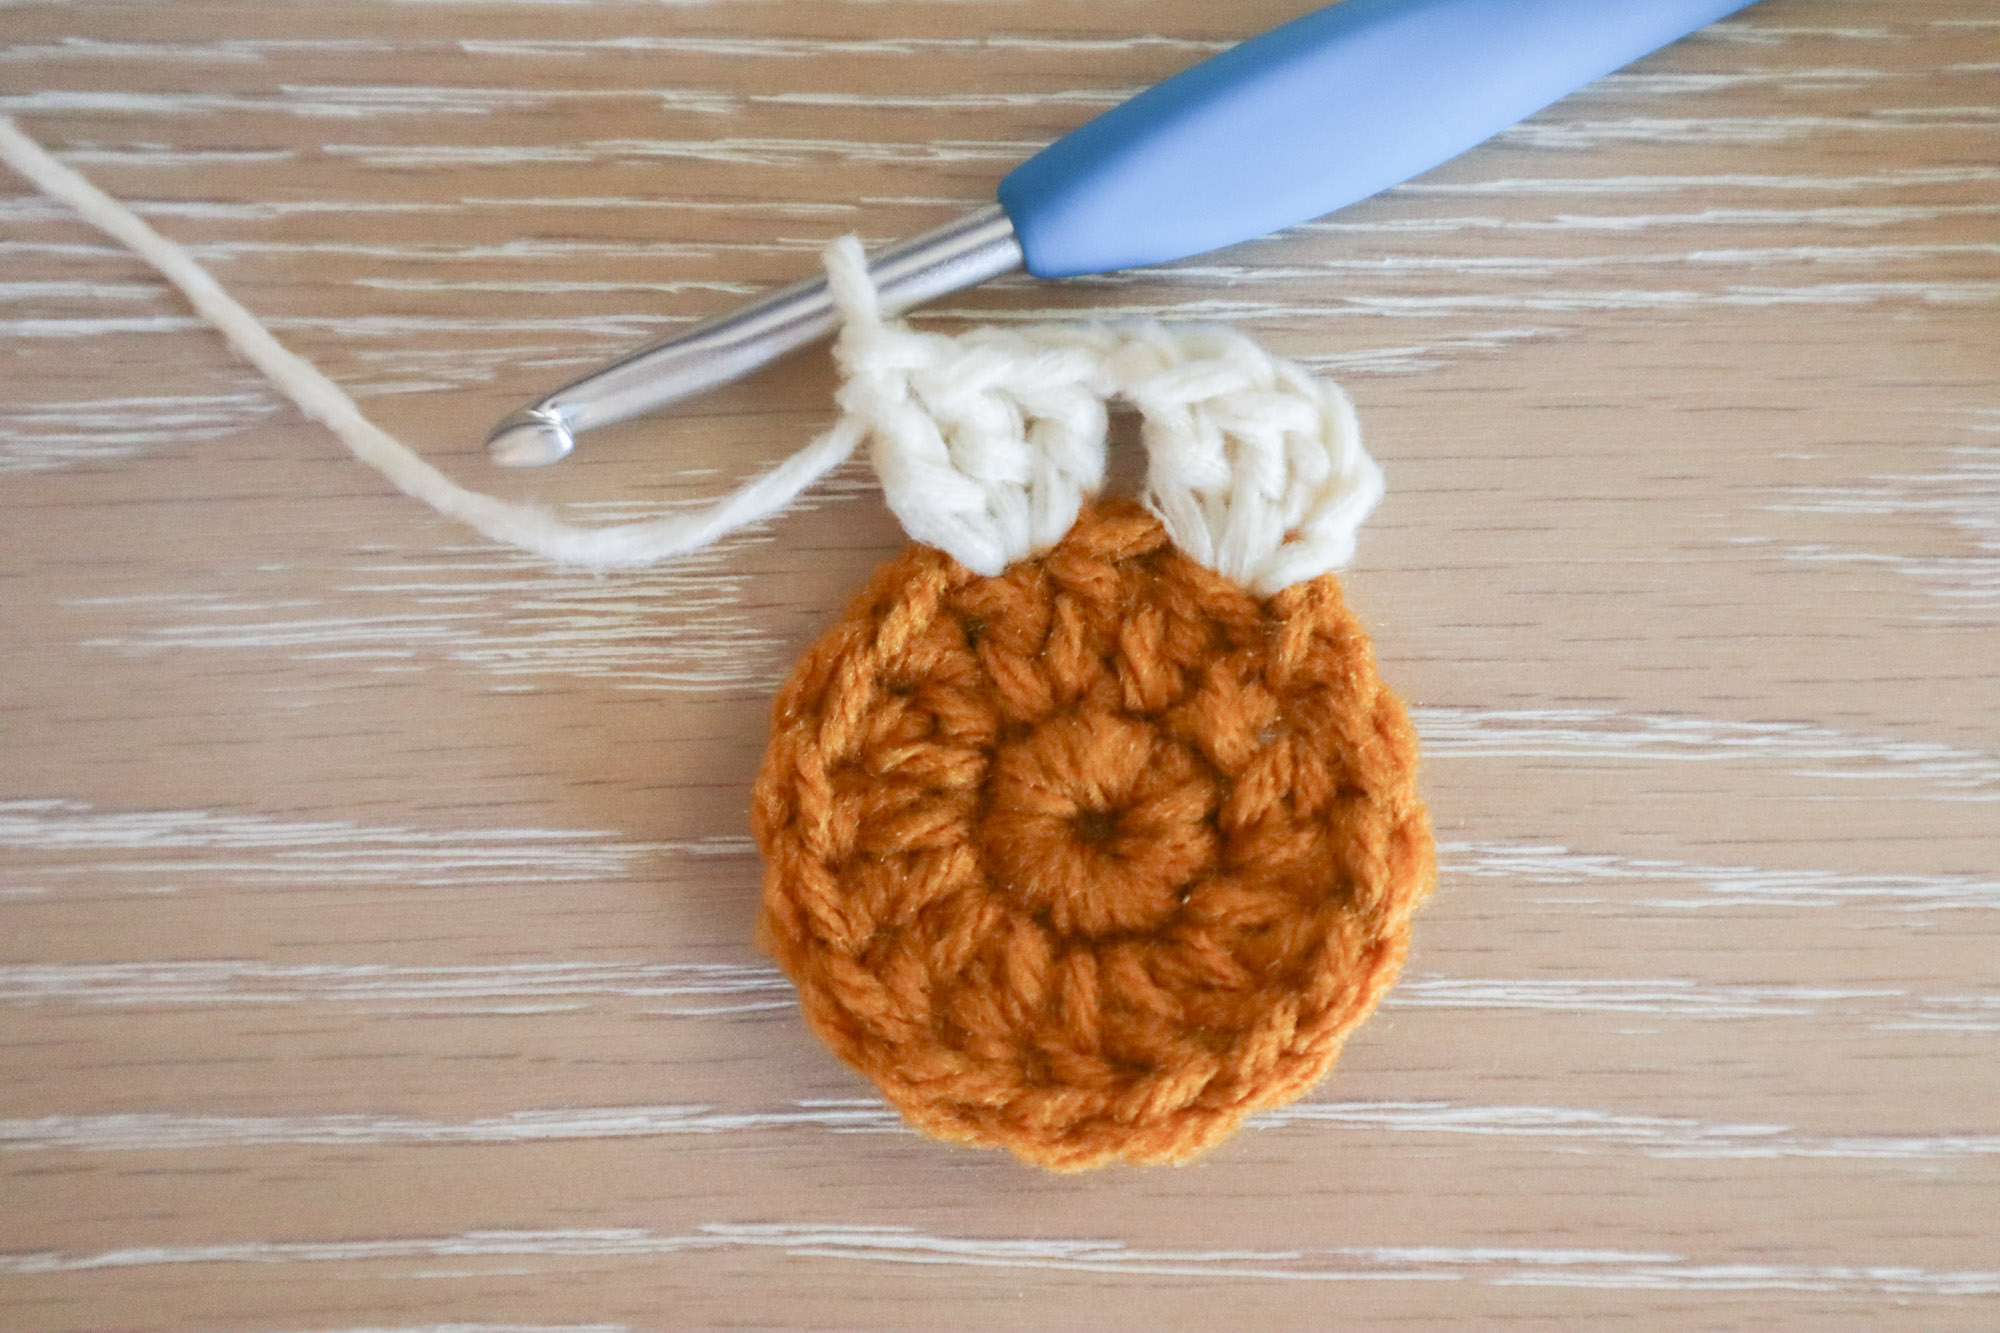
Round 3
Fasten on the flower petal color in any st. Ch3 (counts as 1dc), 2dc in the same st. *Ch1, skip 1 st, 3dc in the next st.* Repeat between ** to the last st. Ch1, skip that st and sl st to the top of your starting ch3 to complete the rnd. (8 3dc clusters, 8 ch1s)
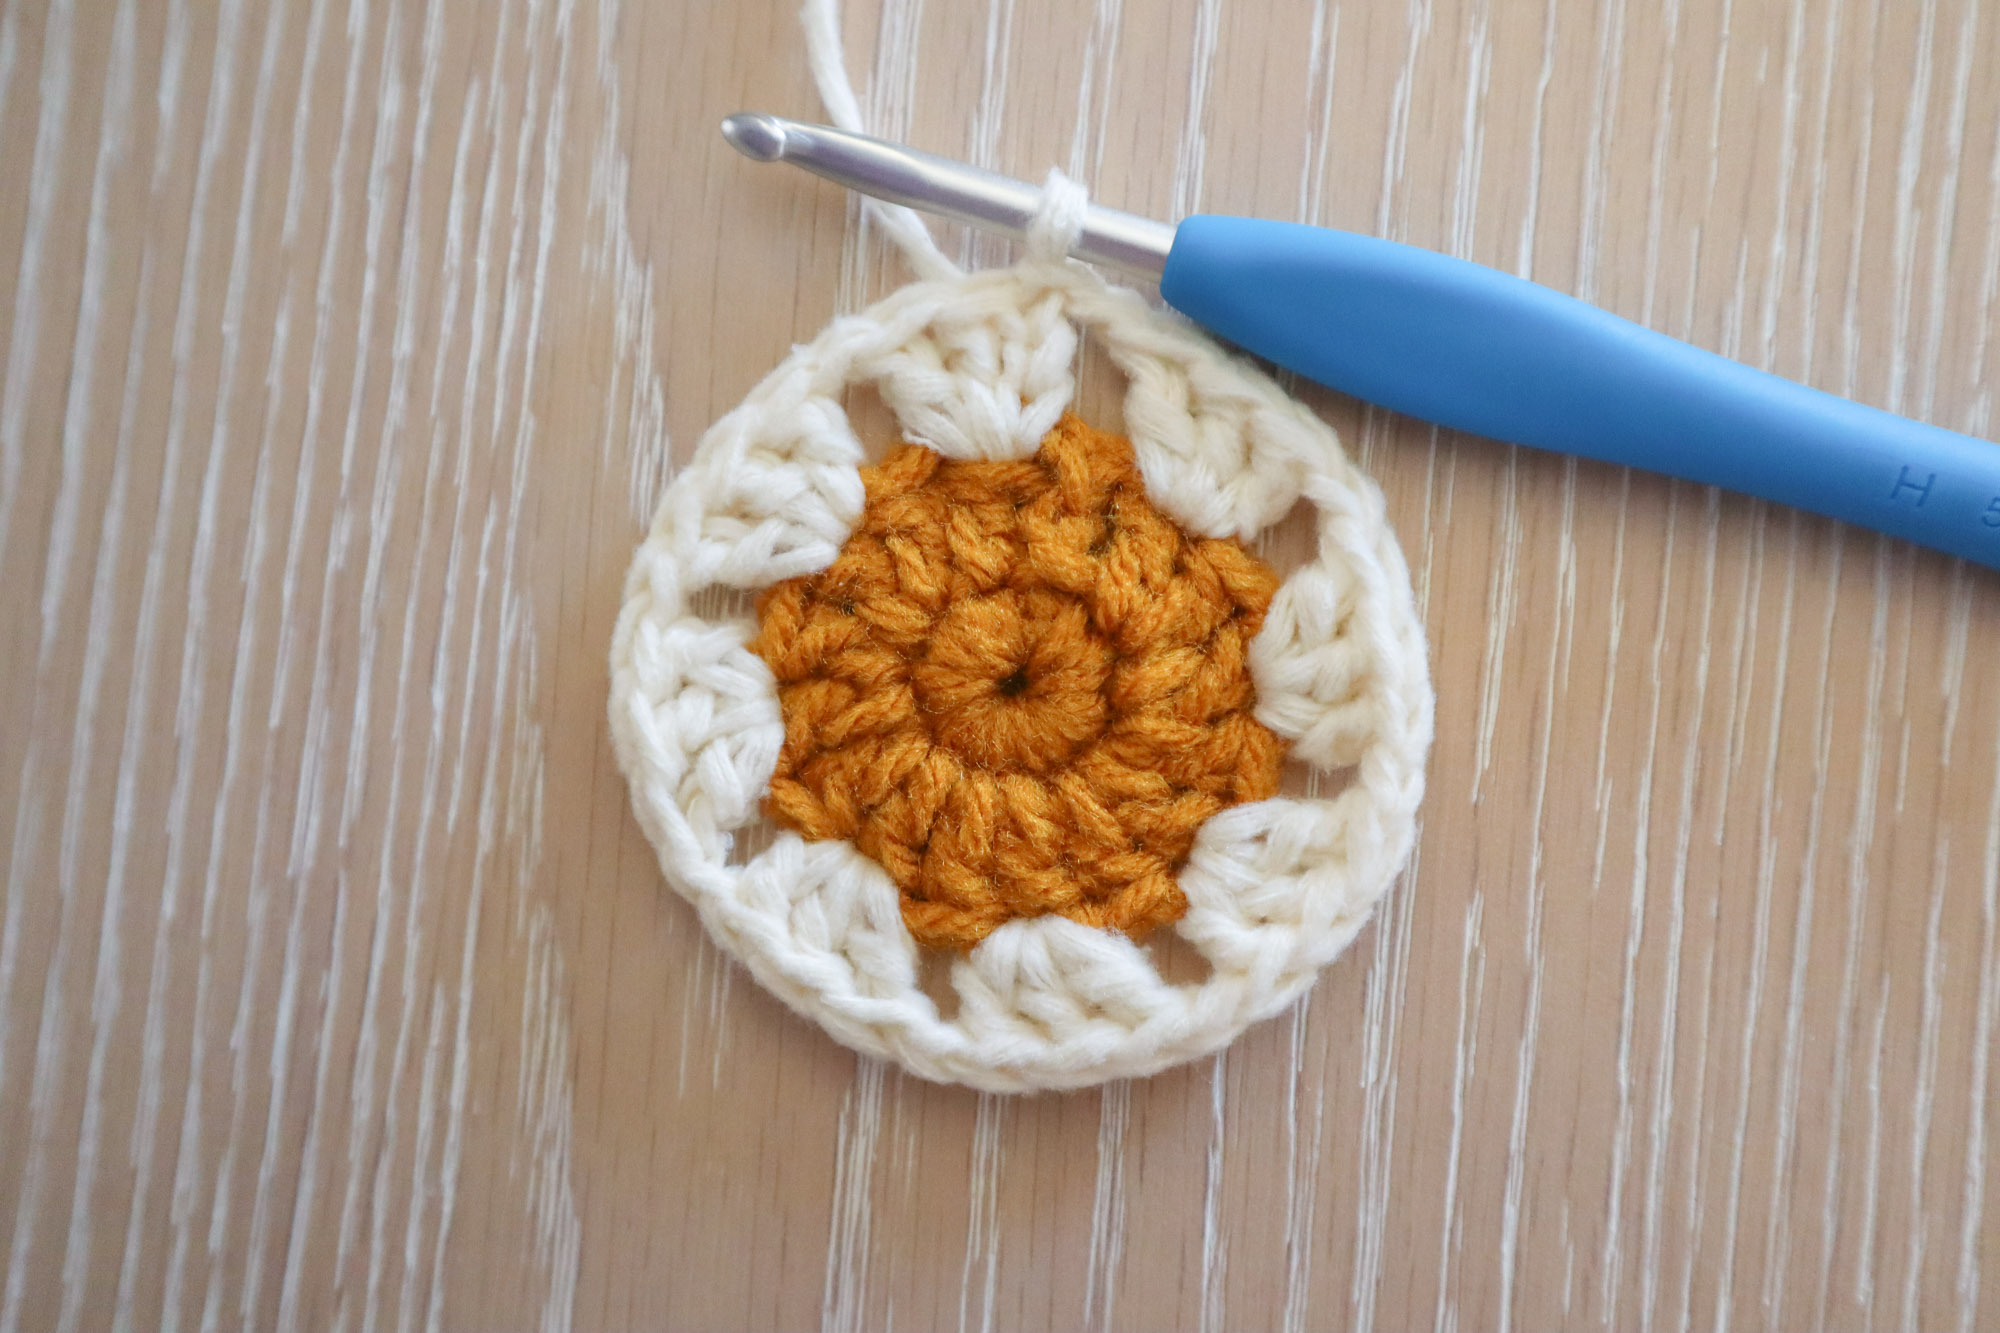
Keep petal color attached. You may pull the last loop up long and remove your hook so you don’t lose it and can pick it up later. Also consider using a clippy stitch marker to hold the live stitch.
Round 4
Fasten on your background color in one of the skipped dc sts from rnd 2. Ch7 (counts as 1dc and ch4), skip over all of your petal sts, and make 1dc in the next skipped rnd 2 stitch. Repeat ch4, 1dc this way…
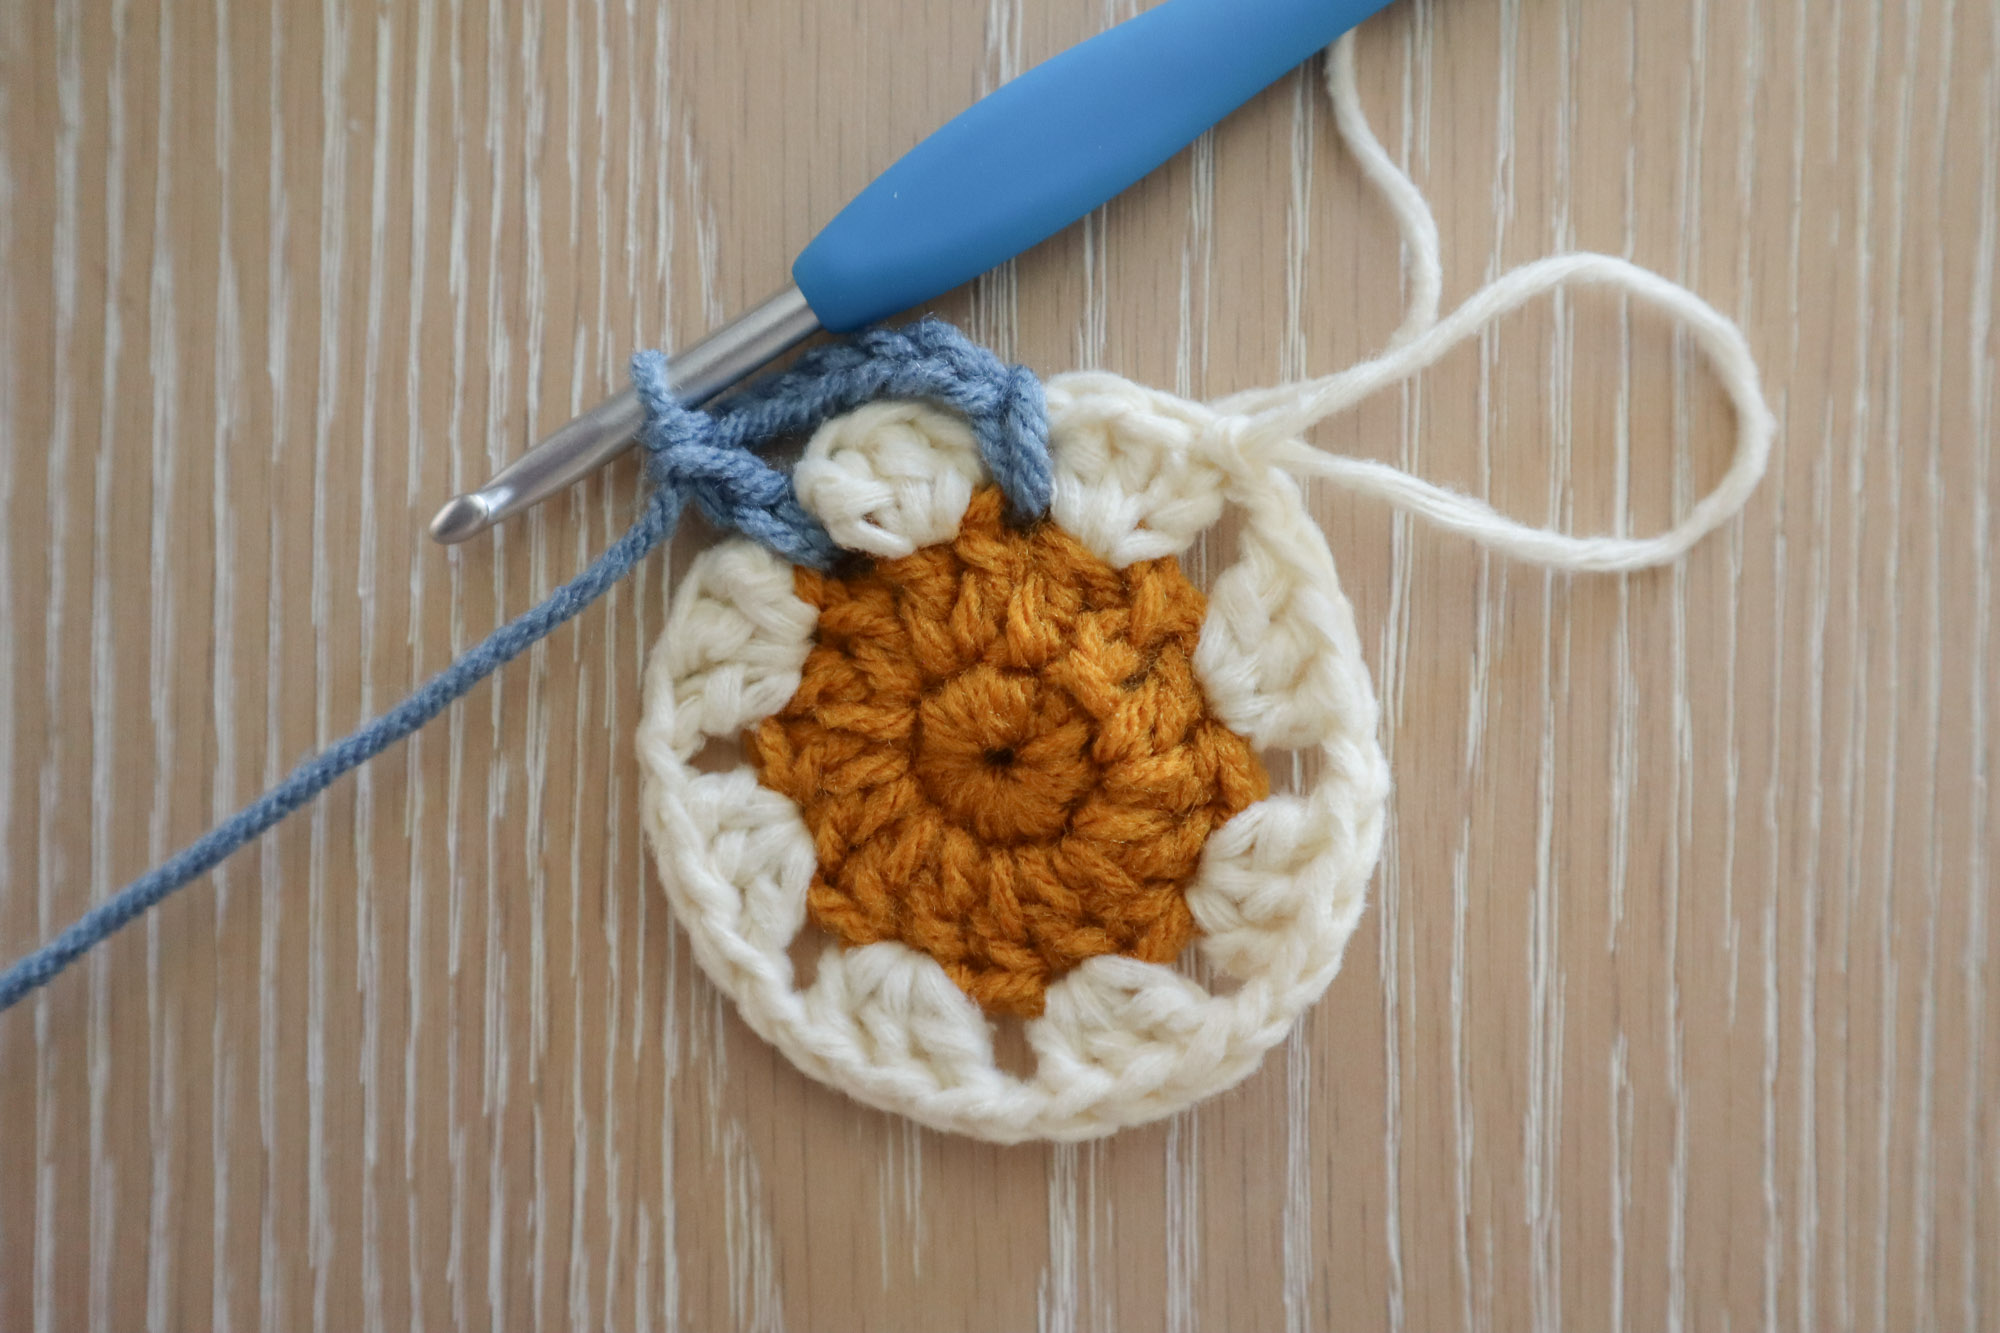
…until you’ve worked 1dc in each skipped rnd 2 st. Ch4 and sl st to the 3rd ch of your starting ch7 to complete the rnd.
Leave the background yarn attached in the same manner as you did with the petal yarn.
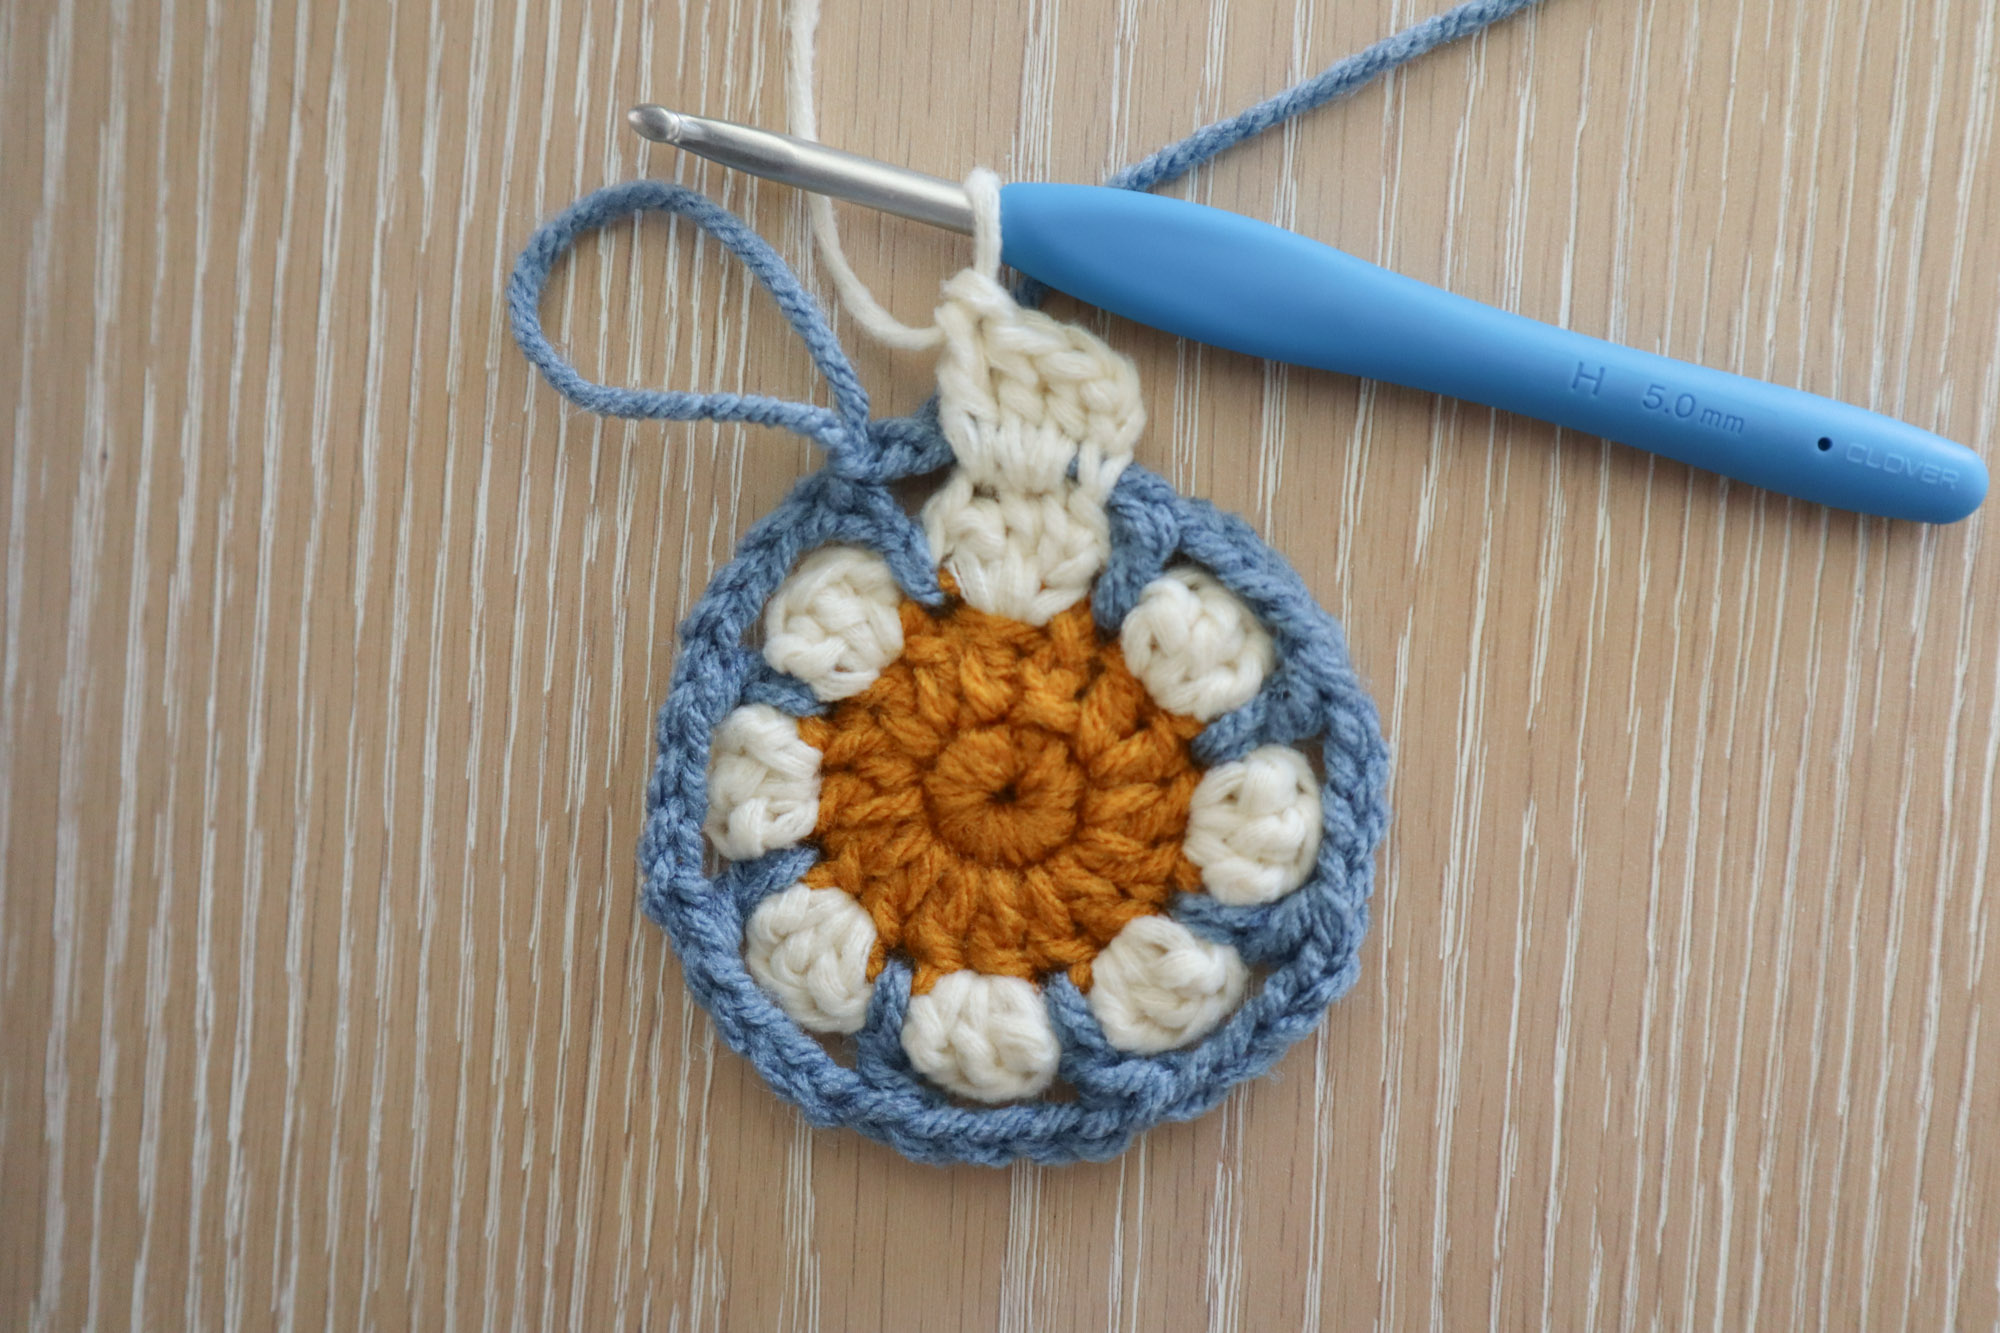
Round 5
Bring forward the petal loop from rnd 3, in front of the chains from rnd 4. Ch3 (counts as 1dc), 2dc in the next dc st of rnd 3. 1dc in the next st of the 3dc cluster from rnd 3.
Keep the rnd 4 chains pushed to the back or, you may work your stitches around them like I did. *Ch2, skip the dc from rnd 4, then 1dc in the next st, 2dc in the next, 1dc in the next.* Repeat between ** to the end, ch2 and sl st to the top of your starting ch3 to complete the rnd. (8 clusters of 4dc in petal color with 8 ch2s between)
Leave petal yarn attached once again.
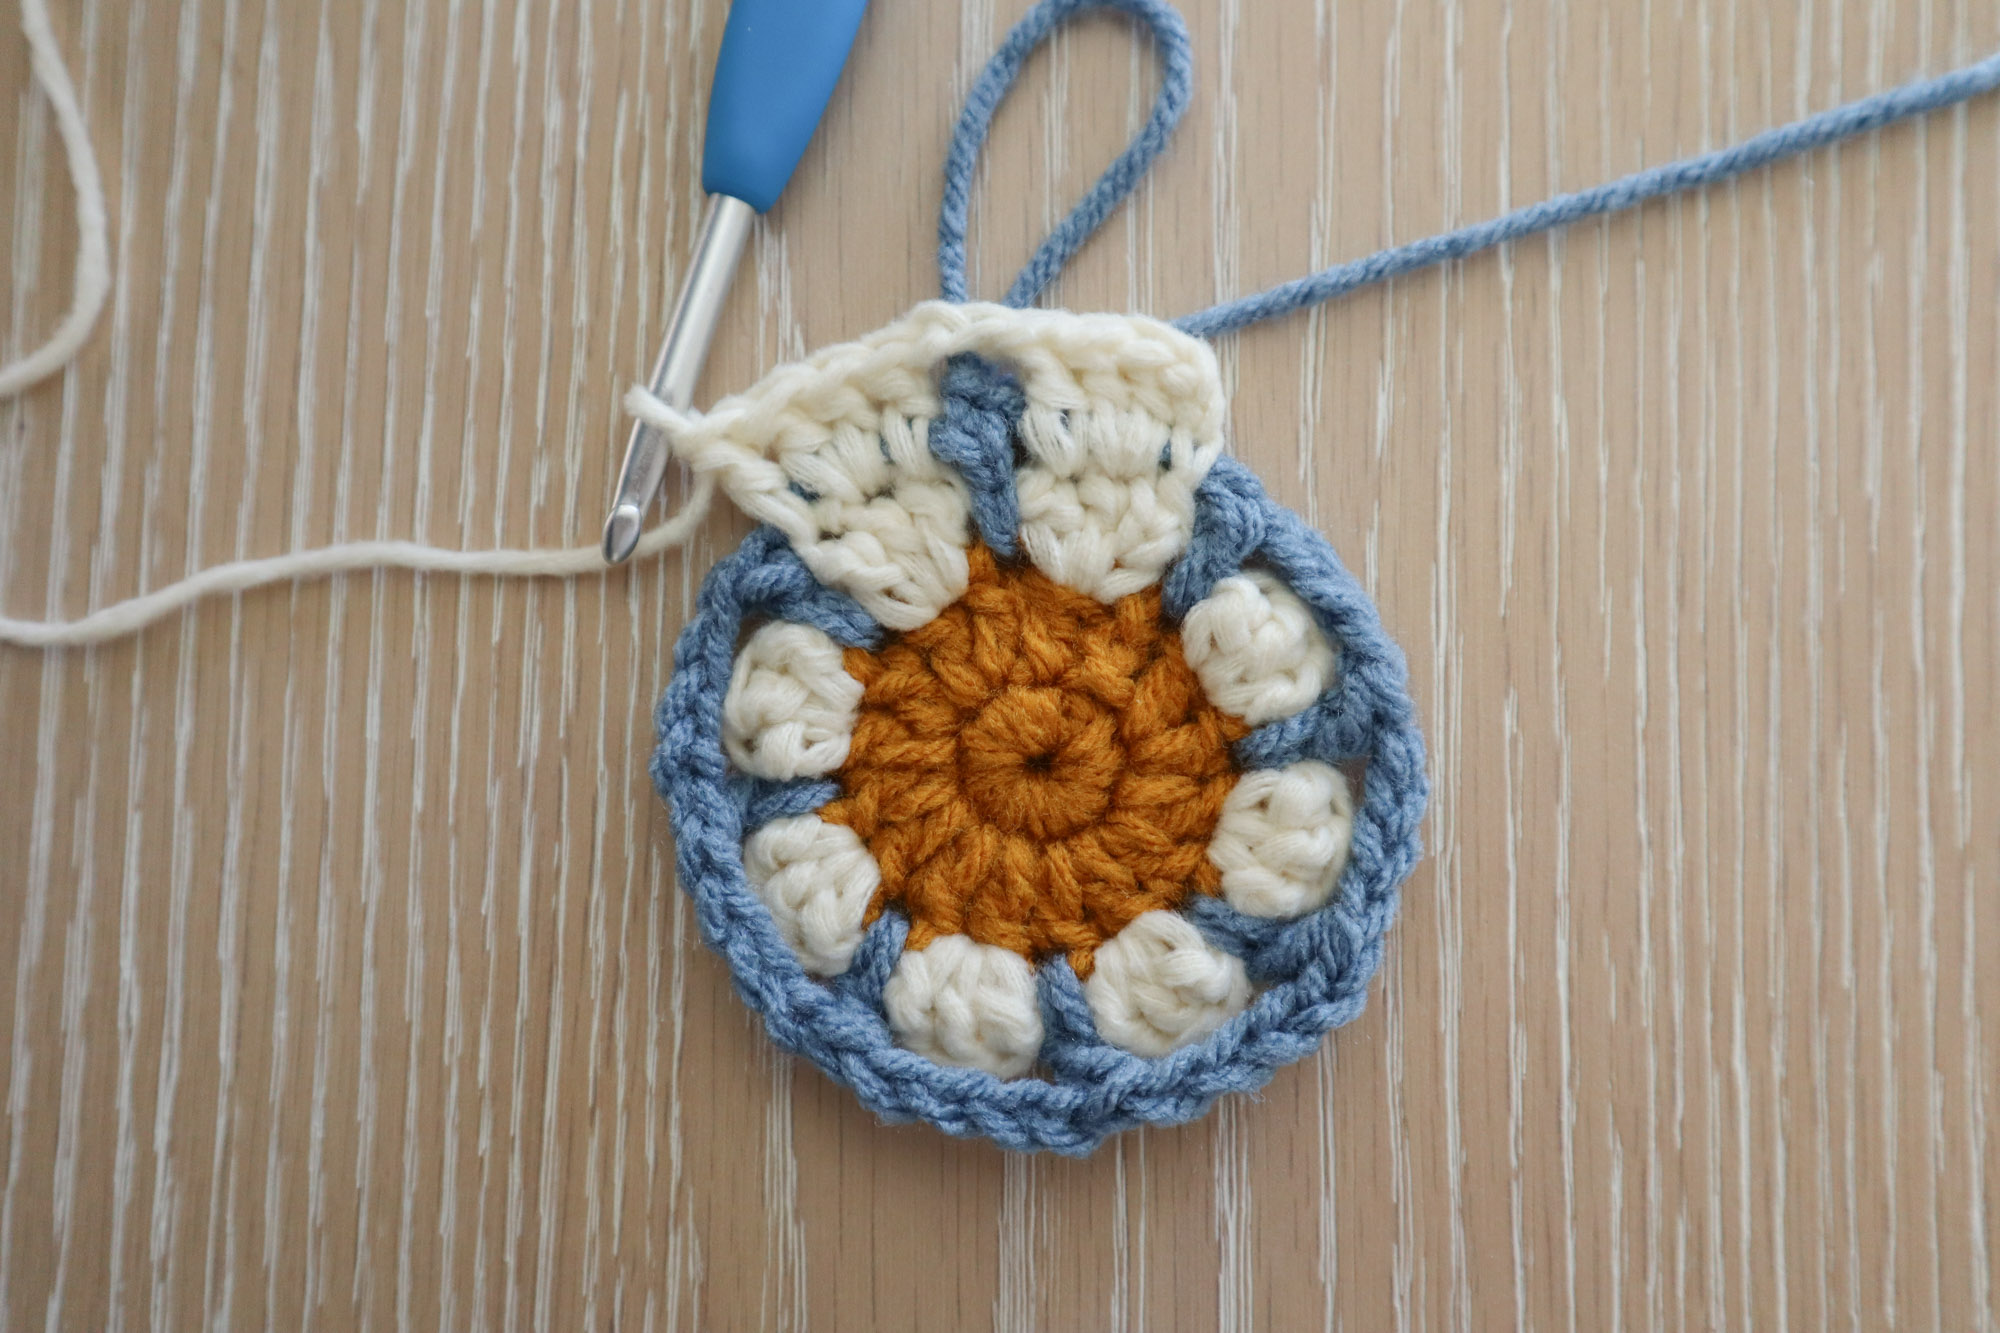
Round 6
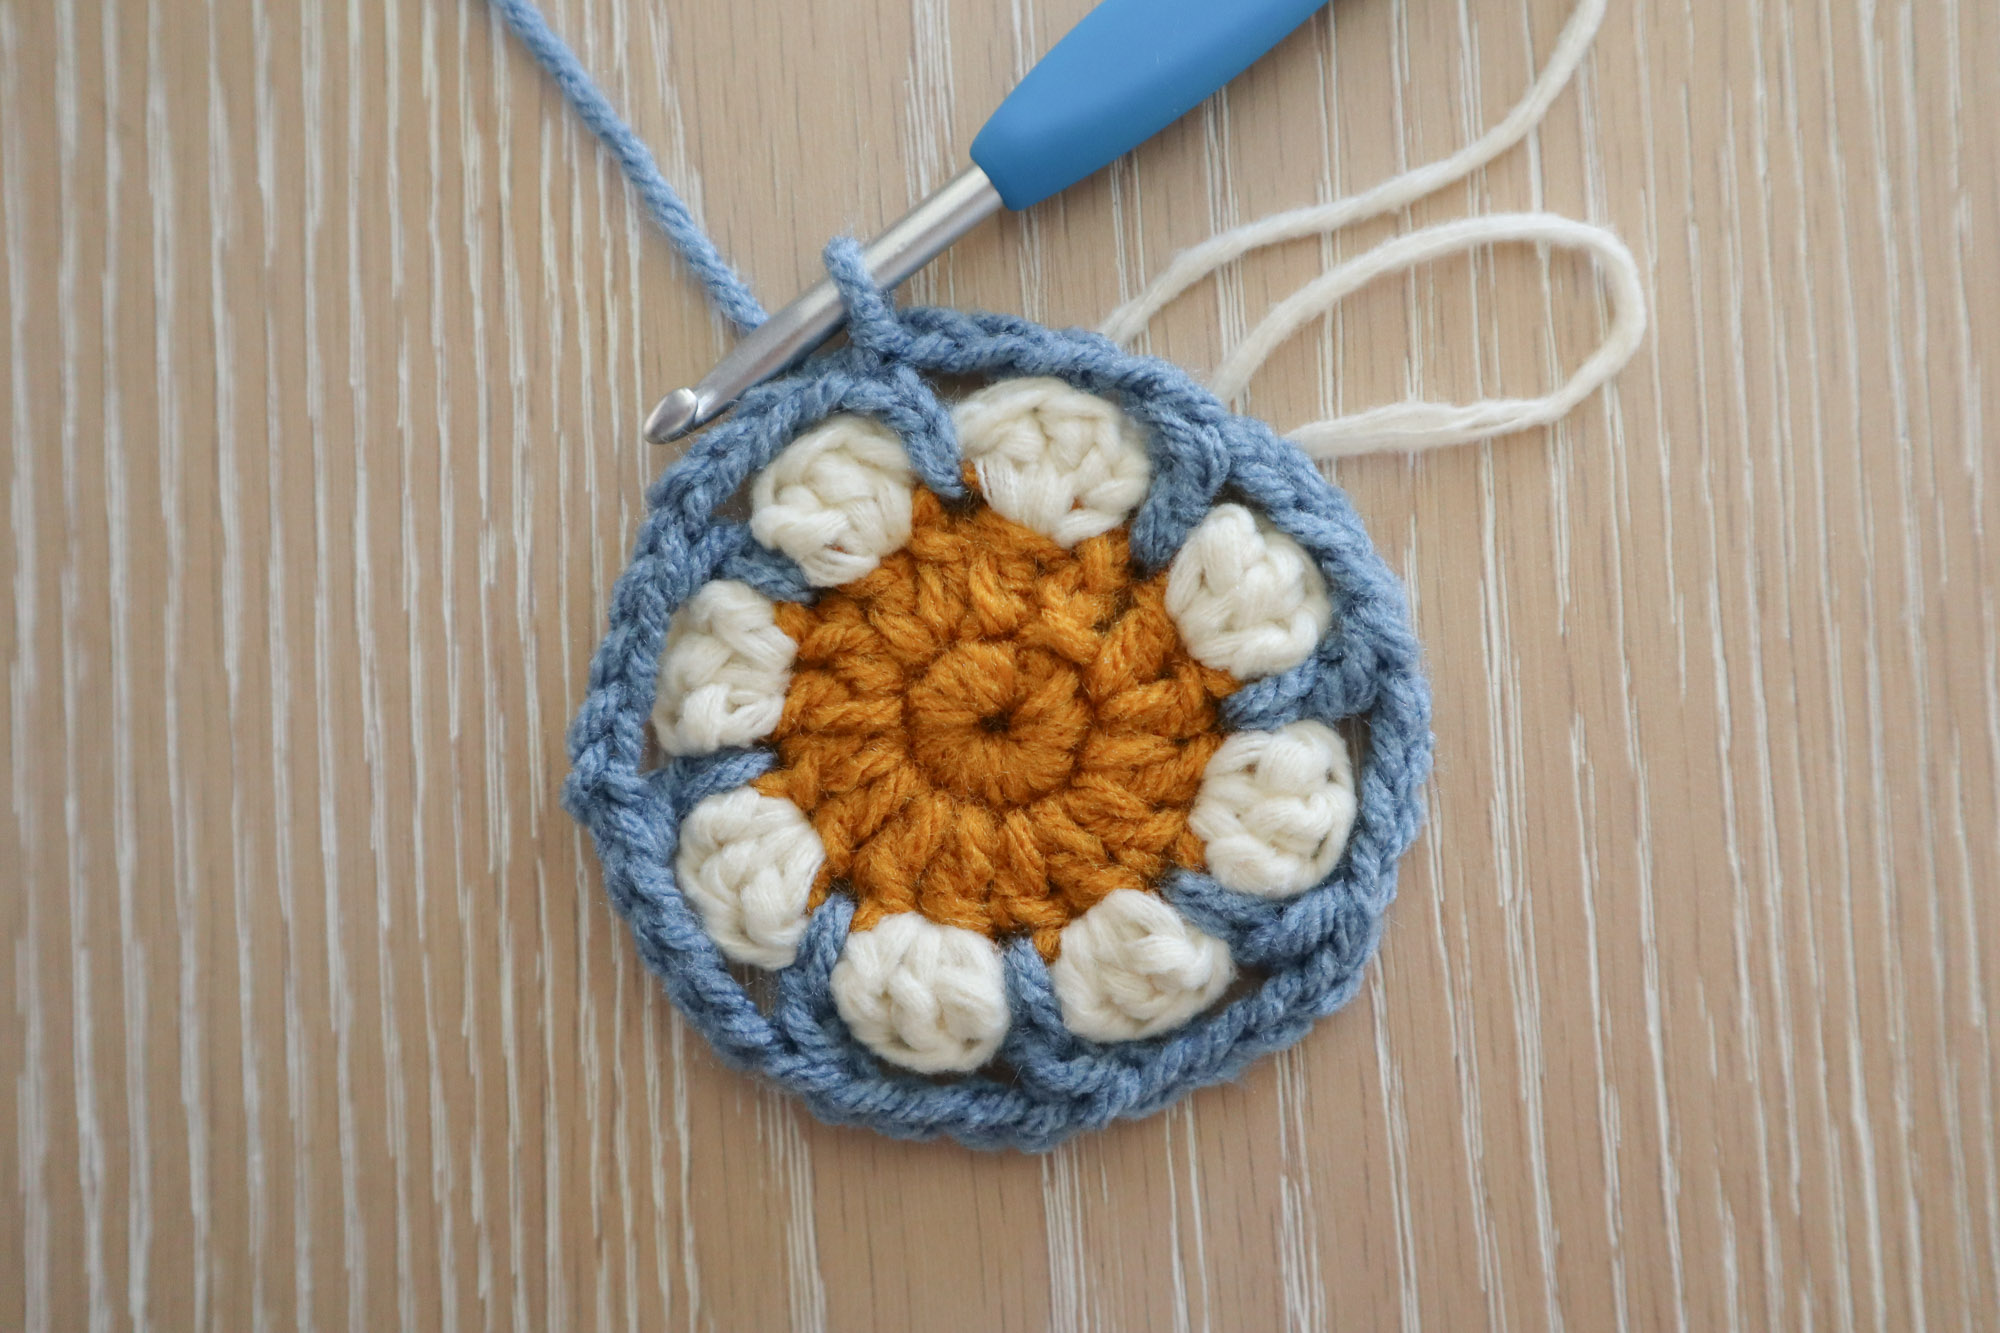
Switch back to background color. Pull the loop in front of the ch2 from prev rnd. Ch3 (counts as 1dc), 1dc in the same st.
*Ch5, skip the 4dc petal sts from prev rnd, 2dc in the next dc from rnd 4. Repeat between **. End with ch5, sl st to the top of the starting ch3. (16dc, 8 ch5)
Leave yarn attached.
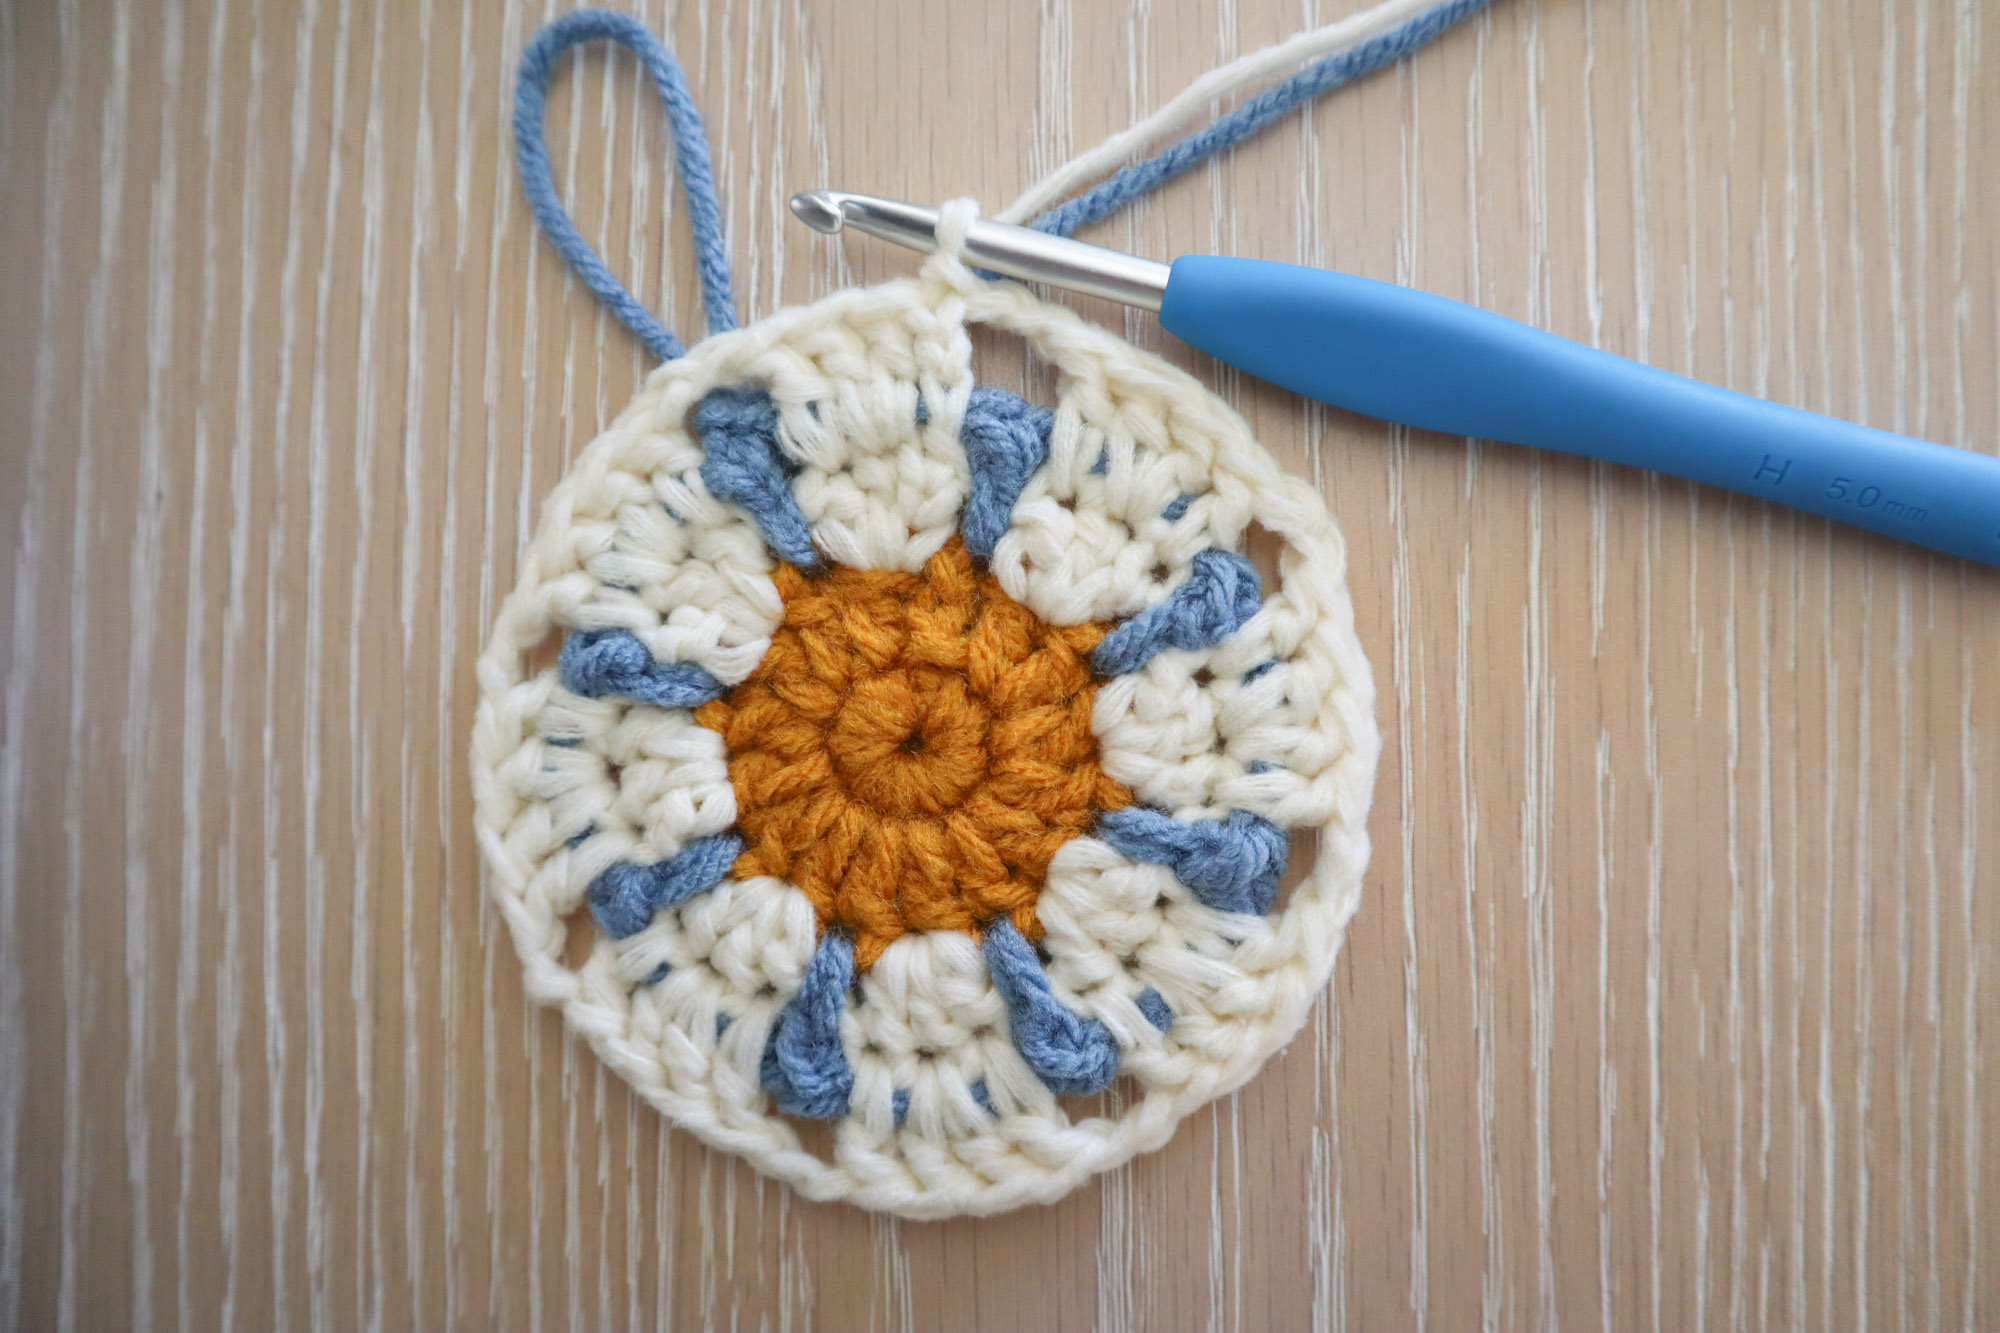
Round 7
Switch back to petal color. Bring the loop in front of the ch5 from prev rnd. Ch3 (counts as 1dc), 2dc in the next st of rnd 5, 1dc in each of the next 2 sts.
This time, you must keep the petal sts in front of the chain sts from the prev rnd. The chain needs to be free to work into later.
front
back
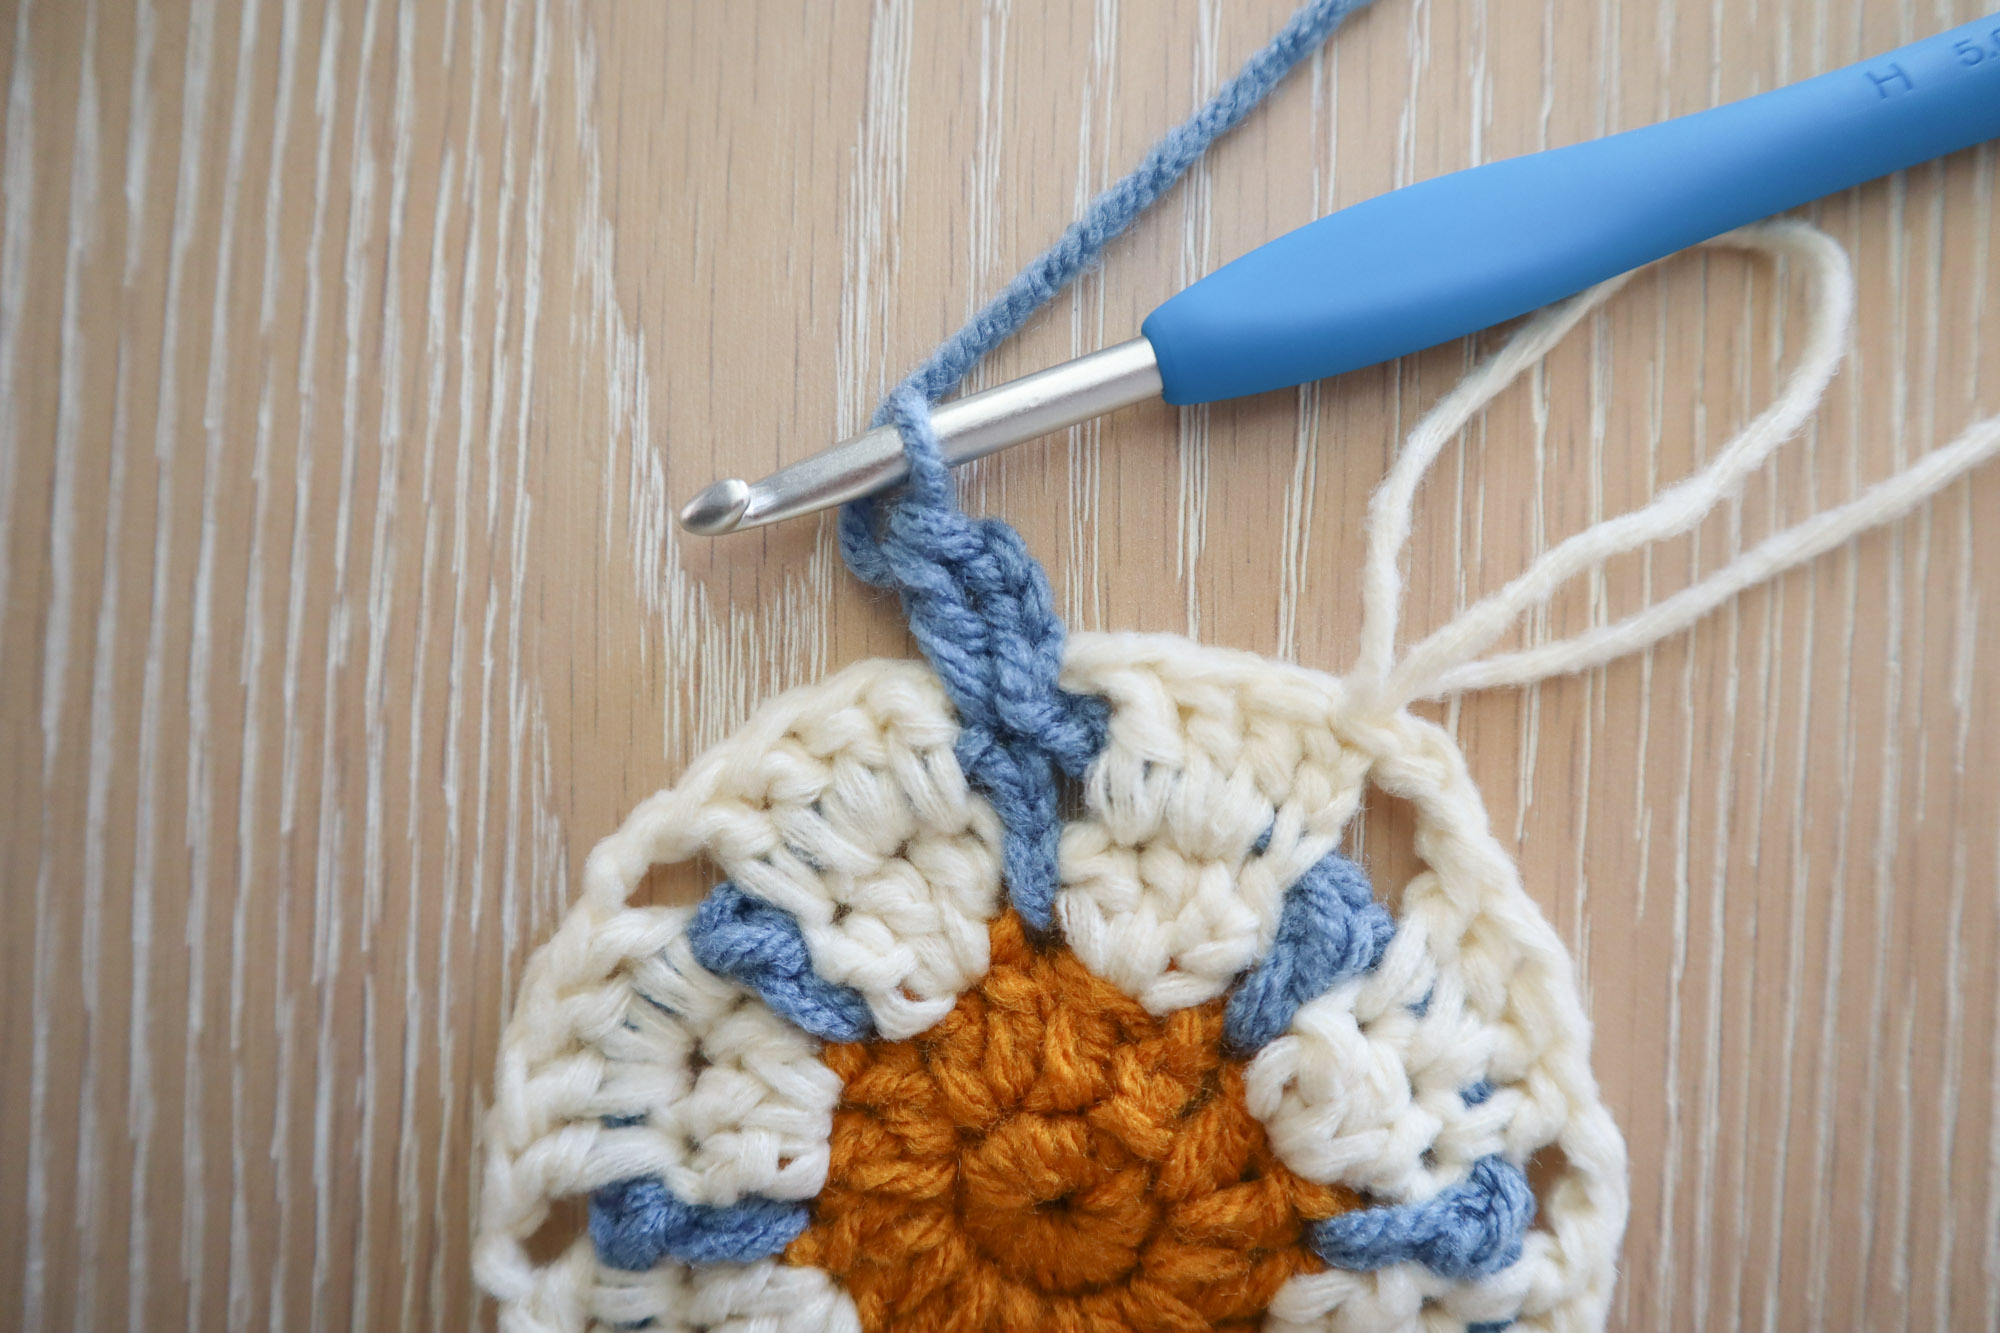
*Ch2, skip the dcs from rnd 6, then 1dc, 2dc, 1dc, 1dc across the next 4 petal sts.* Rep between ** to the end, ch2 and sl st to the top of your starting ch3 to complete the rnd.
front

back
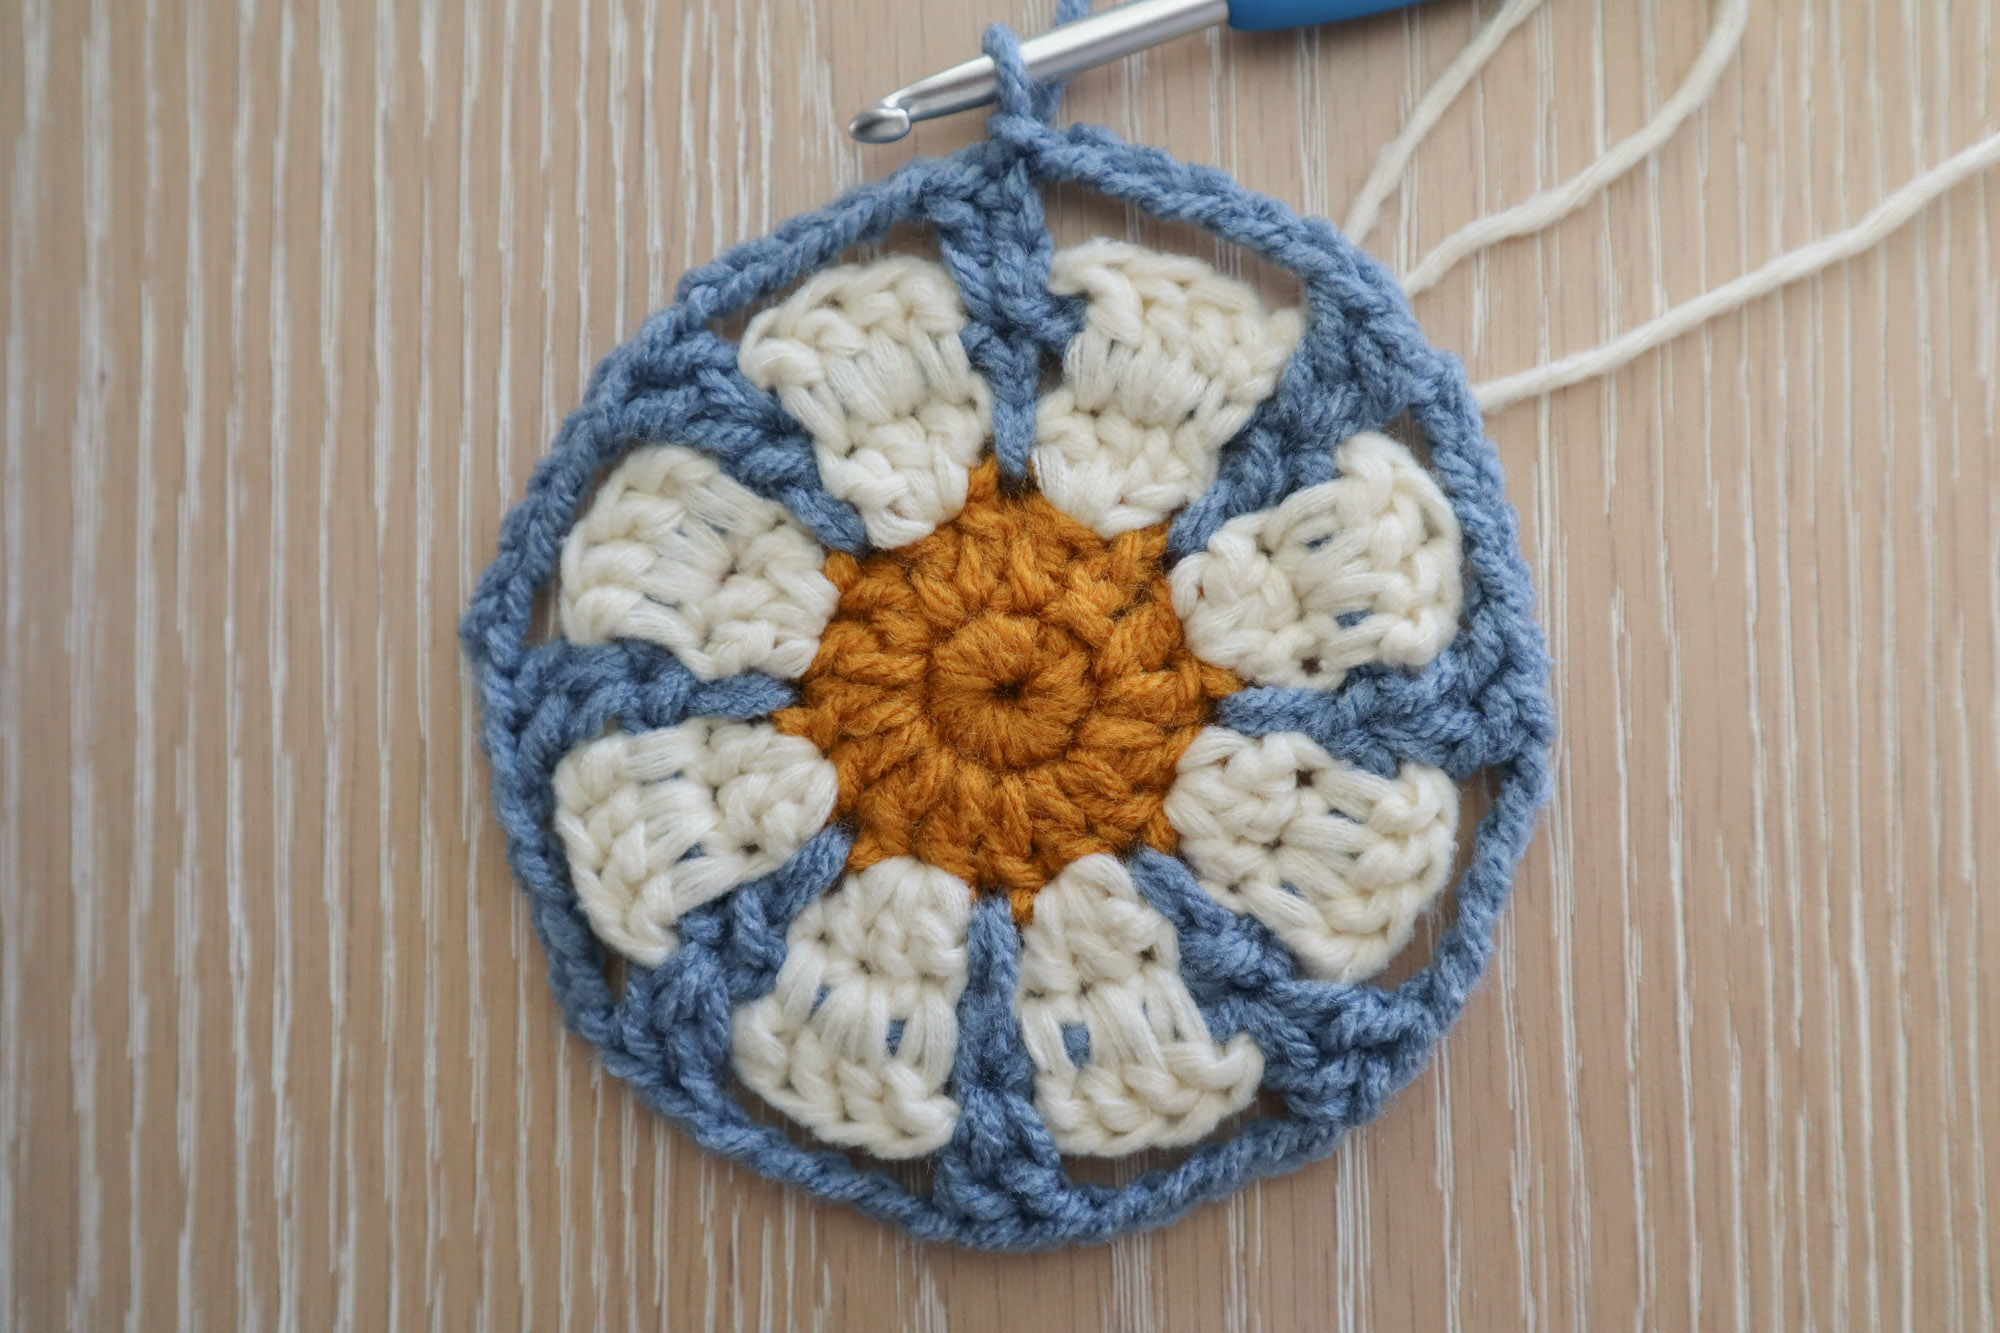
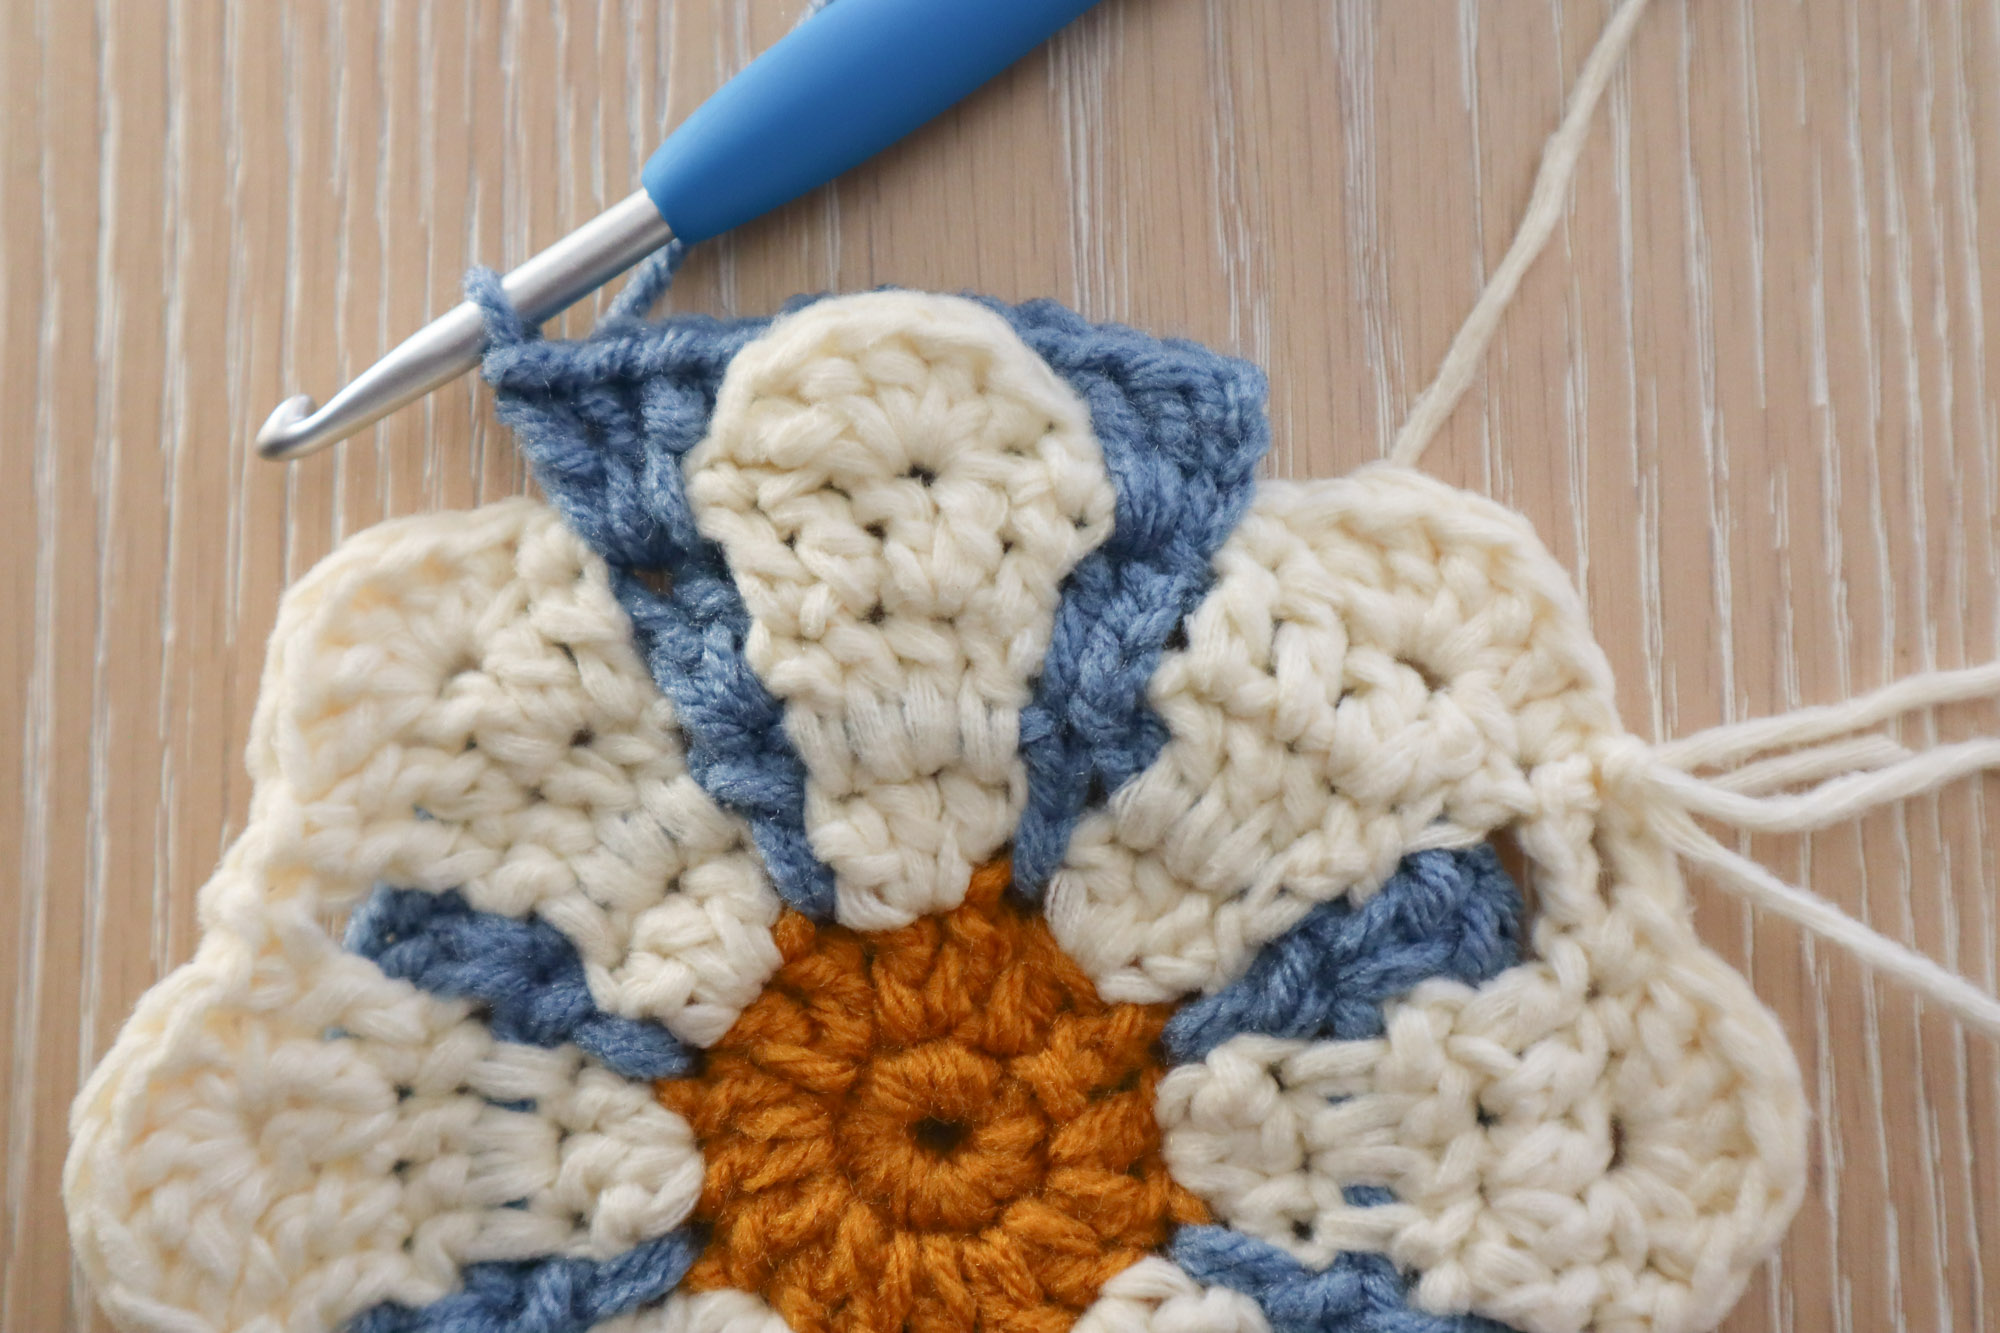
Round 8
Continue in the petal color. We will be adding our rounded petal tips. Ch1 (does not count as a stitch). Sc in the first st, skip 1 st, 5dc in the next st, skip 1 st, sc in the next. *Ch2, skip the ch2 from prev rnd and 1sc in the first st of the next petal, skip 1, 5dc in the next st, skip 1, sc in the next.* Rep between ** to the end, ch2 and sl st to your first sc.
Fasten off petal color.
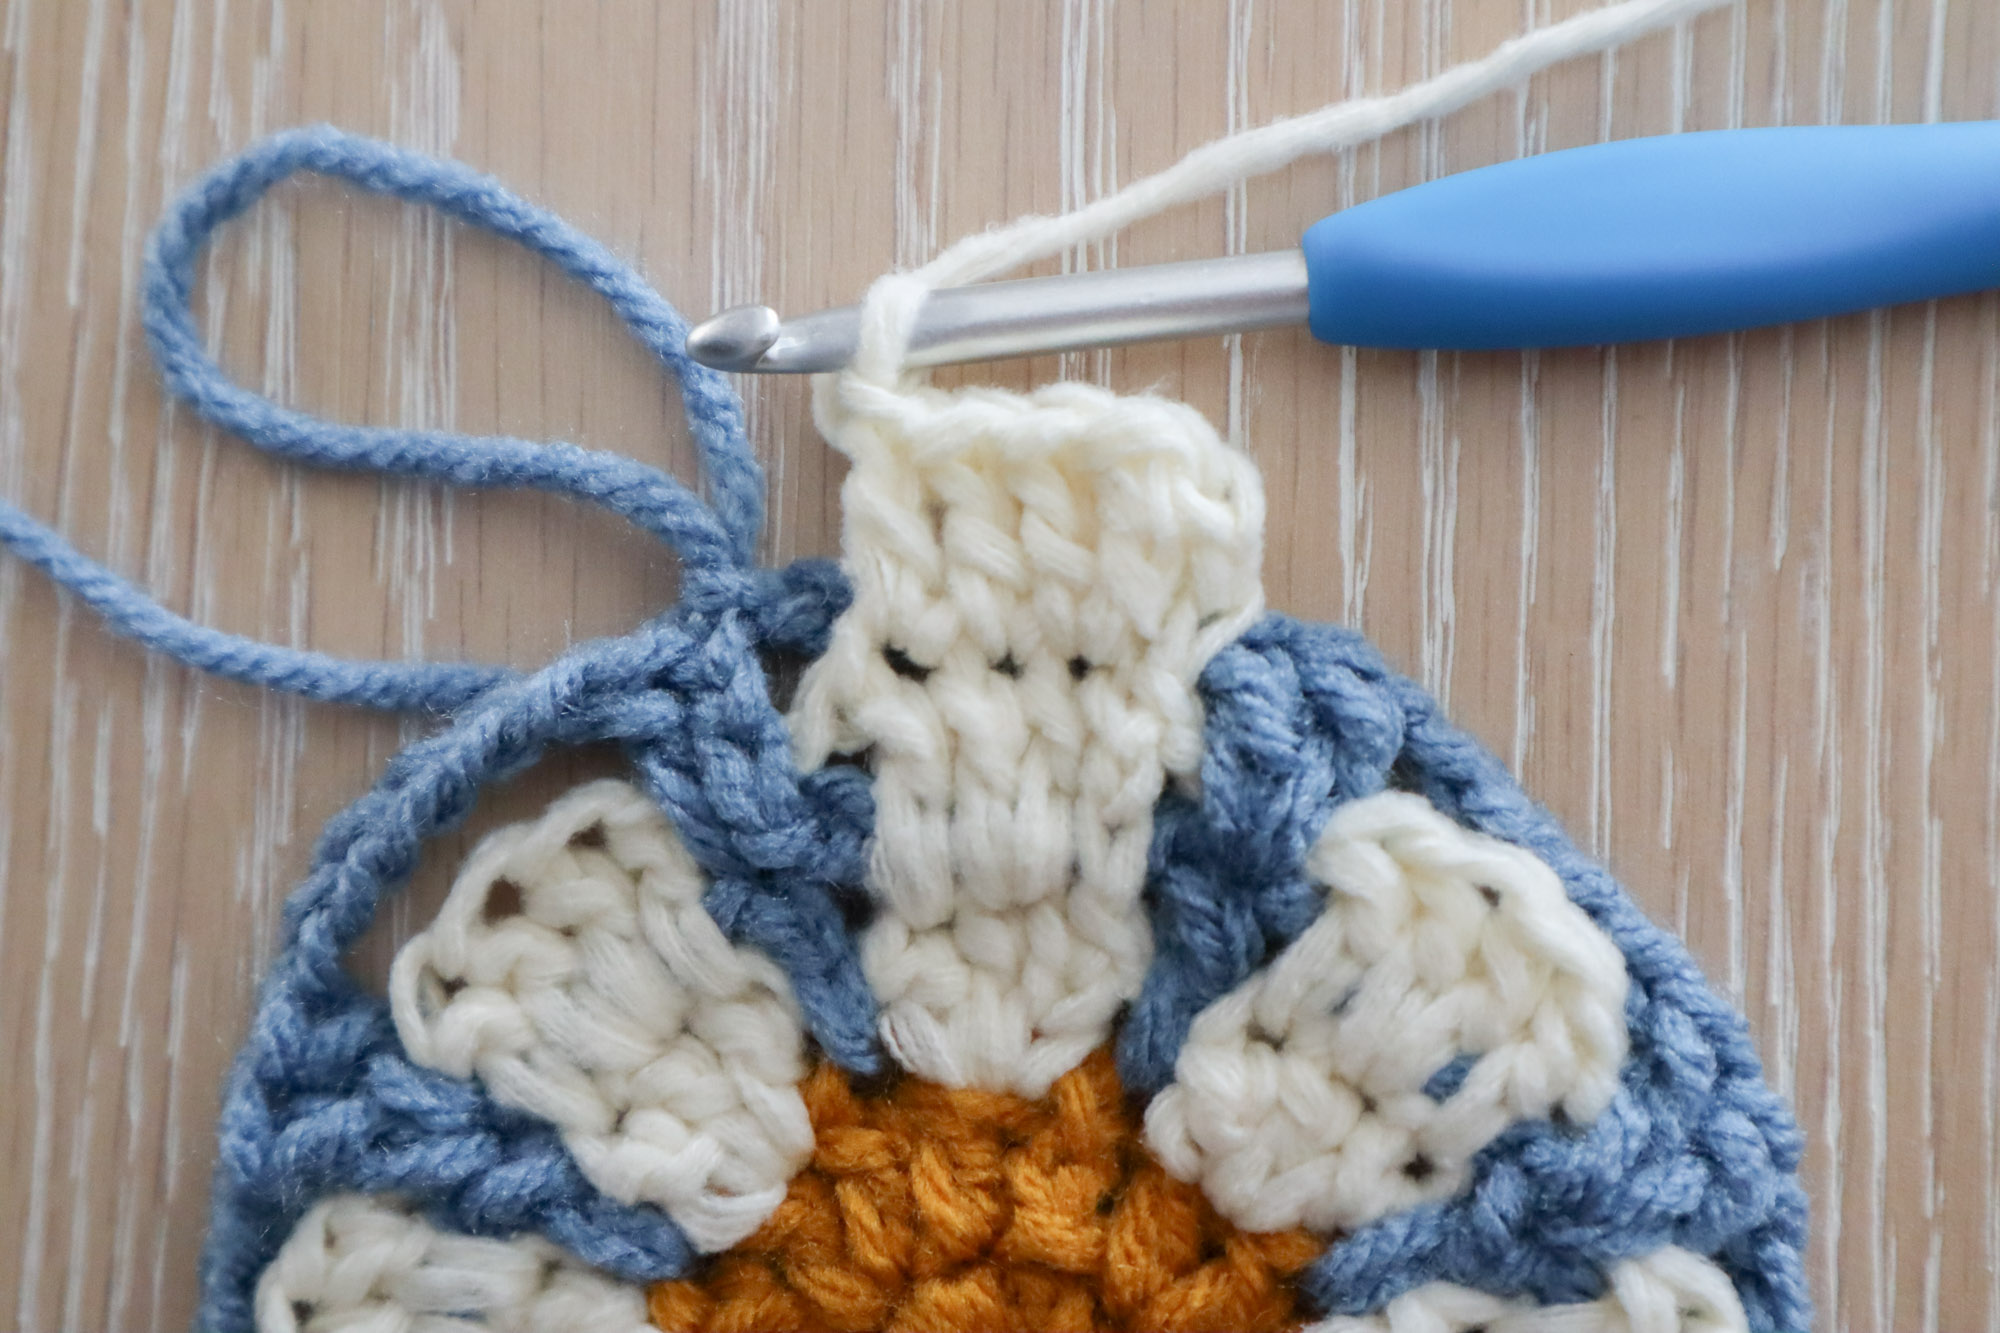
Round 9
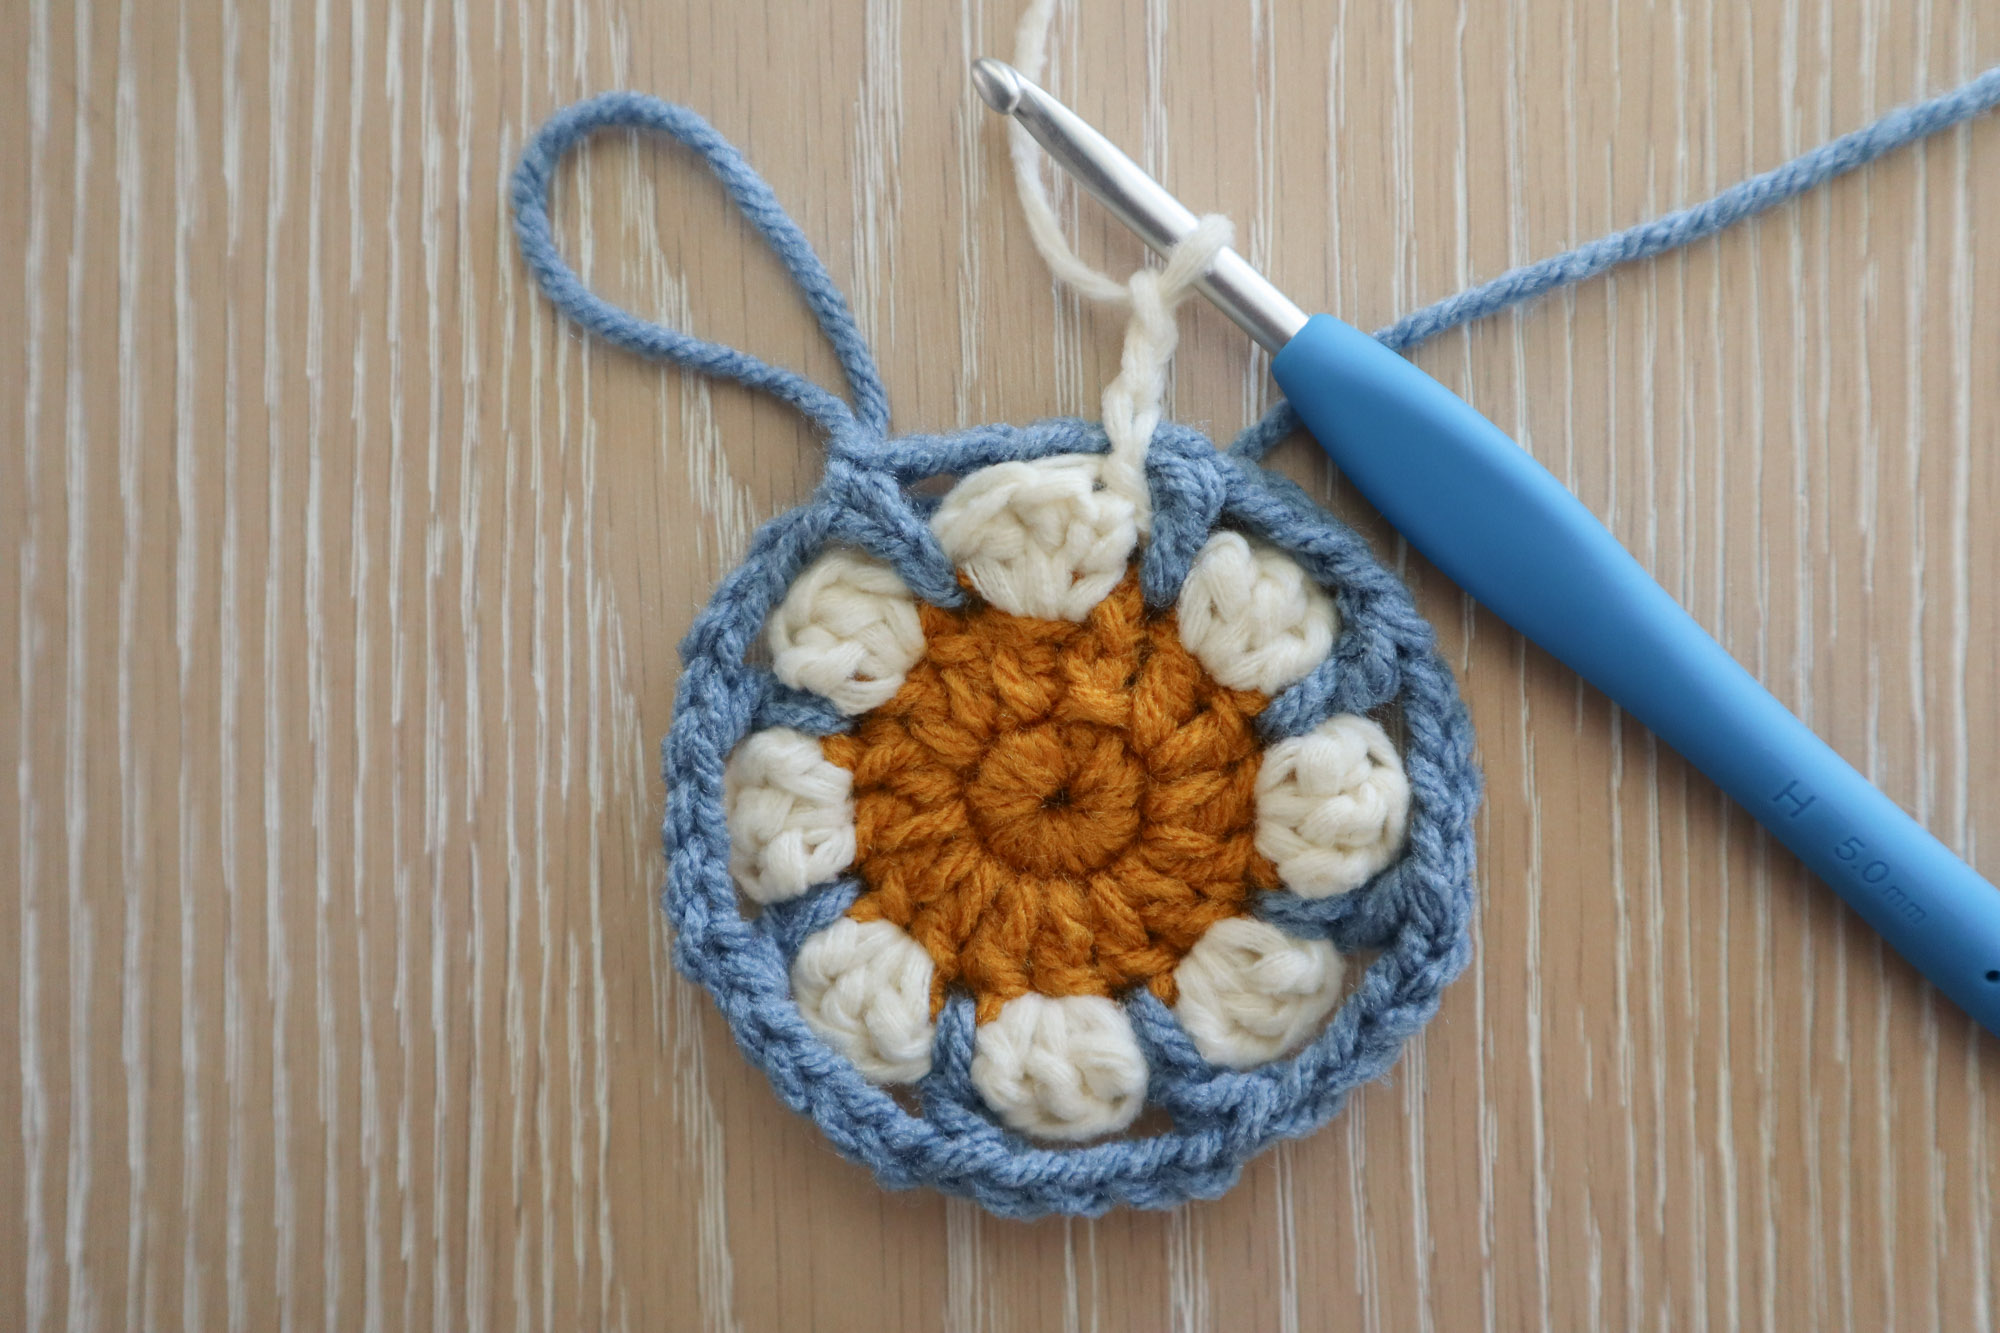
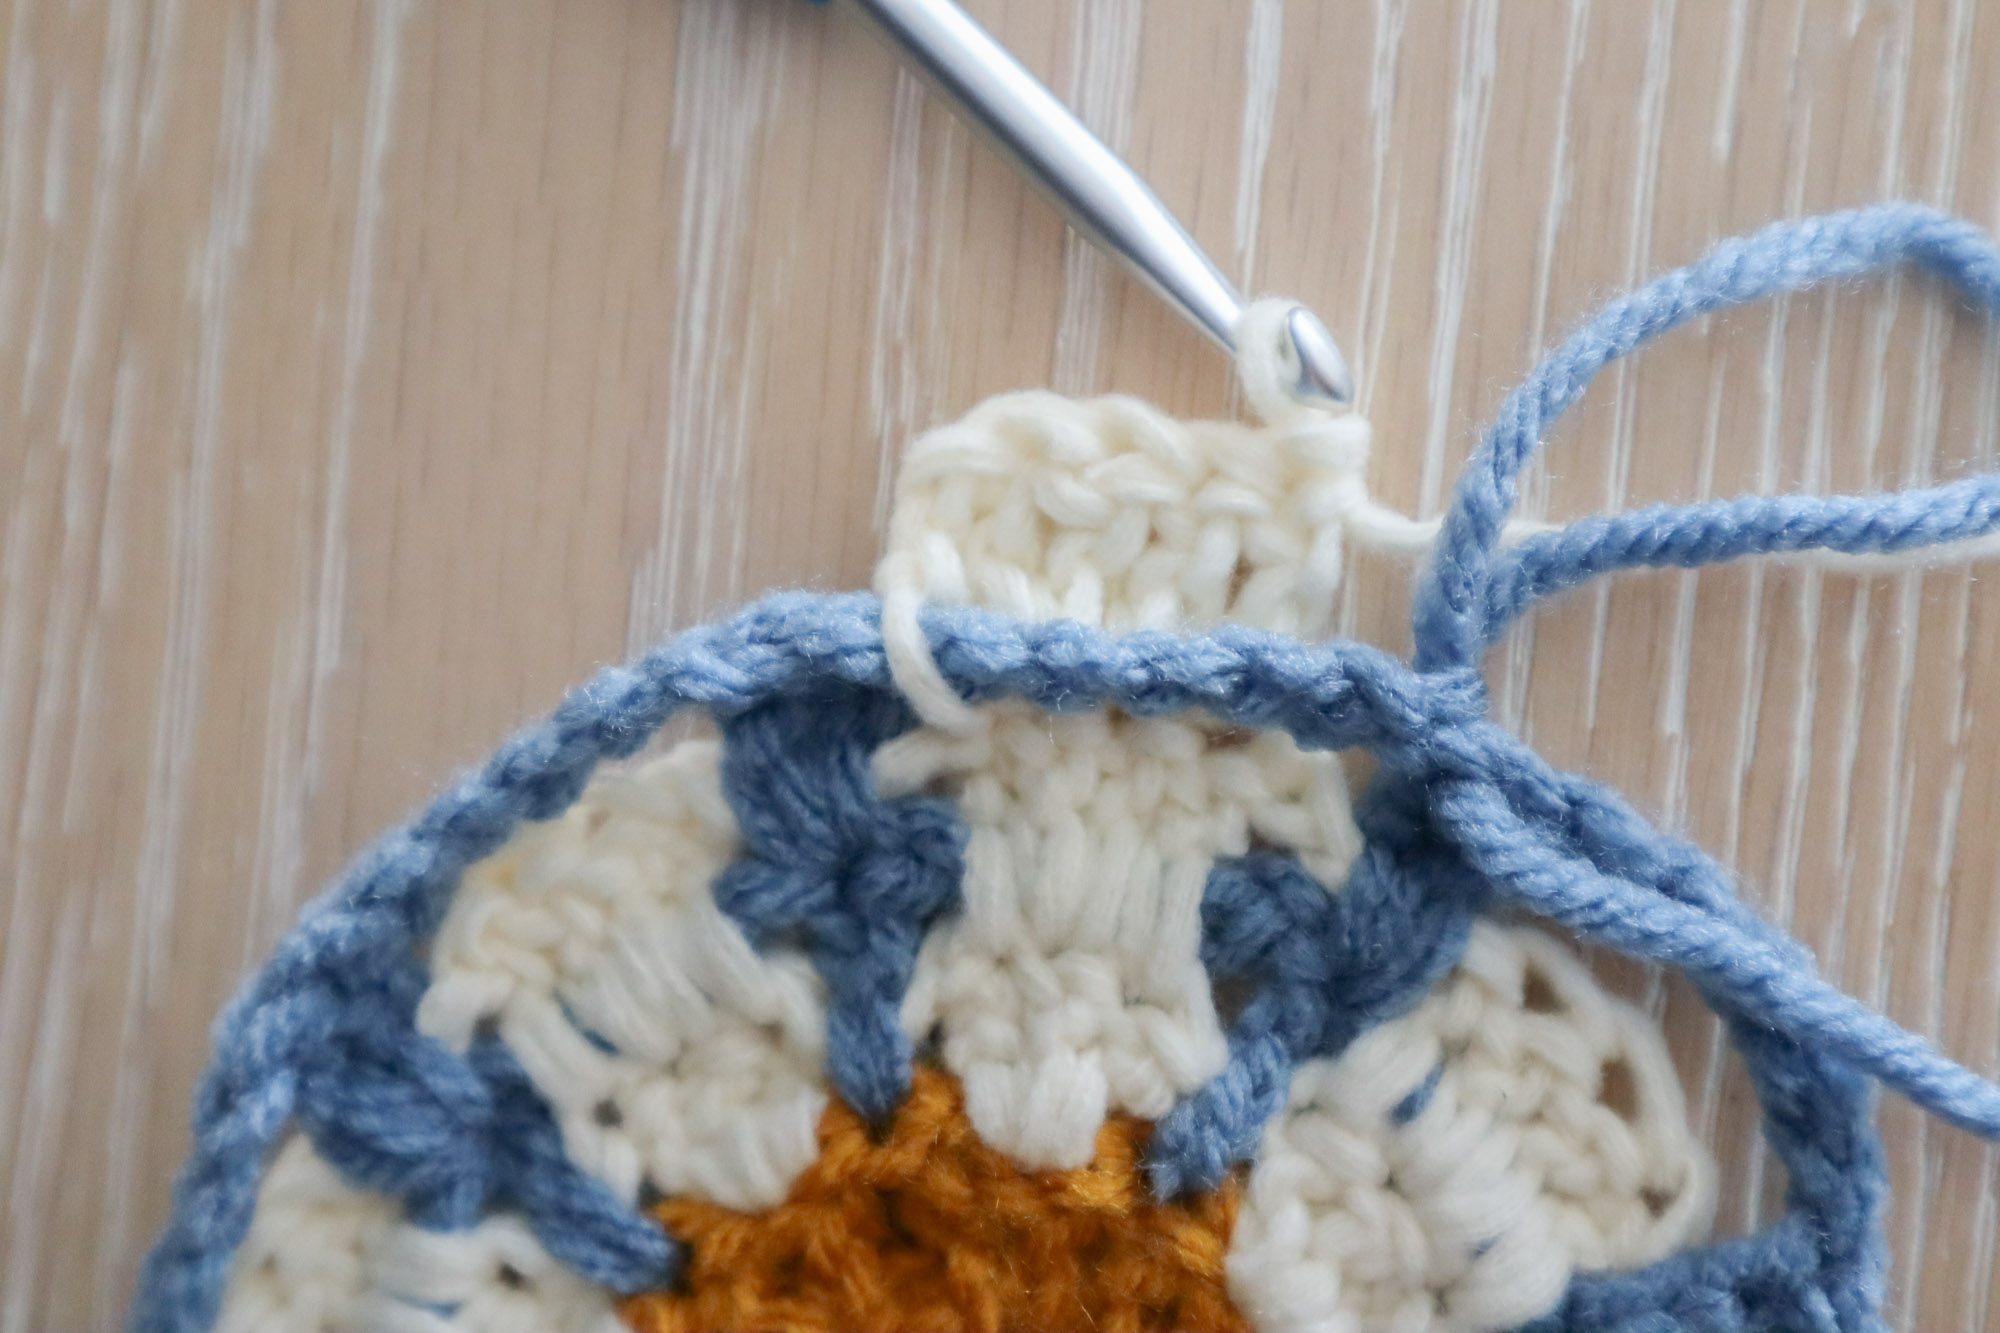
Pickup background color, pull the loop in front of the ch2’s left by the petal rnds. Ch3 (counts as 1dc), 2dc in the next st from rnd 6.
You may want to fold the rounded petal shell forward to reveal the background ch5 behind. Work 5dc into that ch5 space from rnd 6.
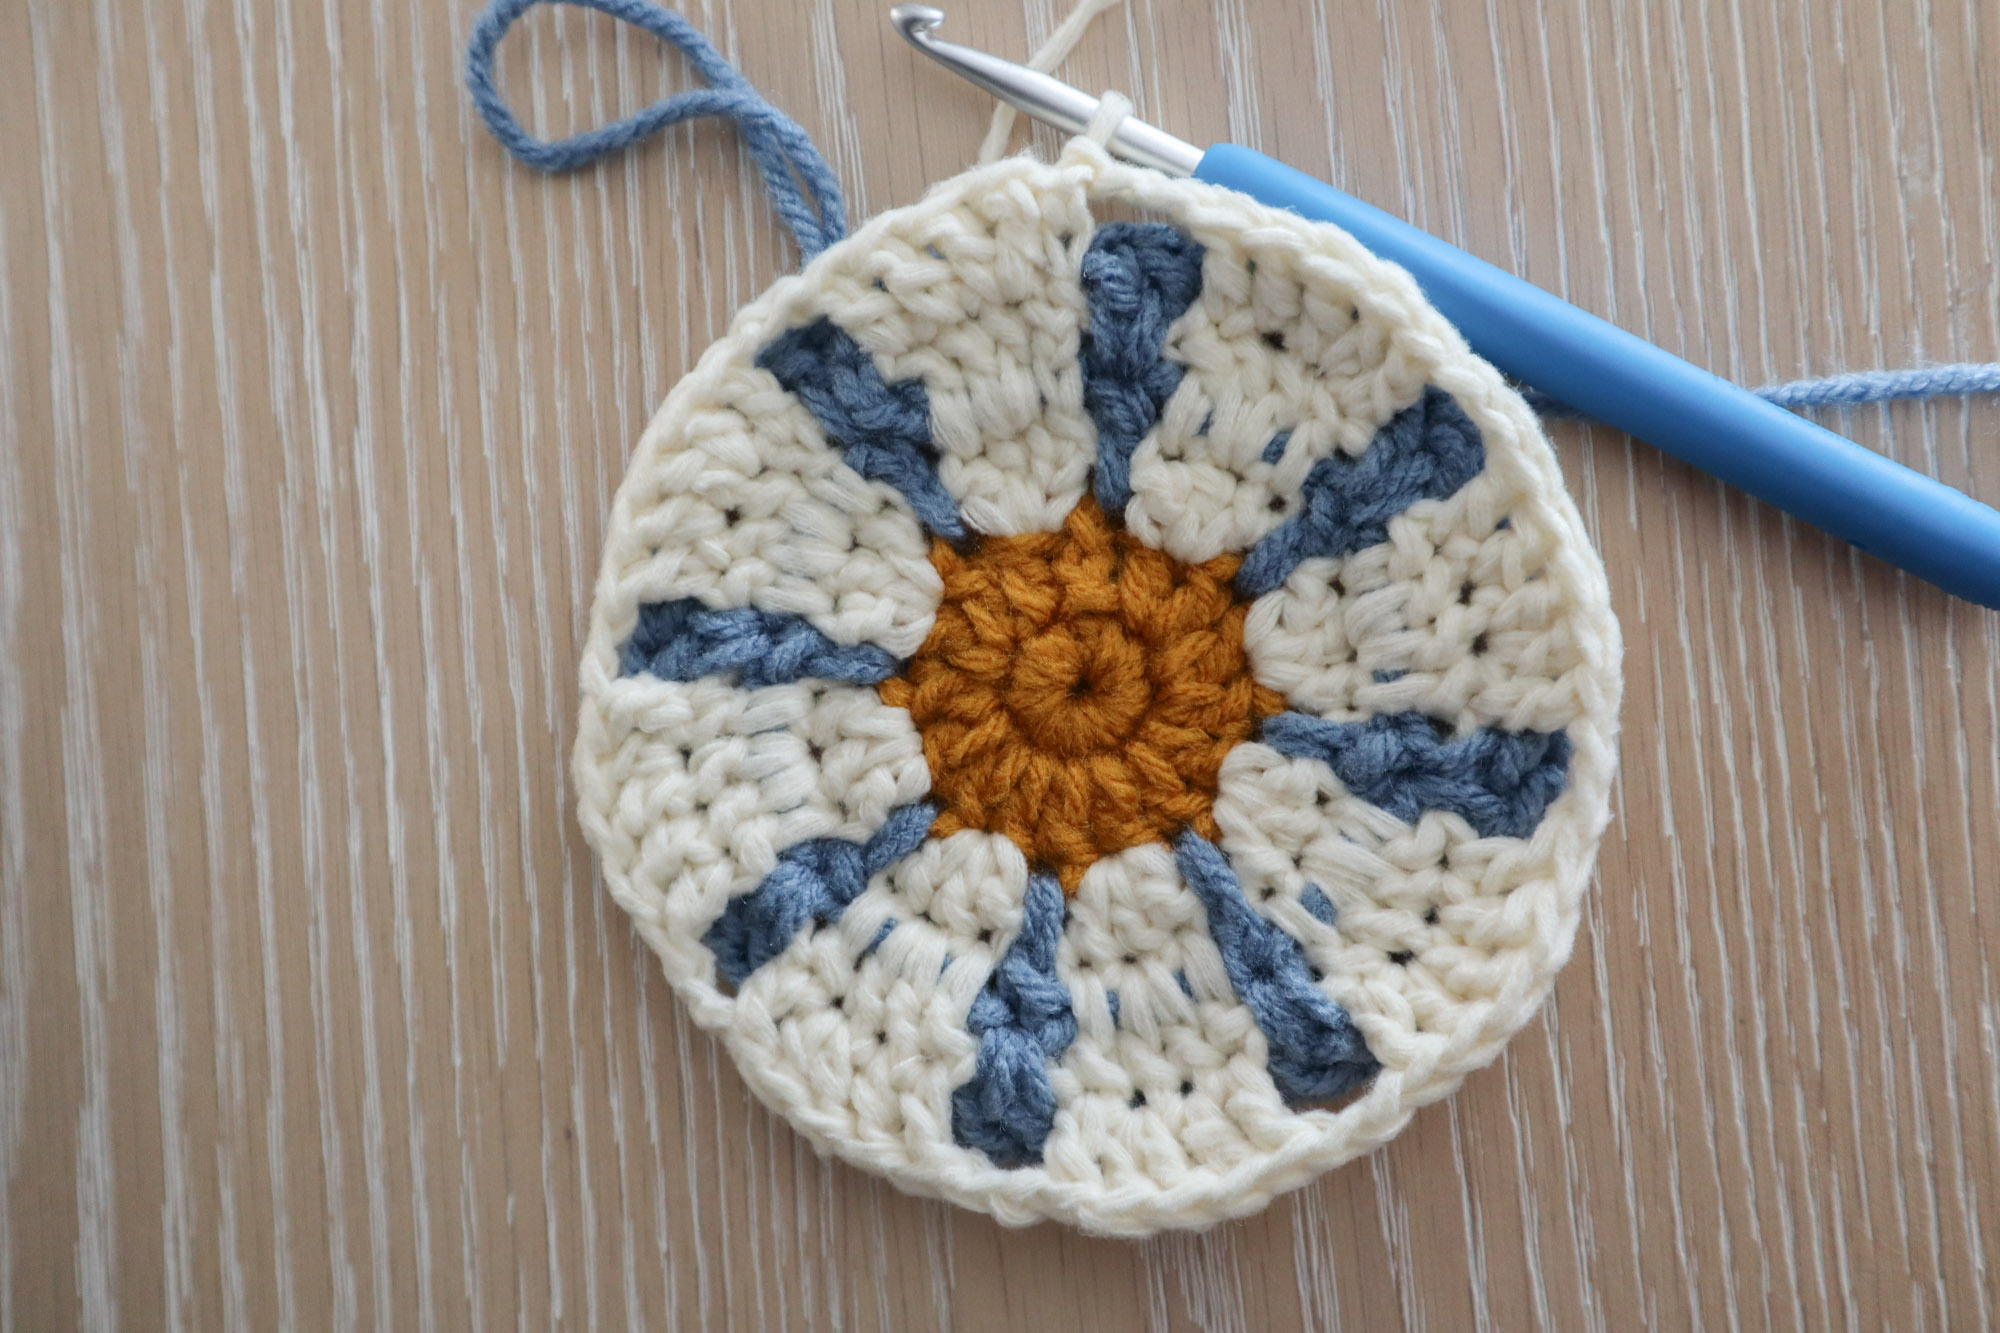
Working in front (or around) the petal color ch2’s, work 1dc in the next background dc from rnd 6. Work 2dc in the next st.
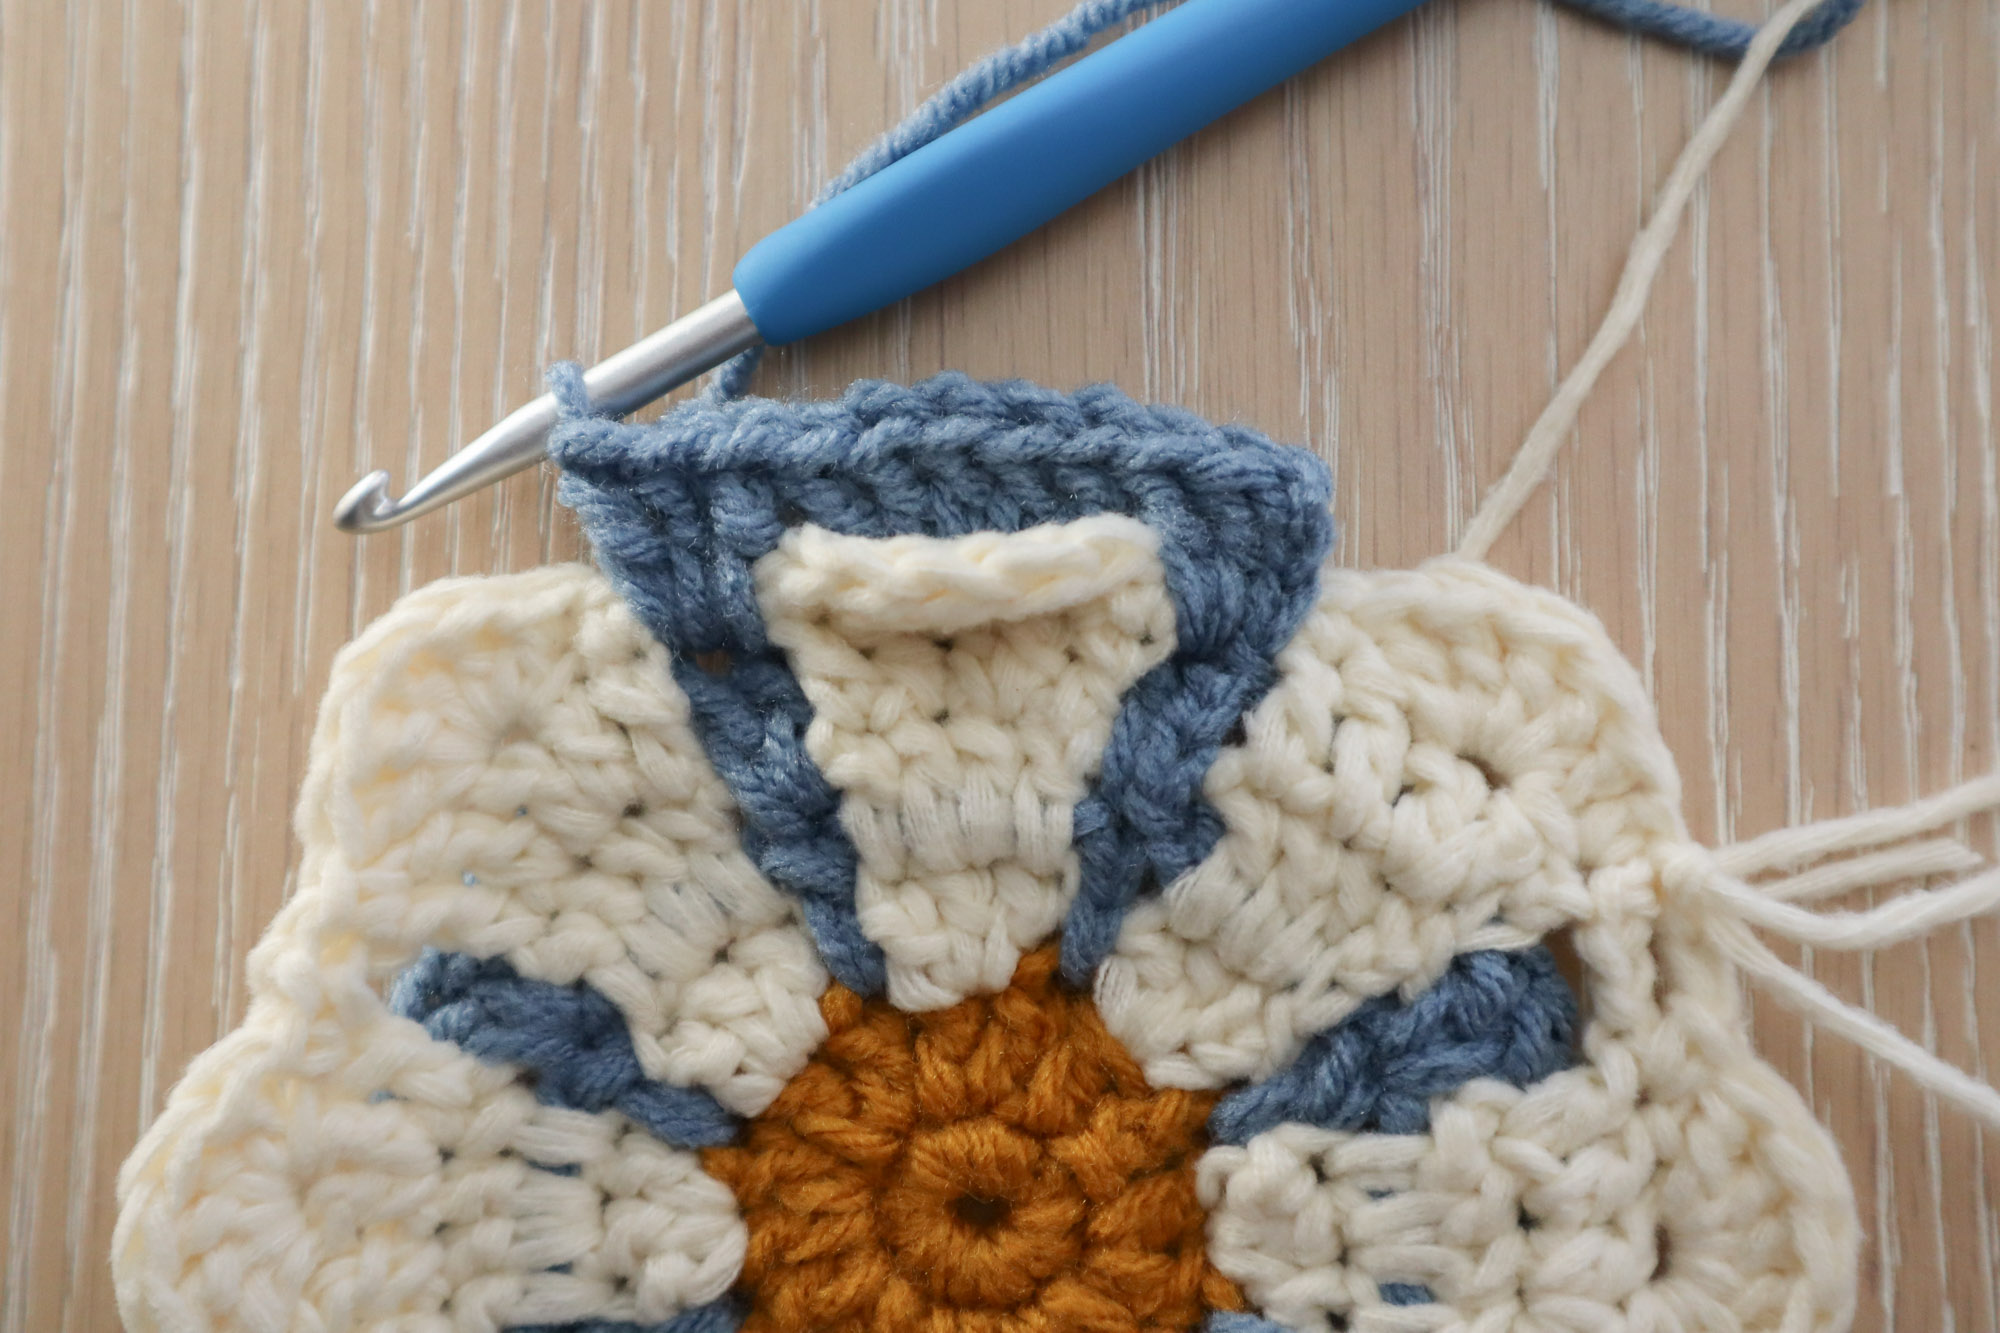
Continue working 5dc in the ch5 spaces and 1dc, 2dc across the two background sts from rnd 6. End with a ch5 and sl st to the top of your starting ch3 to complete the rnd.

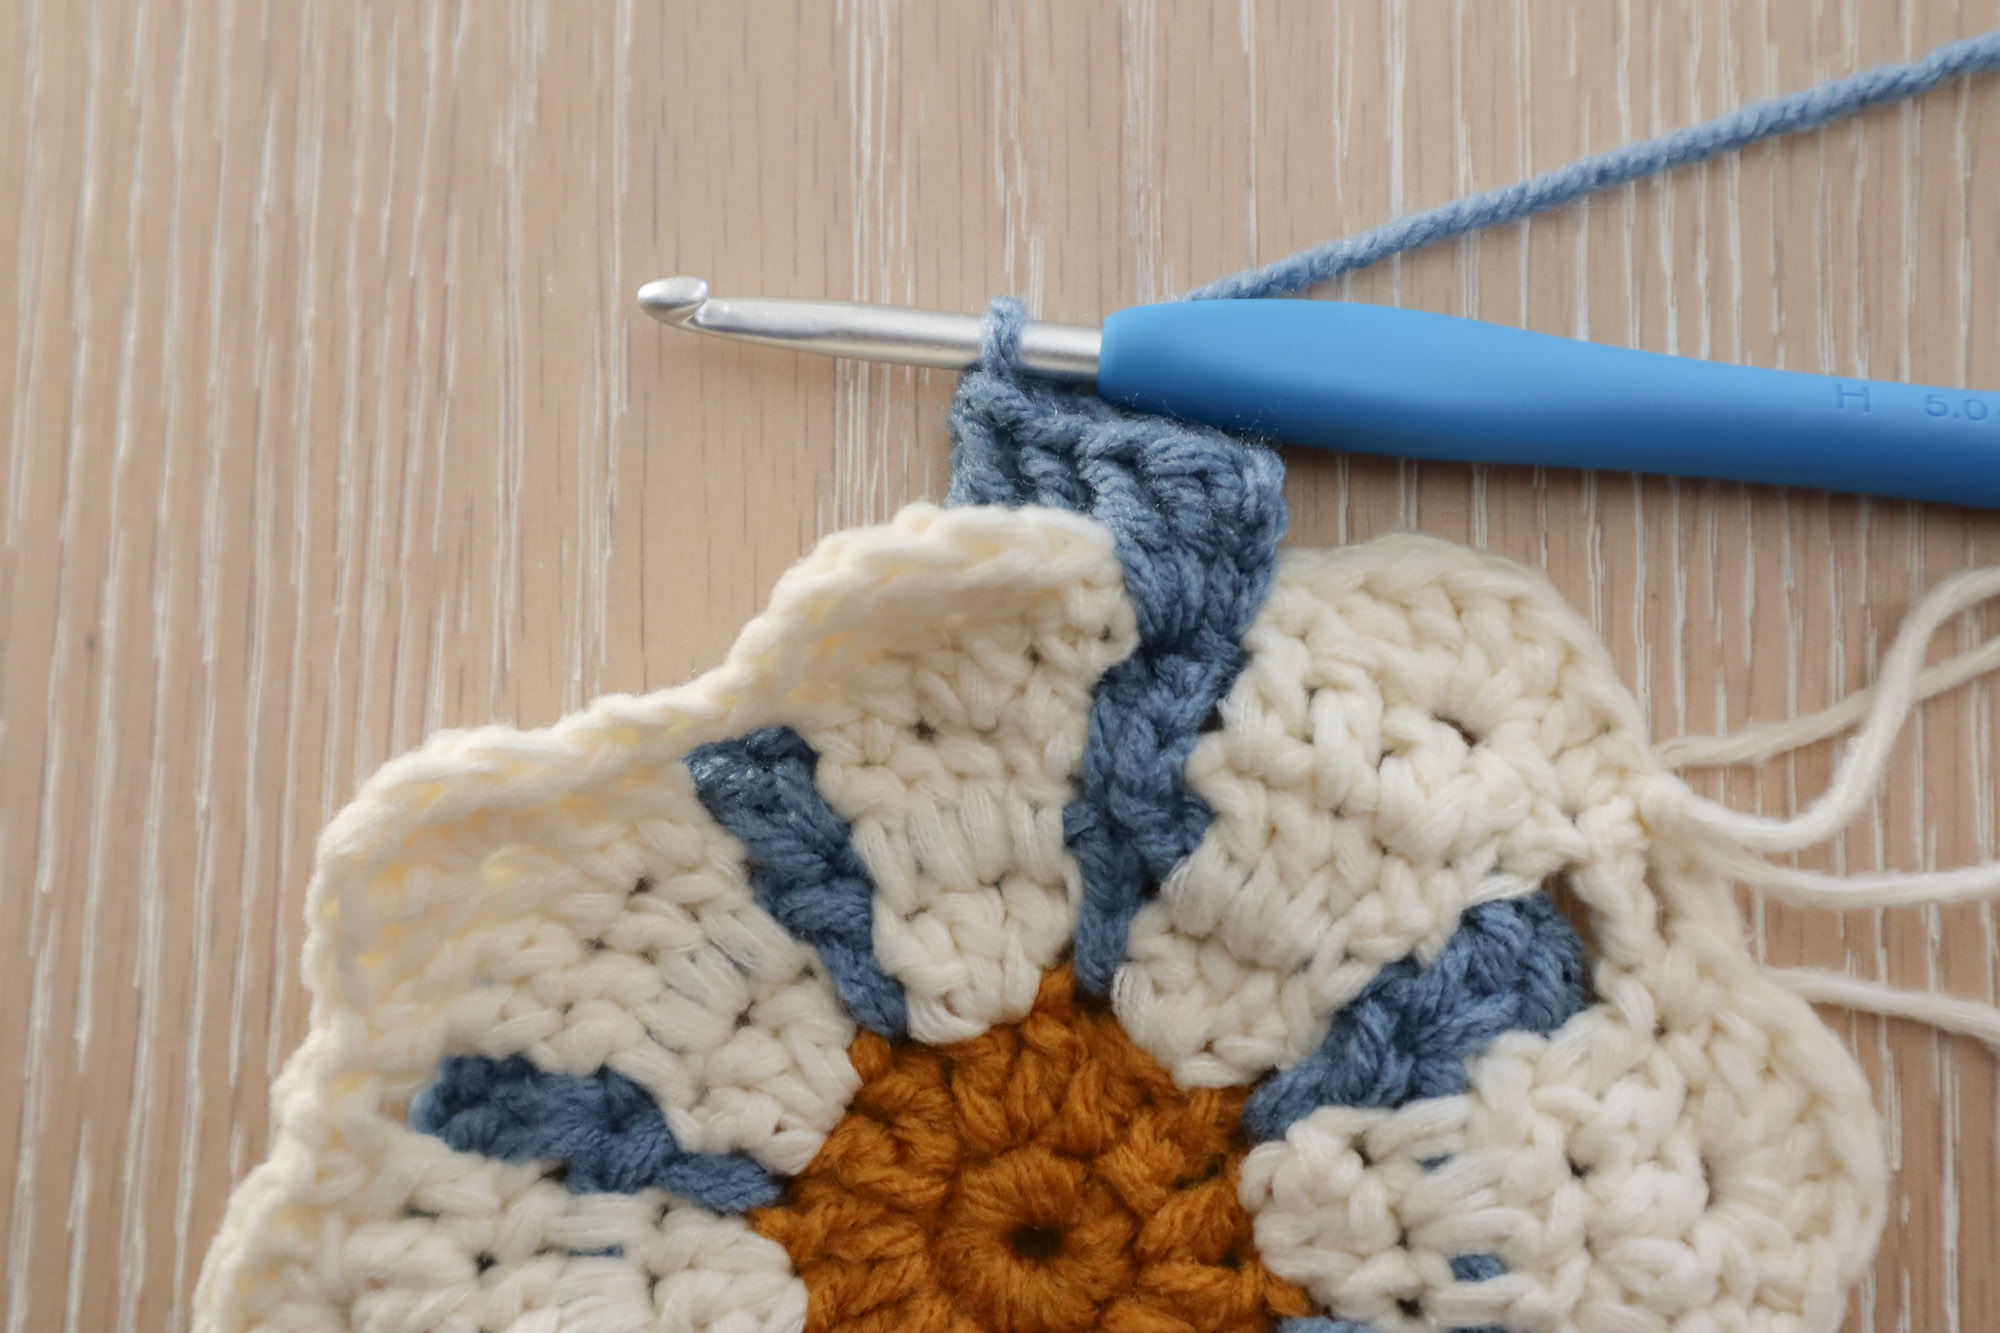
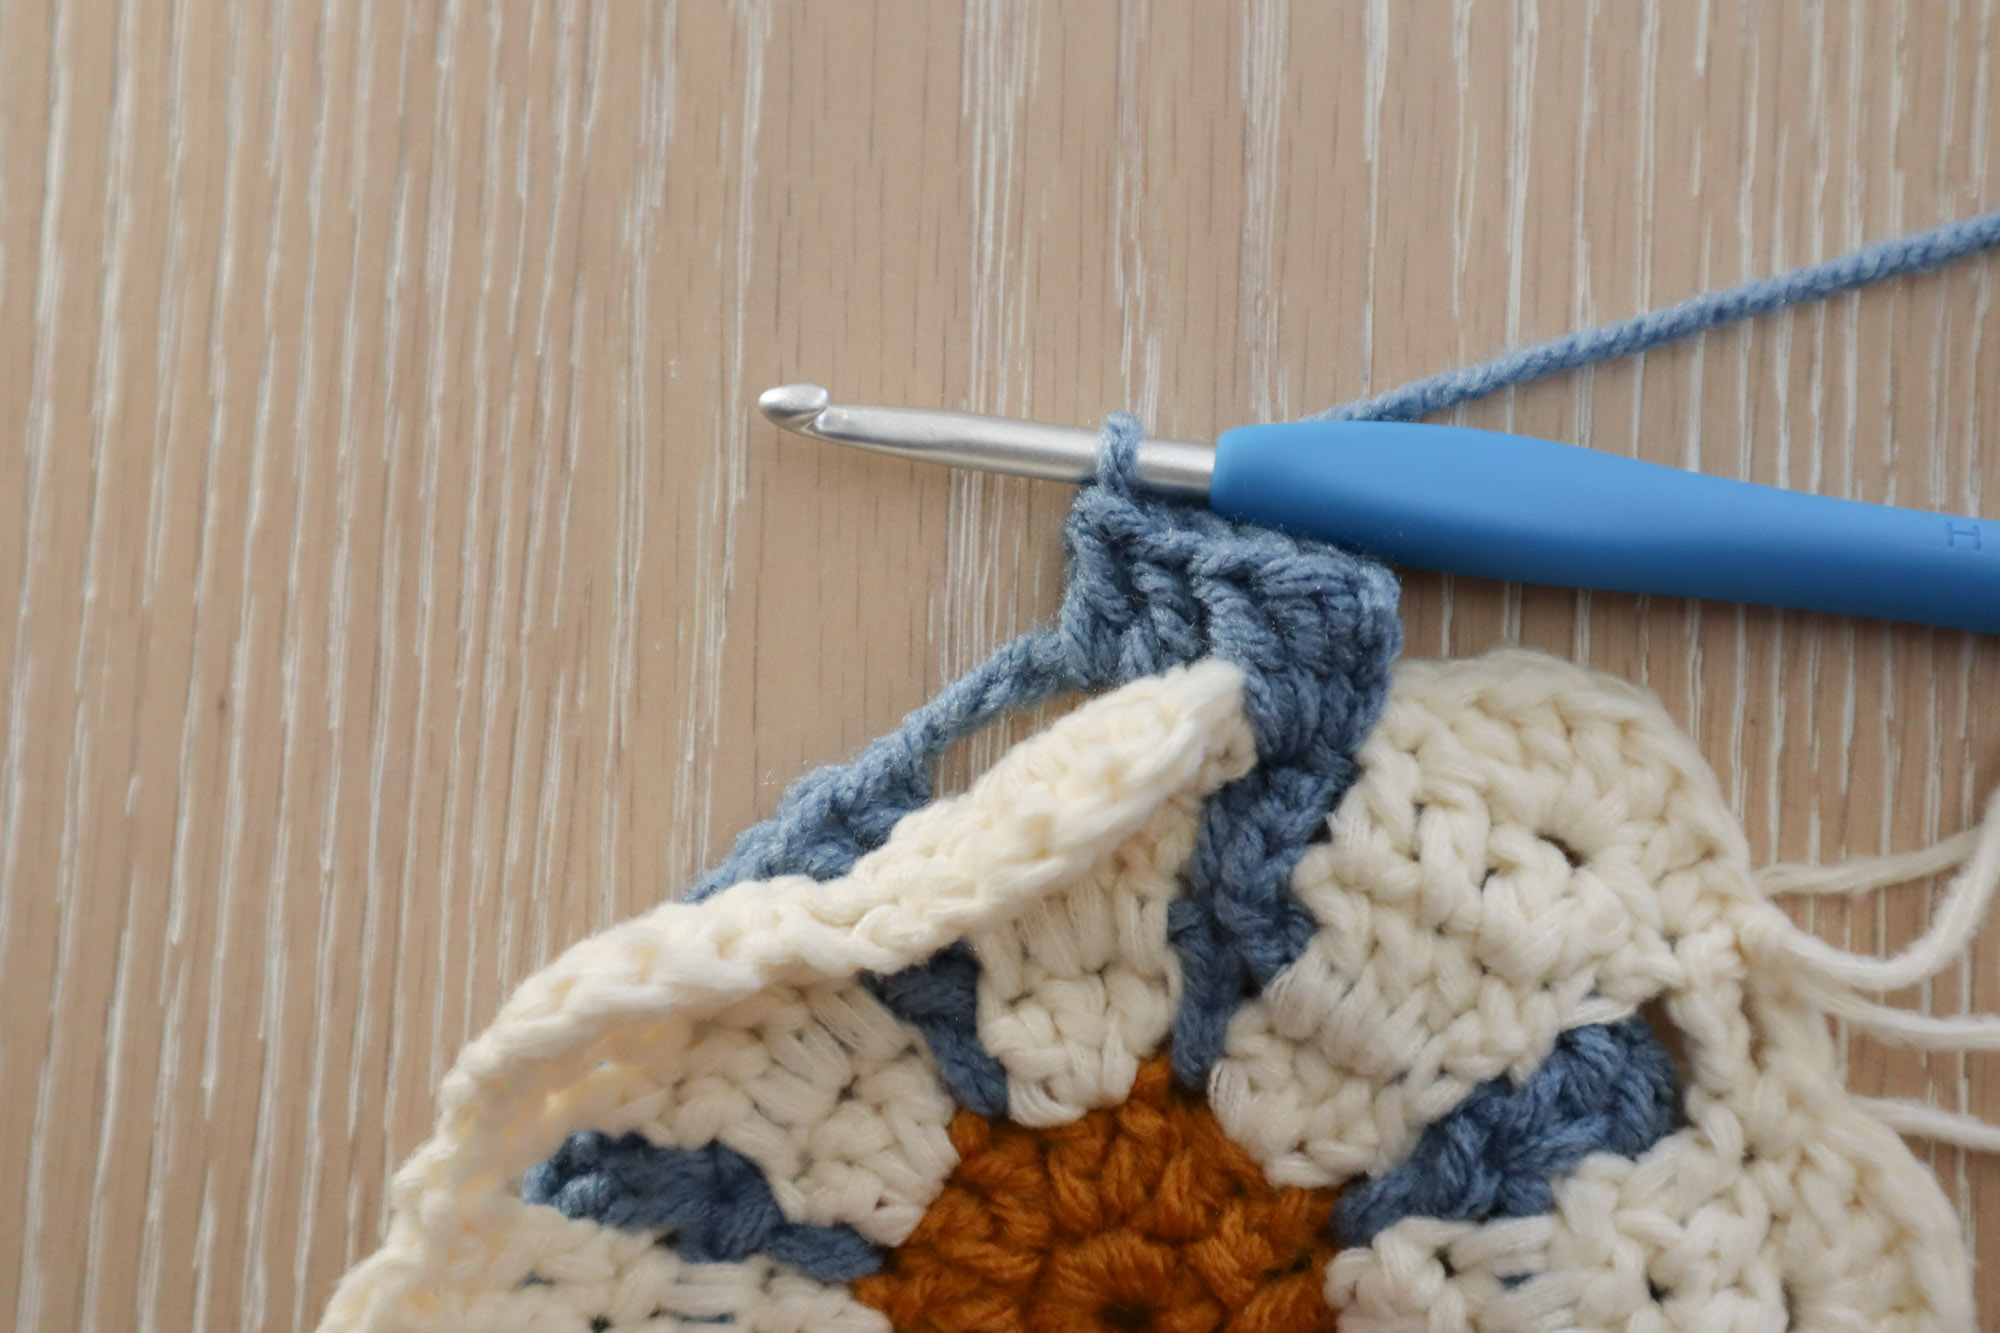
Round 10 – Squaring the flower
Ch3, counts as 1dc. Complete a “corner” into the next st by working 2dc, ch2, 2dc all into the same st. Work 1dc in the next st.
Across the next 13 sts, work 1hdc, sc 11, 1hdc. Then, work 1dc in the next st, (2dc, ch2, 2dc) in the next st, followed by 1dc.
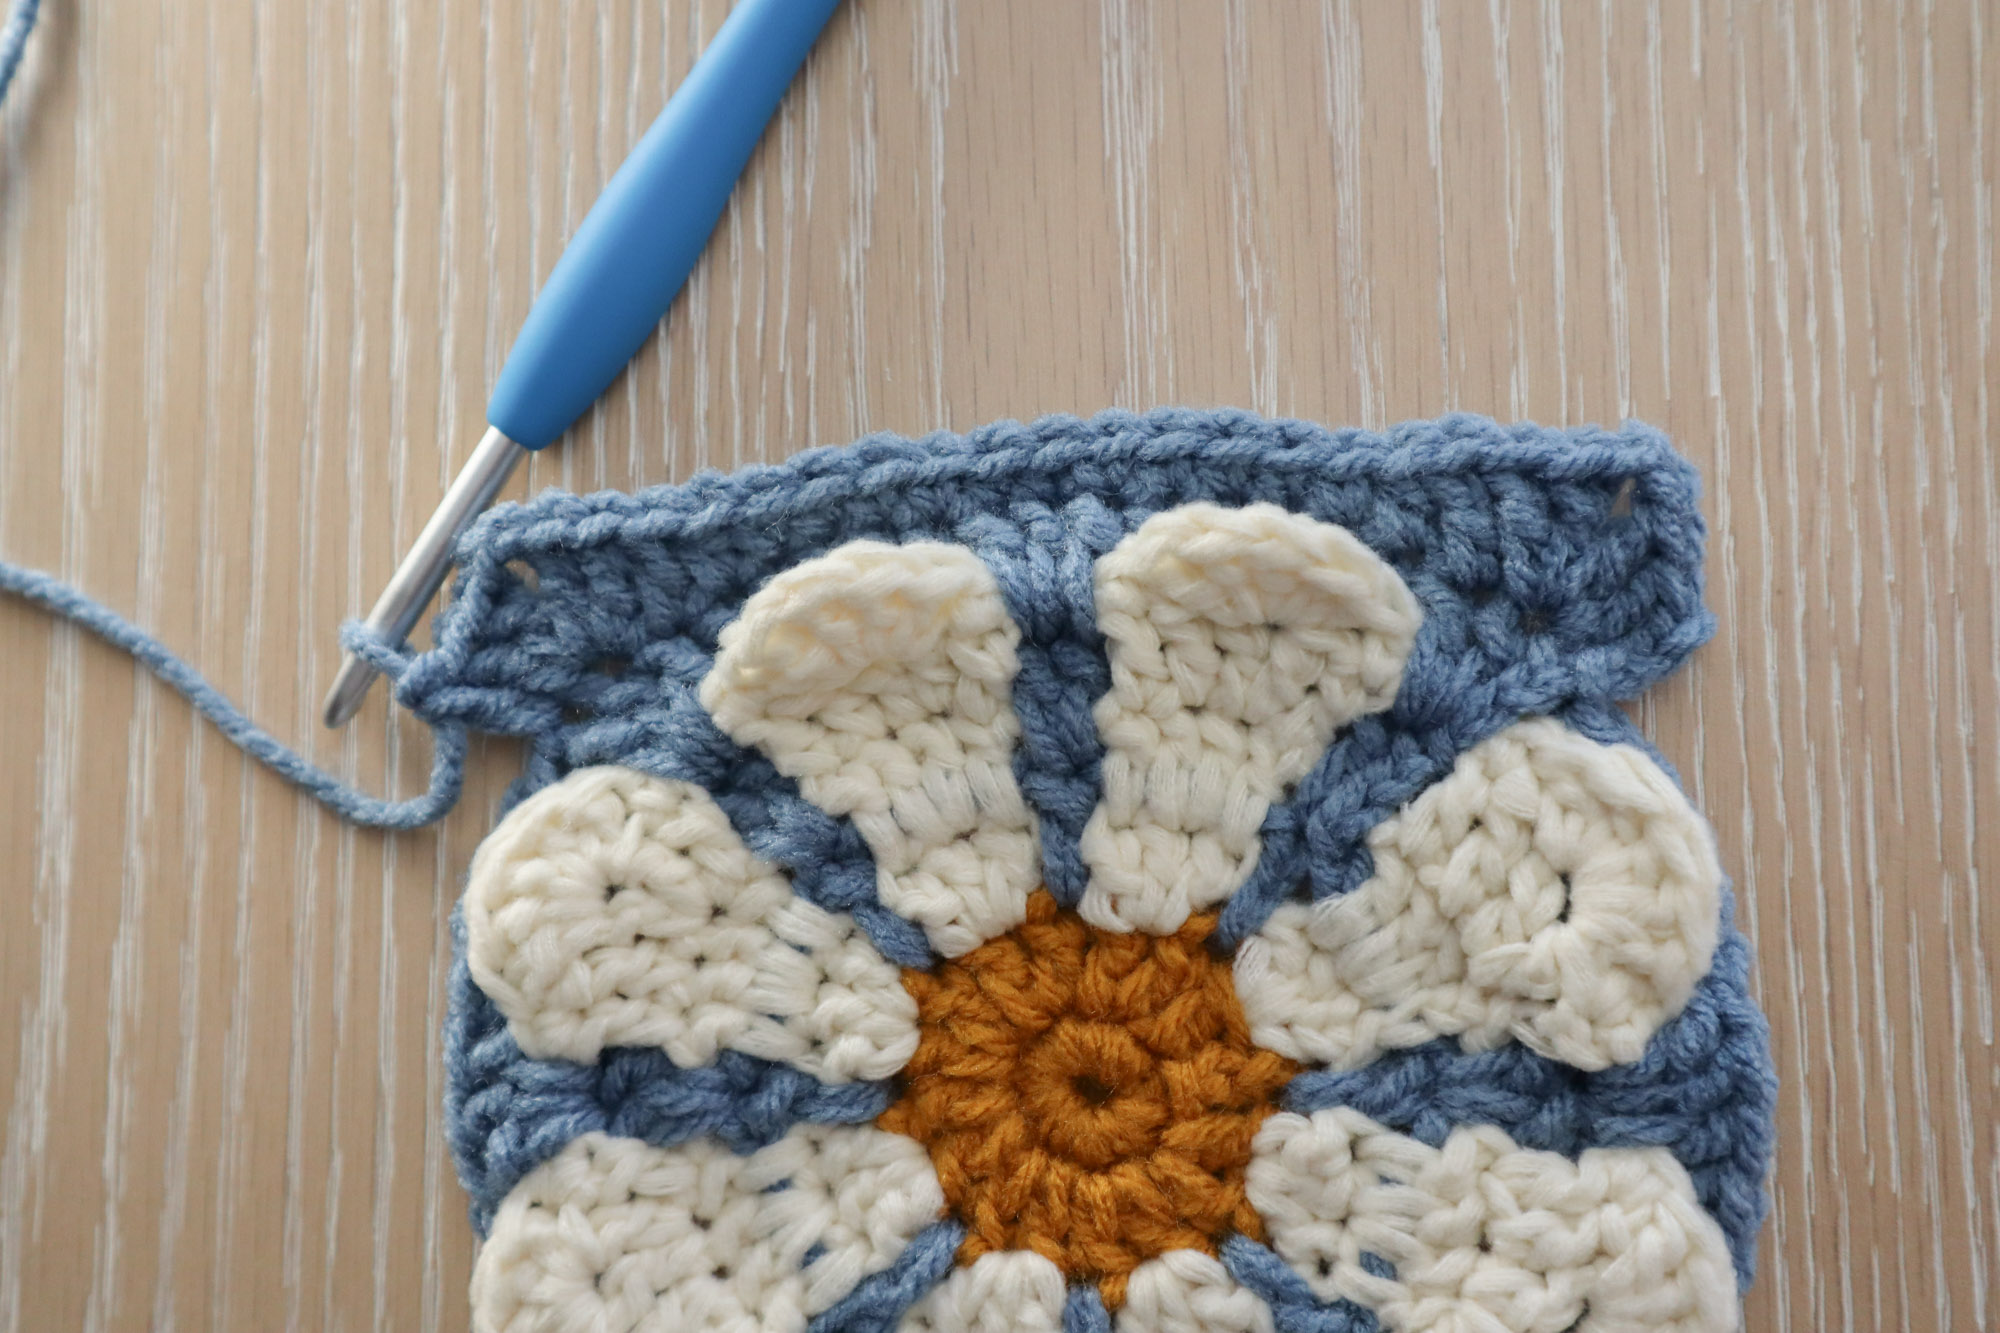
Repeat *1hdc, sc 11, 1hdc, 1dc (2dc, ch2, 2dc) 1dc* two more times. Then, work 1hdc, sc 11, 1hdc across the last 13 sts and sl st to the top of your starting ch3 to complete the rnd.
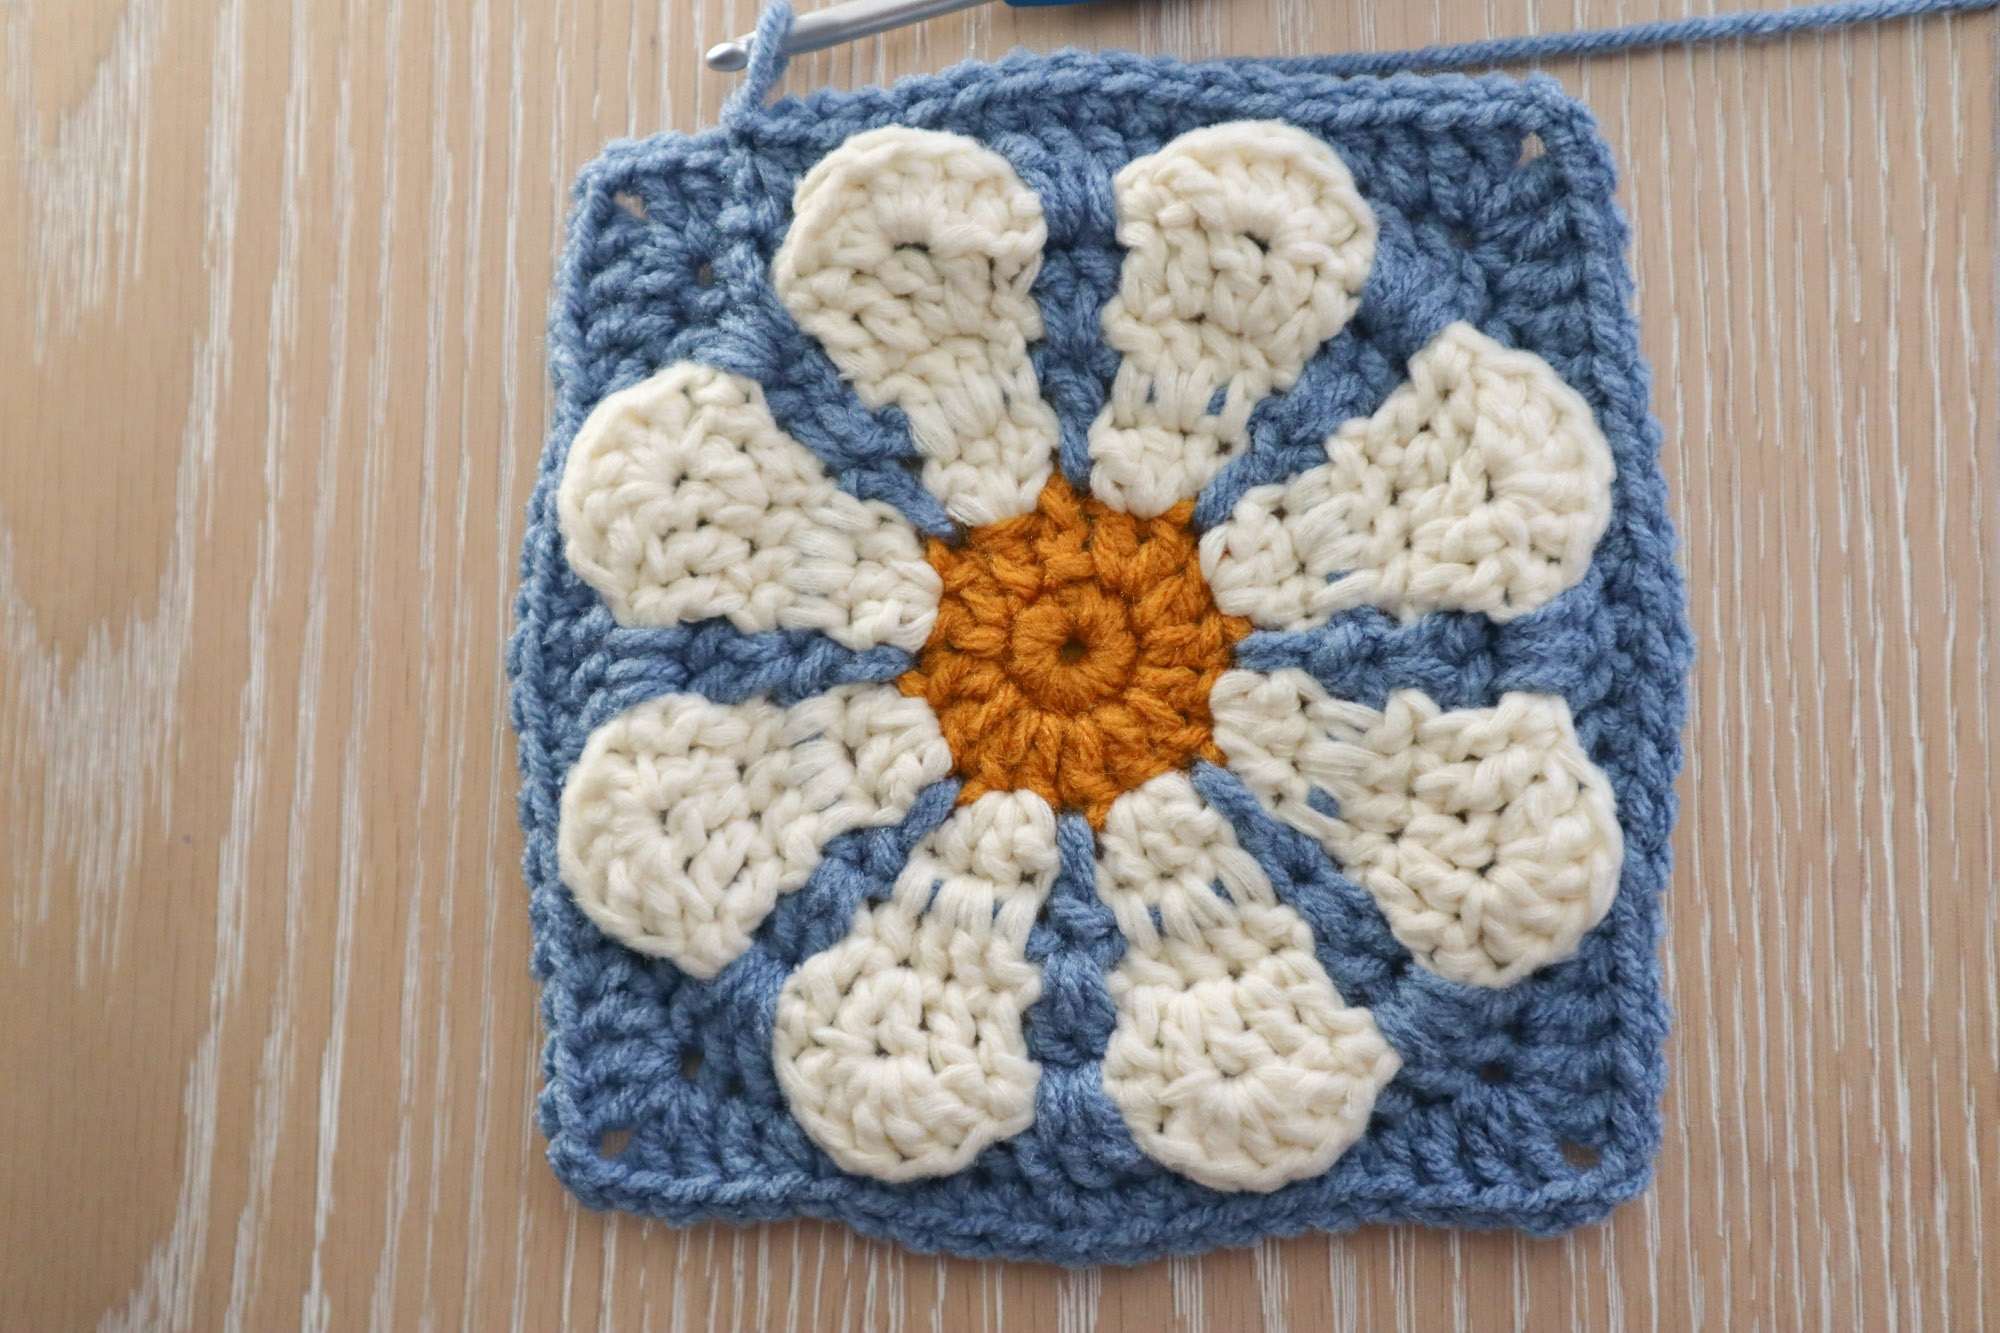
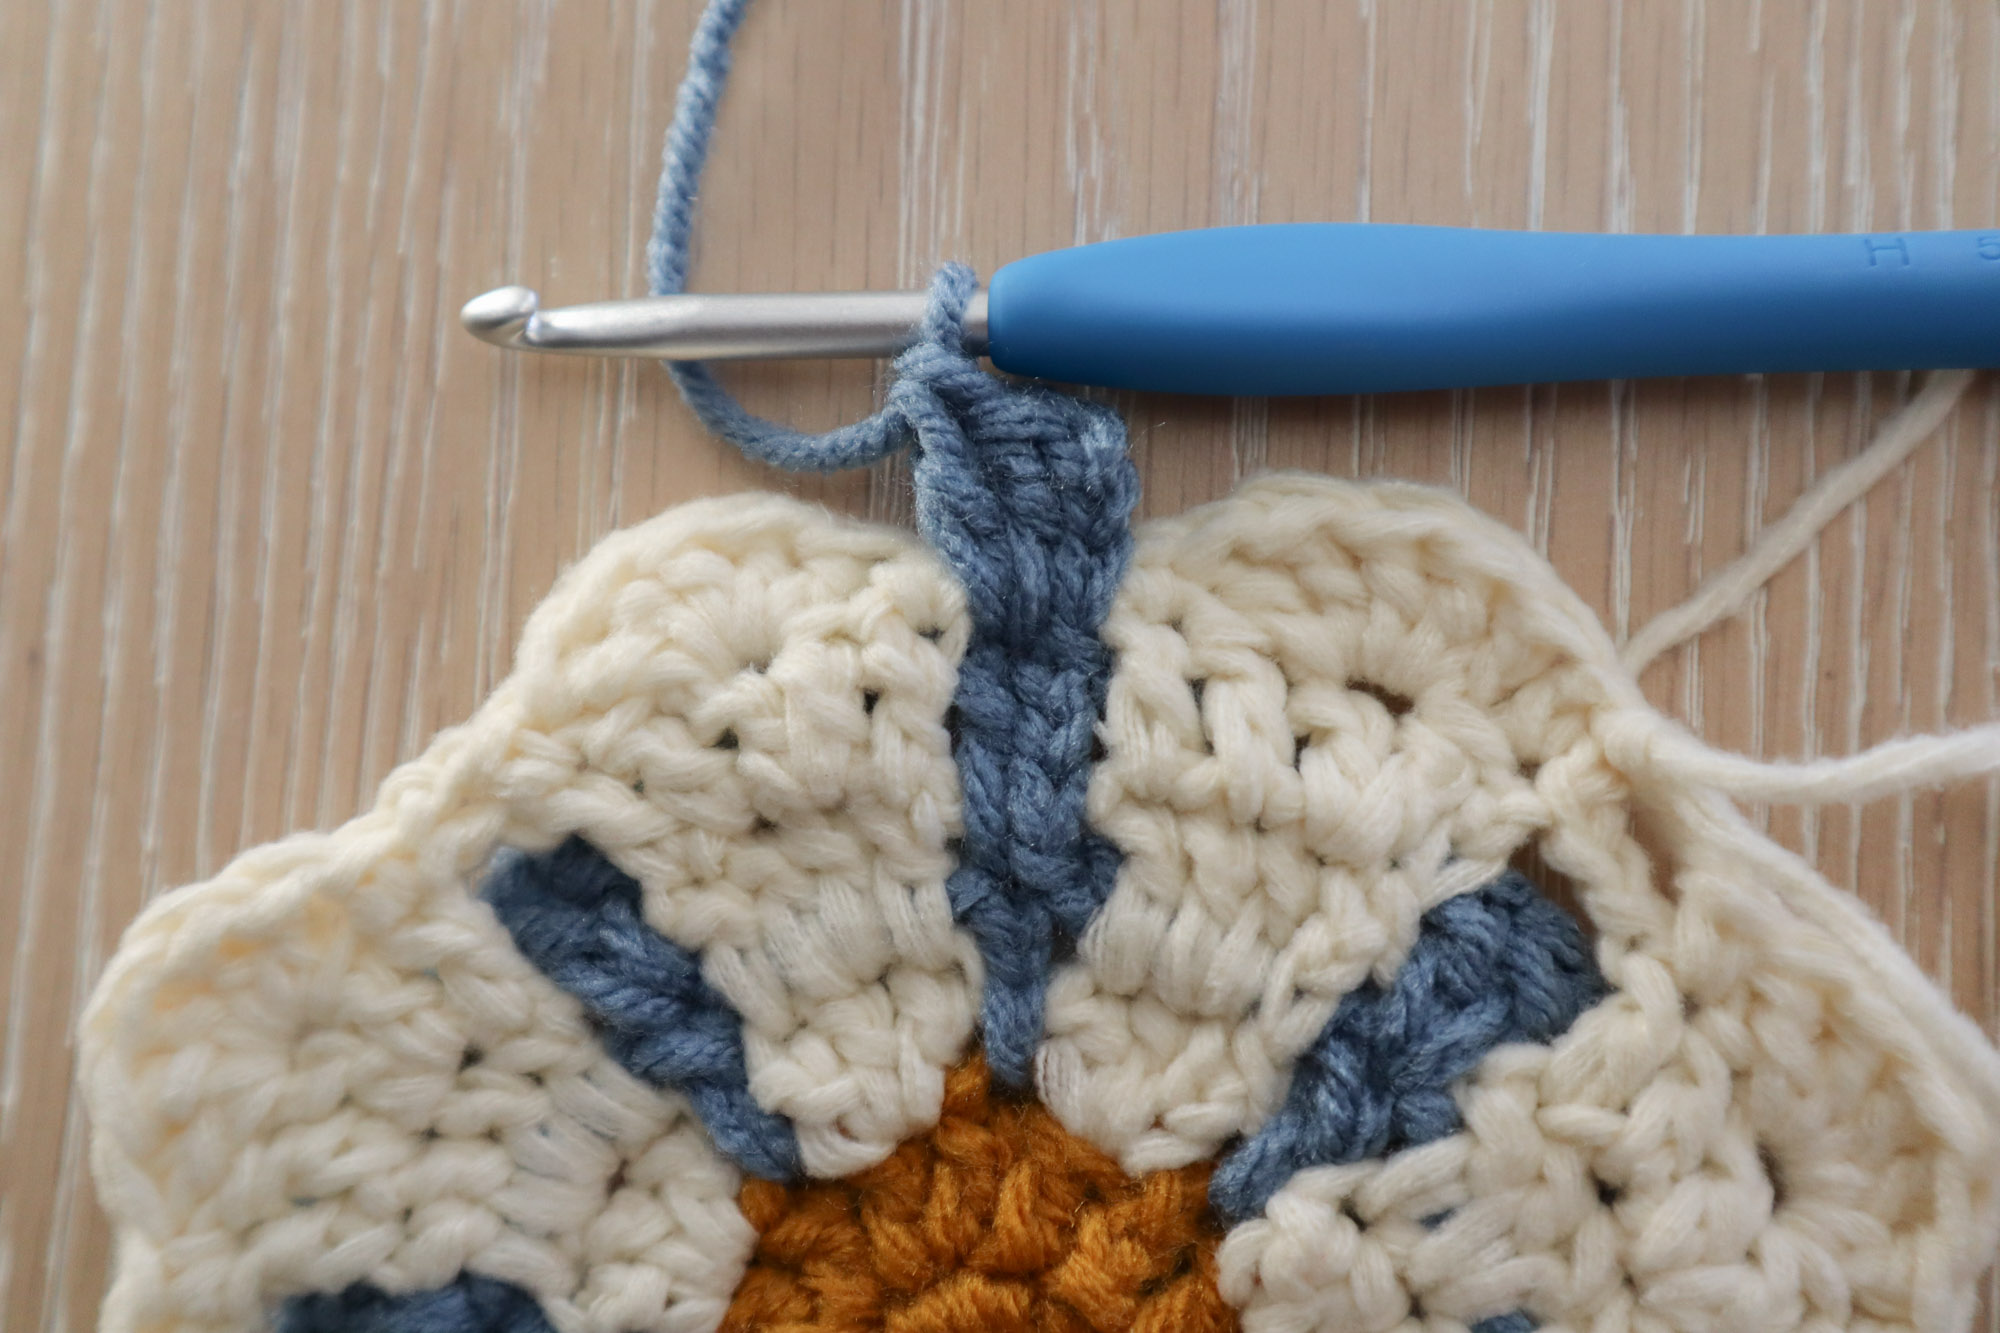
Round 11 – Evening out the square
Ch2 (counts as 1hdc), and make 1hdc in each of the next two sts. Into the corner ch sp, work 2hdc, ch2, 2hdc.
Across the next 19sts, work the following sequence: hdc 4, sc 3, sc 5 into the post below (waistcoat stitch), sc 3, hdc 4.
Repeat 2hdc, ch2, 2hdc into the corner ch sp followed by hdc4, sc 3, sc 5 into the post below, sc 3, hdc 4 across the following 19sts. Finish with 1hdc in the last available st and sl st to the top of your starting ch2 to complete the rnd.
Finishing
You might consider adding another round or two of straight single crochet or half double crochet to really even out those edges. This square also benefits a lot from blocking to help keep everything square. Otherwise weave in your ends and enjoy!
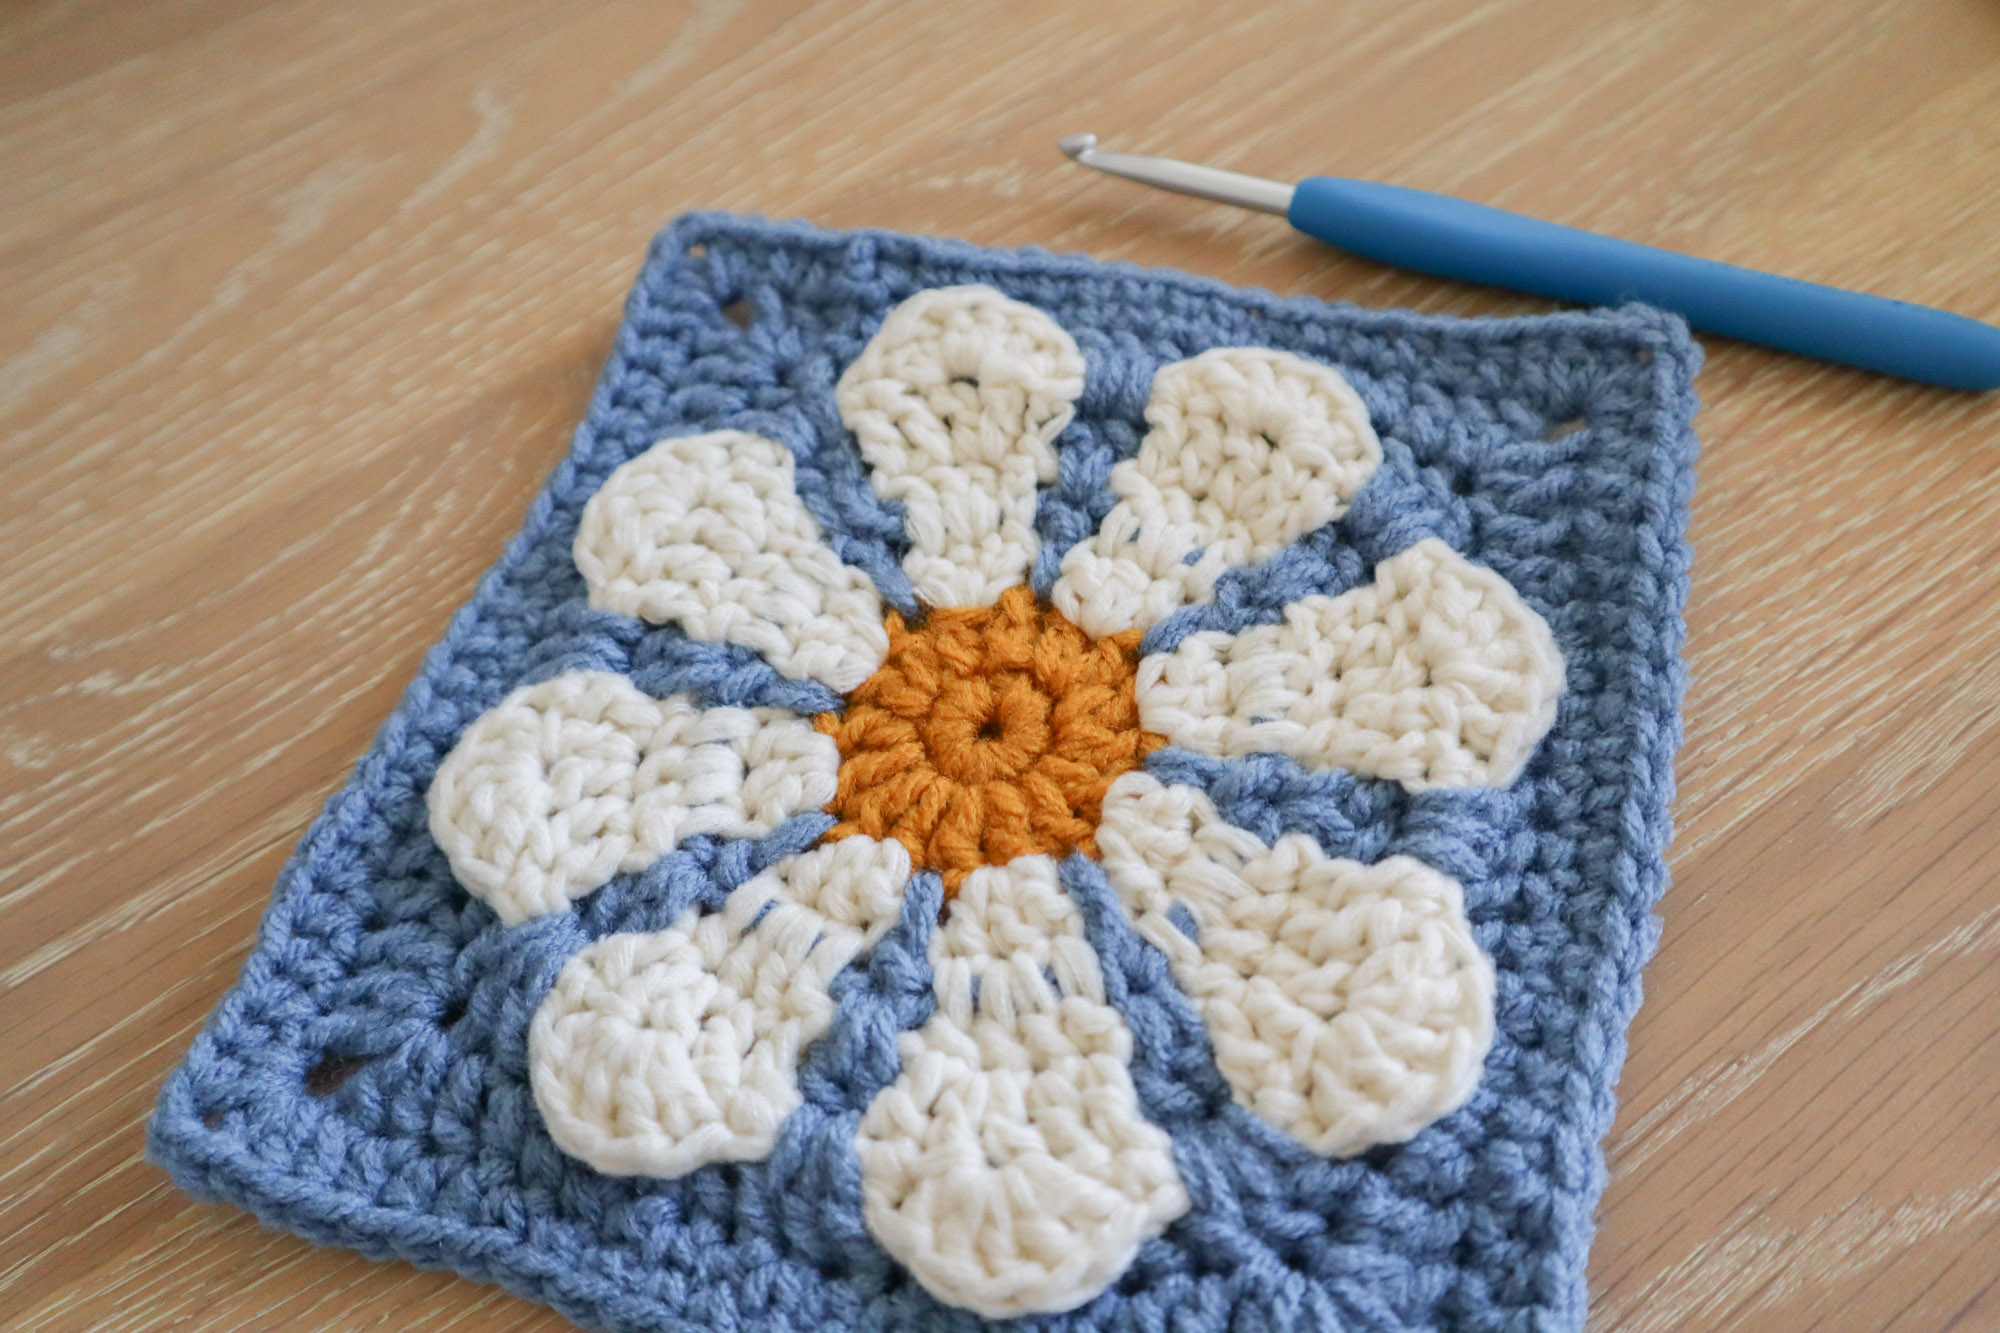
This retro daisy granny square brings serious flower power to your crochet projects. Try it in 70s-inspired colors for a vintage look, or swap in neon’s or pastels for modern looks!
Pin for later!