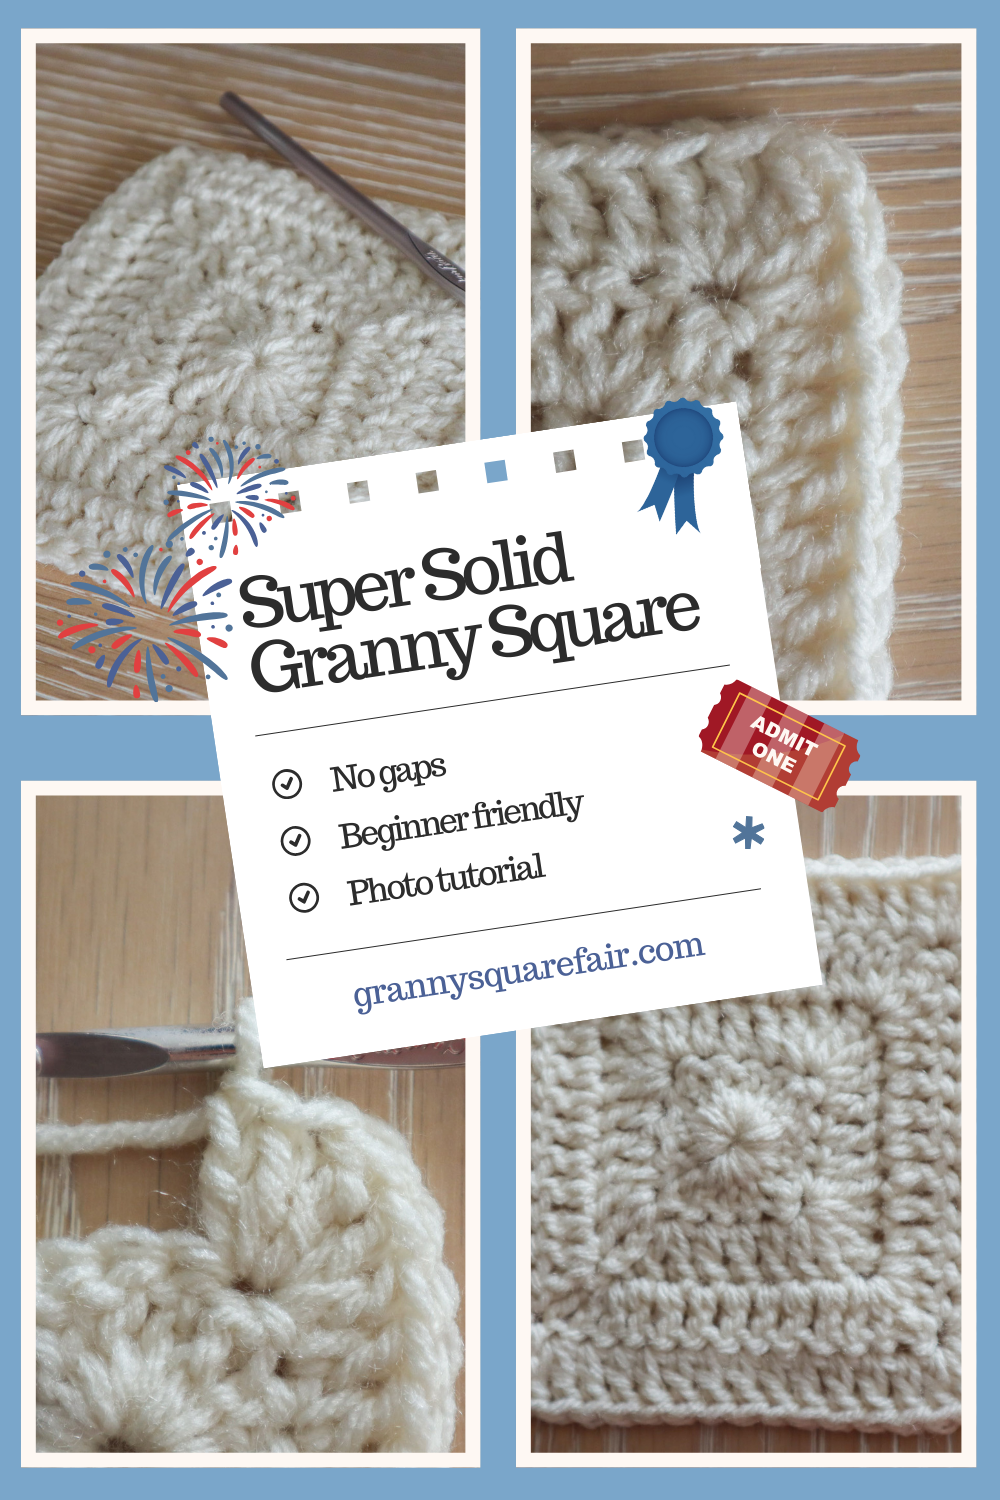
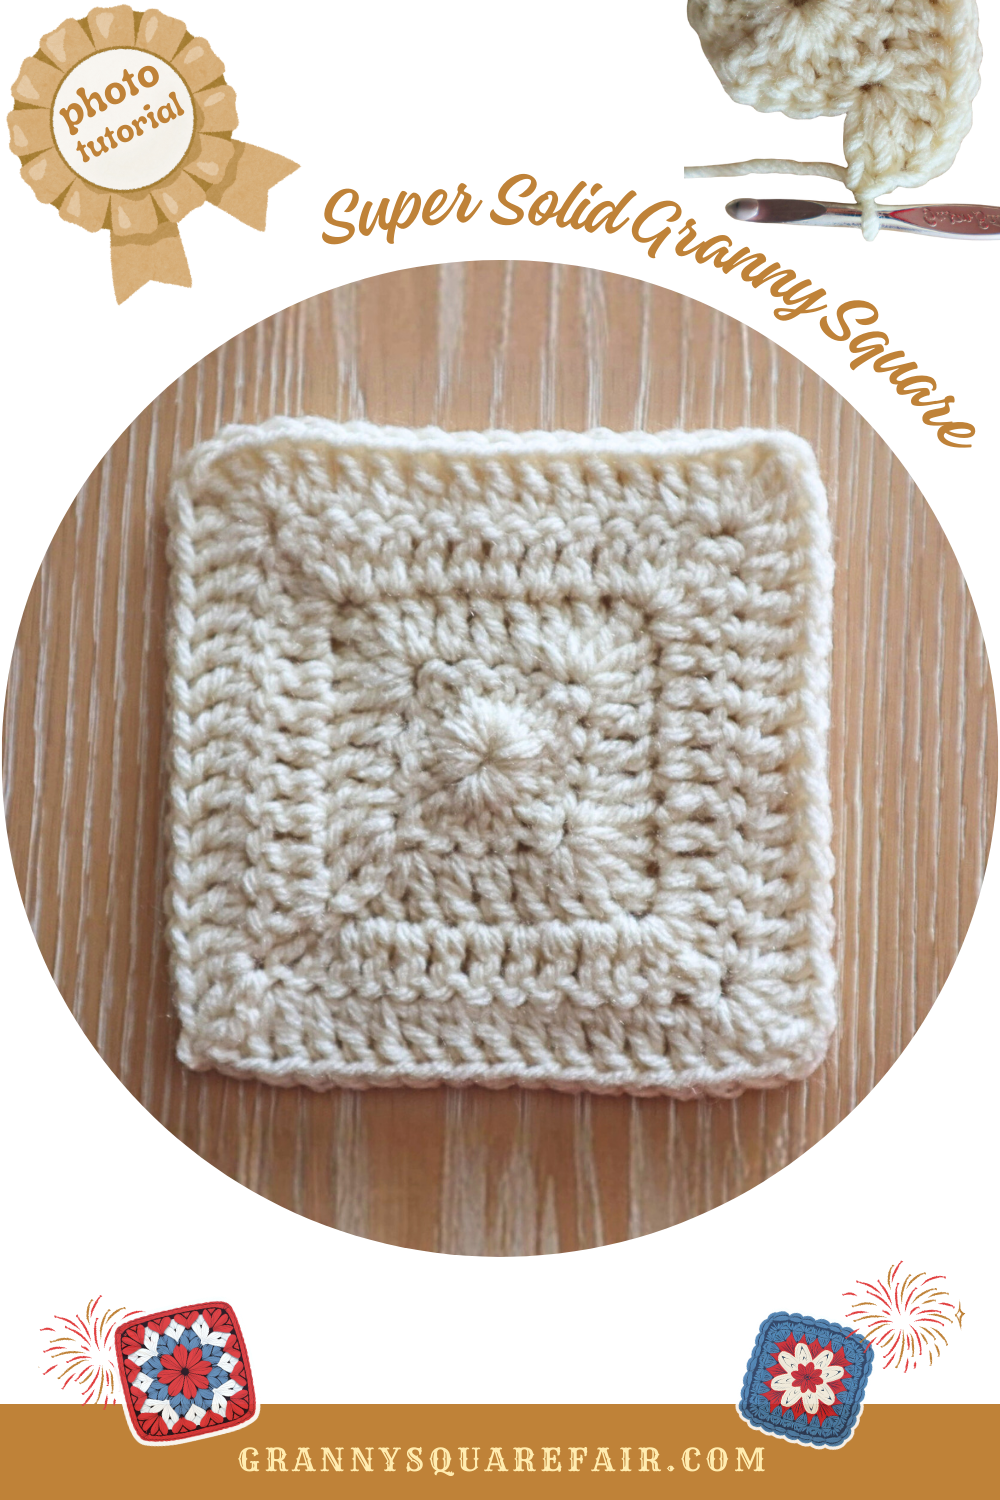
Super Solid Granny Square – No holes or gaps at all!
It’s important to have the right granny square for the project. And, while the classic solid granny square is the go-to for many, sometimes even those chain spaces in the corners are too lacey.
From bags that need to securely carry small things to some tops that need a bit more modesty or maybe even a baby blanket that you wan to be “tiny toes” proof, only the super solid granny square is solid enough to cut it.
So today lets tackle this unique way to approach a granny square that uses no chains at all (well, except for starting chains a’course). What a concept!
Jump to:
Skill Level
Beginner — similarly beginner friendly to a regular solid granny square. Just get some practice using those treble crochets, okay?
Stitch Abbreviations Used in the Pattern (U.S. Terms)
| Abbreviation | Stitch Name |
|---|---|
| ch | chain |
| sl st | slip stitch |
| dc | double crochet |
| tr | treble (triple) crochet |
| sp | space |
| st(s) | stitch(es) |
| rep | repeat |
| rnd | round |
What You’ll Need
- Yarn: Any weight yarn you like — I used basic acrylic in a worsted 4 weight.
- Hook: Use the hook size suggested on your yarn label or consider going even smaller for a square that’s even more solid!
- Notions: Scissors, and a good attitude.
Gauge & Size
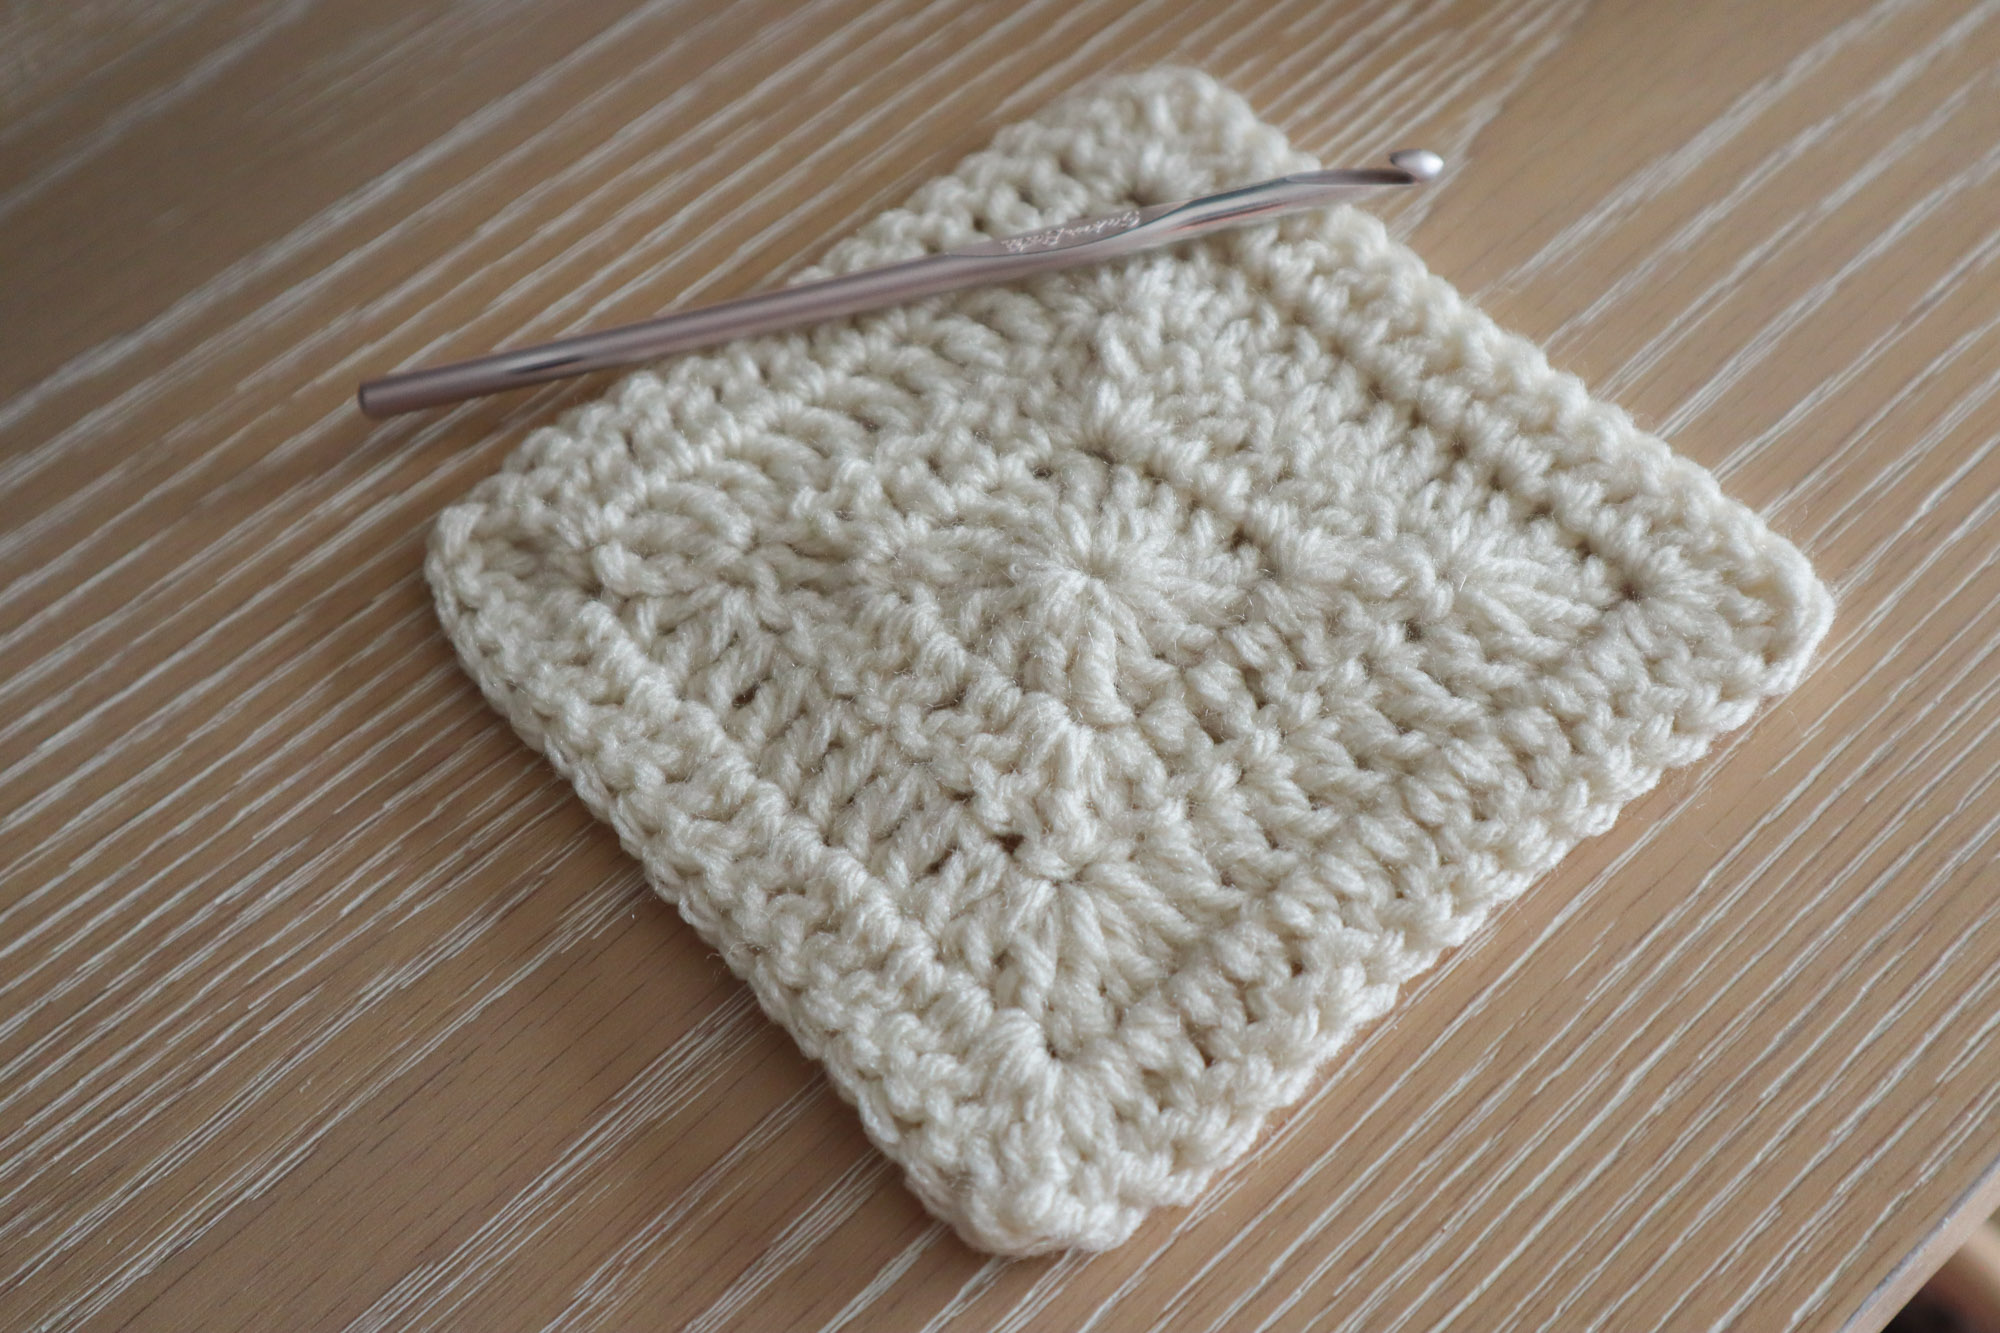
Gauge isn’t critical for this pattern. With a 4-weight yarn and 5mm (H) hook, your finished square will measure around 5 inches across after the 5 total rows/rounds I made in my sample.
Pattern Notes
- Corners are made using treble crochets rather than chain stitches
- A good blocking after the fact will help this pattern lay more square and define the corners
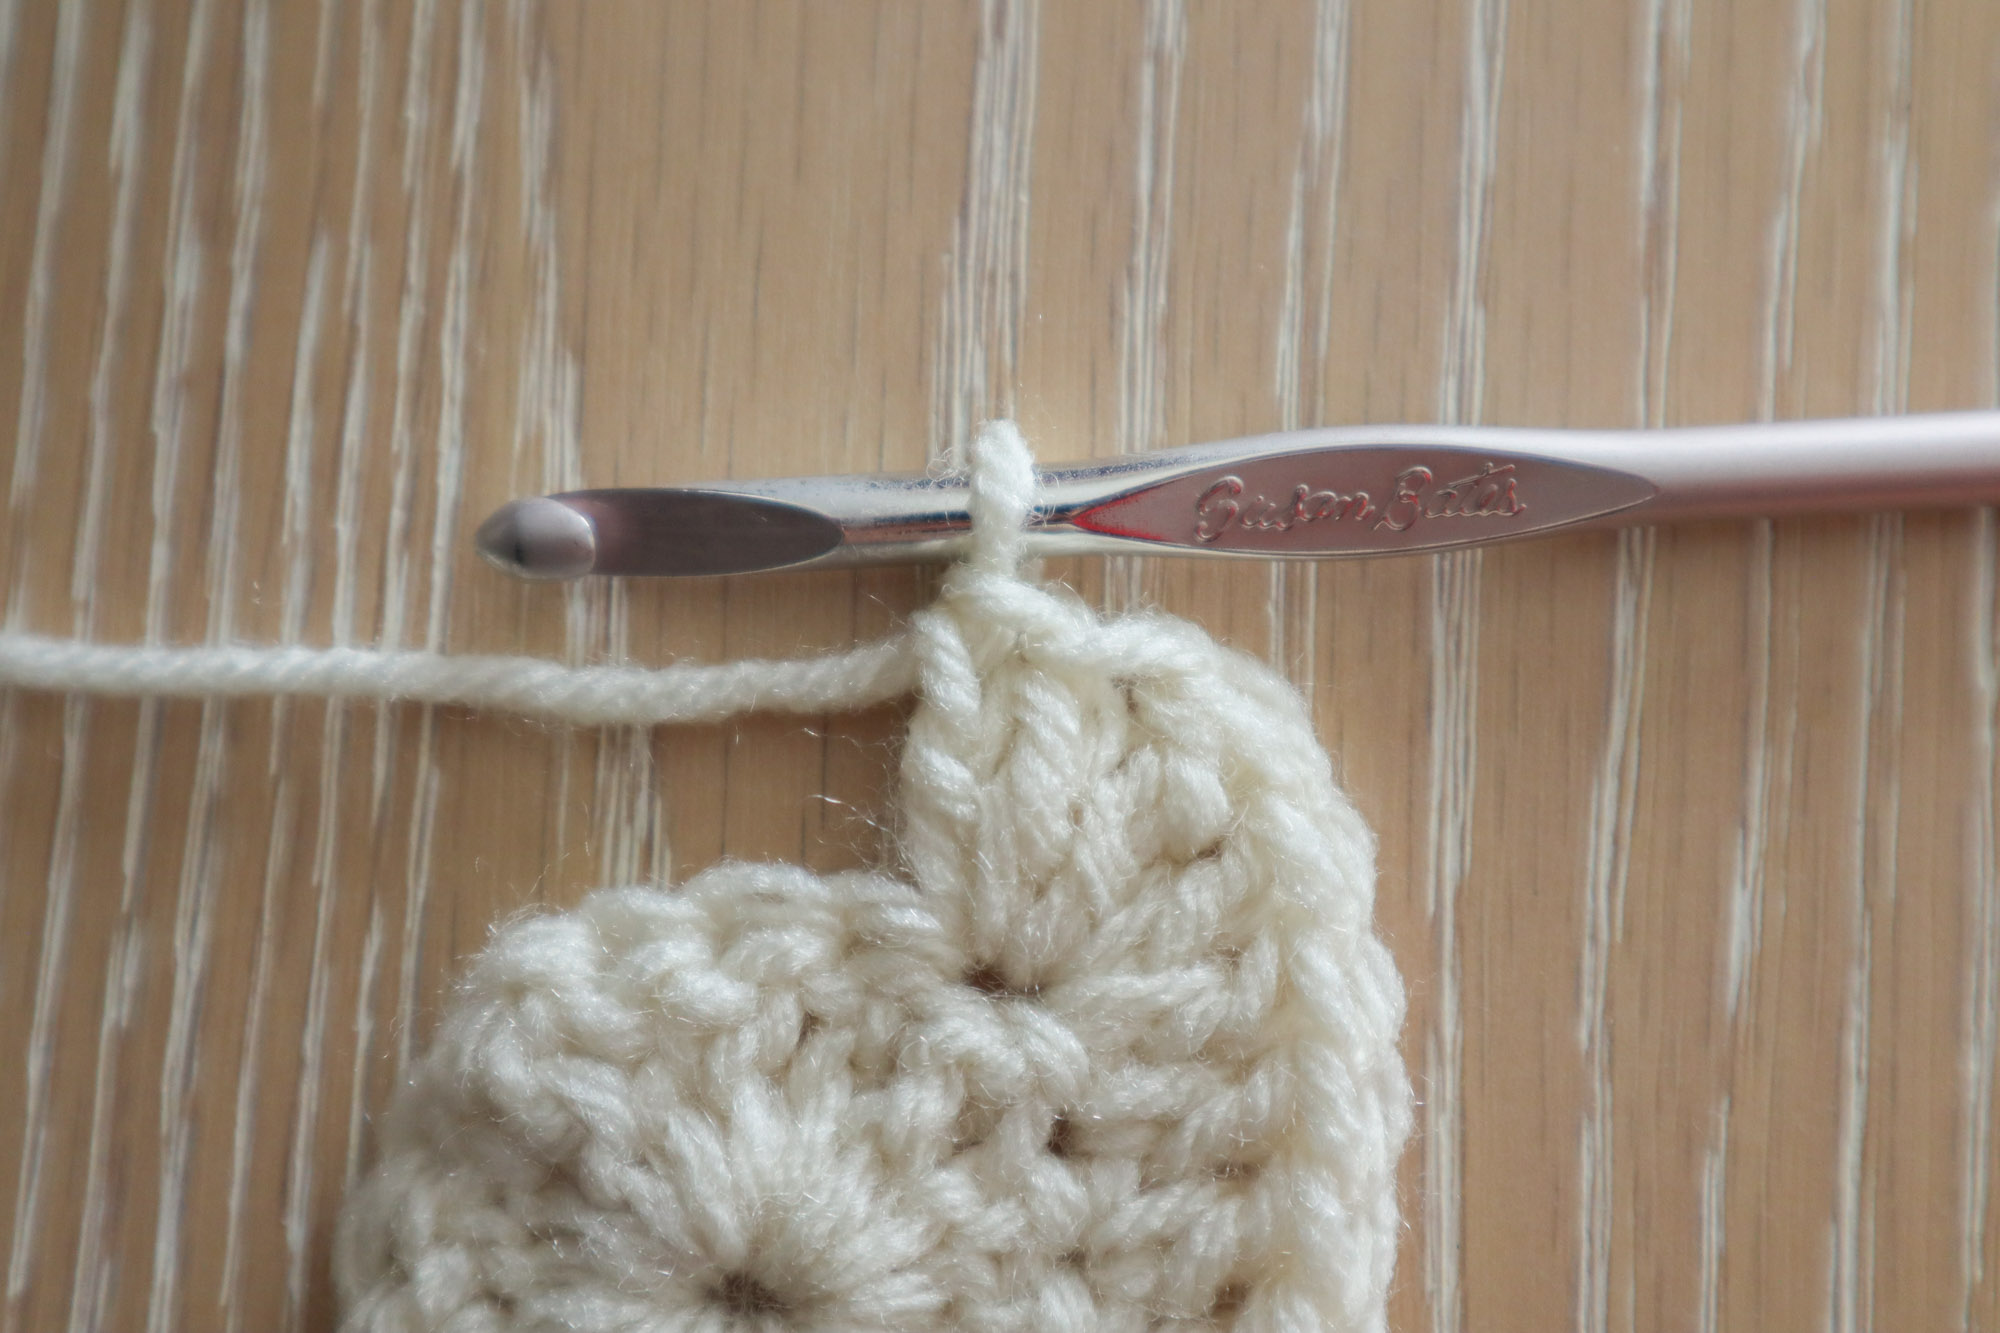
- Starting chain 4s will count as a treble crochet stitch throughout the pattern.
To begin, ch4 and sl st to the first ch to make a ch4 ring.
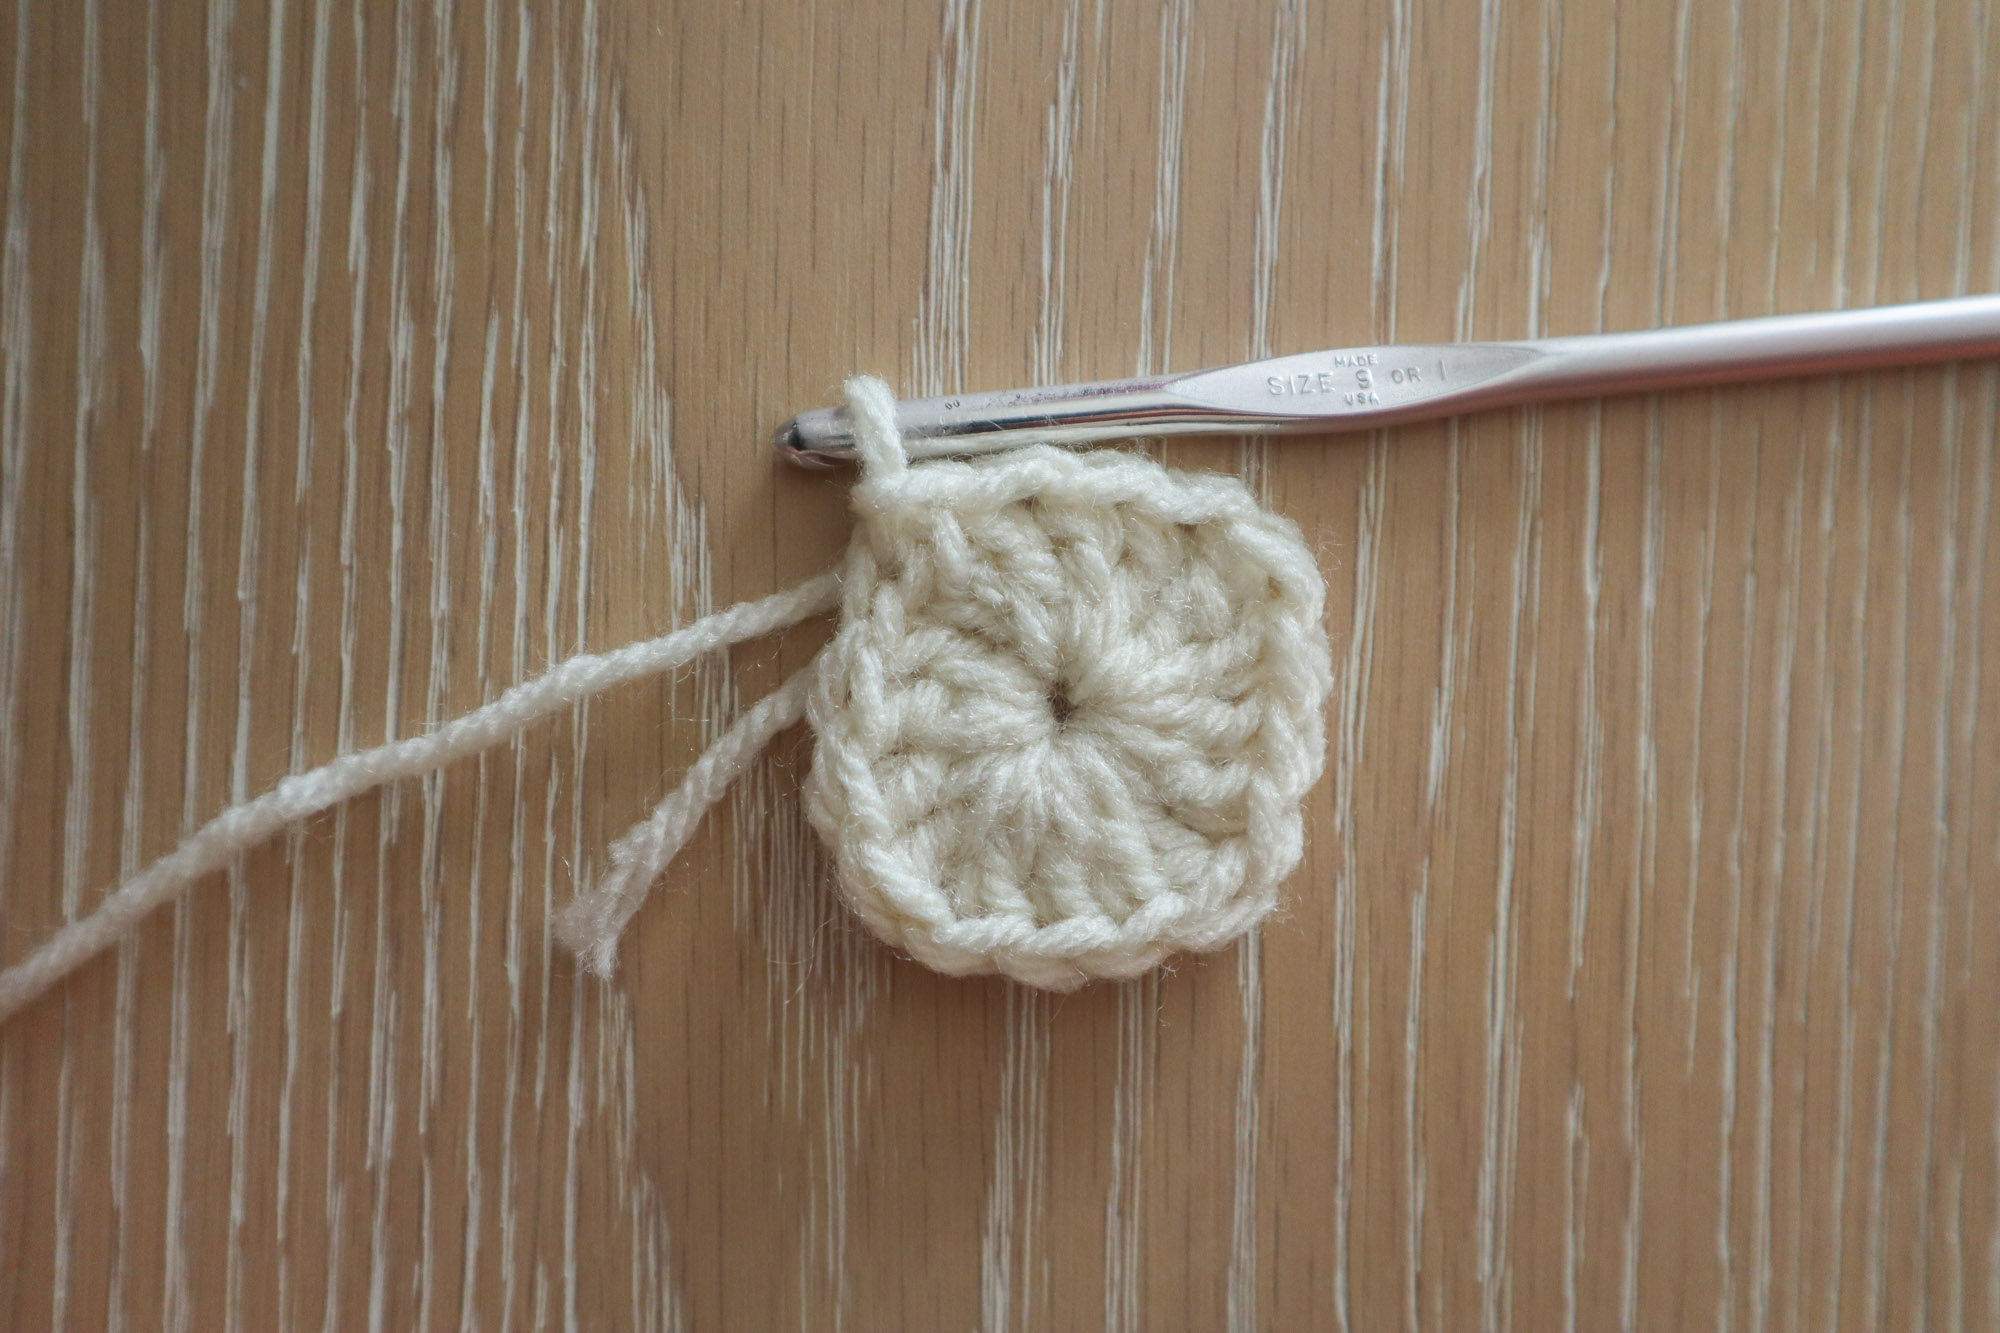
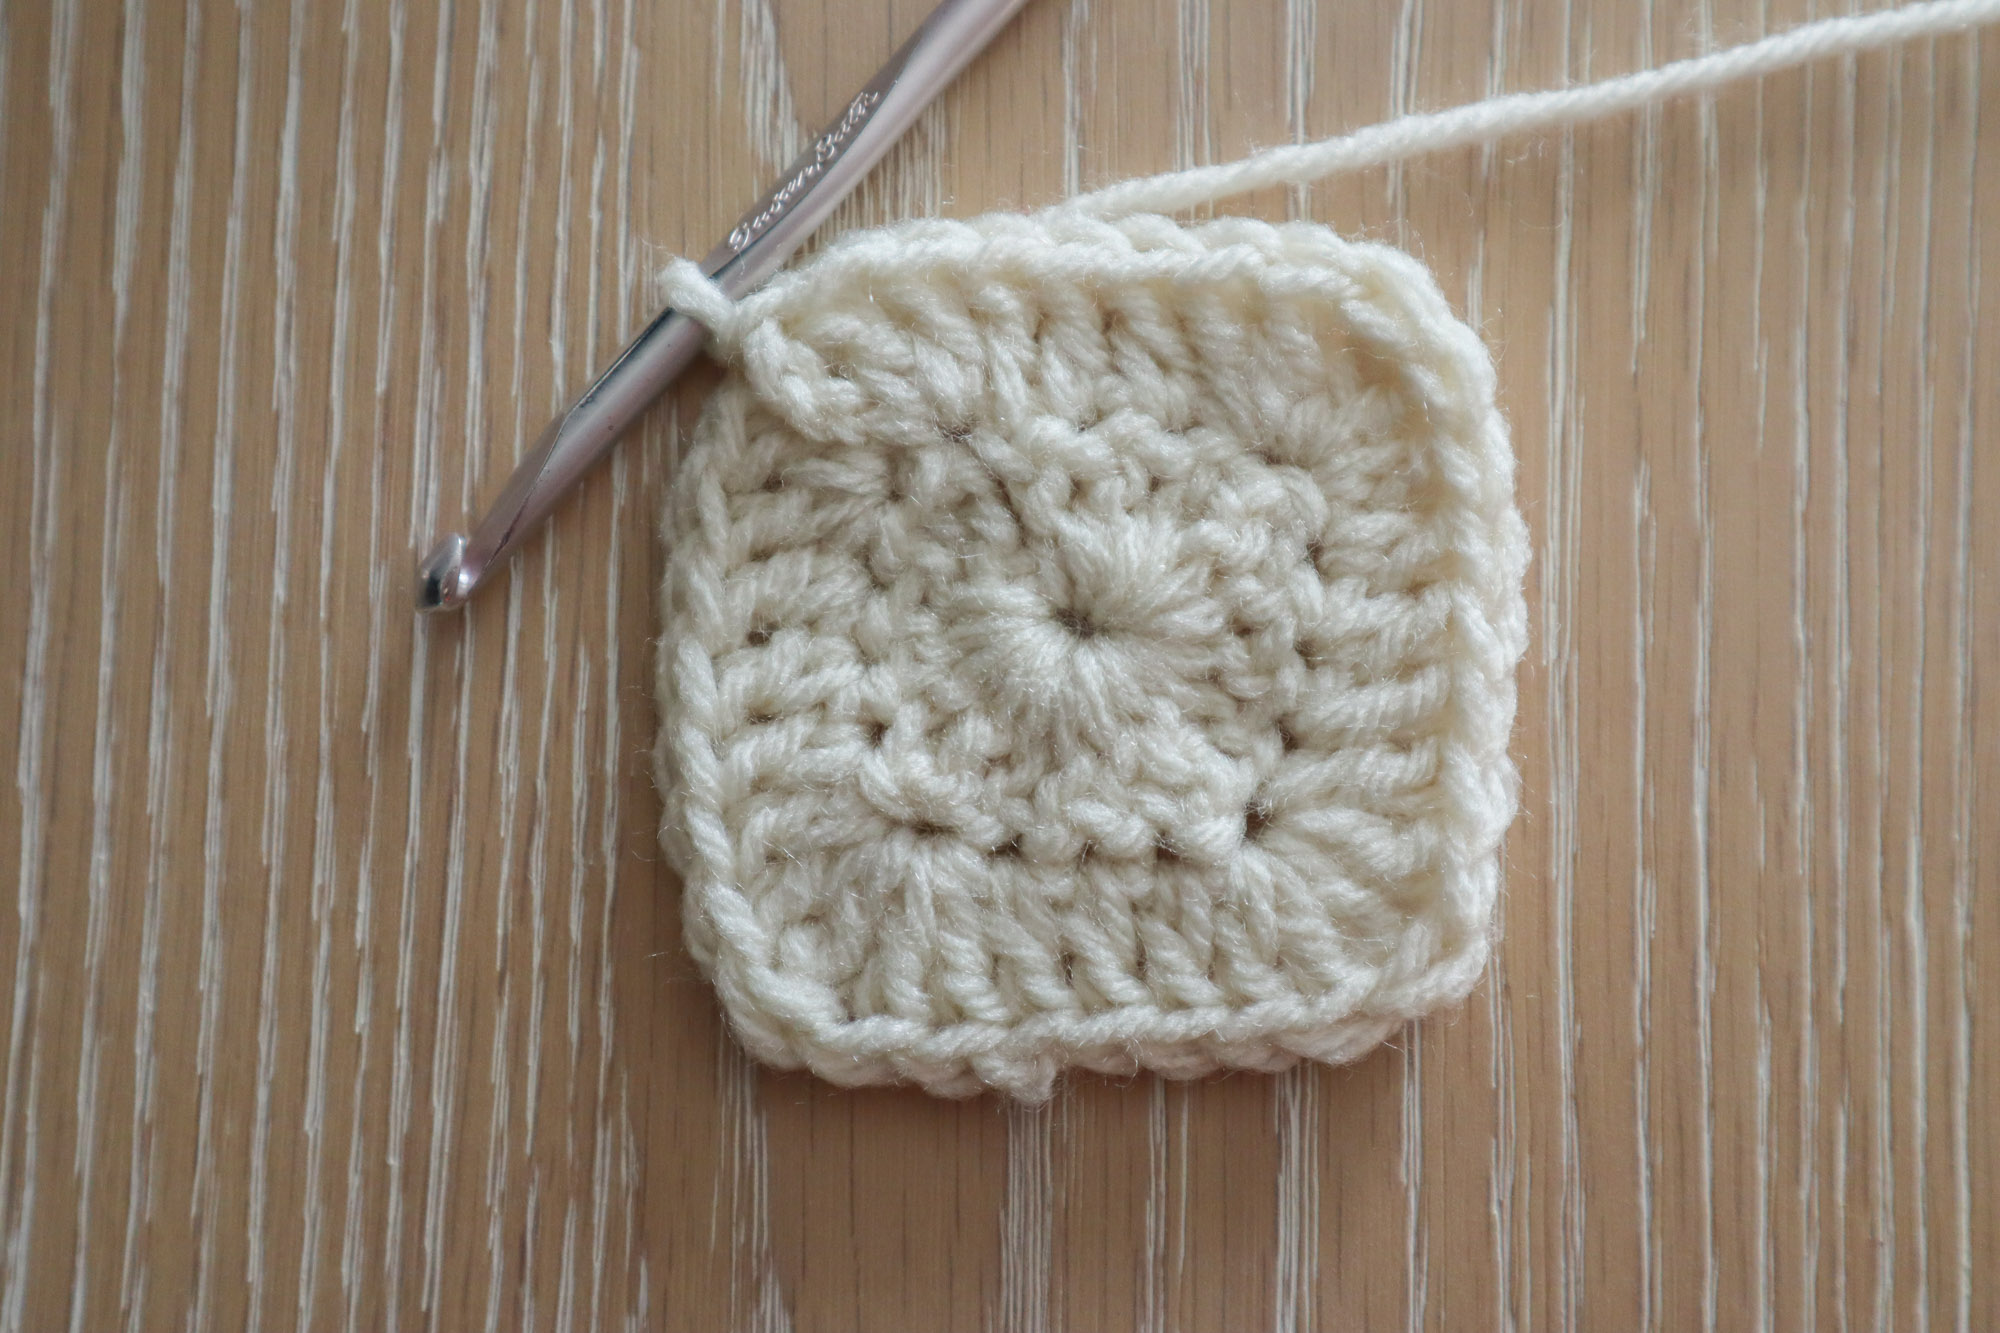
Round 1
Ch 4 (counts as 1 tr). Into the ring, make 3 dc. *1 tr, 3 dc* rep between **three more times into the ring. Sl st to the top of your starting ch4 to complete the round.
(12dc, 4 tr)
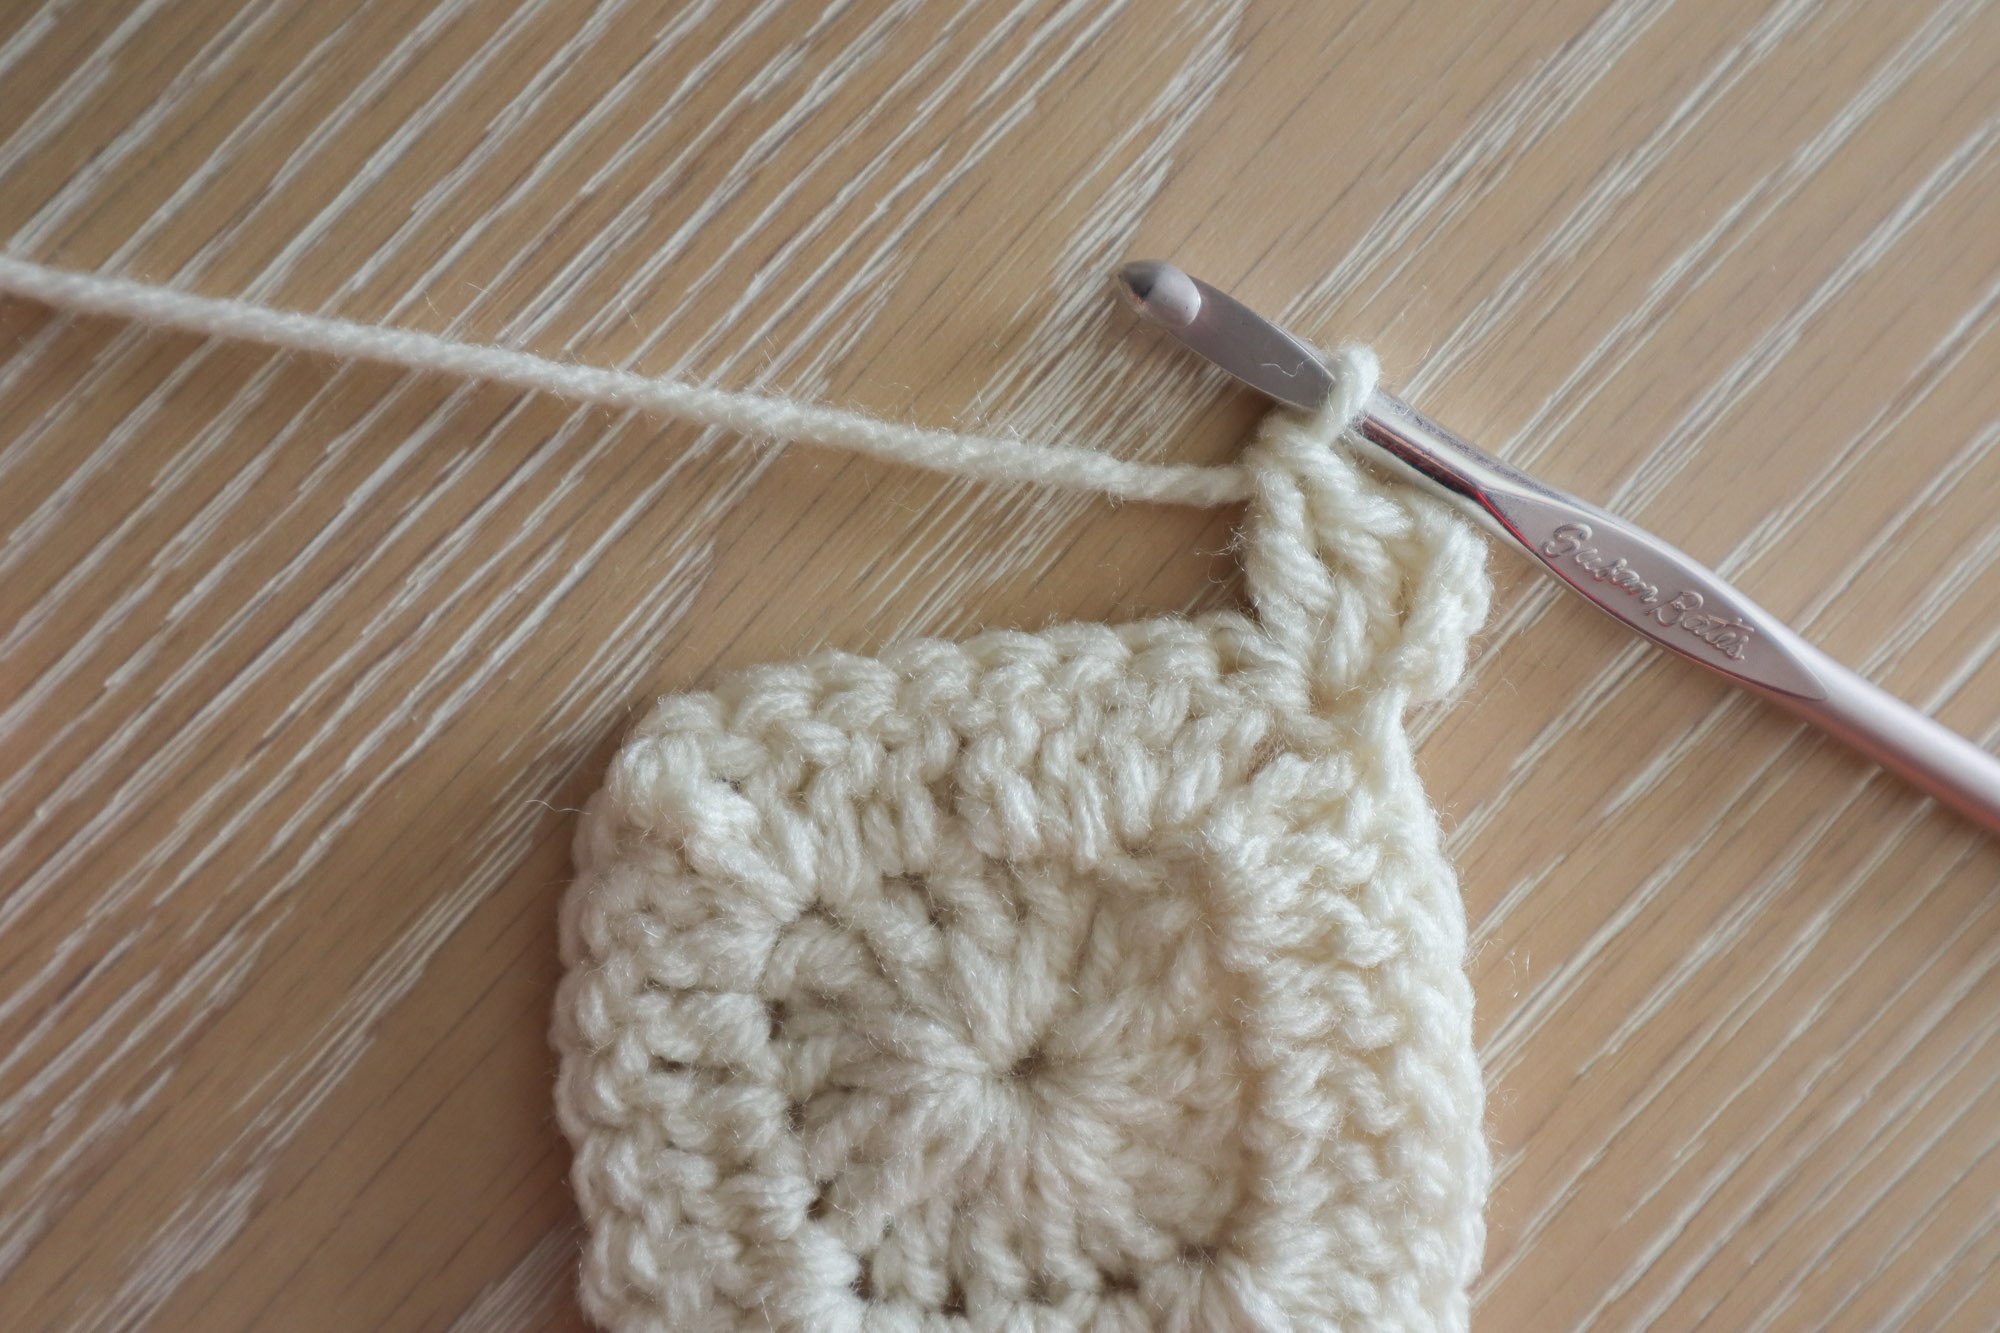
Round 2
Ch 4 (counts as 1 tr) and turn your work. Make 2 dc in the same st (at the base of your ch 4). 1dc in each dc from the prev rnd. In the next tr, work (2 dc, 1 tr, 2 dc) all into the same st.
Continue working 1dc in each dc from prev rnd and (2 dc, tr, 2 dc) in each corner tr. Complete the rnd by making 2 dc in the base of your starting ch 4 and join with a sl st to the top of the ch 4. (7 dc per side, 1 tr at each corner.)
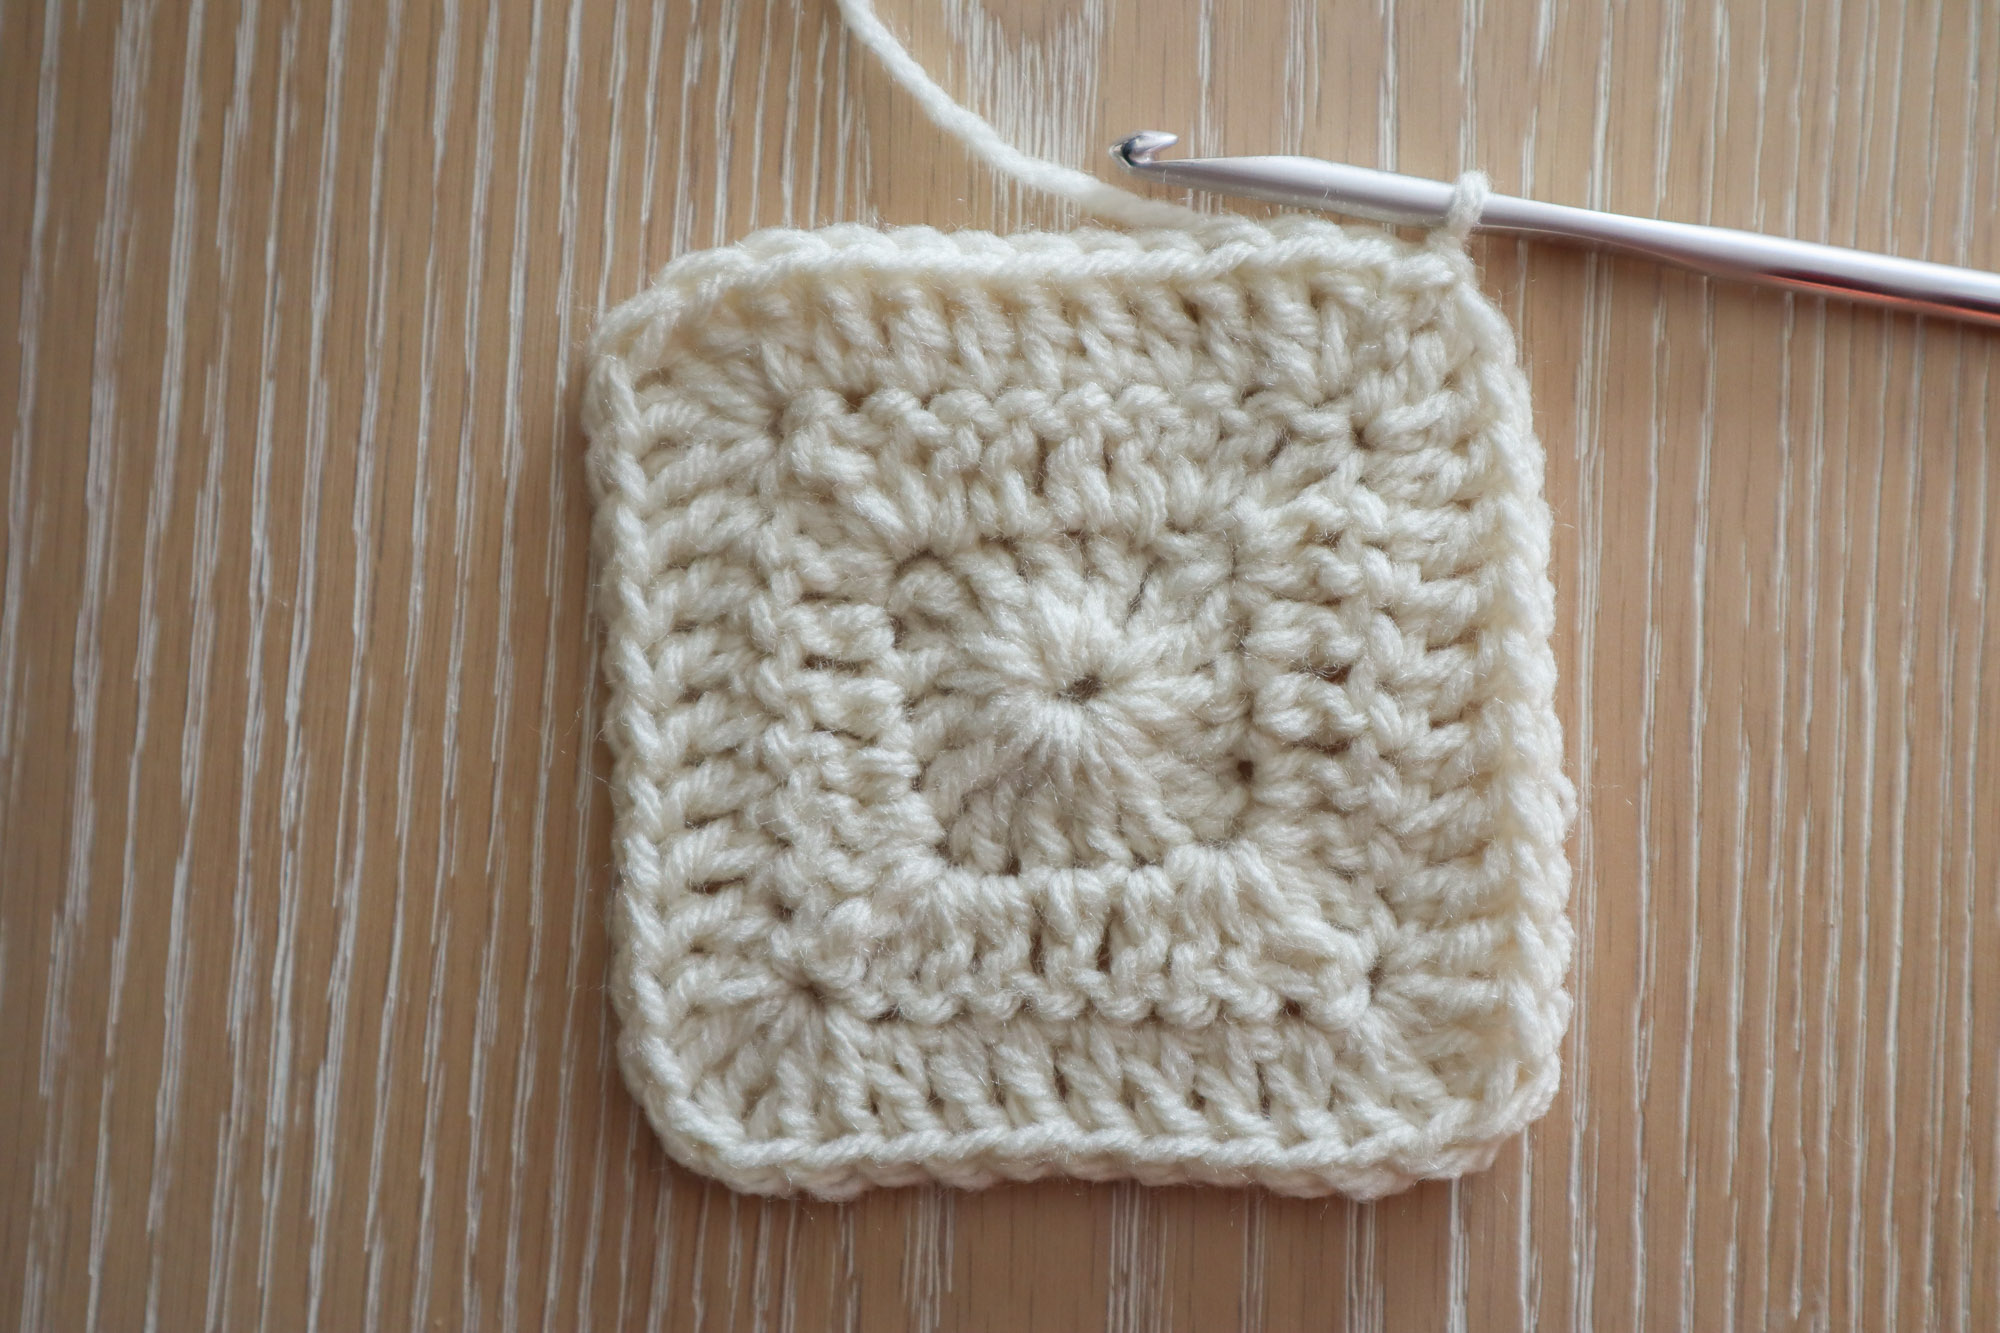
Round 3 and beyond
Ch 4 (counts as 1 tr) and turn your work. Make 2 dc in the same st. 1dc in each dc from the prev rnd until you reach the next corner triple crochet. In each tr, work (2 dc, 1 tr, 2 dc).
Continue around, join with a sl st to the top of your starting ch 4 to finish.
(11 dc per side, 1 tr at each corner.)Continue until your square reaches the desired size.
Each round adds 4 dc per side.
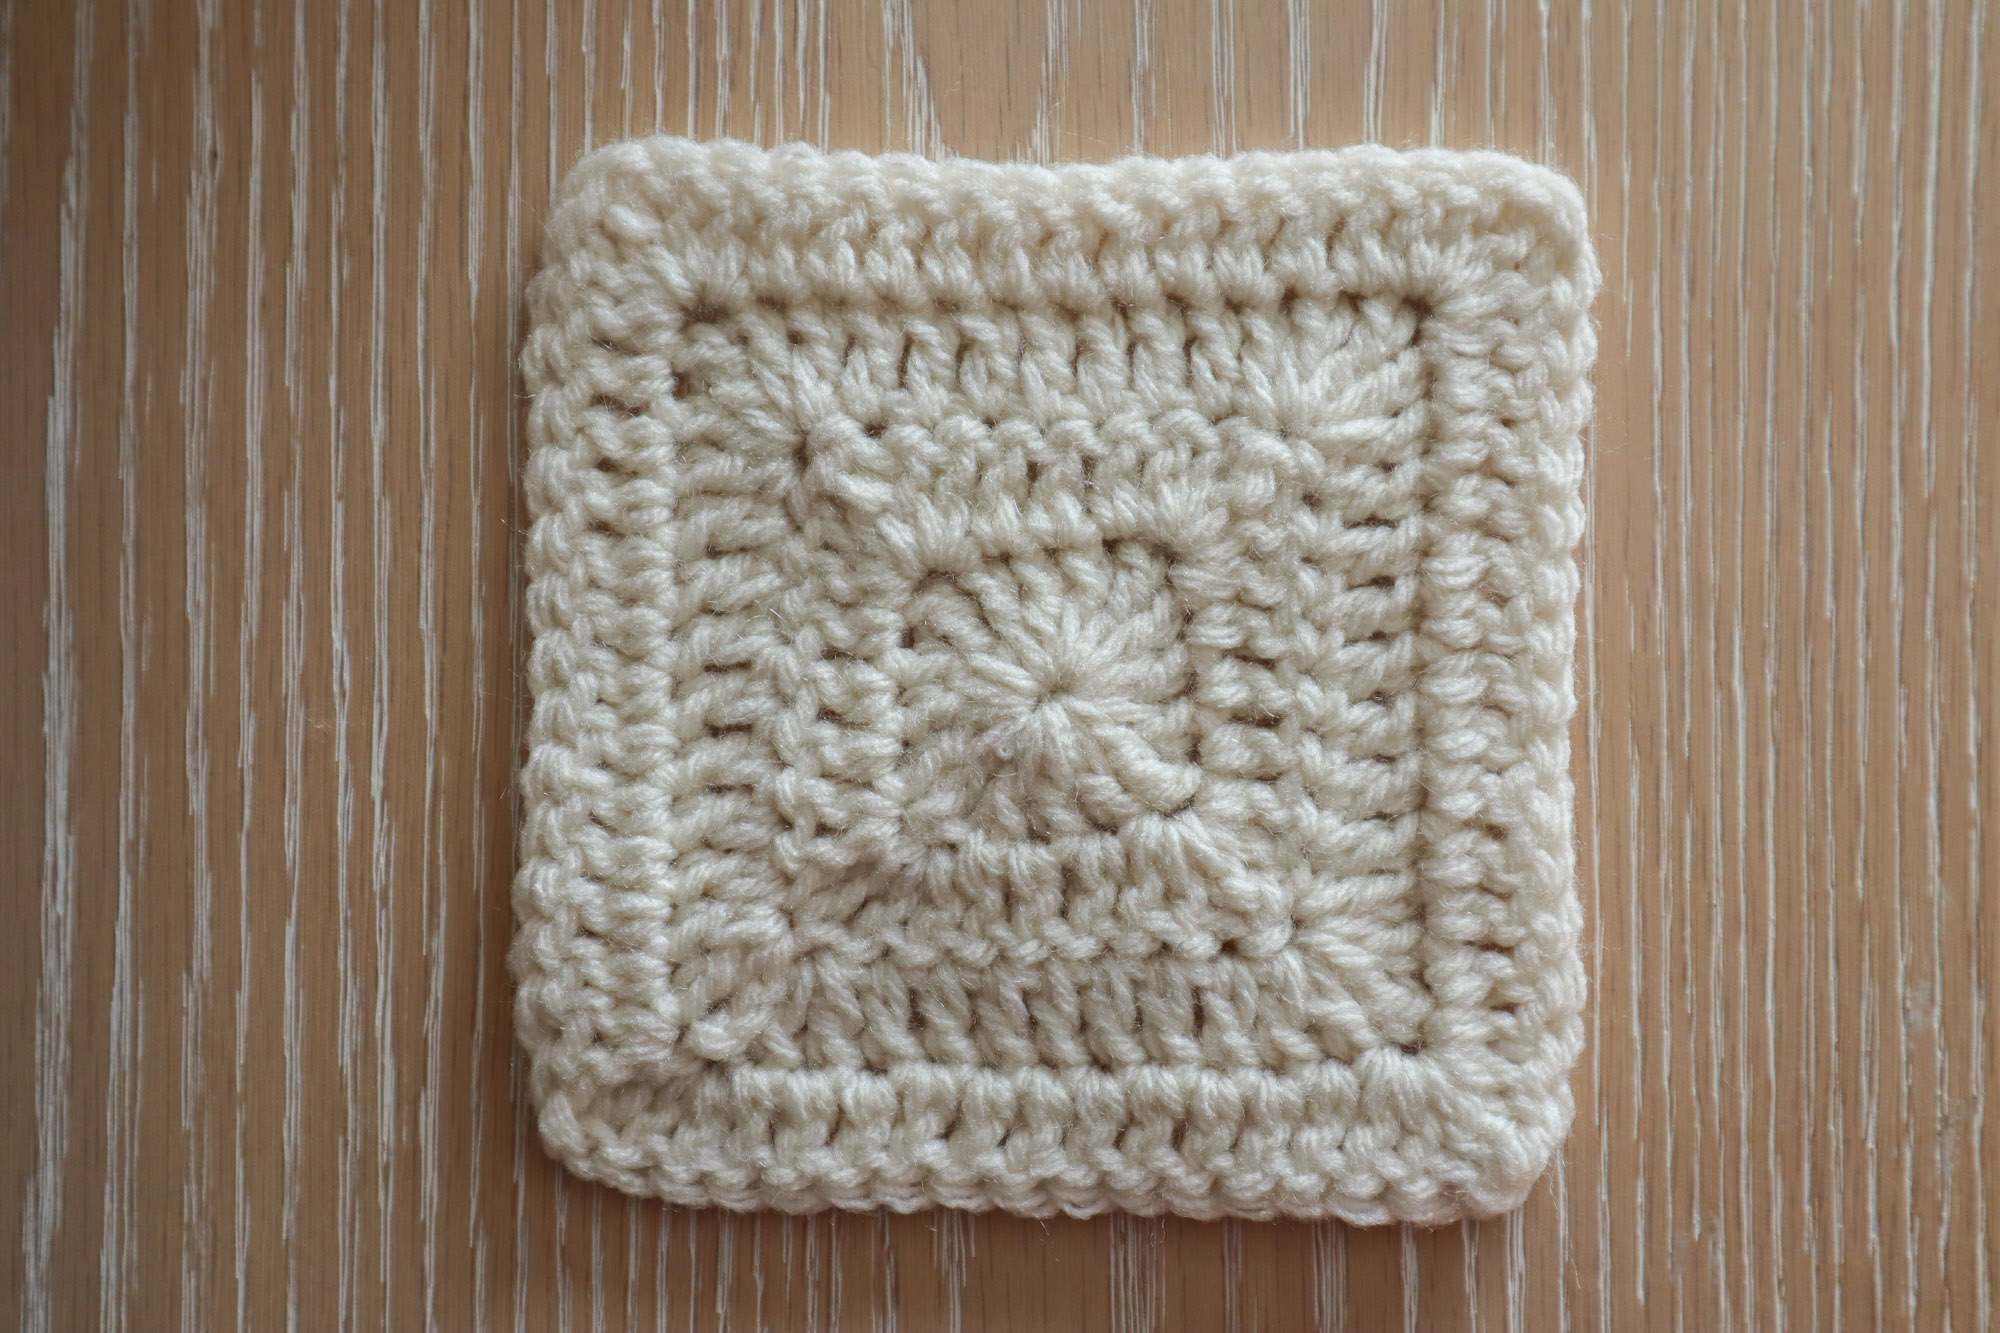
Finishing
Fasten off and weave in ends. You can gently tug on the corners to define the square shape if needed.
This version creates a beautifully dense, completely gap-free granny square — the “super solid” cousin of the traditional favorite!
Pin for later