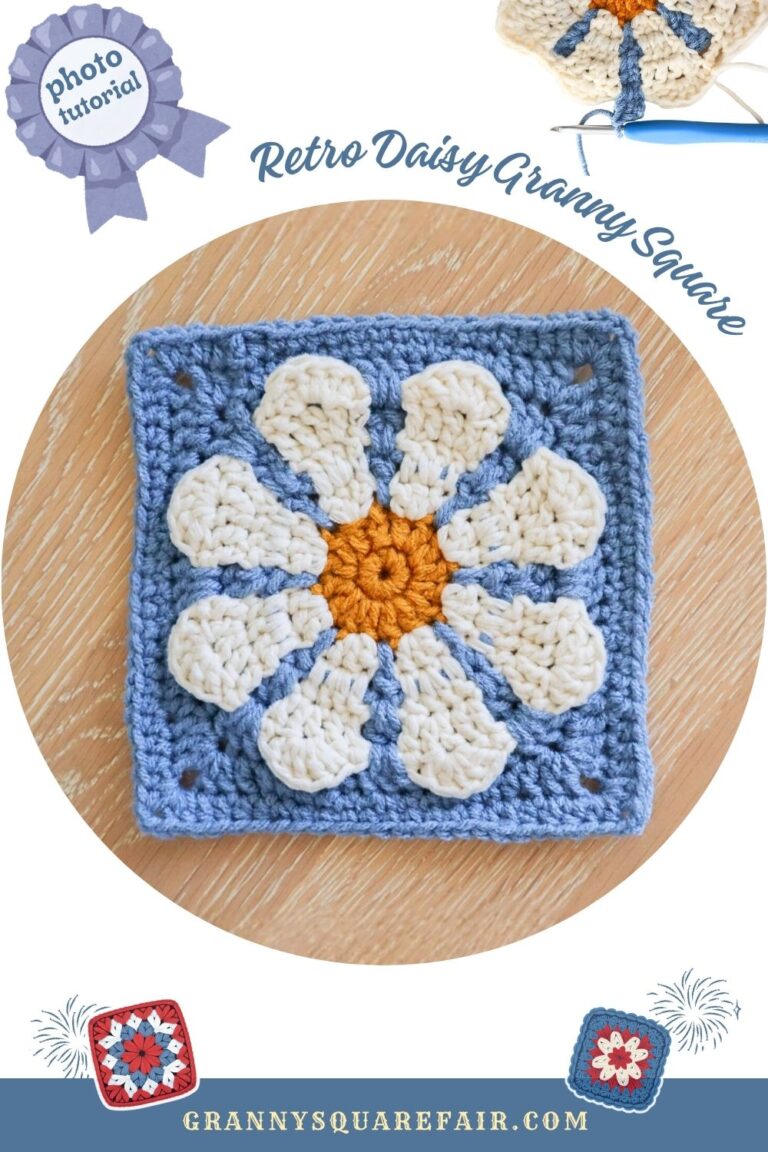
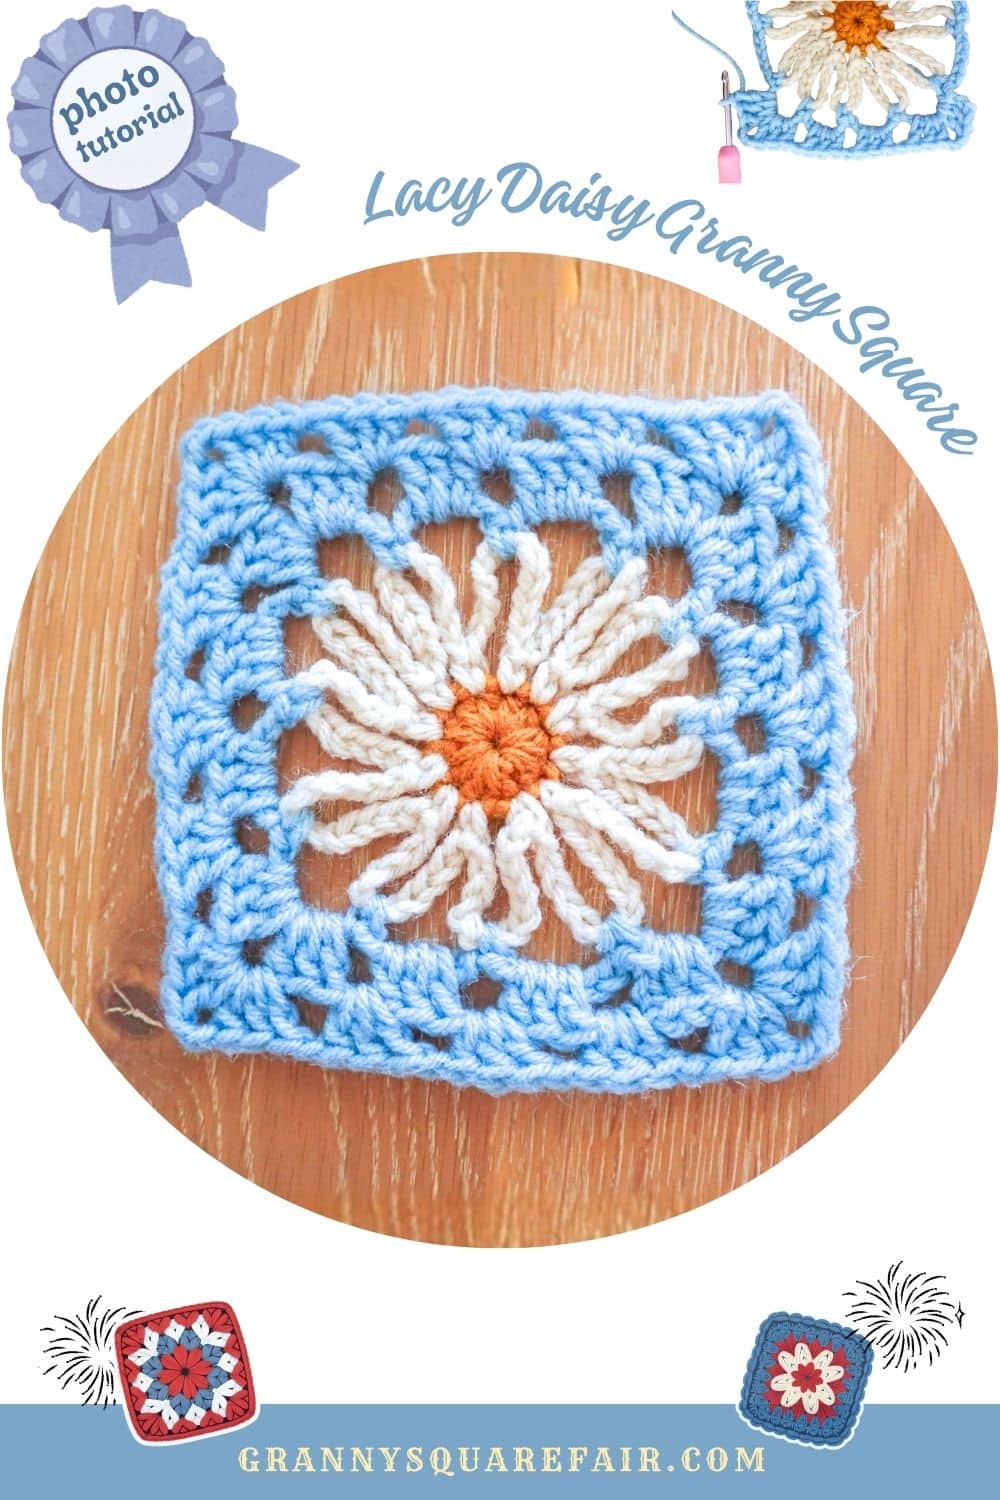
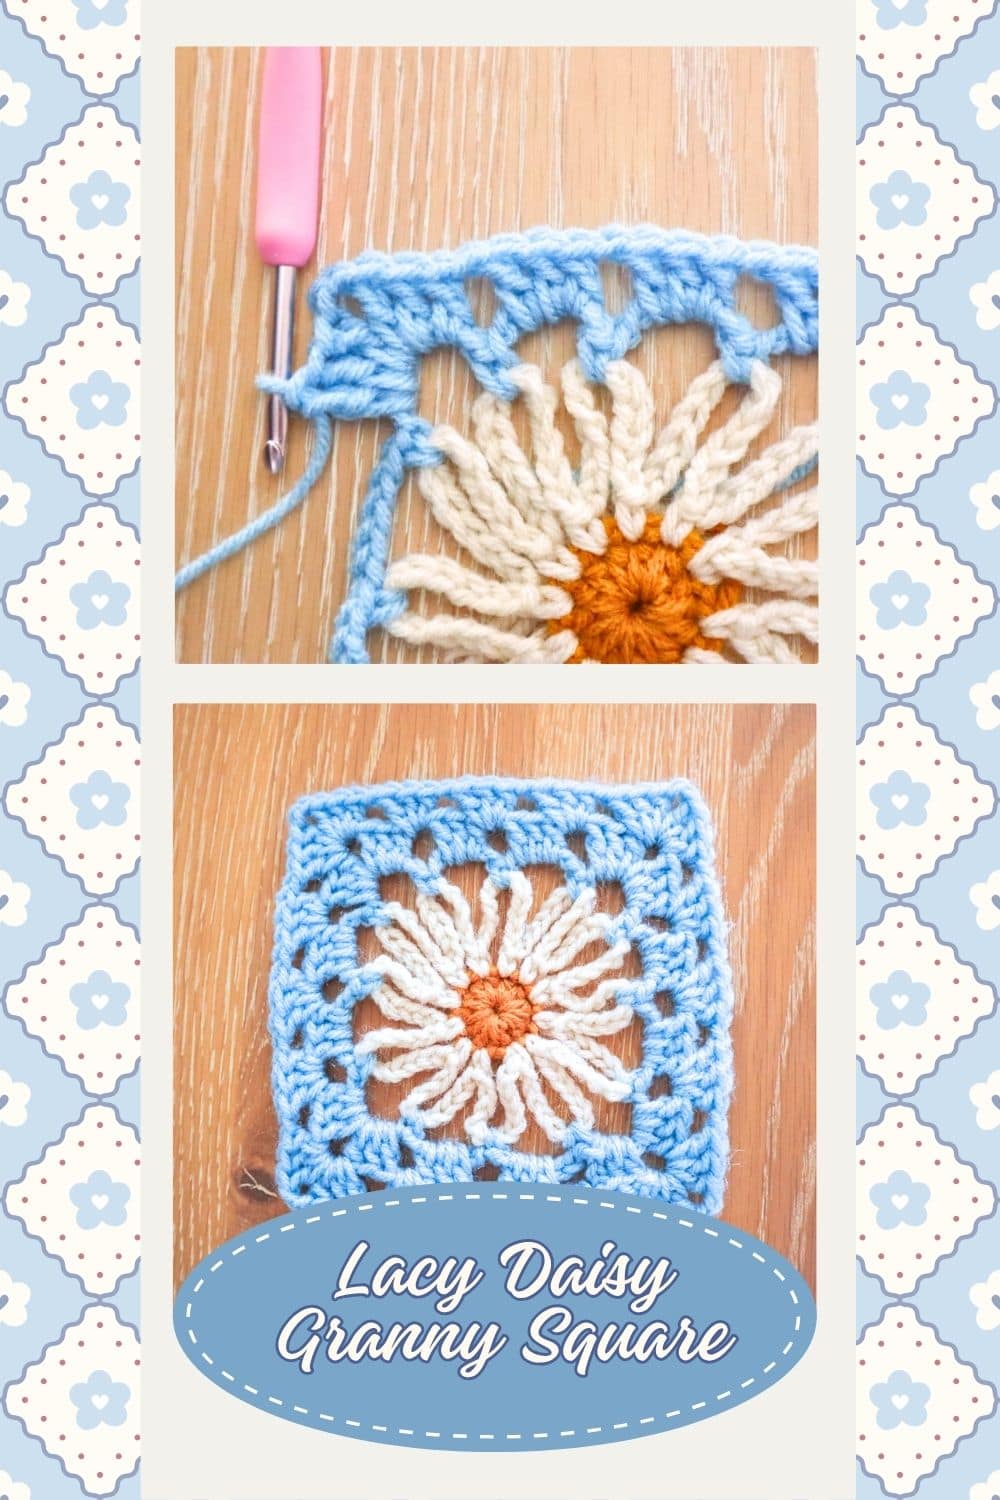
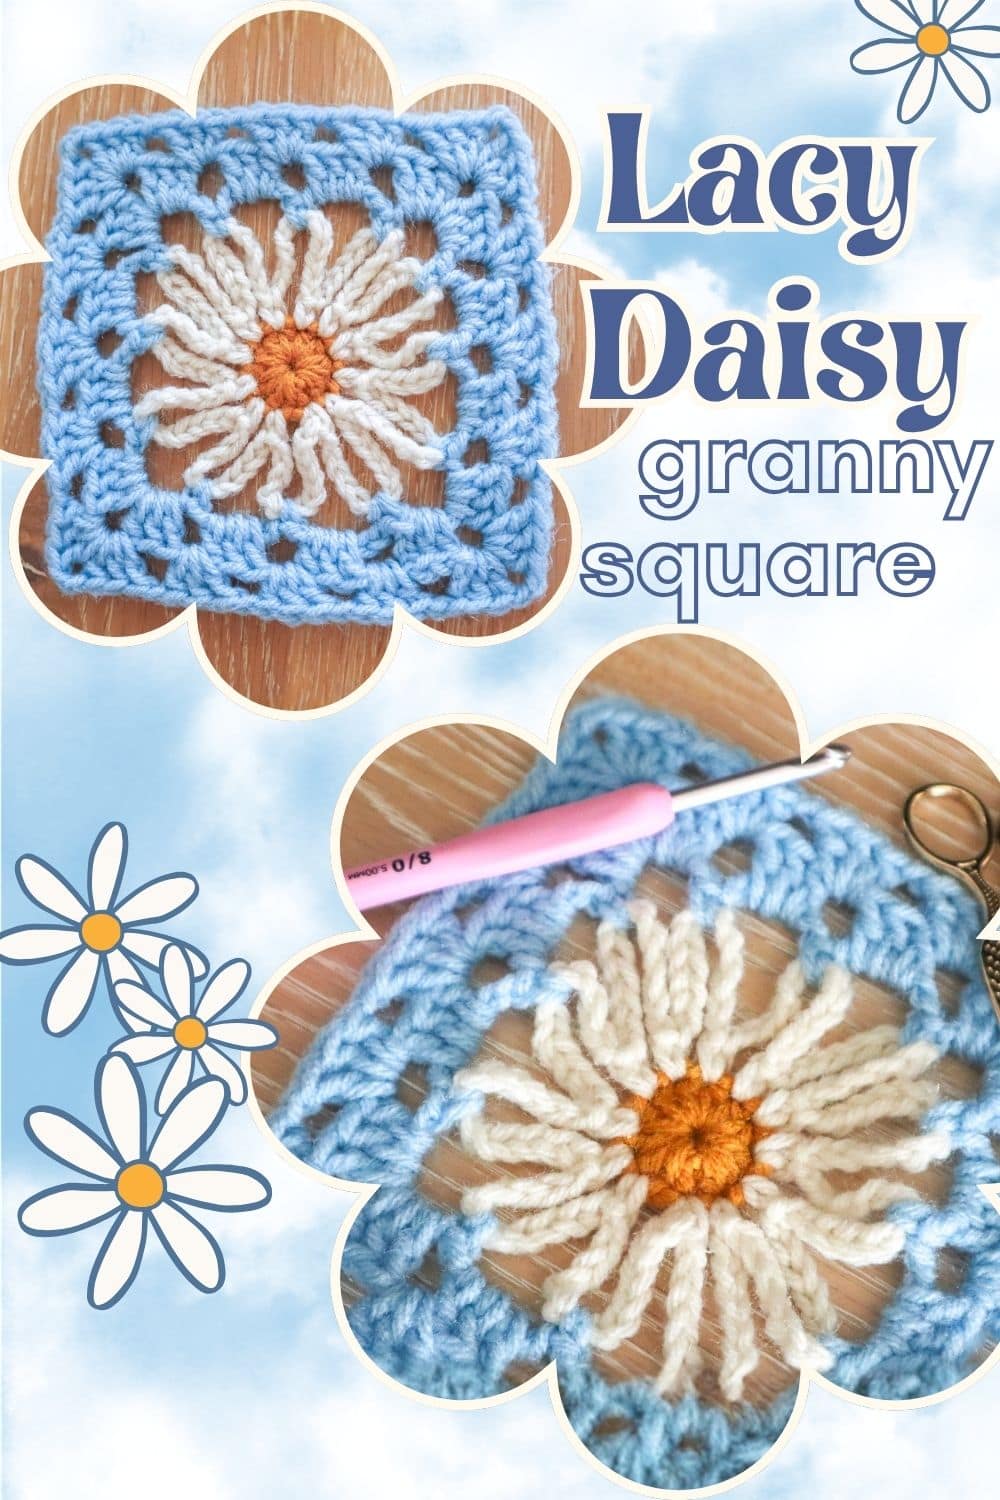
Lacy Daisy Granny Square
You read that right, lacy, not lazy! (Though it is a deceptively easy granny square to make.) This lacy daisy granny square is a sweet, summery spin on other classic floral granny squares, and it’s just begging to be stitched into a drapey swim cover-up or the most delicate summertime throw blanket you ever saw! Talk about a project that earns its blue ribbon without keeping you tied to your chair all weekend!
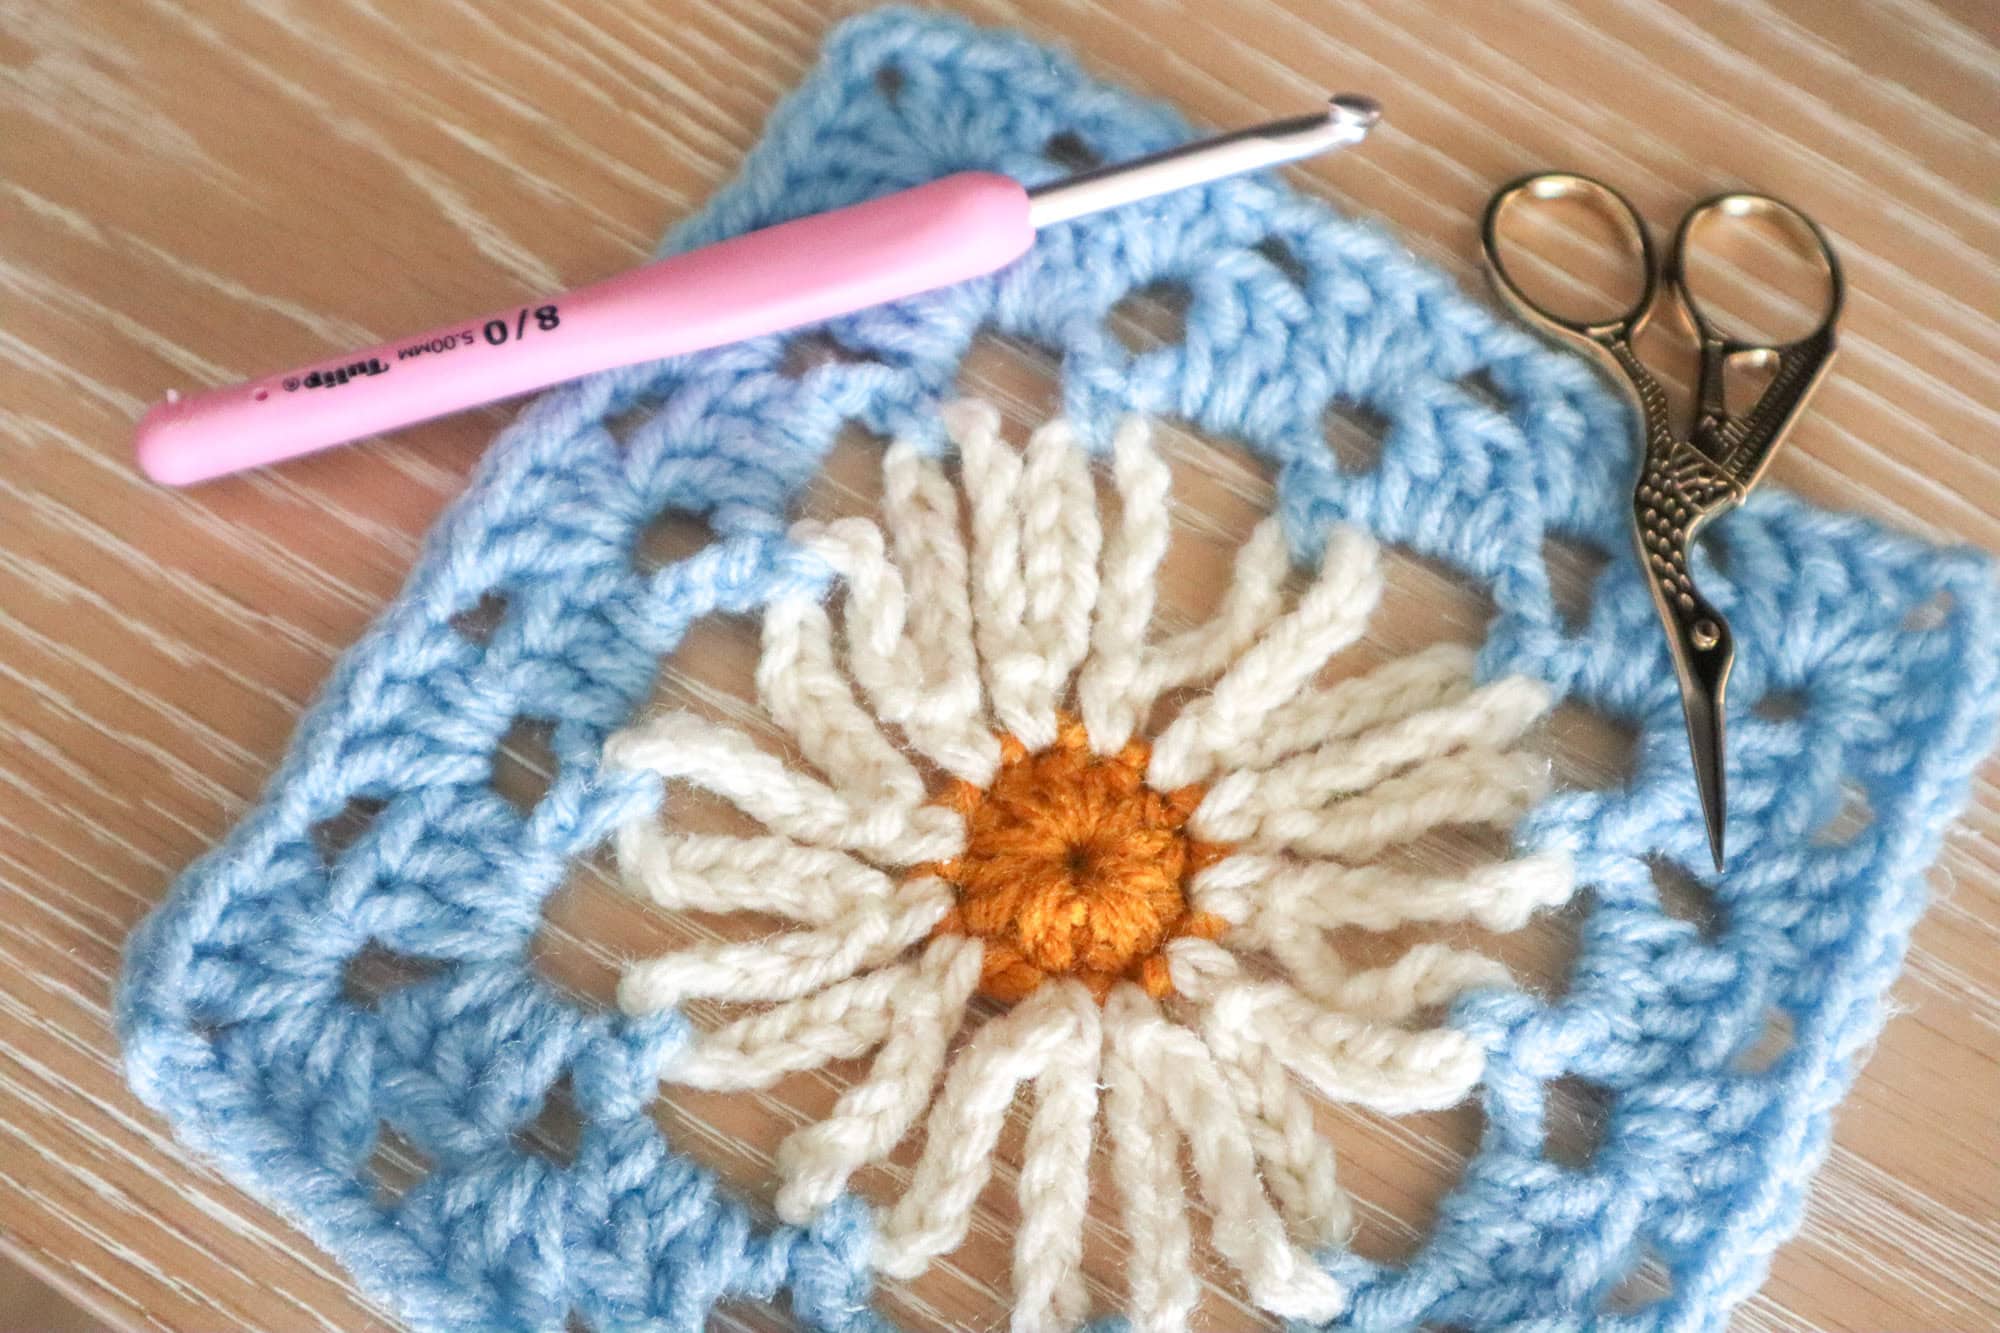
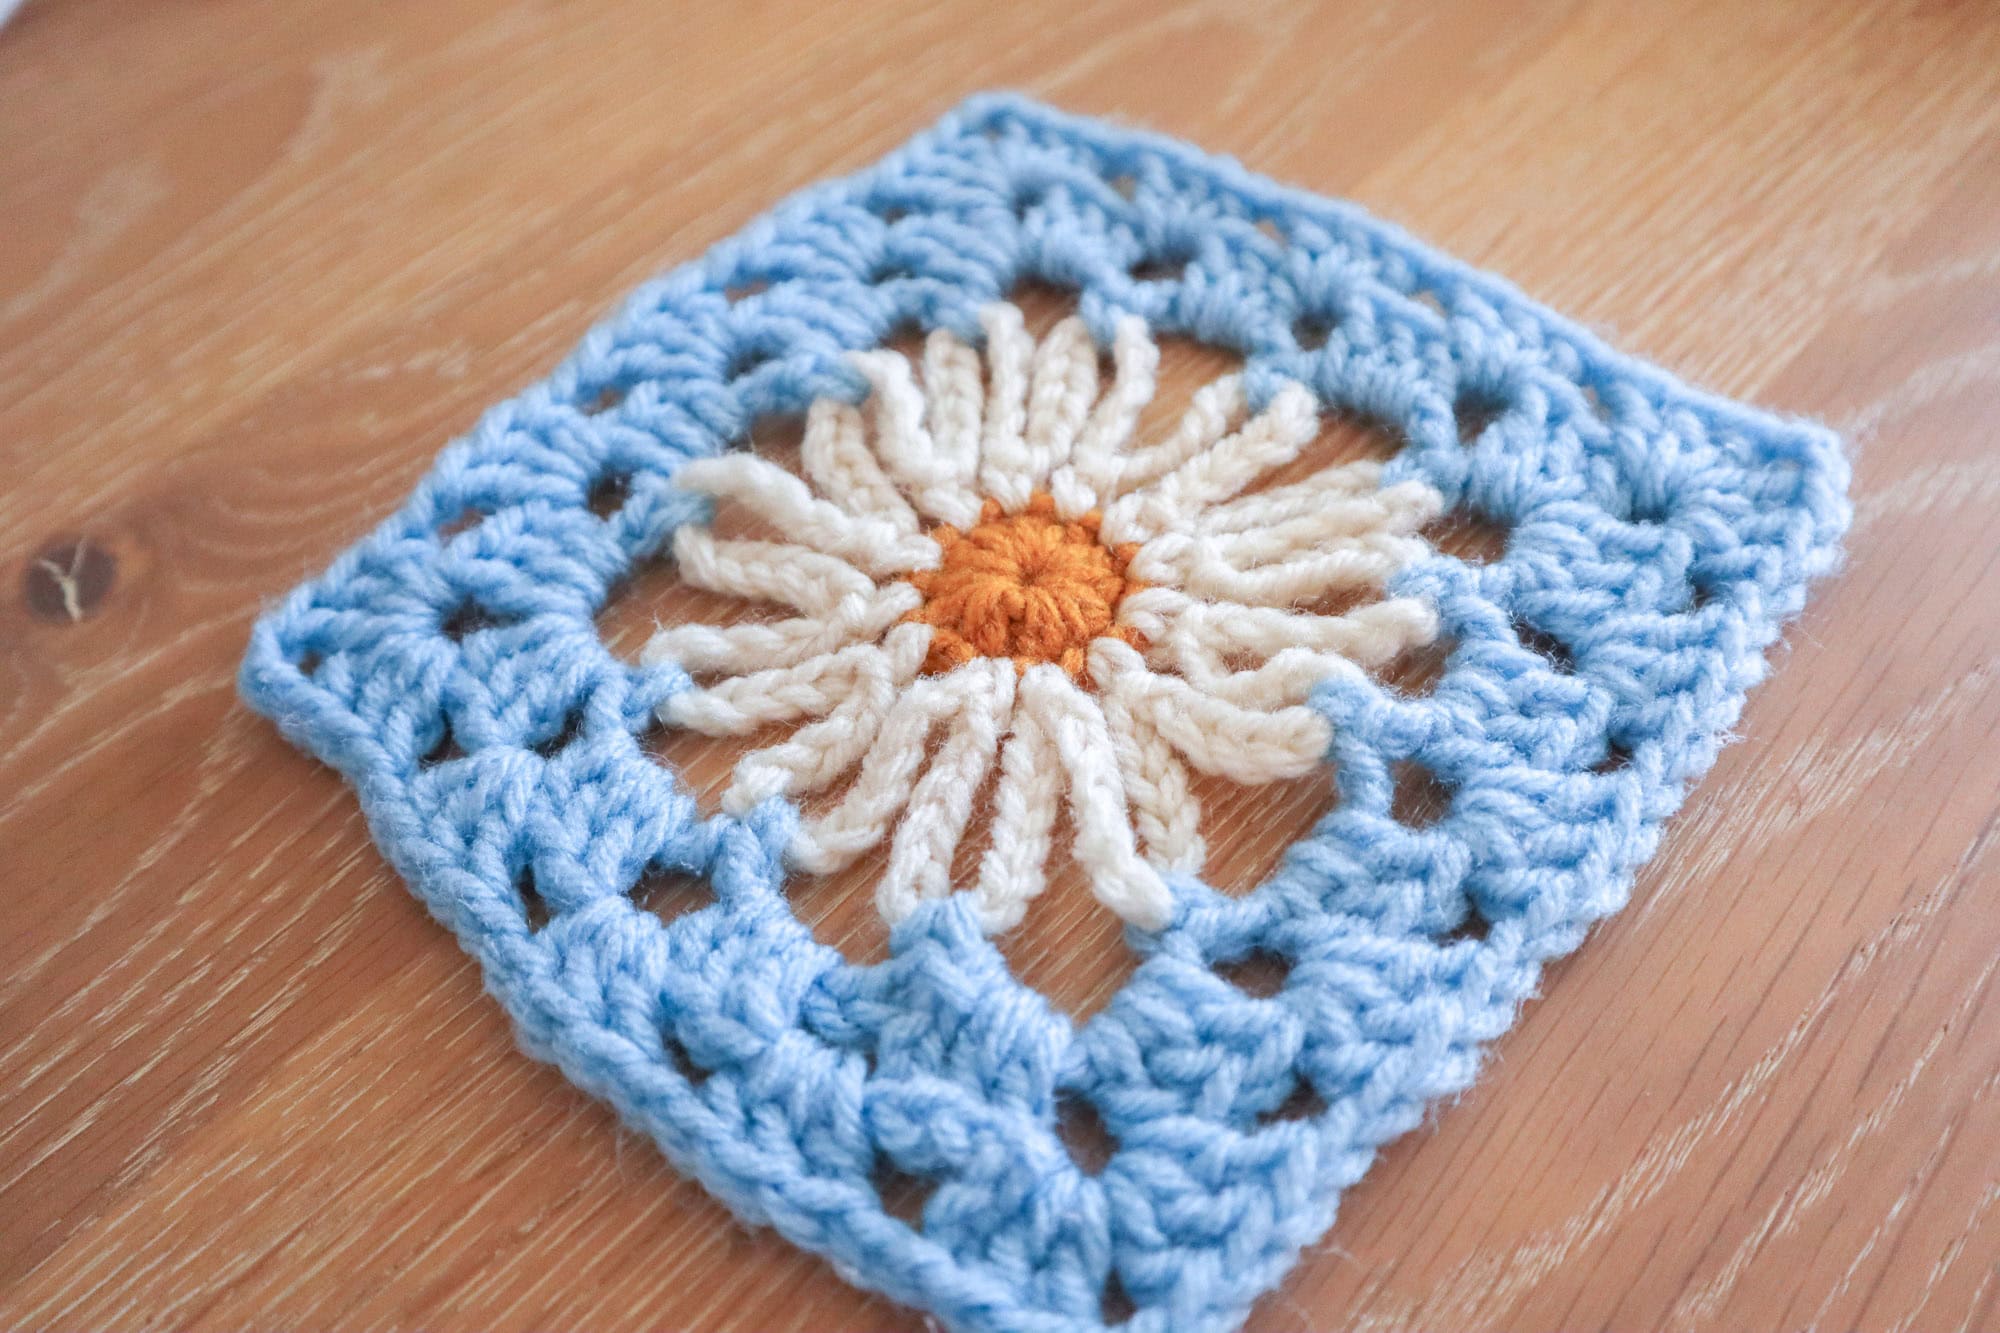
Much like our beloved retro daisy granny square, the lacy daisy gives you a generously sized square after just 5 rounds! Our worsted weight version clocks in at six inches wide, making it the perfect candidate for dropping down to lighter weight yarns without accidentally stepping into “micro crochet” territory. As with most granny squares, this one is also a fantastic stash-buster, using only little bits of yarn for every few rounds. If you have some summery colors you’ve been hoarding, this is the one to use ’em on!
Skill Level
Beginner — This square only uses basic stitches and nothing too tricky, making it perfect for beginners.
Stitch Abbreviations Used in the Pattern (U.S. Terms)
| Abbreviation | Stitch Name |
|---|---|
| ch | chain |
| sl st | slip stitch |
| sc | single crochet |
| hdc | half double crochet |
| dc | double crochet |
| st(s) | stitch(es) |
| sp | space |
| rep | repeat |
| prev | previous |
| rnd | round |
What You’ll Need
- Yarn: Any weight yarn you love – I used three colors of worsted (4) weight acrylic but I think this granny square is just begging for a 3 weight yarn or lighter!
- Hook: Use a hook that matches your yarn label’s recommendation. I used a 5 mm hook.
- Notions: Scissors, a warm summer day.
Gauge & Size
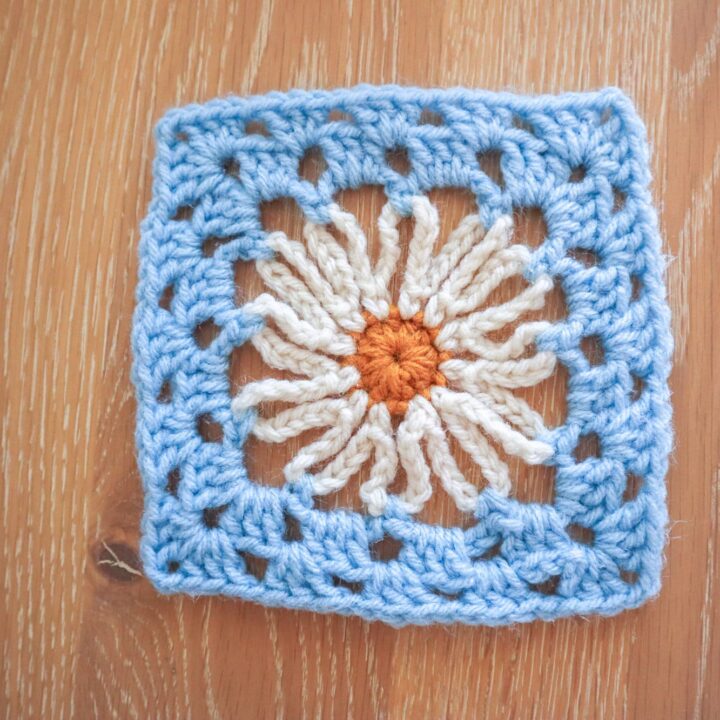
Gauge is up to you and your yarn and hook size. The chains of the daisy petals give you lots of height without lots of stitches so these squares can be pretty big! After our 5 rounds, this square was already 6 inches wide!
Pattern Notes
- We first work the center of the daisy then add chain petals then complete the border and squaring process with two rounds of traditional granny stitch.
- The floppy lacy daisy loops benefit from blocking after the square is done.
- We will not turn our work. The right side will always be facing you.
To Start
In daisy center color, ch4, sl st to the first ch to create a ch4 ring. Alternatively, you could make a magic circle.
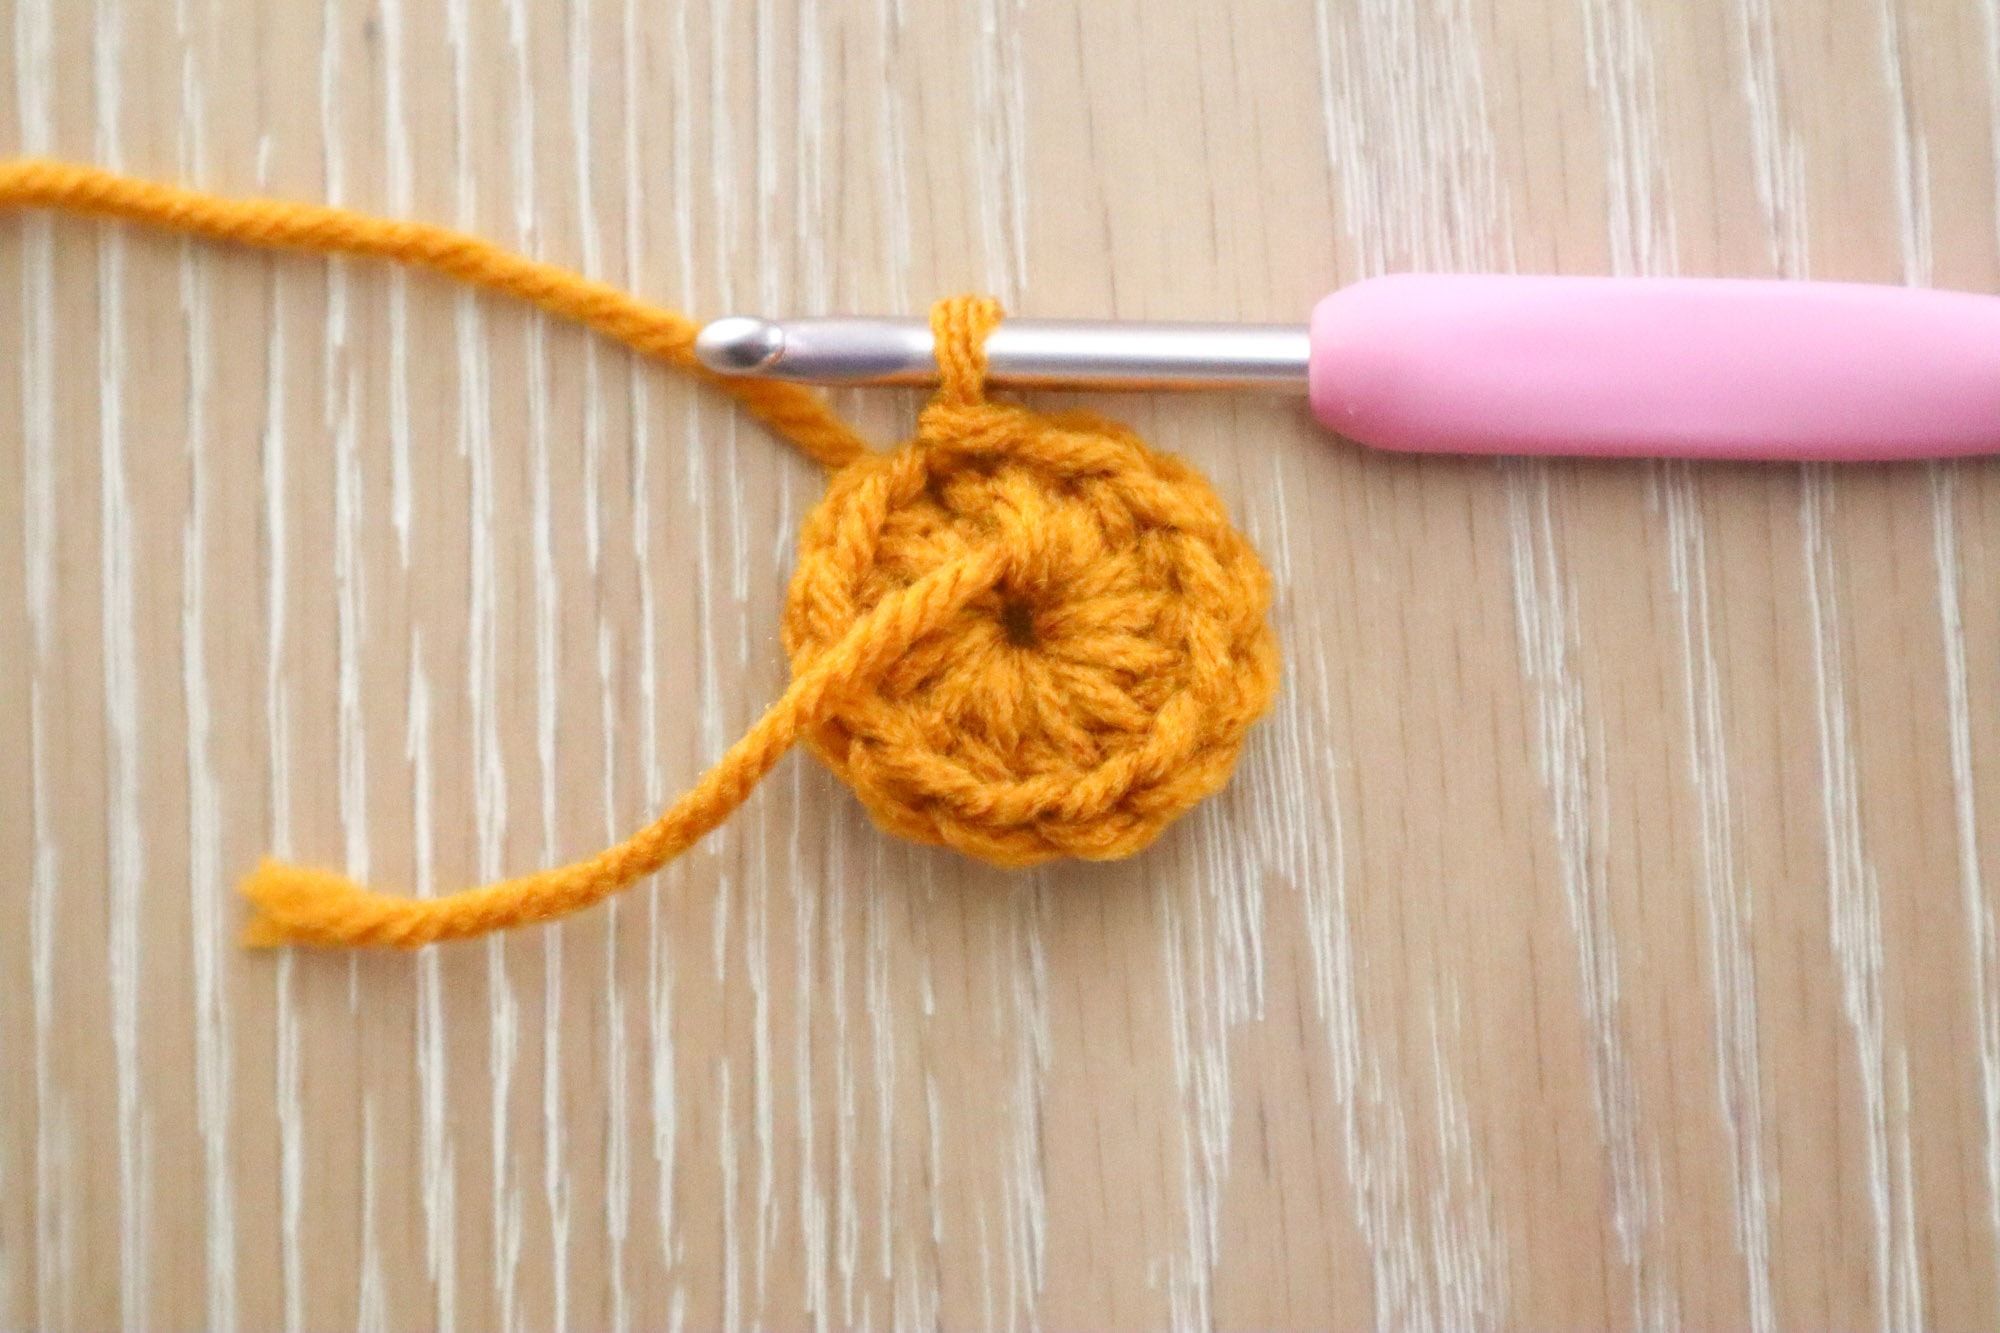
Round 1
In flower center color, ch1 (doesn’t count as a stitch) and make 12hdc into the ch4 ring. Sl st to your first hdc to complete the rnd. (12 hdc)
Fasten off flower center color.
Round 2
Fasten on the flower petal color in any hdc from prv rnd. Make 1sc in that st. Ch 12 and make 1sc in the next st. Repeat ch12, 1sc for each stitch around.
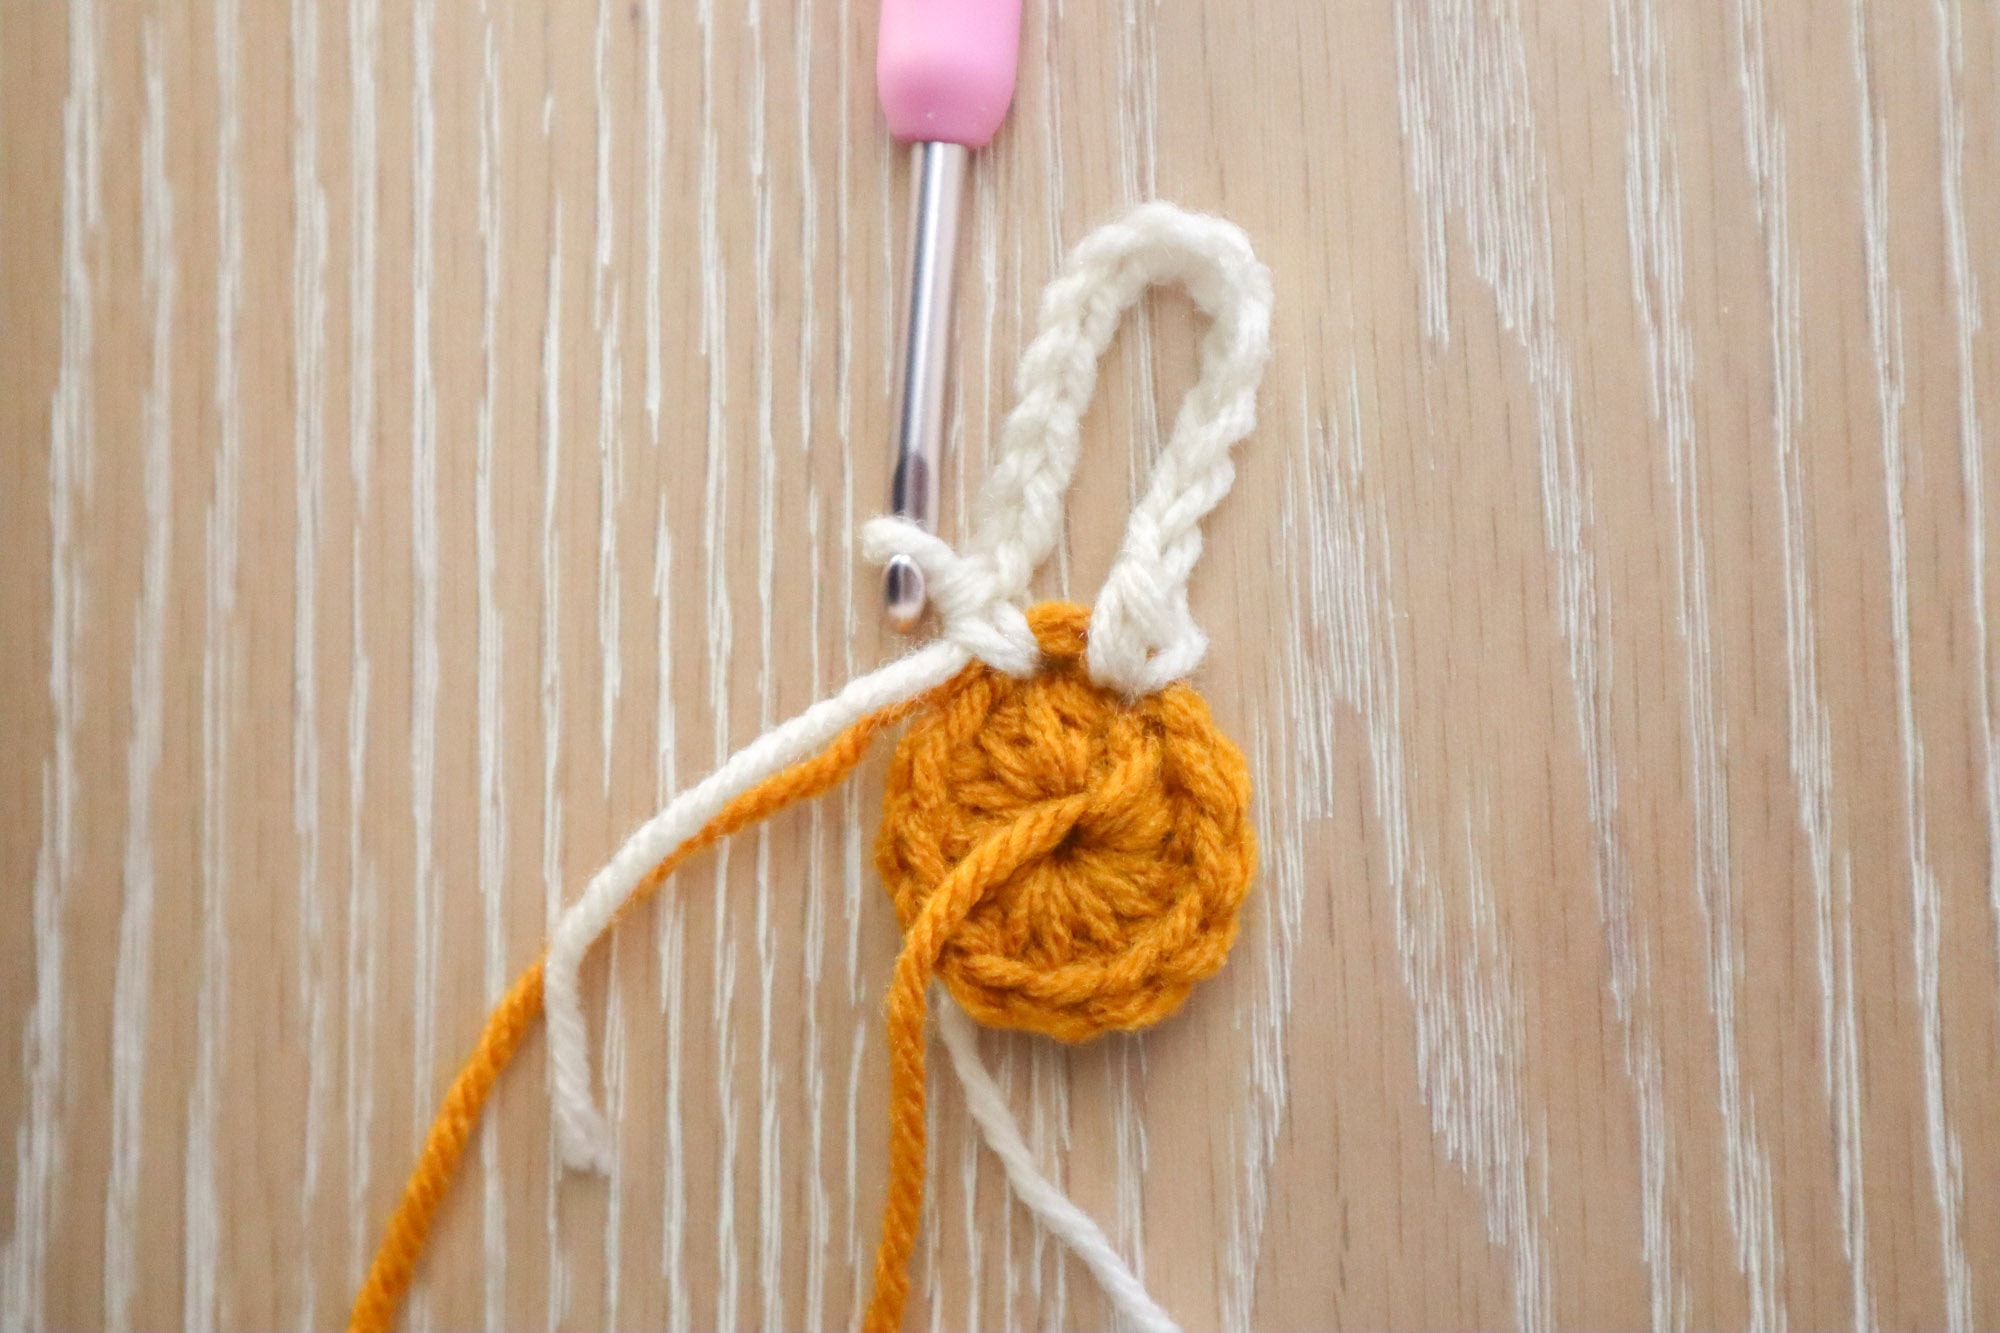
When you reach the last st, ch 12 and sl st to your first sc to complete the rnd. (12 scs and ch12 loops)
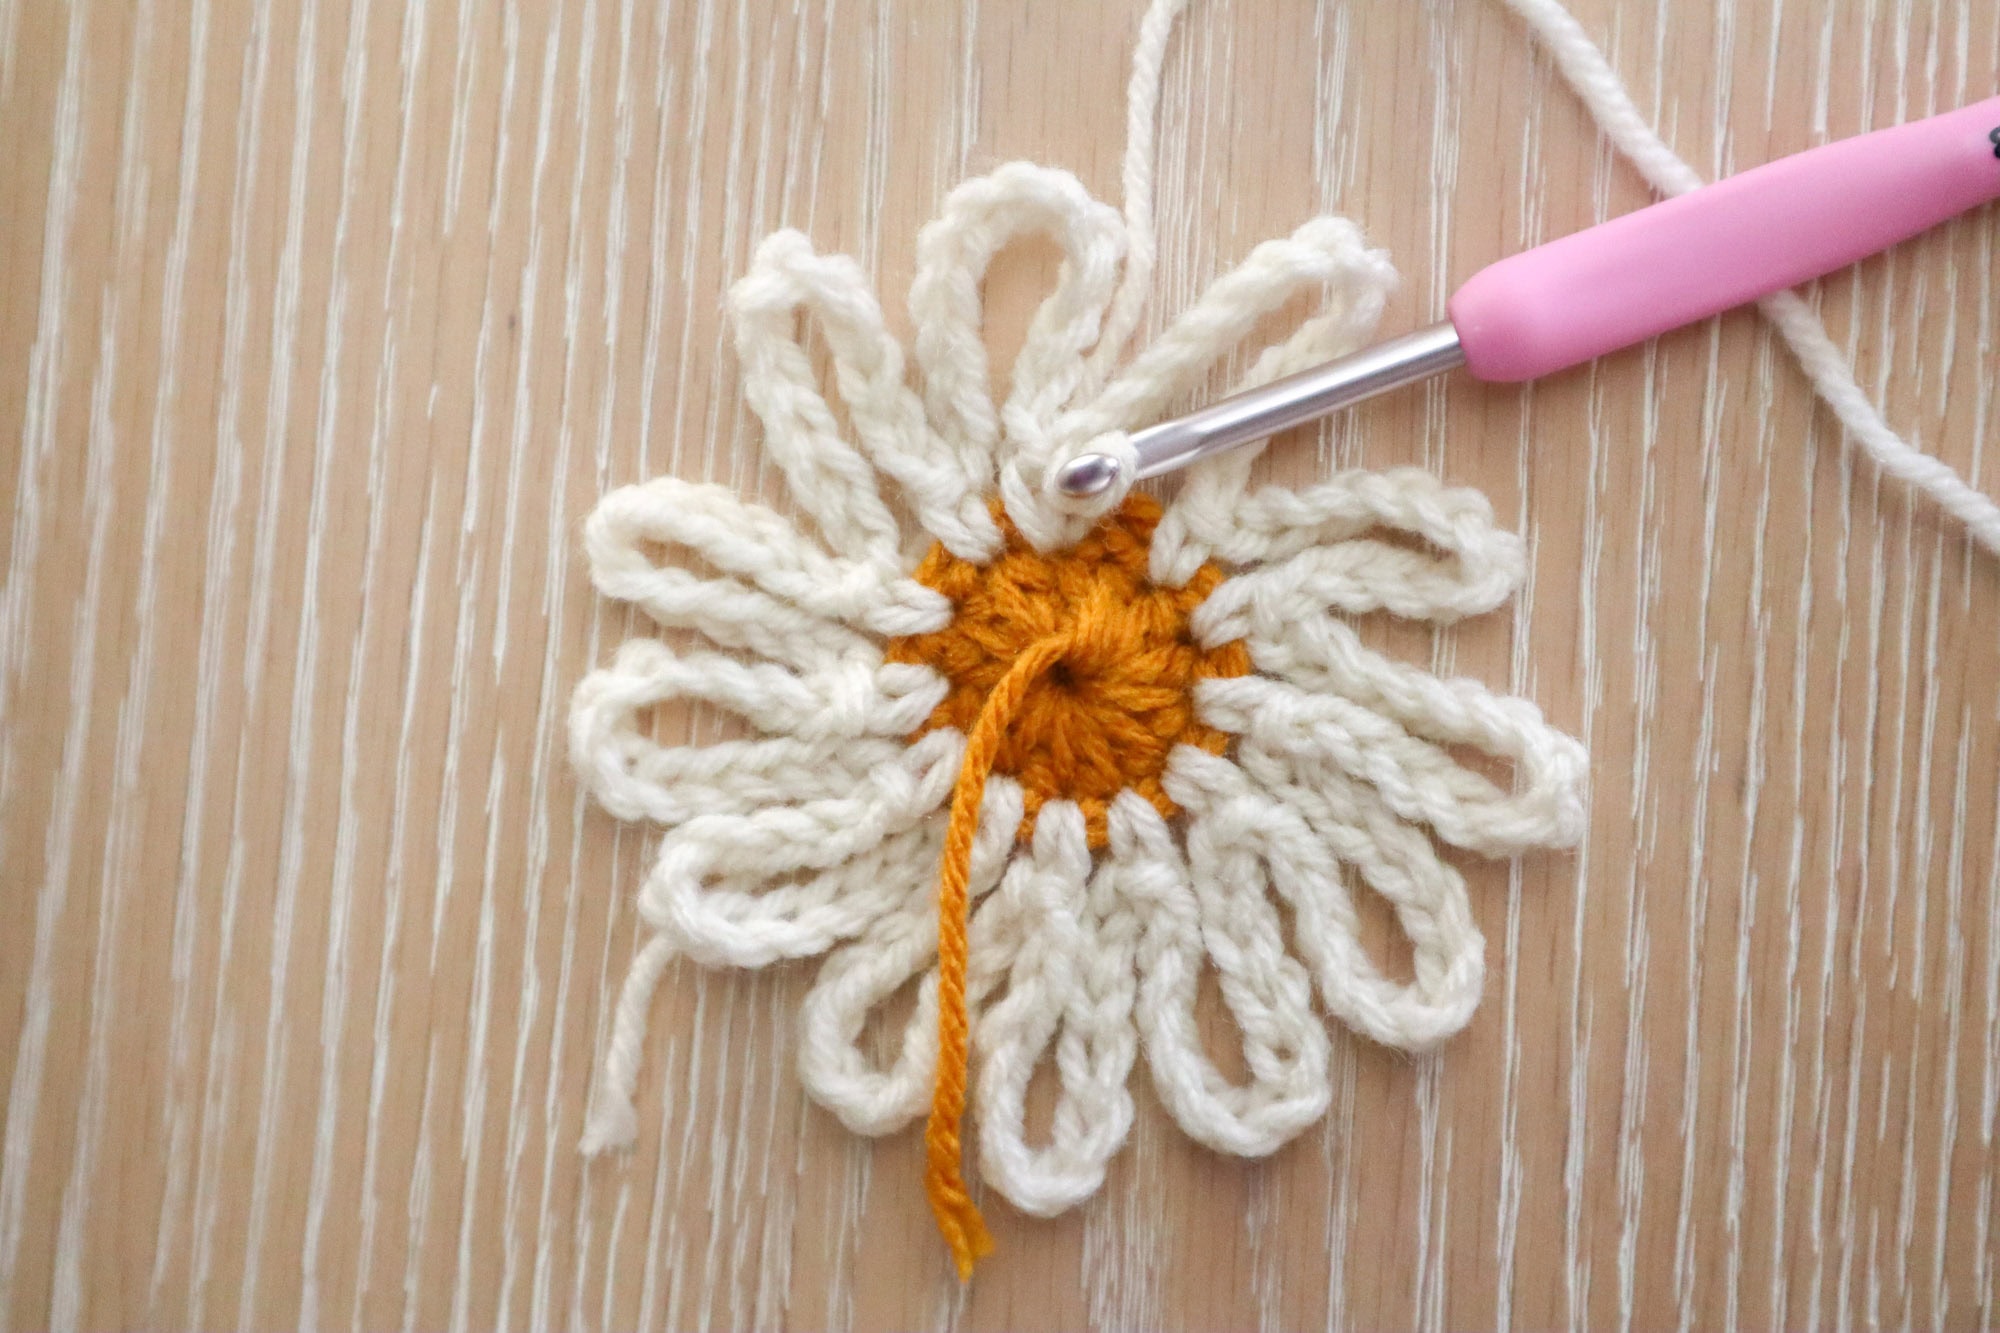
Fasten off flower petal color.
Round 3
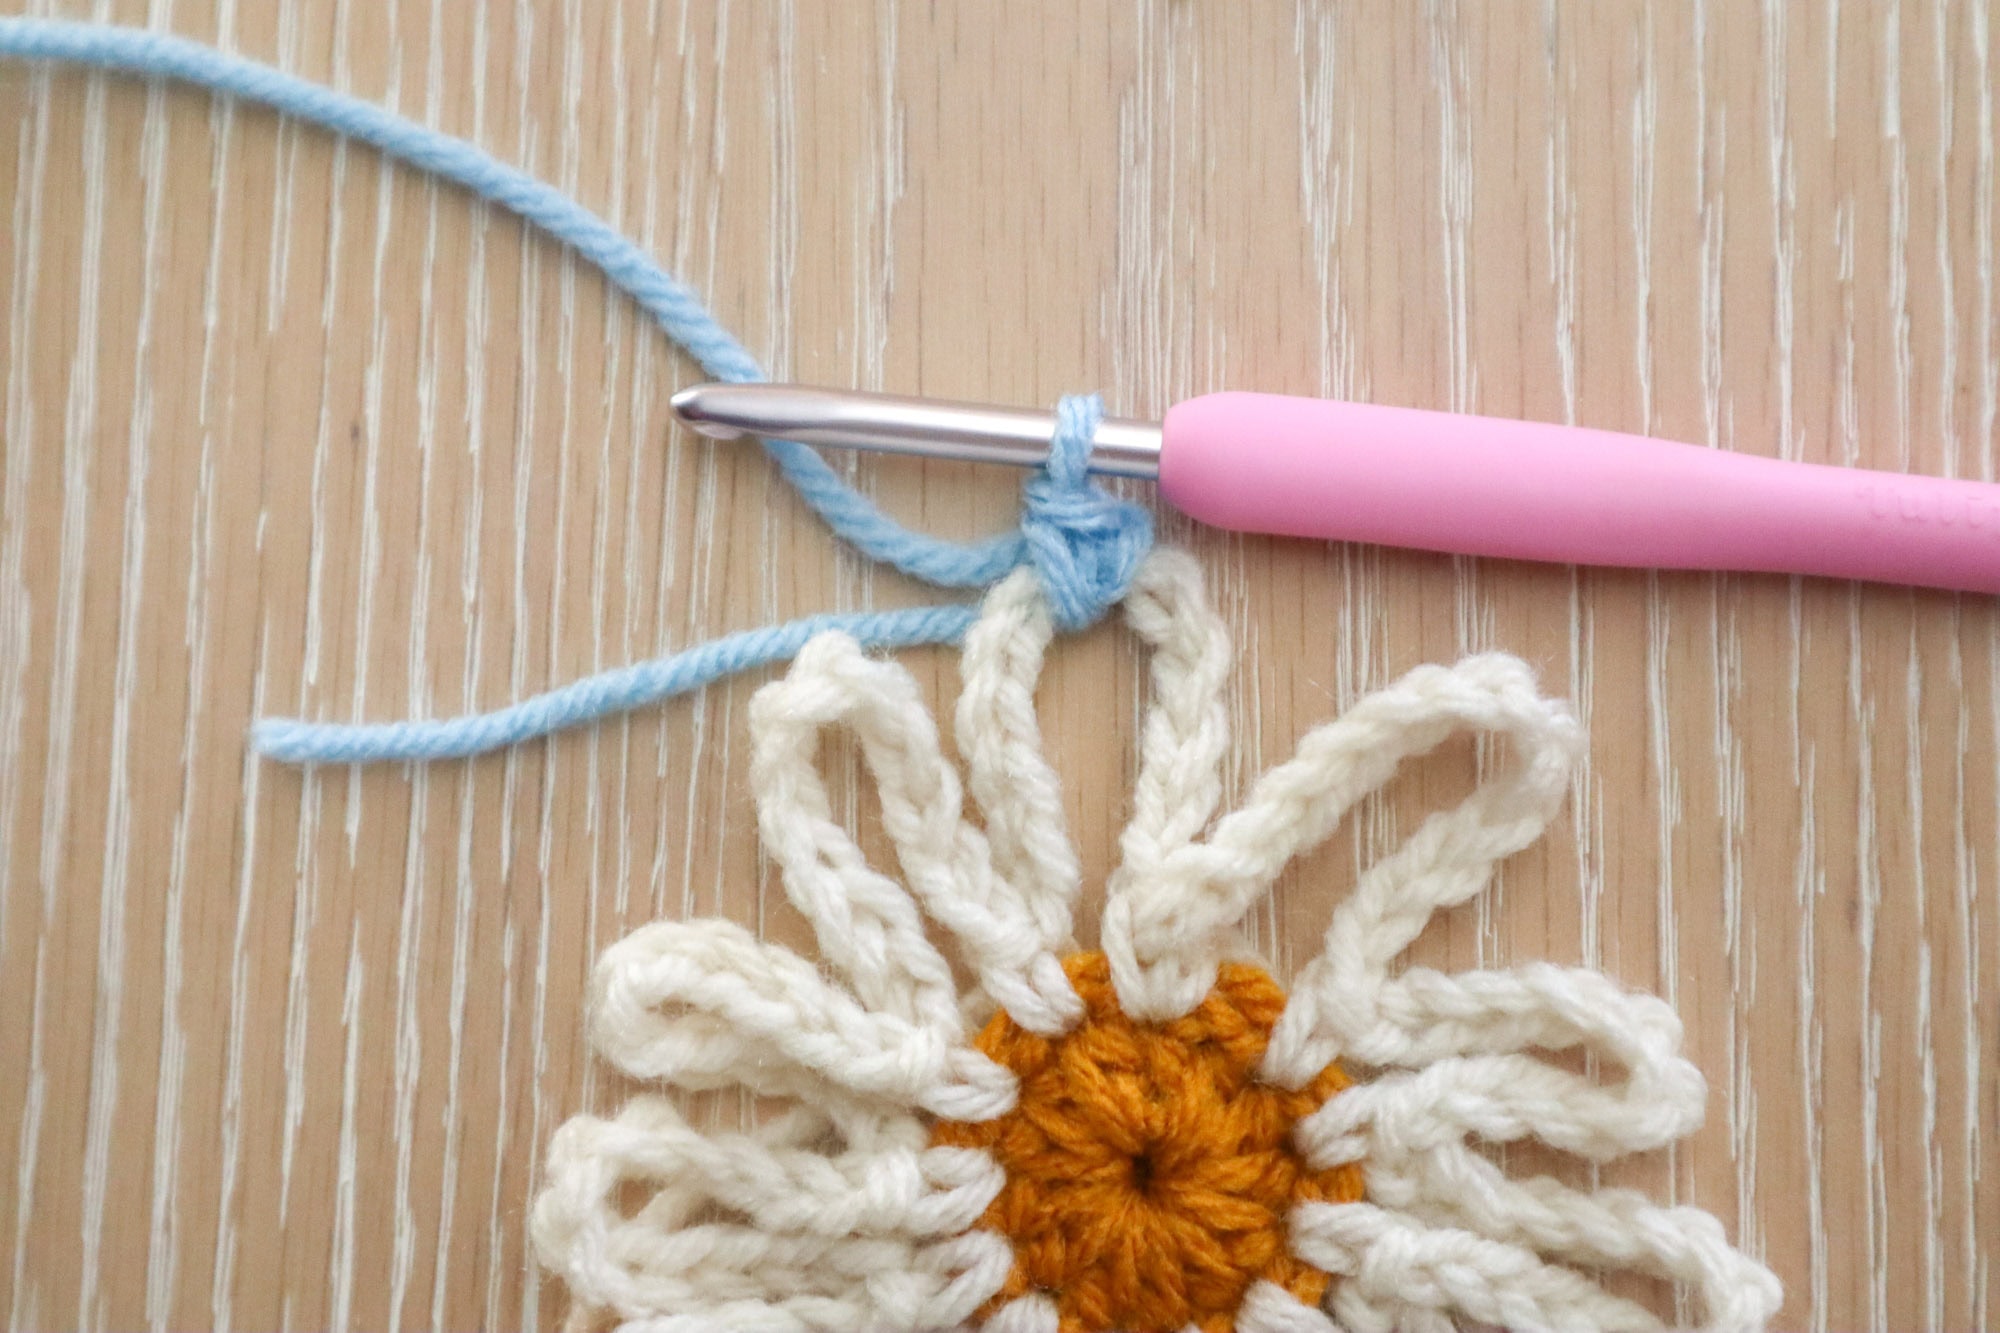
Fasten on border color in any ch12 loop and work 1sc around roughly the 6th ch of the loop. ch5 and sc into the next ch12 loop, working into the outter most tips of the ch12 loops.
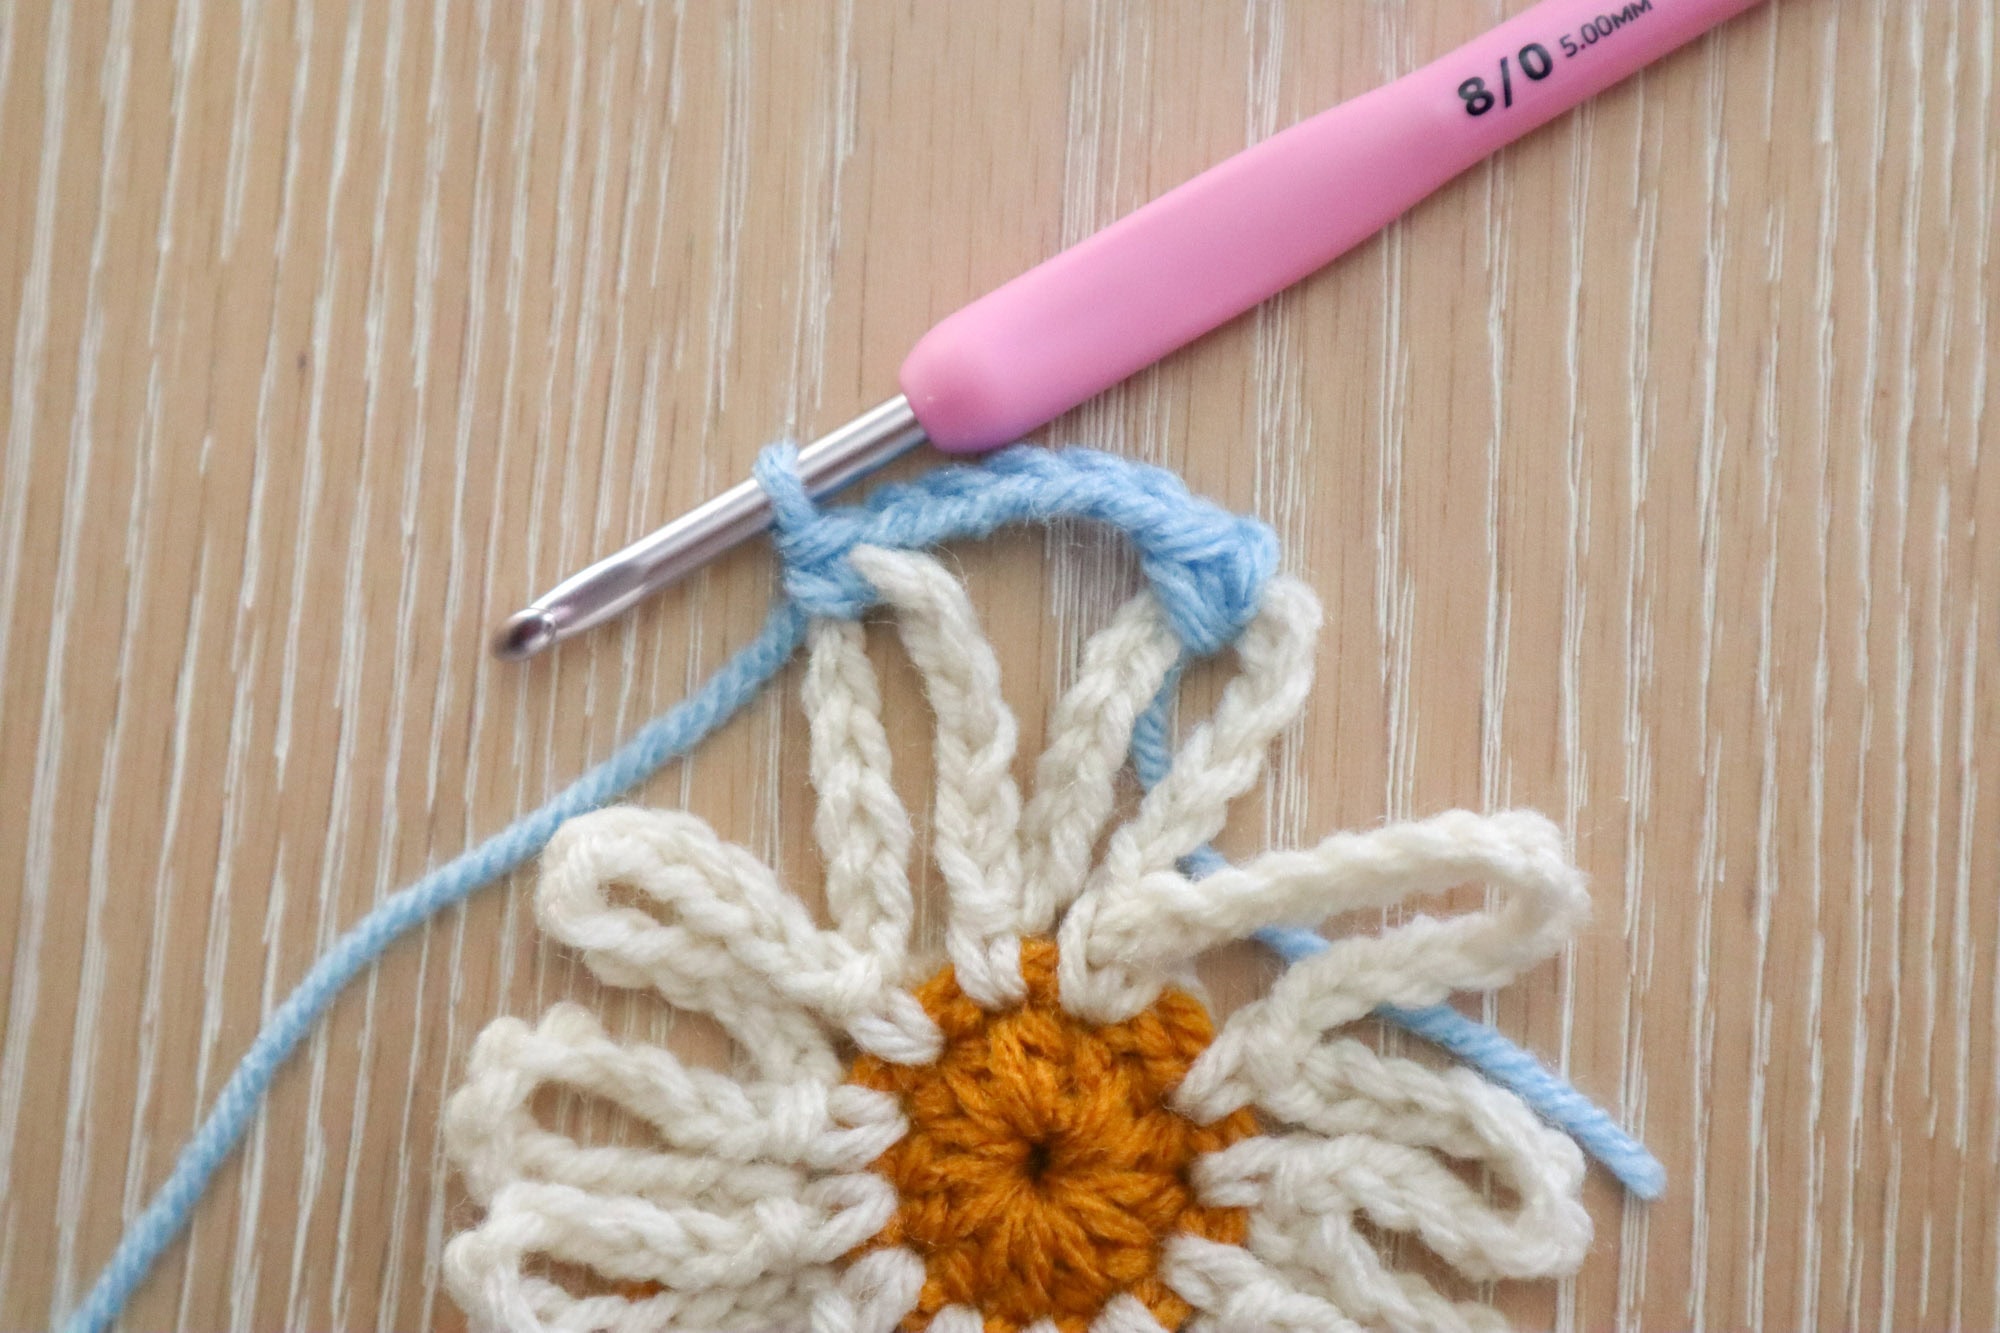
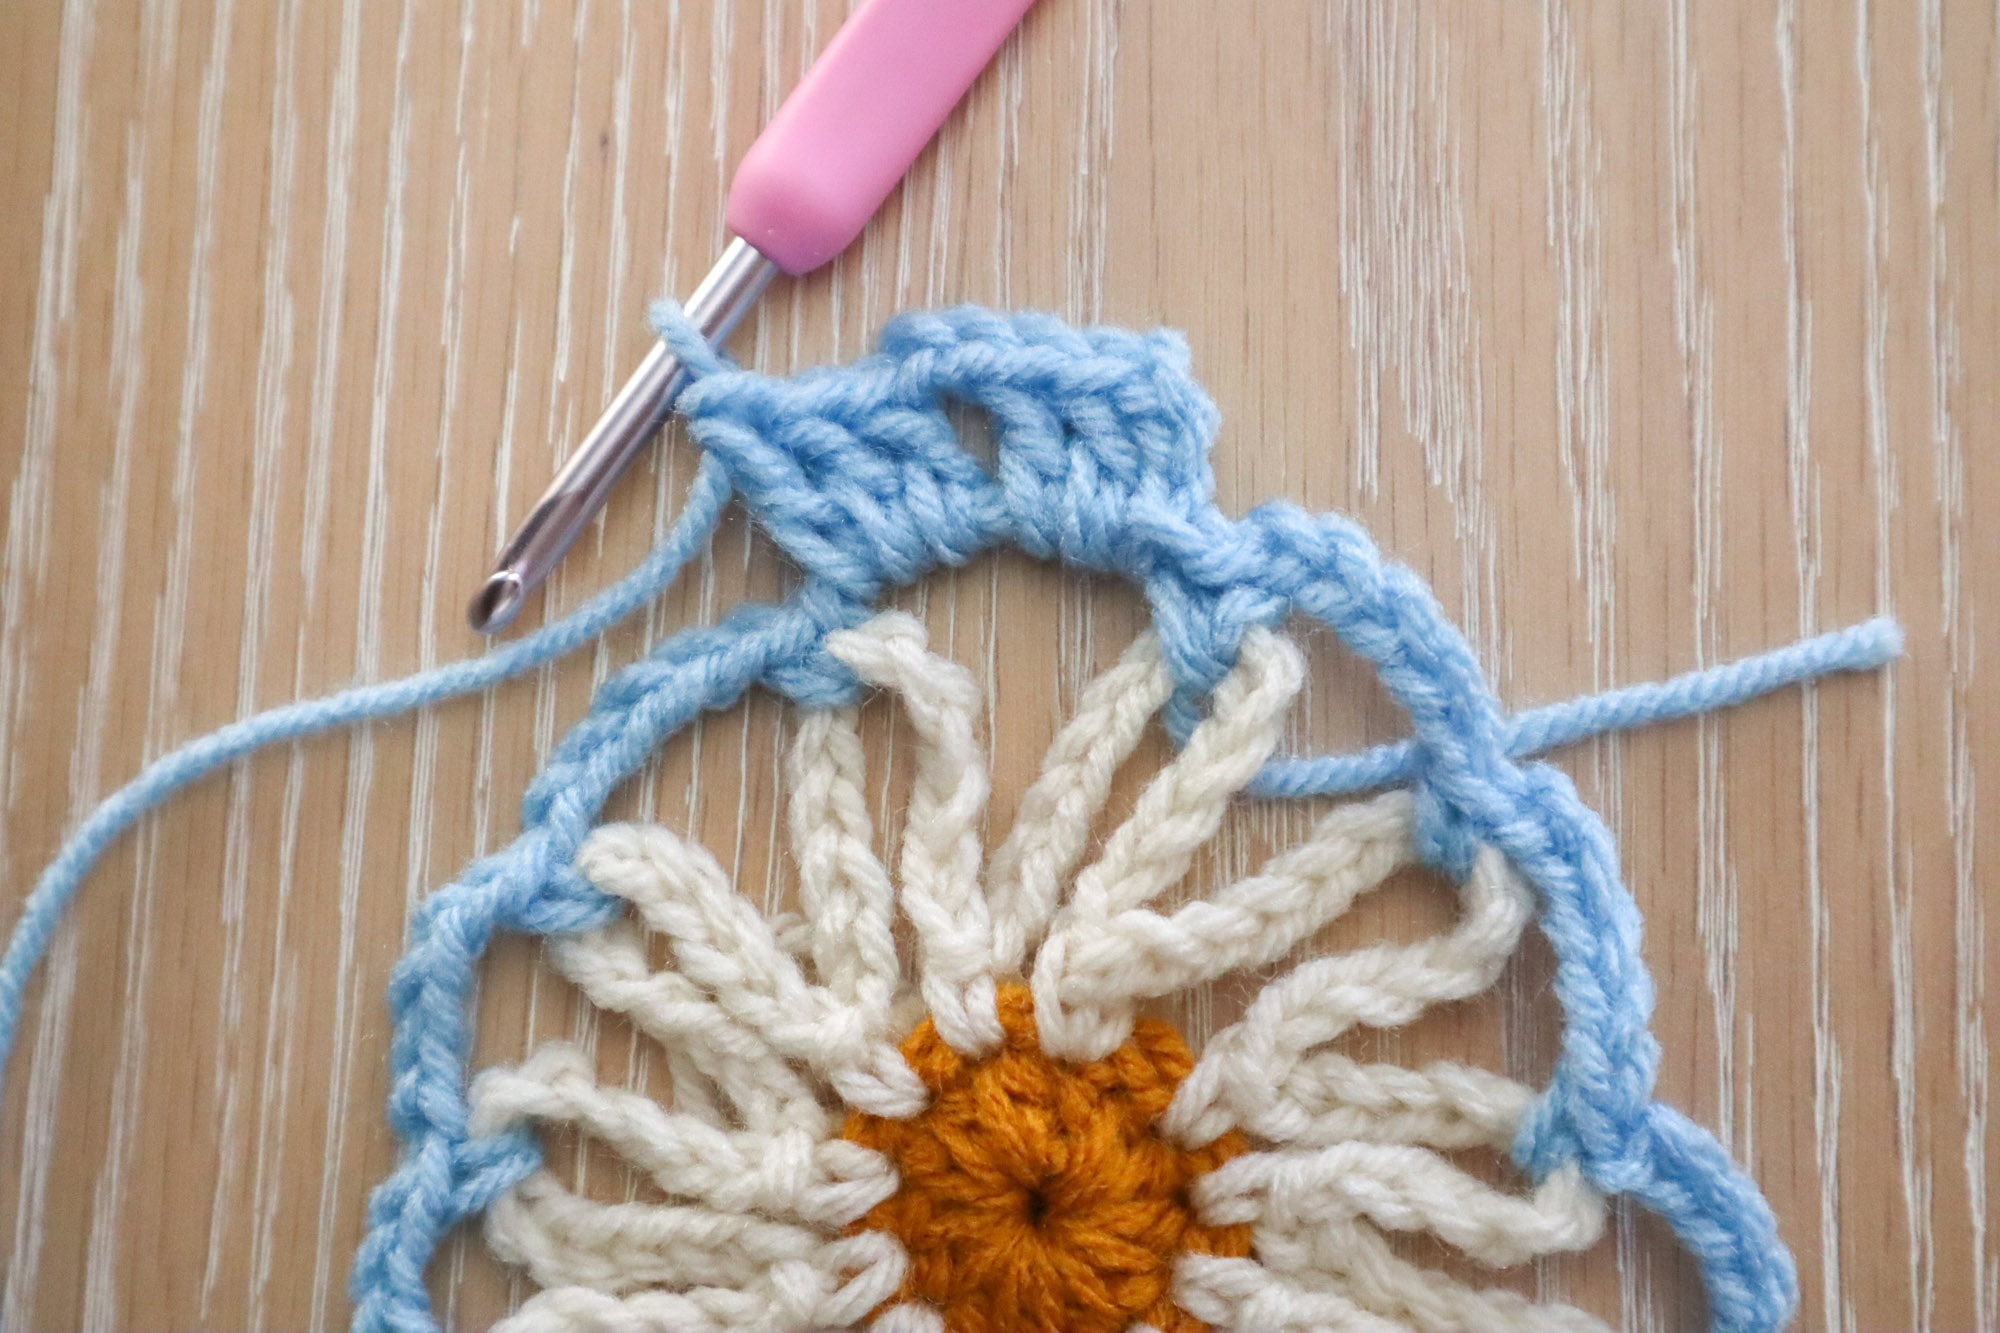
Repeat ch5, sc into next ch12 loop until you’ve worked into the last available loop. Ch5 and sl st to the first sc to complete the rnd. (12scs and ch5s)

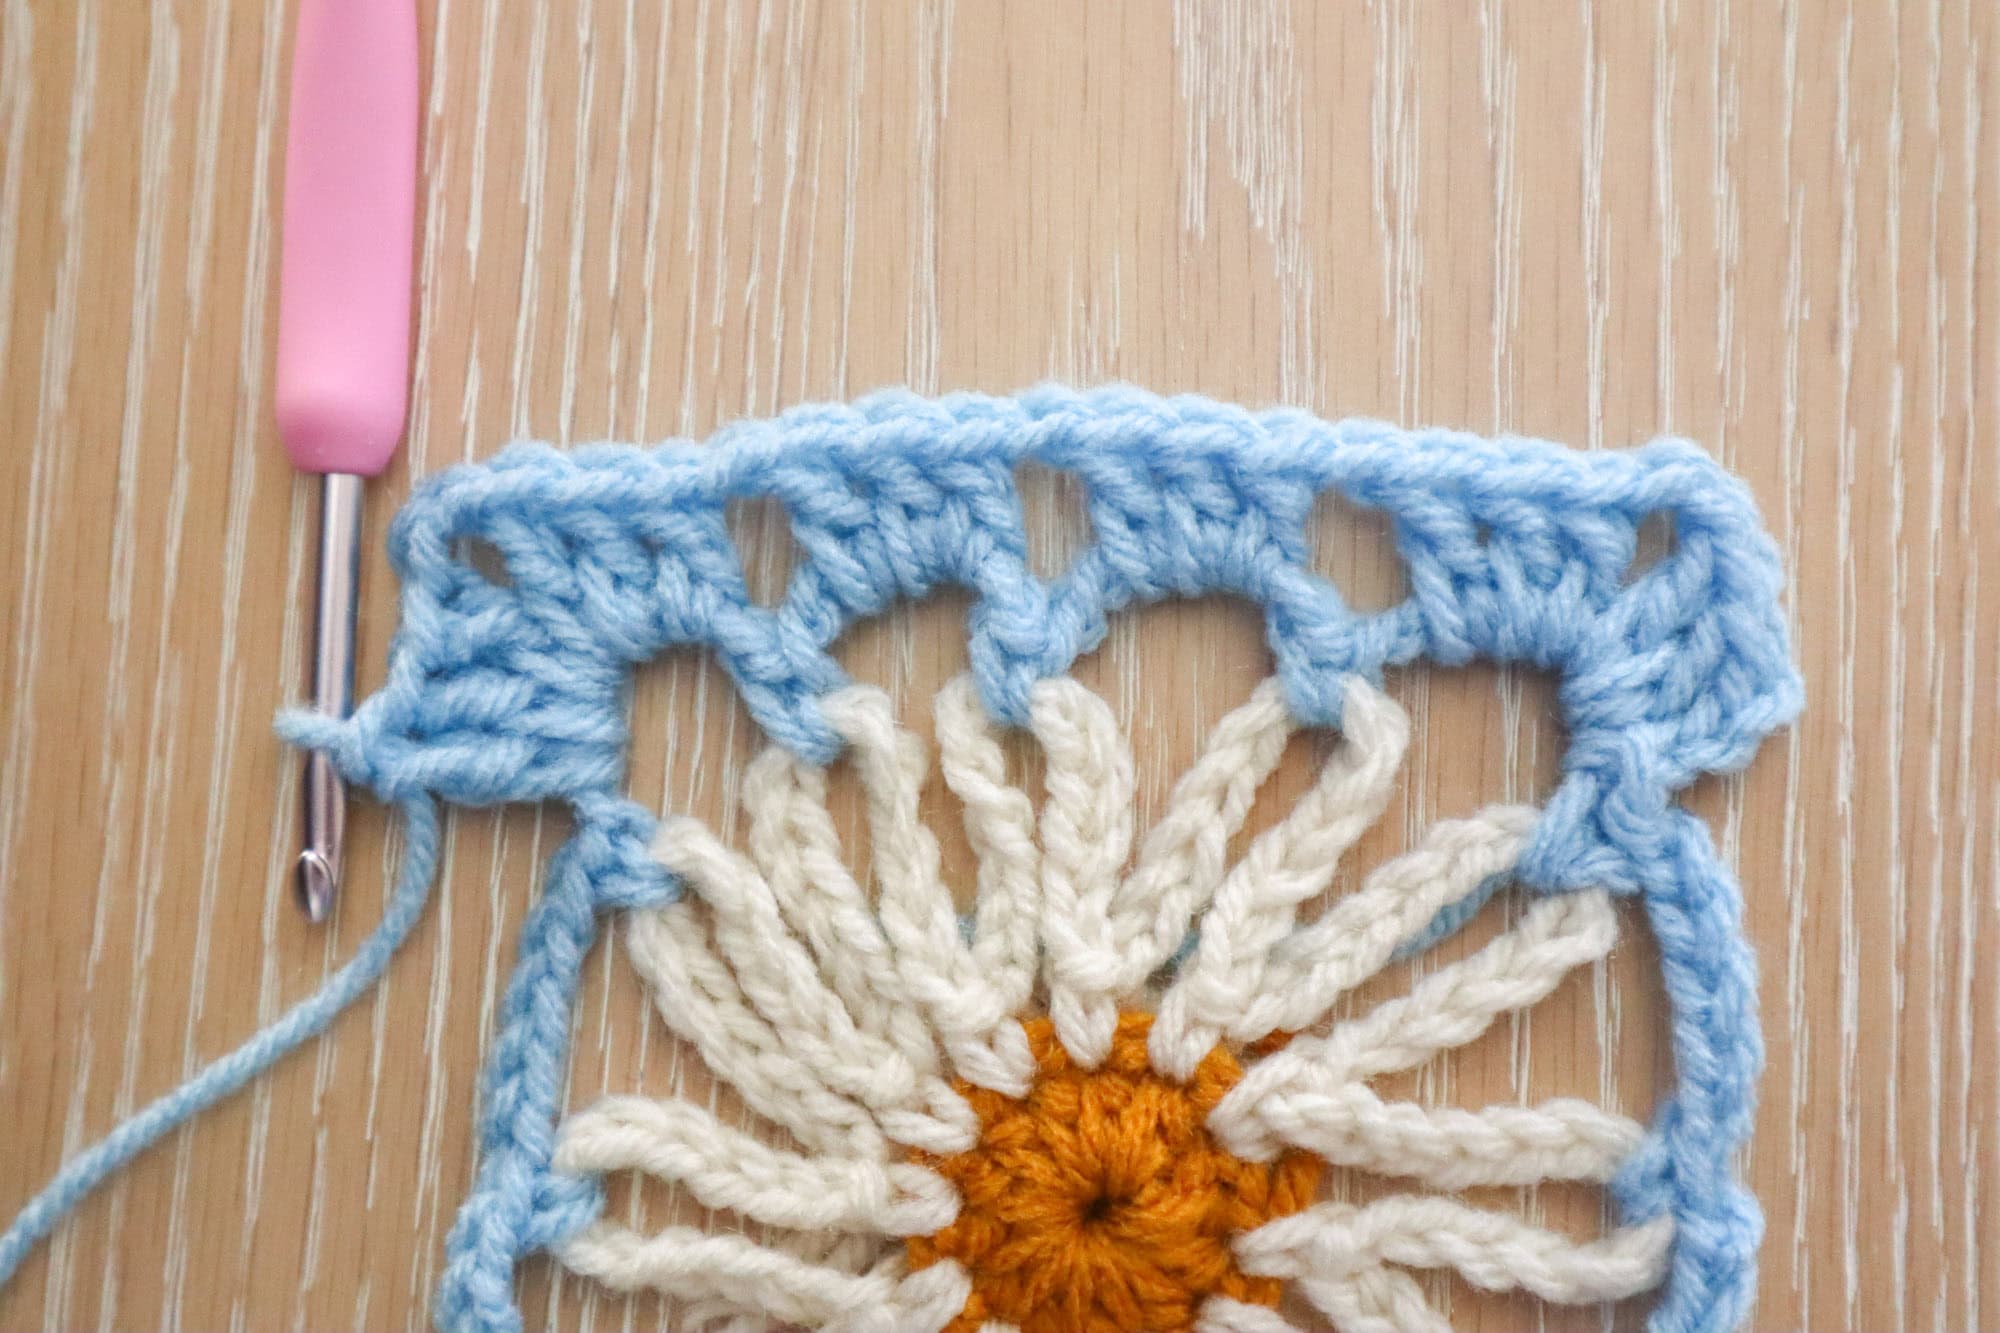
Round 4
Still in border color, sl st into the nearest ch5 sp. Ch3 (counts as 1dc) and make 2 more dc into the ch5 sp. Ch2 and make 3 more dc into the space (first corner).
*Ch1 and make 3dc in the next ch5 sp.* Repeat between ** Once.
Ch1 and make another corner into the next ch5 sp with 3dc, ch2, 3dc all into that space.
Continue (ch1, 3dc)x2 followed by ch1, 3dc, ch2, 3dc corners until you’ve worked 3dc into your last available ch5 sp. Ch1 and sl st to the top of your starting ch3 to complete the rnd.
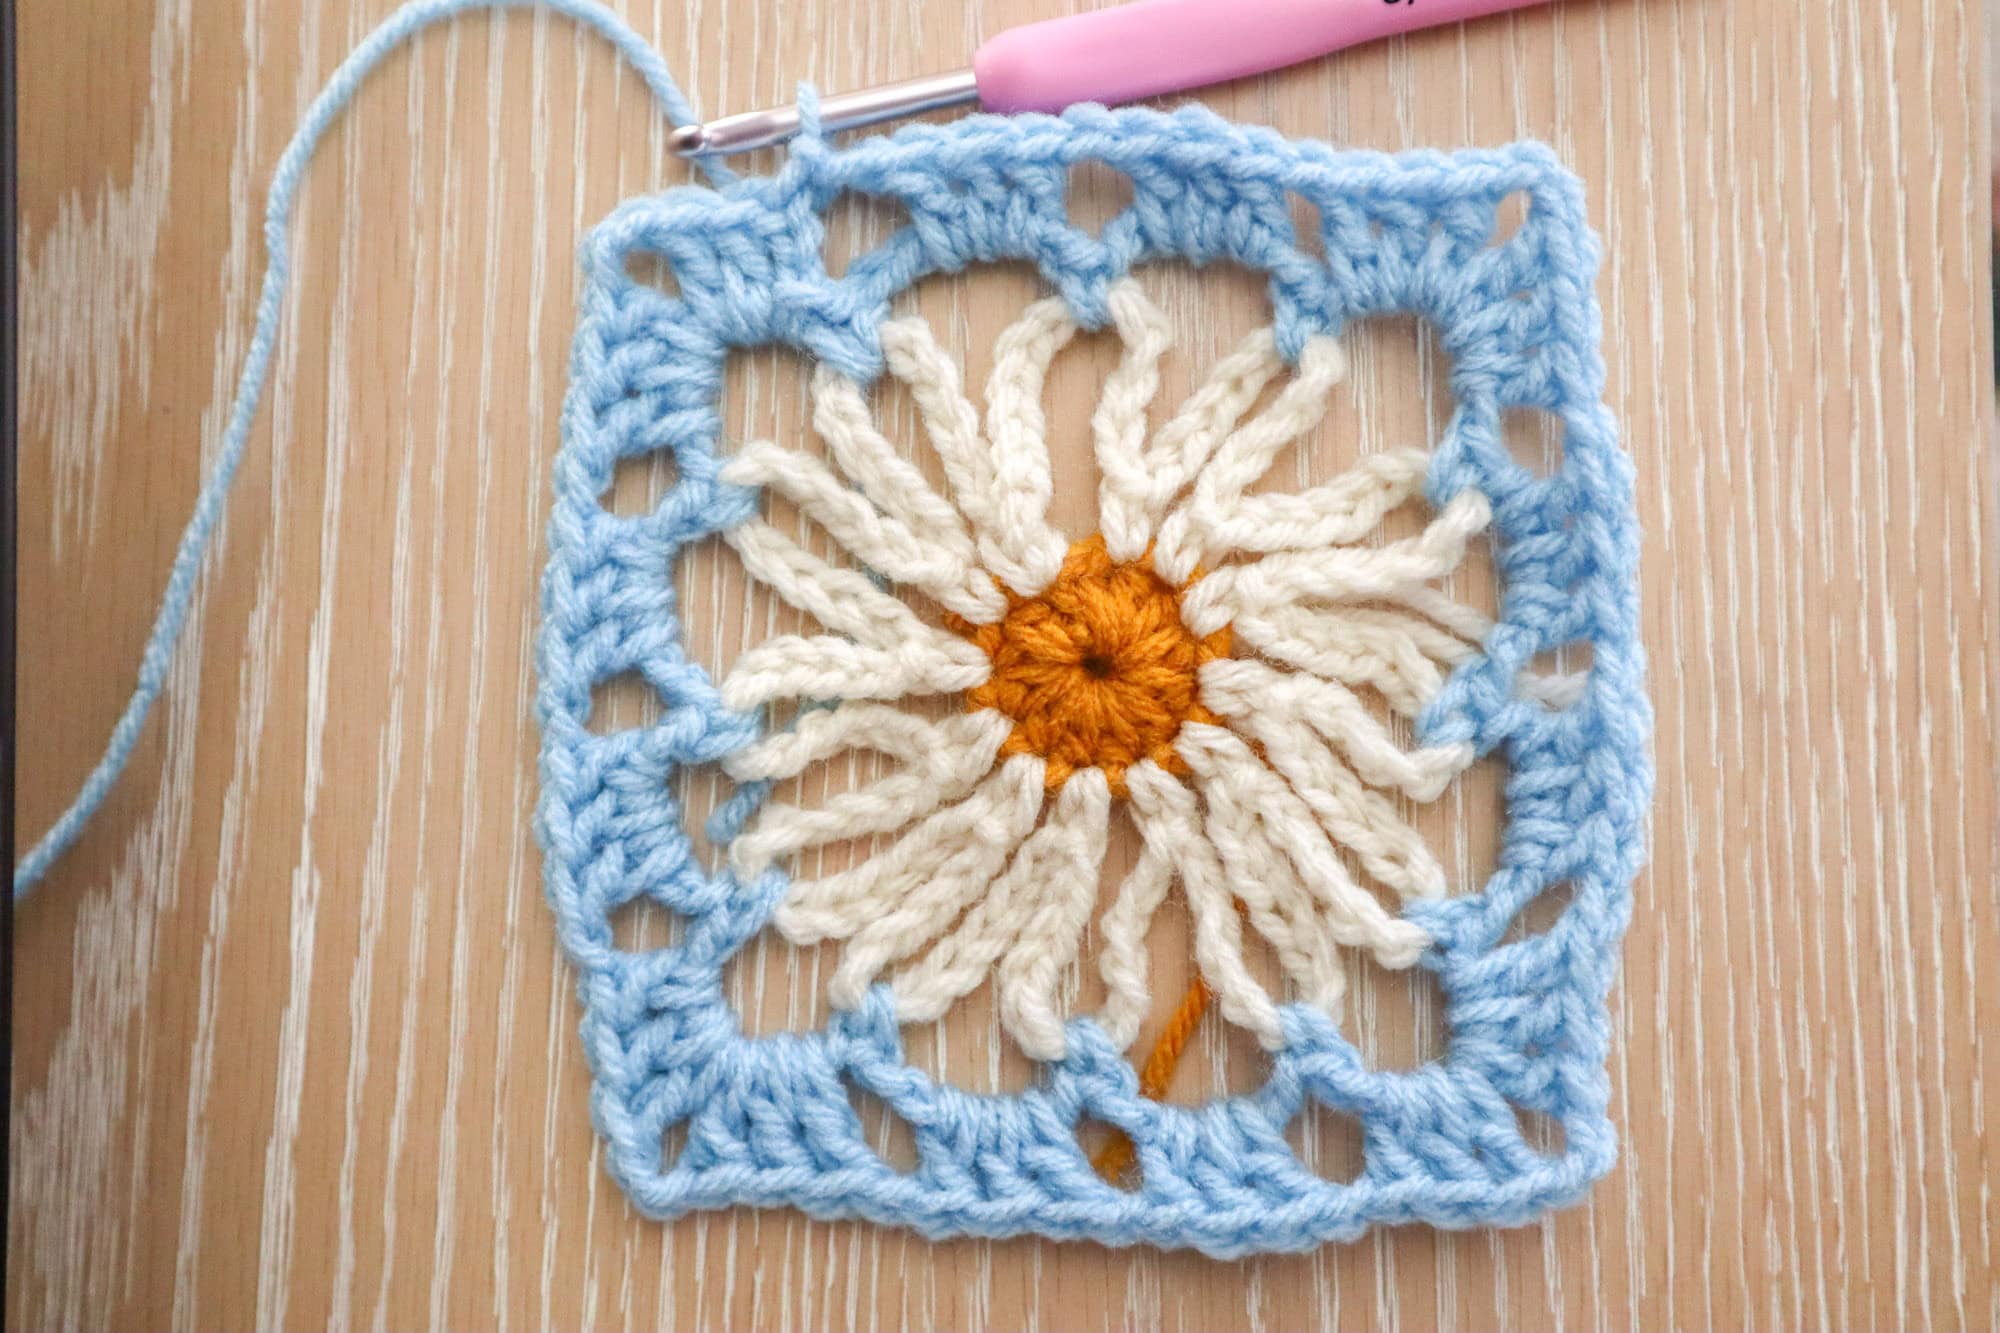
Round 5
Sl st 3 across the top of your granny cluster and into the ch2 sp to position your yarn in the corner. Ch3 (counts as 1dc) and work 2 more dc into the ch2 sp. Ch2 and make 3 more dc into the space (first corner). Ch1 and work 3dc in each ch1 sp from prev rnd, (3dc, ch2, 3dc) in each ch2 sp from prev rnd, working the traditional granny stitch with ch1s between. Sl st to the top of your starting ch3 to complete the rnd.
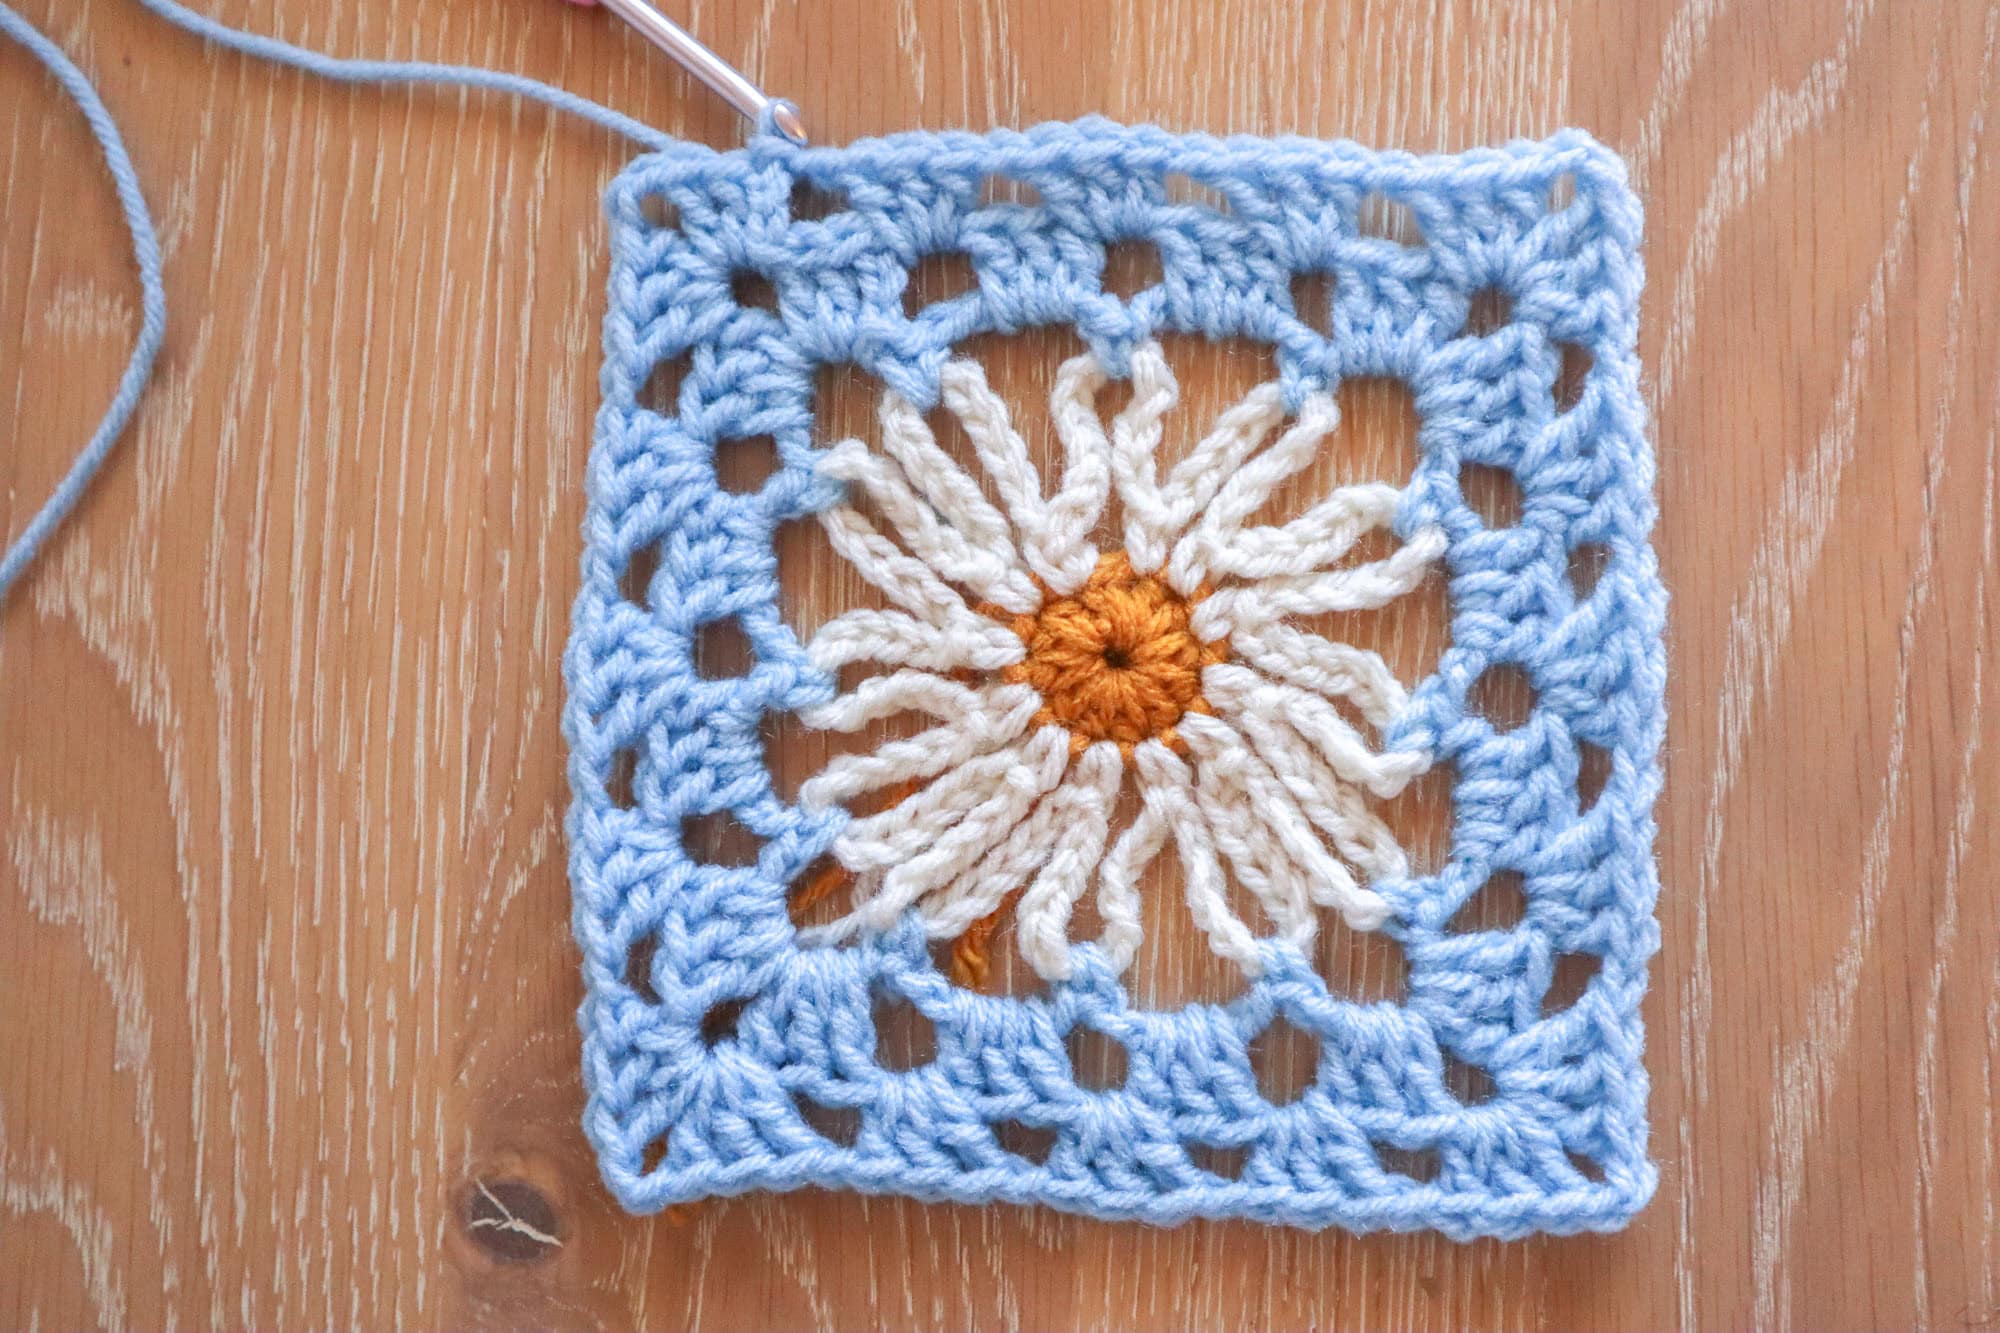
You may repeat round 5 as many times as you’d like to grow your square!
Finishing
Fasten off and weave in all ends. Consider a wash or block to help get the loopy daisy petals to lay (mostly) flat.
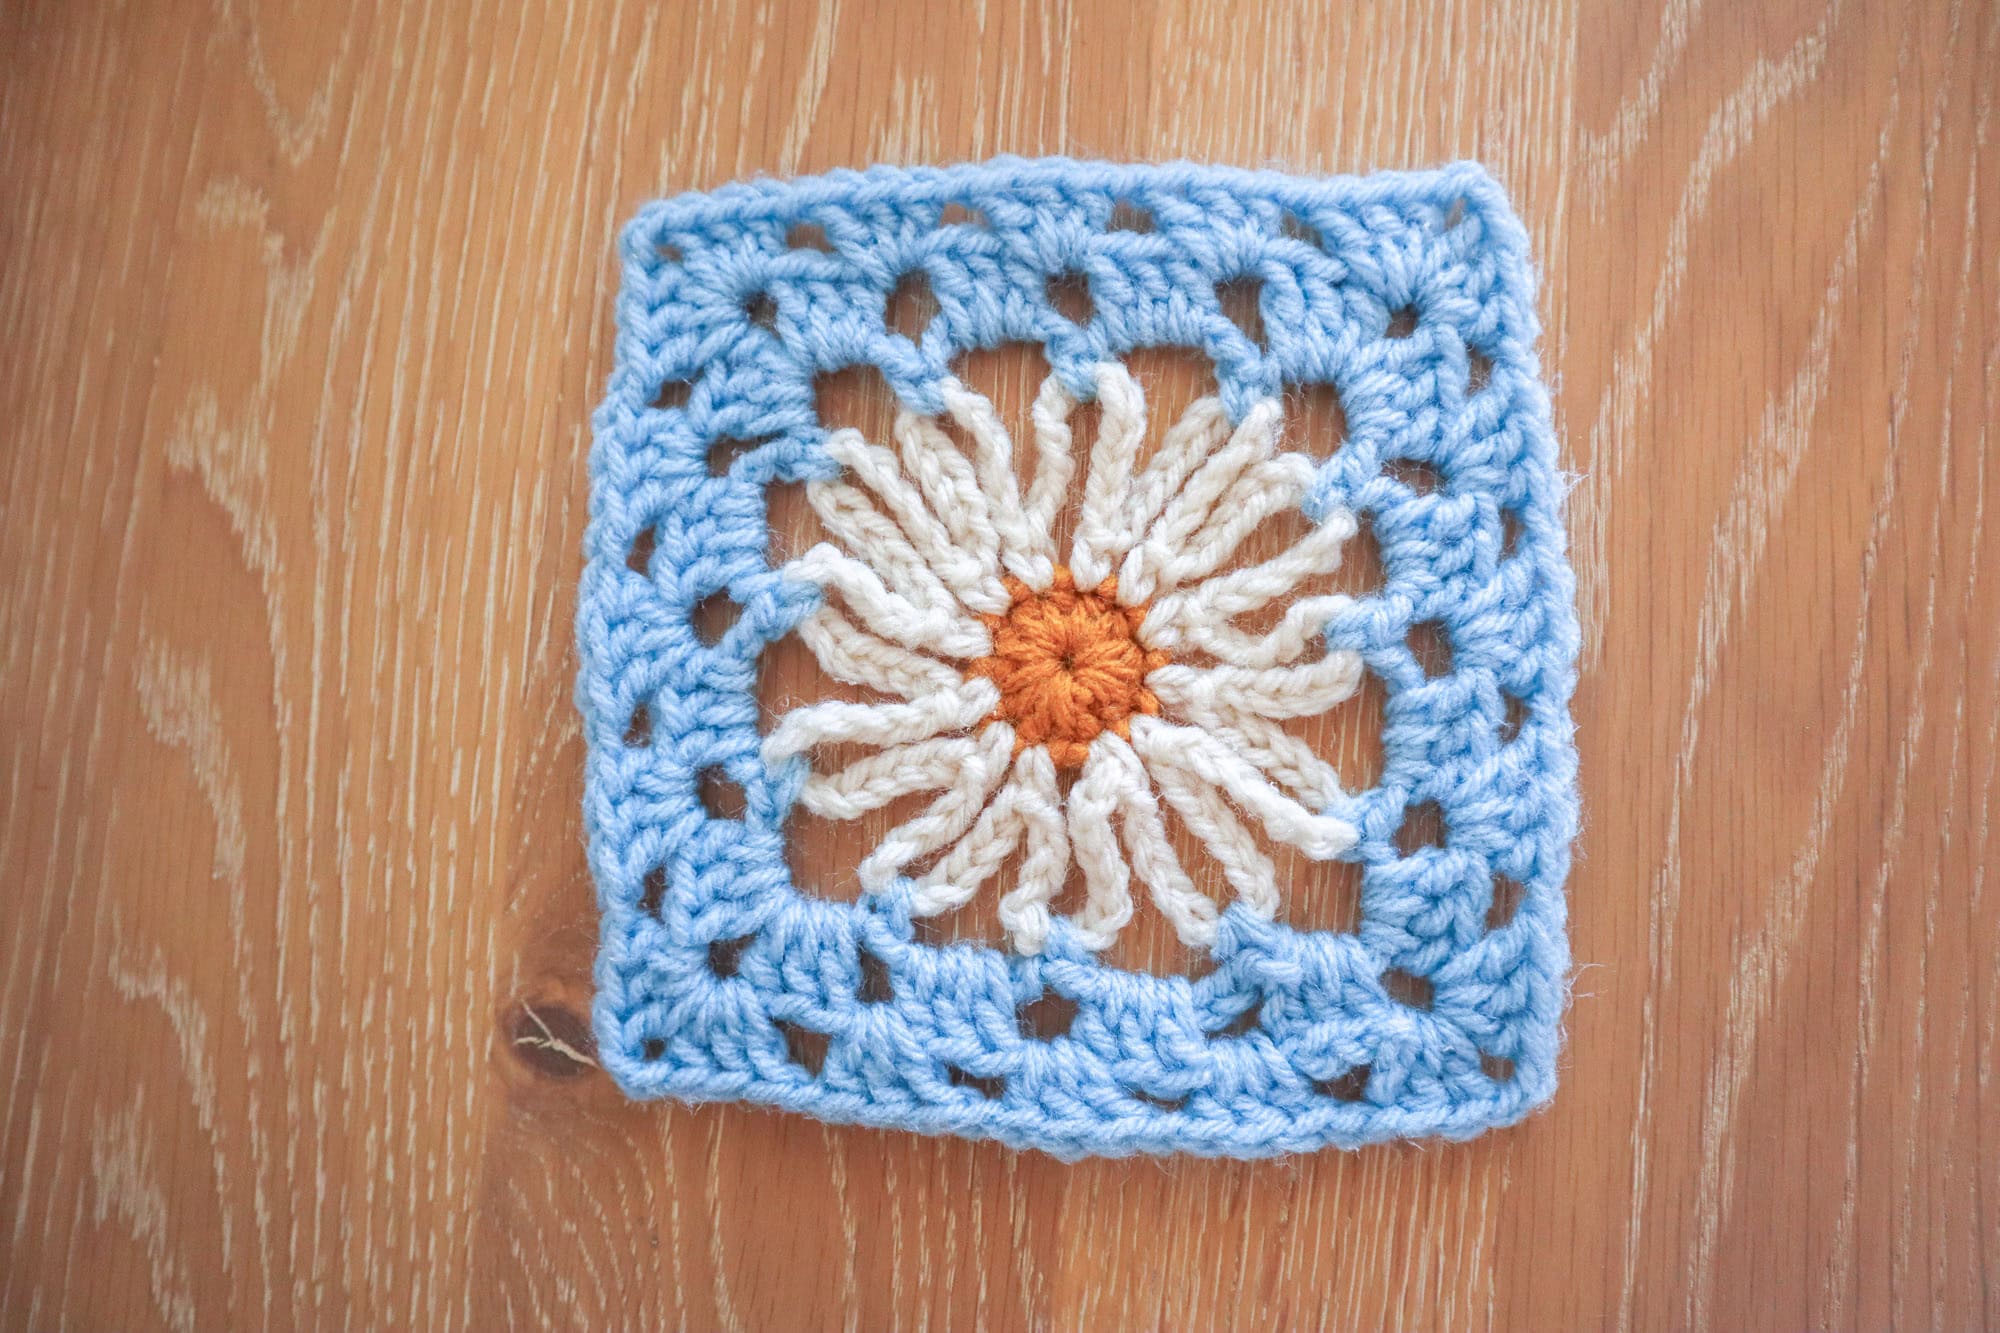
And there you have it, your very own lacy daisy granny square, ready to be stitched up by the dozen! Whether you’re joining a handful into a breezy summer top, or going all-in on a full lacy throw blanket, this little square is the kind of pattern you’ll find yourself coming back to season after season. It’s quick, it’s pretty, and it’s just fancy enough to make folks think you spent way more time on it than you actually did (your little secret, we promise).
If you loved this pattern, be sure to check out the rest of our floral granny square collection, there’s a whole garden’s worth of squares just waiting to find a home in your next project! And if you make a lacy daisy of your own, we’d love to see it! Promise you’ll tag us, okay?
Pin for later!
Lacy Daisy Granny Square
A new pretty square for your crochet repertoire! The lacy daisy granny square will give you a 6" square in only 5 rounds!
Materials
- Less than 100 yards of three colors of worsted weight yarn
Tools
- 5mm crochet hook
Instructions
In daisy center color, ch4, sl st to the first ch to create a ch4 ring. Alternatively, you could make a magic circle.
Round 1
In flower center color, ch1 (doesn't count as a stitch) and make 12hdc into the ch4 ring. Sl st to your first hdc to complete the rnd. (12 hdc)
Fasten off flower center color.
Round 2
Fasten on the flower petal color in any hdc from prv rnd. Make 1sc in that st. Ch 12 and make 1sc in the next st. Repeat ch12, 1sc for each stitch around.
When you reach the last st, ch 12 and sl st to your first sc to complete the rnd. (12 scs and ch12 loops)
Fasten off flower petal color.
Round 3
Fasten on border color in any ch12 loop and work 1sc around roughly the 6th ch of the loop. ch5 and sc into the next ch12 loop, working into the outter most tips of the ch12 loops.
Repeat ch5, sc into next ch12 loop until you've worked into the last available loop. Ch5 and sl st to the first sc to complete the rnd. (12scs and ch5s)
Round 4
Still in border color, sl st into the nearest ch5 sp. Ch3 (counts as 1dc) and make 2 more dc into the ch5 sp. Ch2 and make 3 more dc into the space (first corner).
*Ch1 and make 3dc in the next ch5 sp.* Repeat between ** Once.
Ch1 and make another corner into the next ch5 sp with 3dc, ch2, 3dc all into that space.
Continue (ch1, 3dc)x2 followed by ch1, 3dc, ch2, 3dc corners until you've worked 3dc into your last available ch5 sp. Ch1 and sl st to the top of your starting ch3 to complete the rnd.
Round
Sl st 3 across the top of your granny cluster and into the ch2 sp to position your yarn in the corner. Ch3 (counts as 1dc) and work 2 more dc into the ch2 sp. Ch2 and make 3 more dc into the space (first corner). Ch1 and work 3dc in each ch1 sp from prev rnd, (3dc, ch2, 3dc) in each ch2 sp from prev rnd, working the traditional granny stitch with ch1s between. Sl st to the top of your starting ch3 to complete the rnd.
You may repeat round 5 as many times as you'd like to grow your square!
Finishing
Fasten off and weave in all ends. Consider a wash or block to help get the loopy daisy petals to lay (mostly) flat.