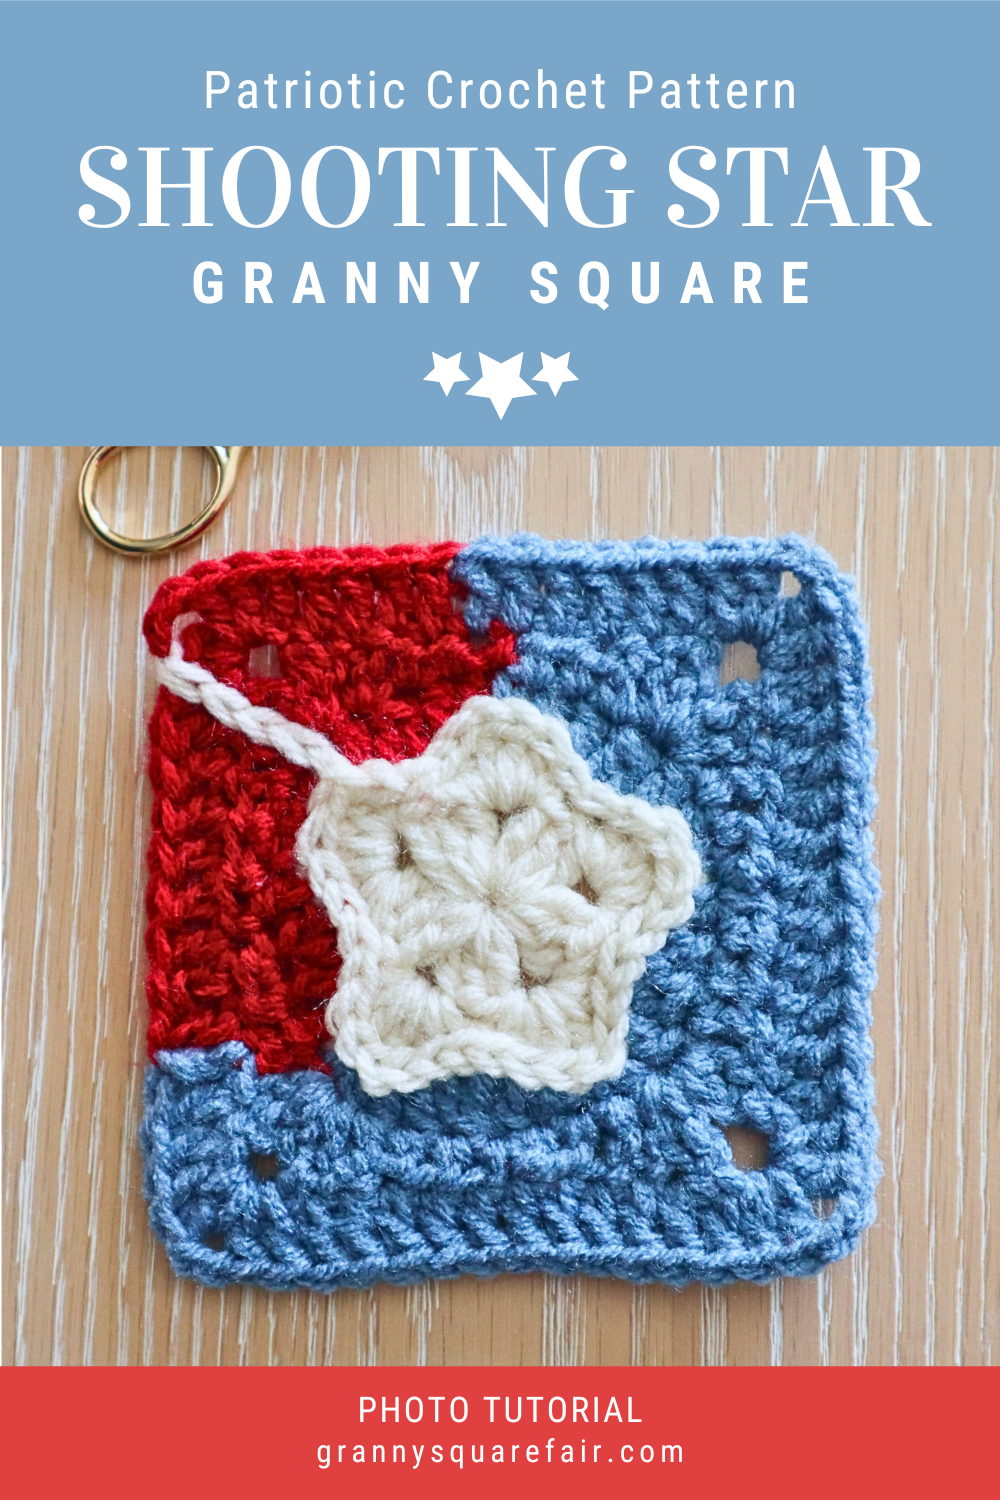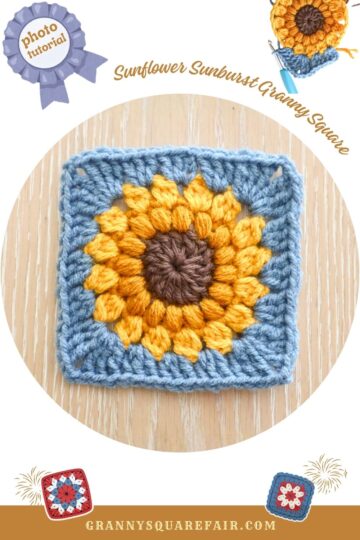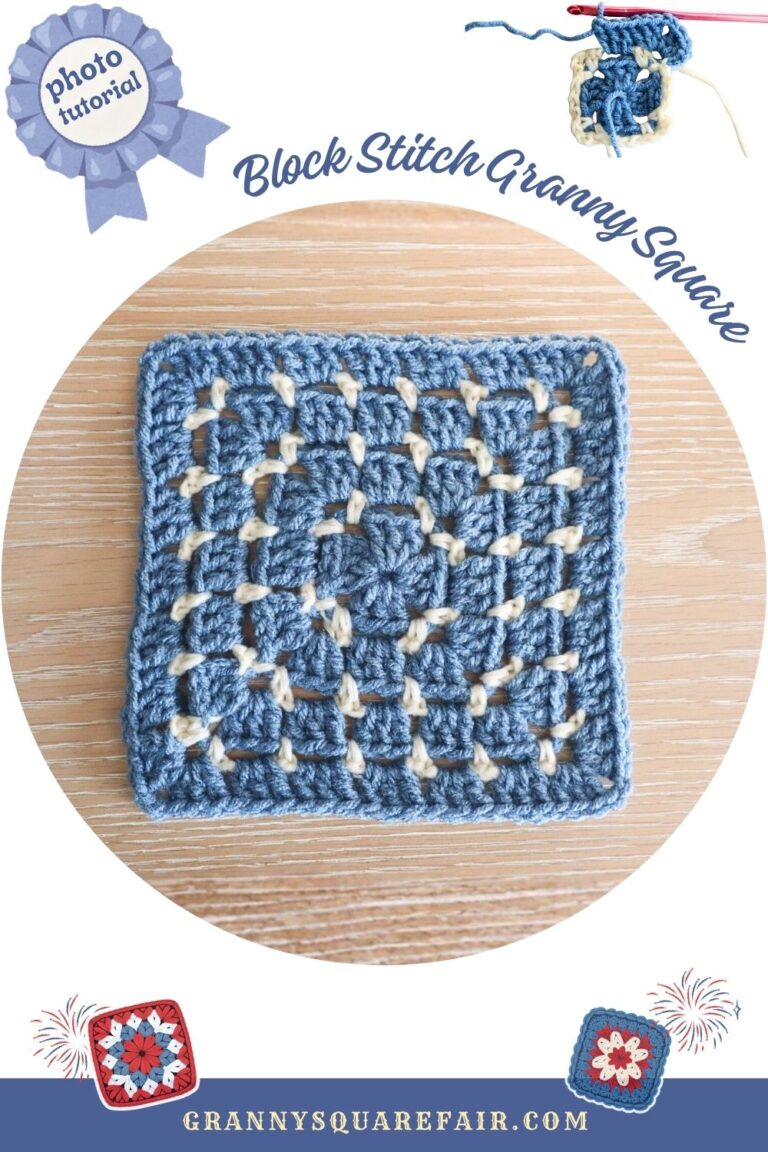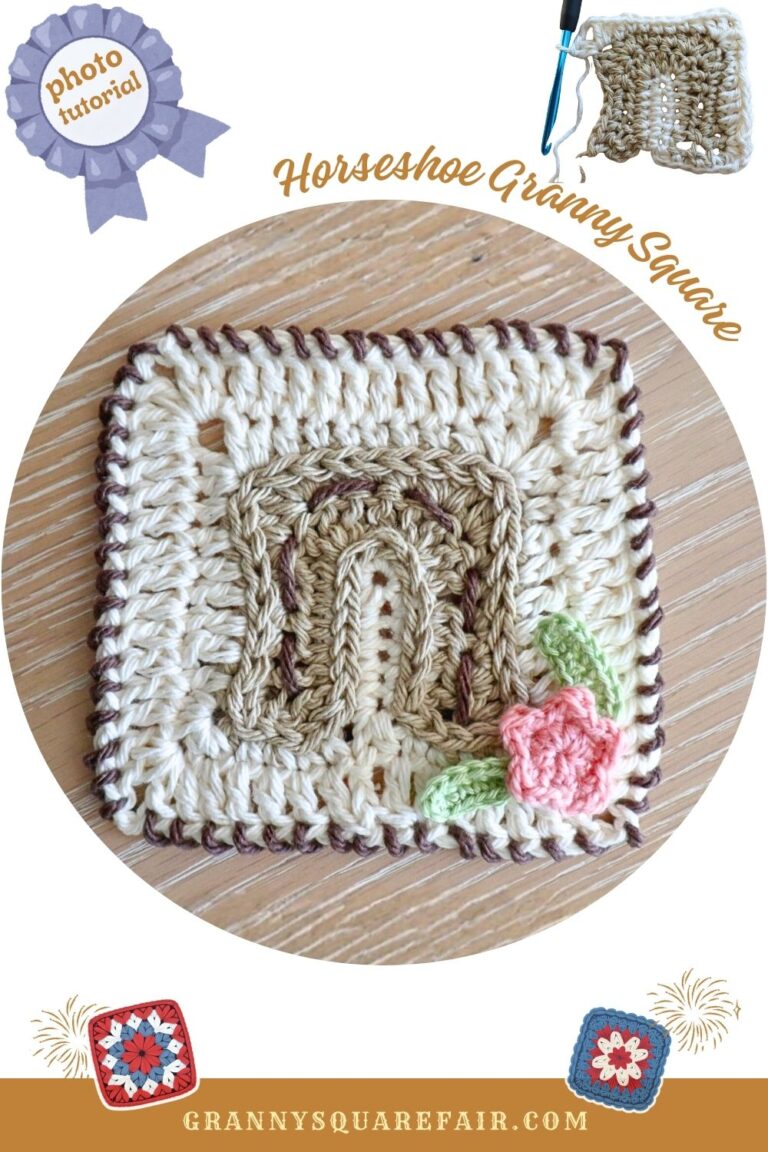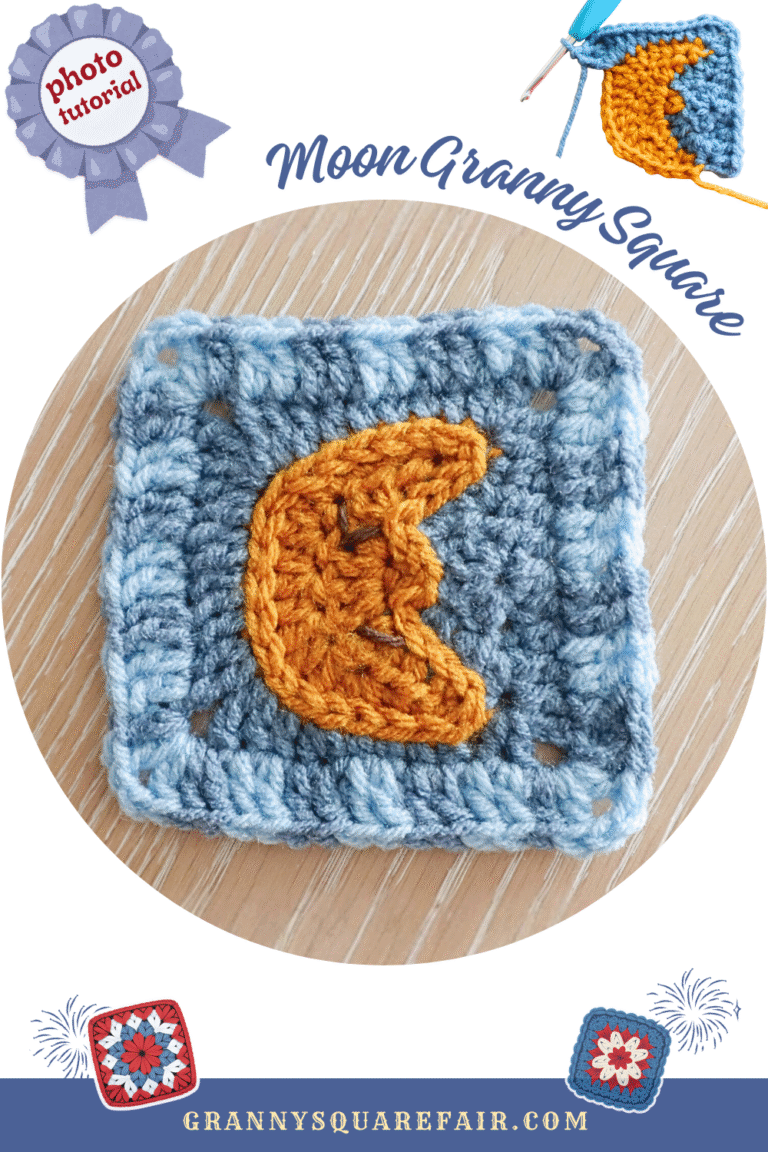
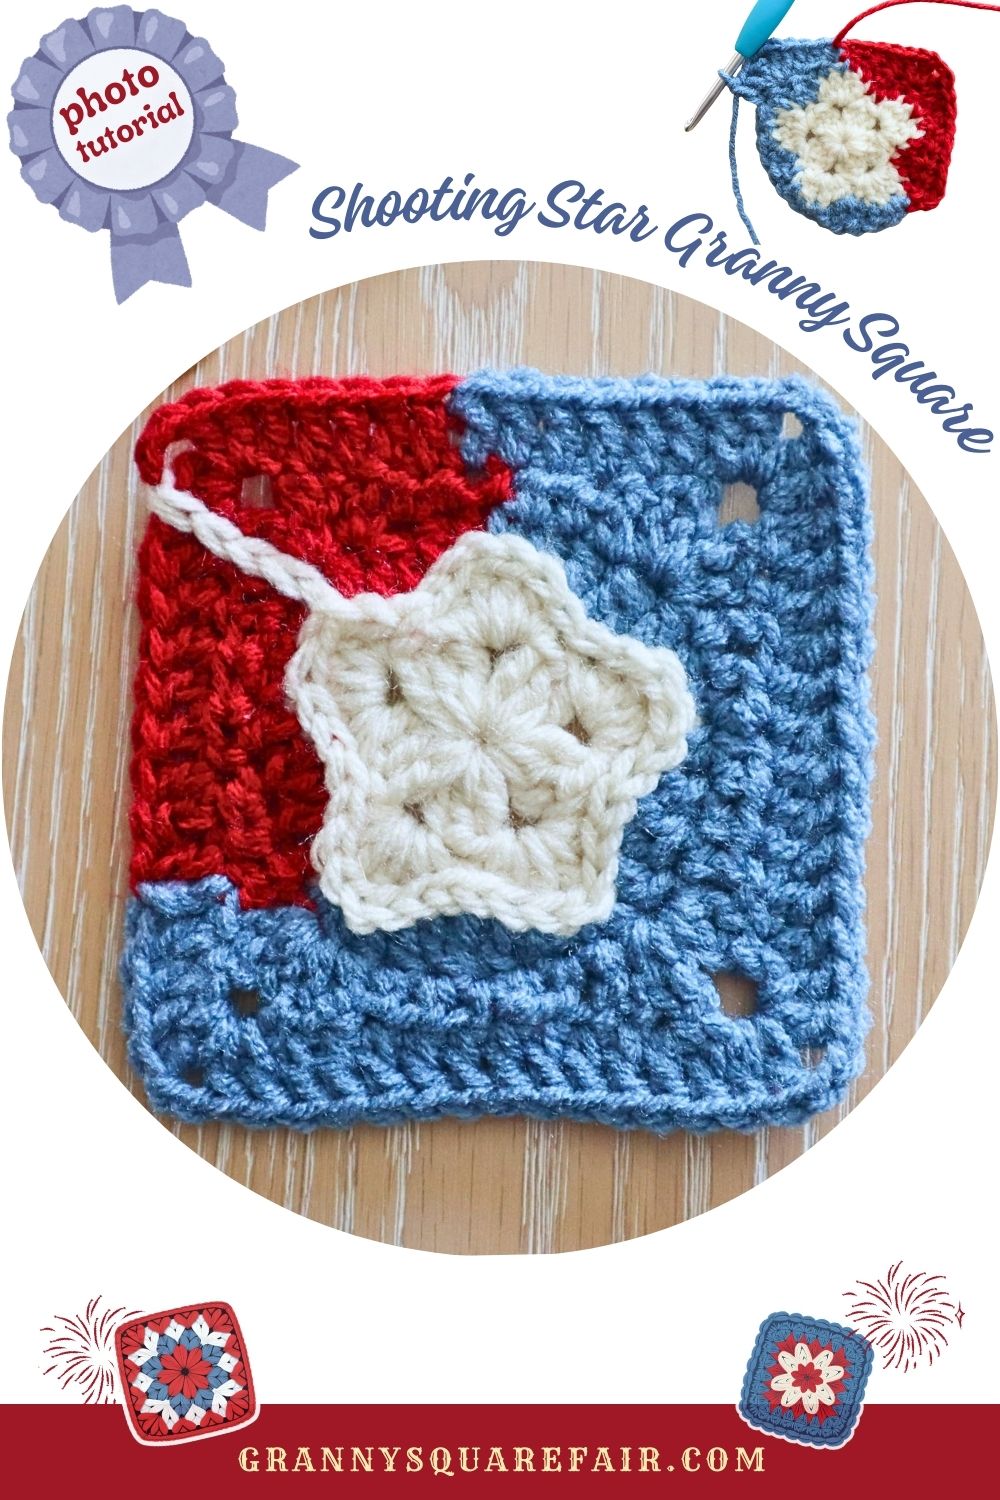
Shooting Star granny square
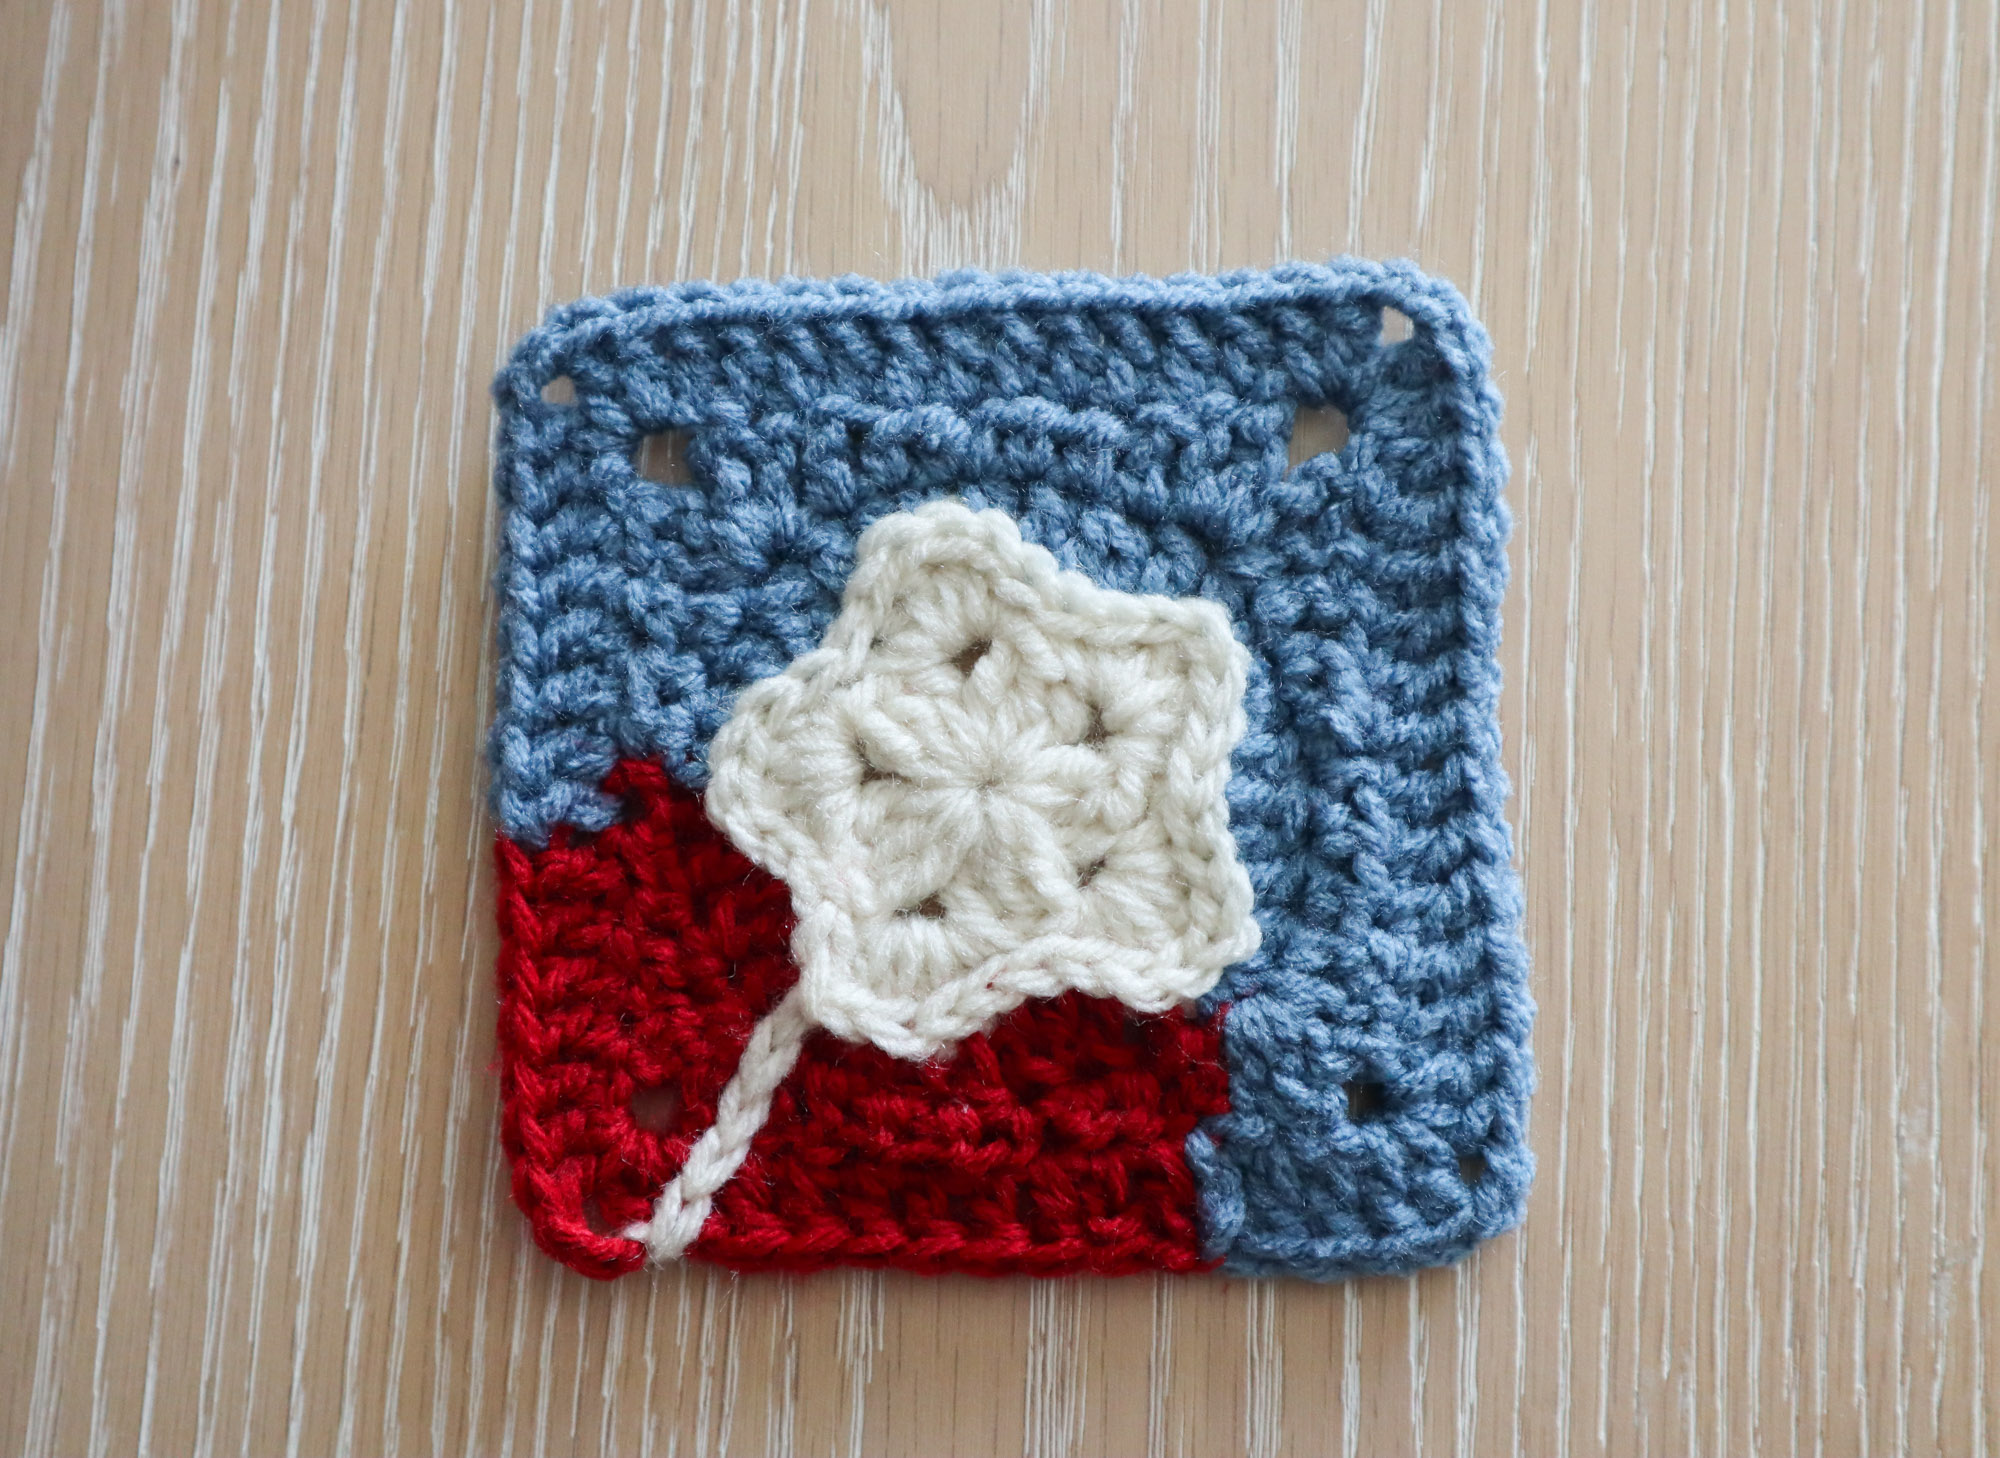
Make a wish! It’s a shooting star granny square! Add a touch of whimsey to any granny crochet project from celestial themes to dreamy baby blankets, this shooting star motif is magical. And, if you pick some patriotic colors like I did, it instantly becomes a 4th Of July square! Fun fact: Did you know 59 different national flags have stars on them??
I think you’ll especially love that this start is not appliquéd on afterward, it’s fully integrated right into the square itself! No sewing on little stars after crocheting a bunch of granny squares already The star is woven into the very fabric of the square through some clever colorwork that’s more delightful than difficult. If you know how to change colors and turn your work, you’ve already got everything you need to make this magic happen. It’s the kind of technique that makes people pick up your finished blanket and say, “How did you do that?!”
Jump to:
This square is a wonderful addition to any crafter’s motif collection, and once you’ve got one under your belt, you’ll find yourself dreaming up all sorts of places to tuck a little shooting star. Celestial lap blankets! Nursery décor! A scrappy sampler that wins first place at the county fair and earns you some well-deserved bragging rights! The colorwork keeps things interesting stitch by stitch, making this one of those projects where the process is just as satisfying as the finished result sitting in your lap.
Skill Level
Intermediate — While this granny square only uses basic stitches (single crochet, double crochet, treble crochet, chains and slip stitches), it does require you to have a good handle on counting your stitches, keeping track of stitches and changing color.
Stitch Abbreviations Used in the Pattern (U.S. Terms)
| Abbreviation | Stitch Name |
|---|---|
| ch | chain |
| sl st | slip stitch |
| sc | single crochet |
| dc | double crochet |
| tr | treble (triple) crochet |
| dc2tog | double crochet 2 together (pull through the first 2 loops of a dc, yarn over and insert into the next st, yarn over, pull up a loop, yarn over pull through 2, then yarn over pull through 3) |
| st(s) | stitch(es) |
| sp | space |
| rnd | round |
| rep | repeat |
What You’ll Need
- Yarn: Any weight yarn you love – I used three colors of worsted (4) weight acrylics and cottons.
- Hook: Use a hook that matches your yarn label’s recommendation. I used a 4.5 mm hook.
- Notions: Scissors, and an optional cozy stargazing spot.
Gauge & Size
Gauge is up to you and your yarn and hook size! After 5 rounds, in my 4 weight yarn and 4.5mm hook, my square was about 4″ across.
Pattern Notes
- This pattern is worked in the round, joining at the end of each round with a slip stitch.
- We will only turn our work on the outer two rounds of the square so pay attention to the turning instructions at the beginning of rounds.
- We work the star motif first, then change color to add a circle around the star, working the shooting star “tail” at the same time by changing color mid-round. Then, we’ll square the circle, maintaining the color changes to form our shooting star tail and square border.
Inner Star Motif
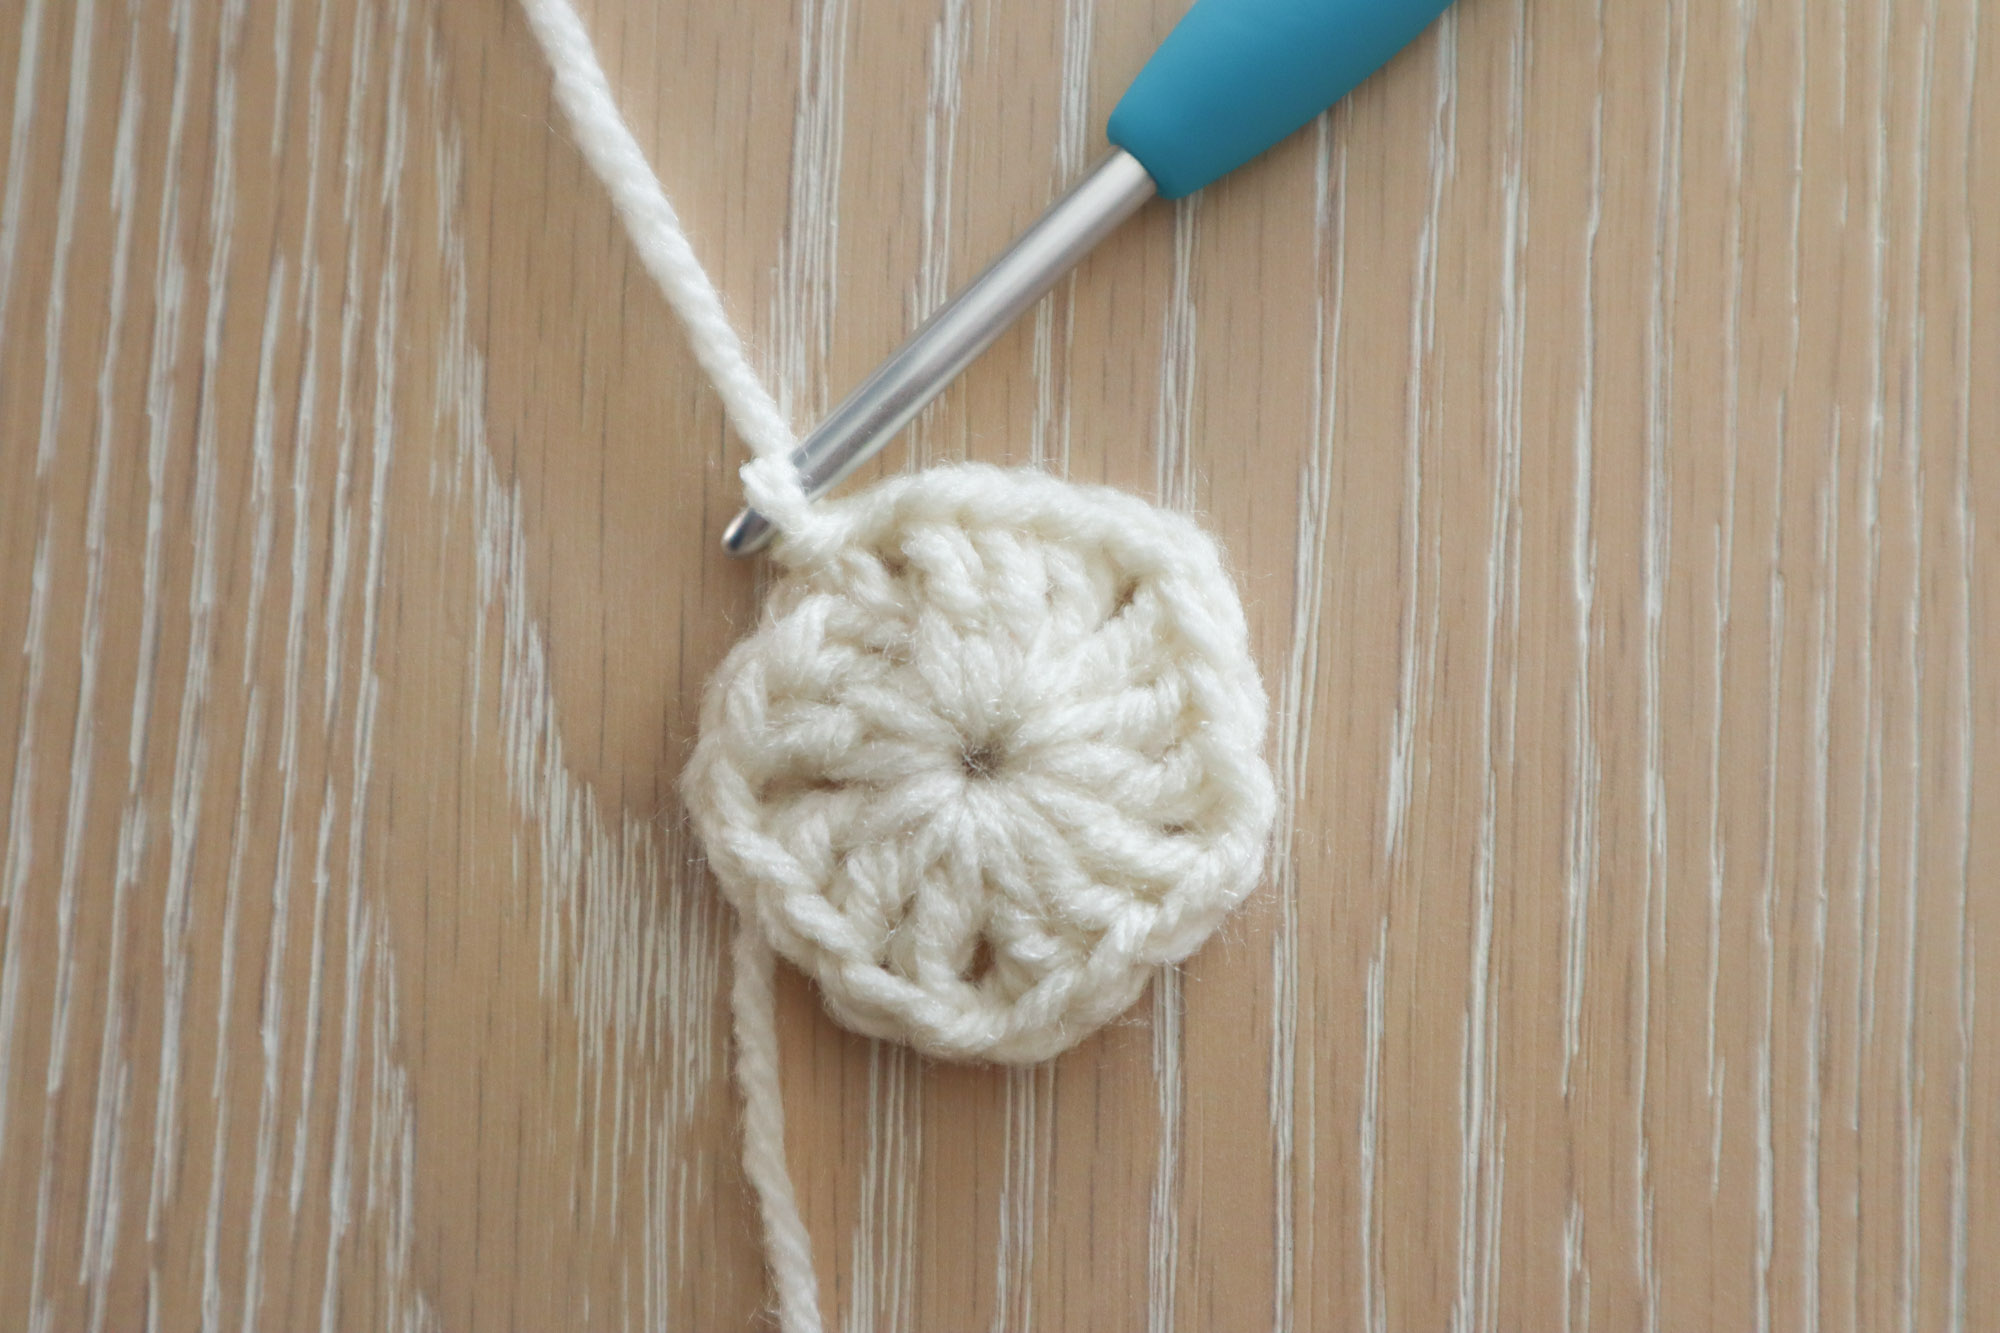
To begin, with the star color yarn, ch4, sl st to the first chain to create a ring. Alternatively, you can use a magic ring.
Round 1
Ch3 (counts as 1dc) and make 2 more dc into the ch4 ring. *Ch1, 3dc into the ring* repeat between ** 3 more times. Ch1 and sl st to top of starting ch3 to complete the rnd. (5 3dc clusters, 5 ch1 sps)
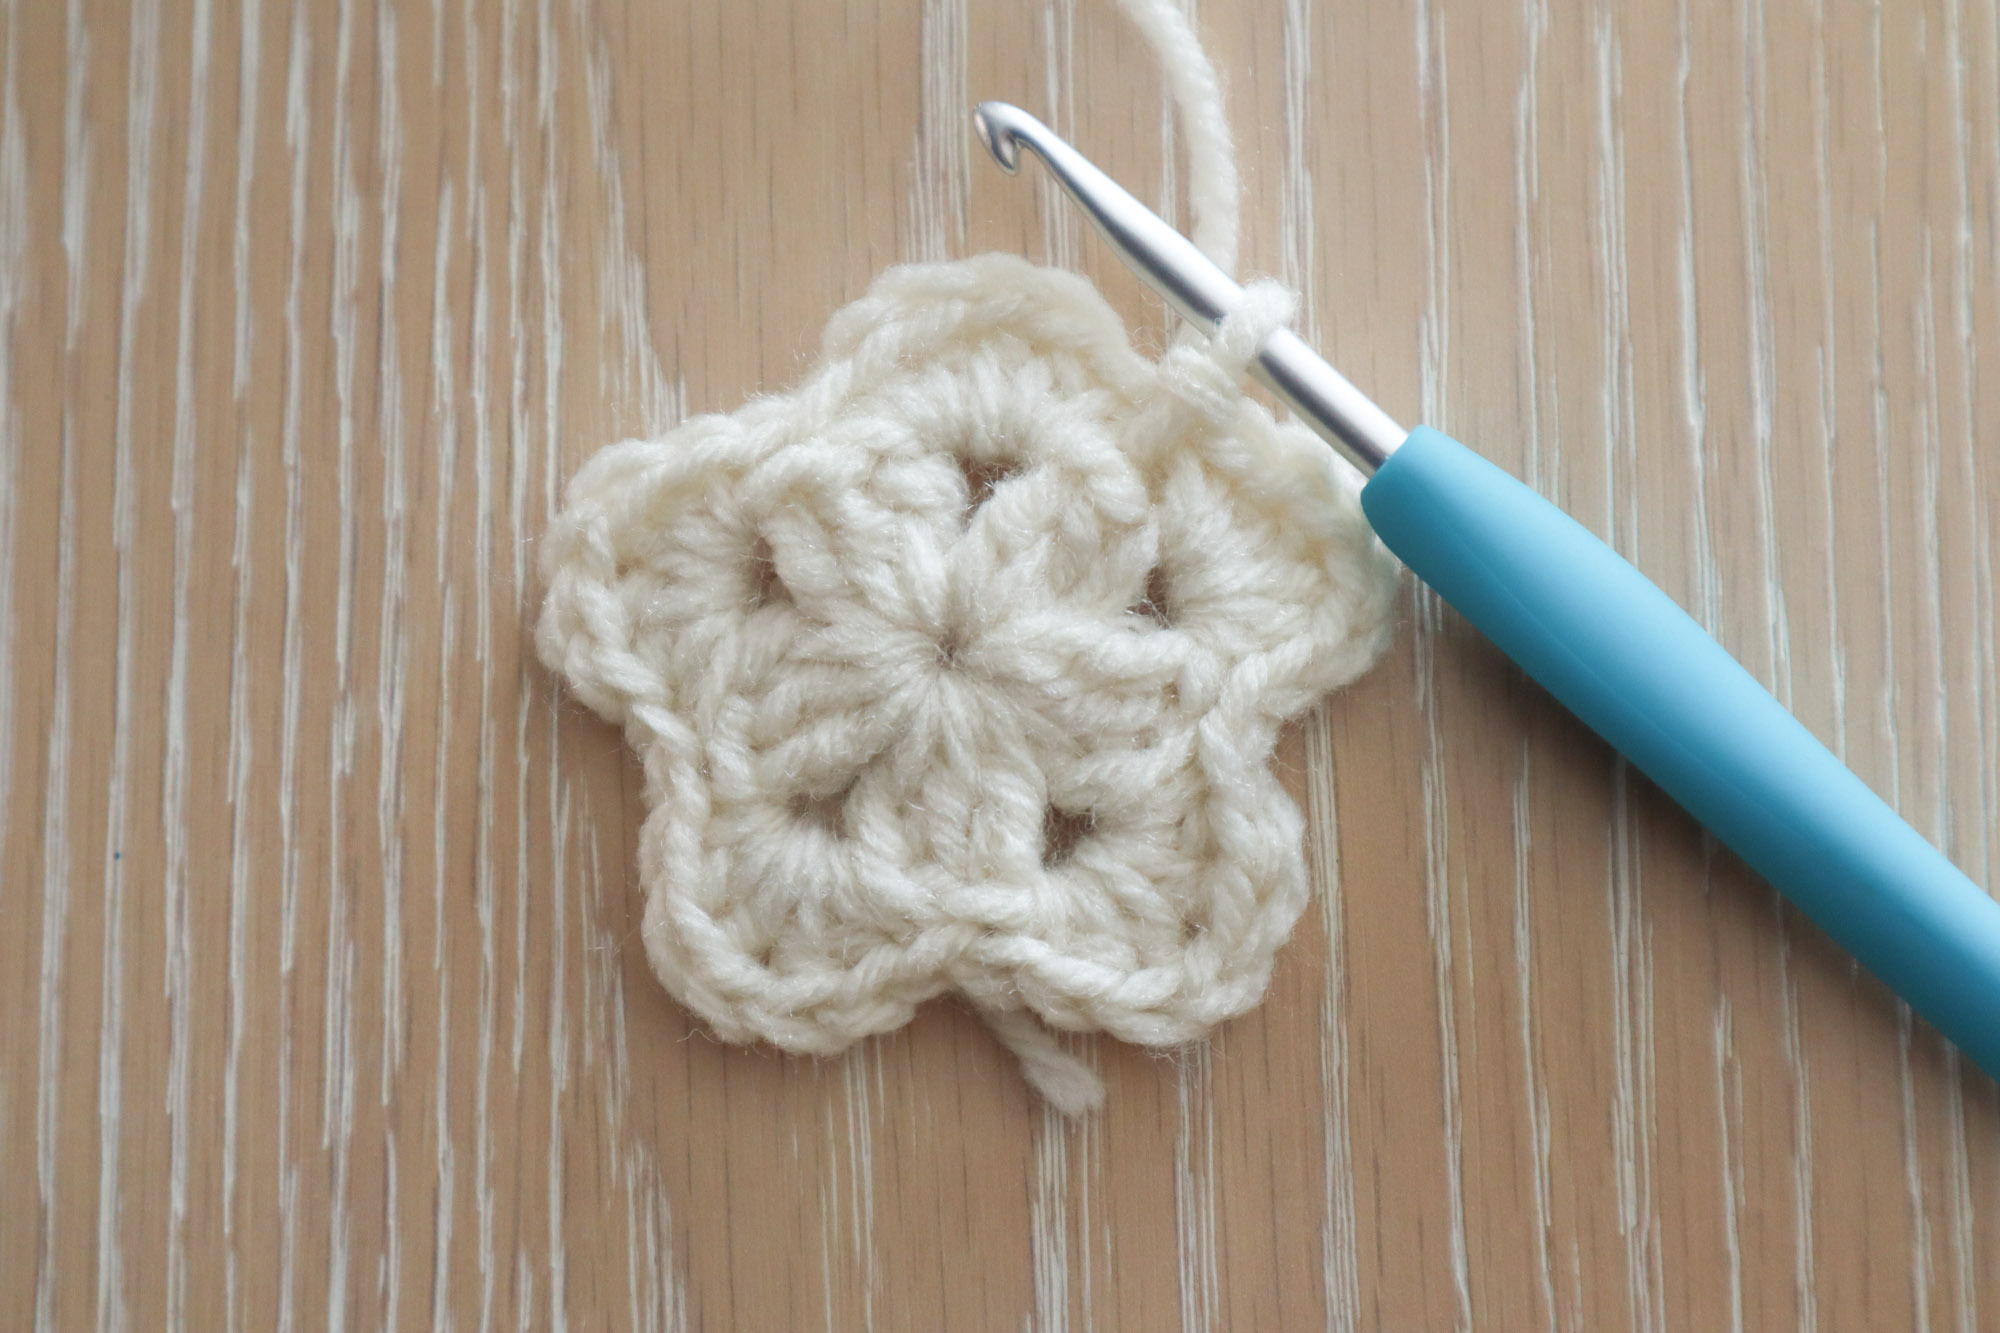
Round 2
Without chaining, skip the next dc sts and into the next ch1 sp, work 1sc, 1hdc, 1dc, ch1, 1dc, 1hdc, 1sc all into the chain space.

Skip the next 3dc cluster and again, into the ch sp work 1sc, 1hdc, 1dc, ch1, 1dc, 1hdc, 1sc. Continue working 1sc, 1hdc, 1dc, ch1, 1dc, 1hdc, 1sc into each ch1 sp from the prev rnd. Sl st to the first sc to complete the rnd. Fasten off star color.
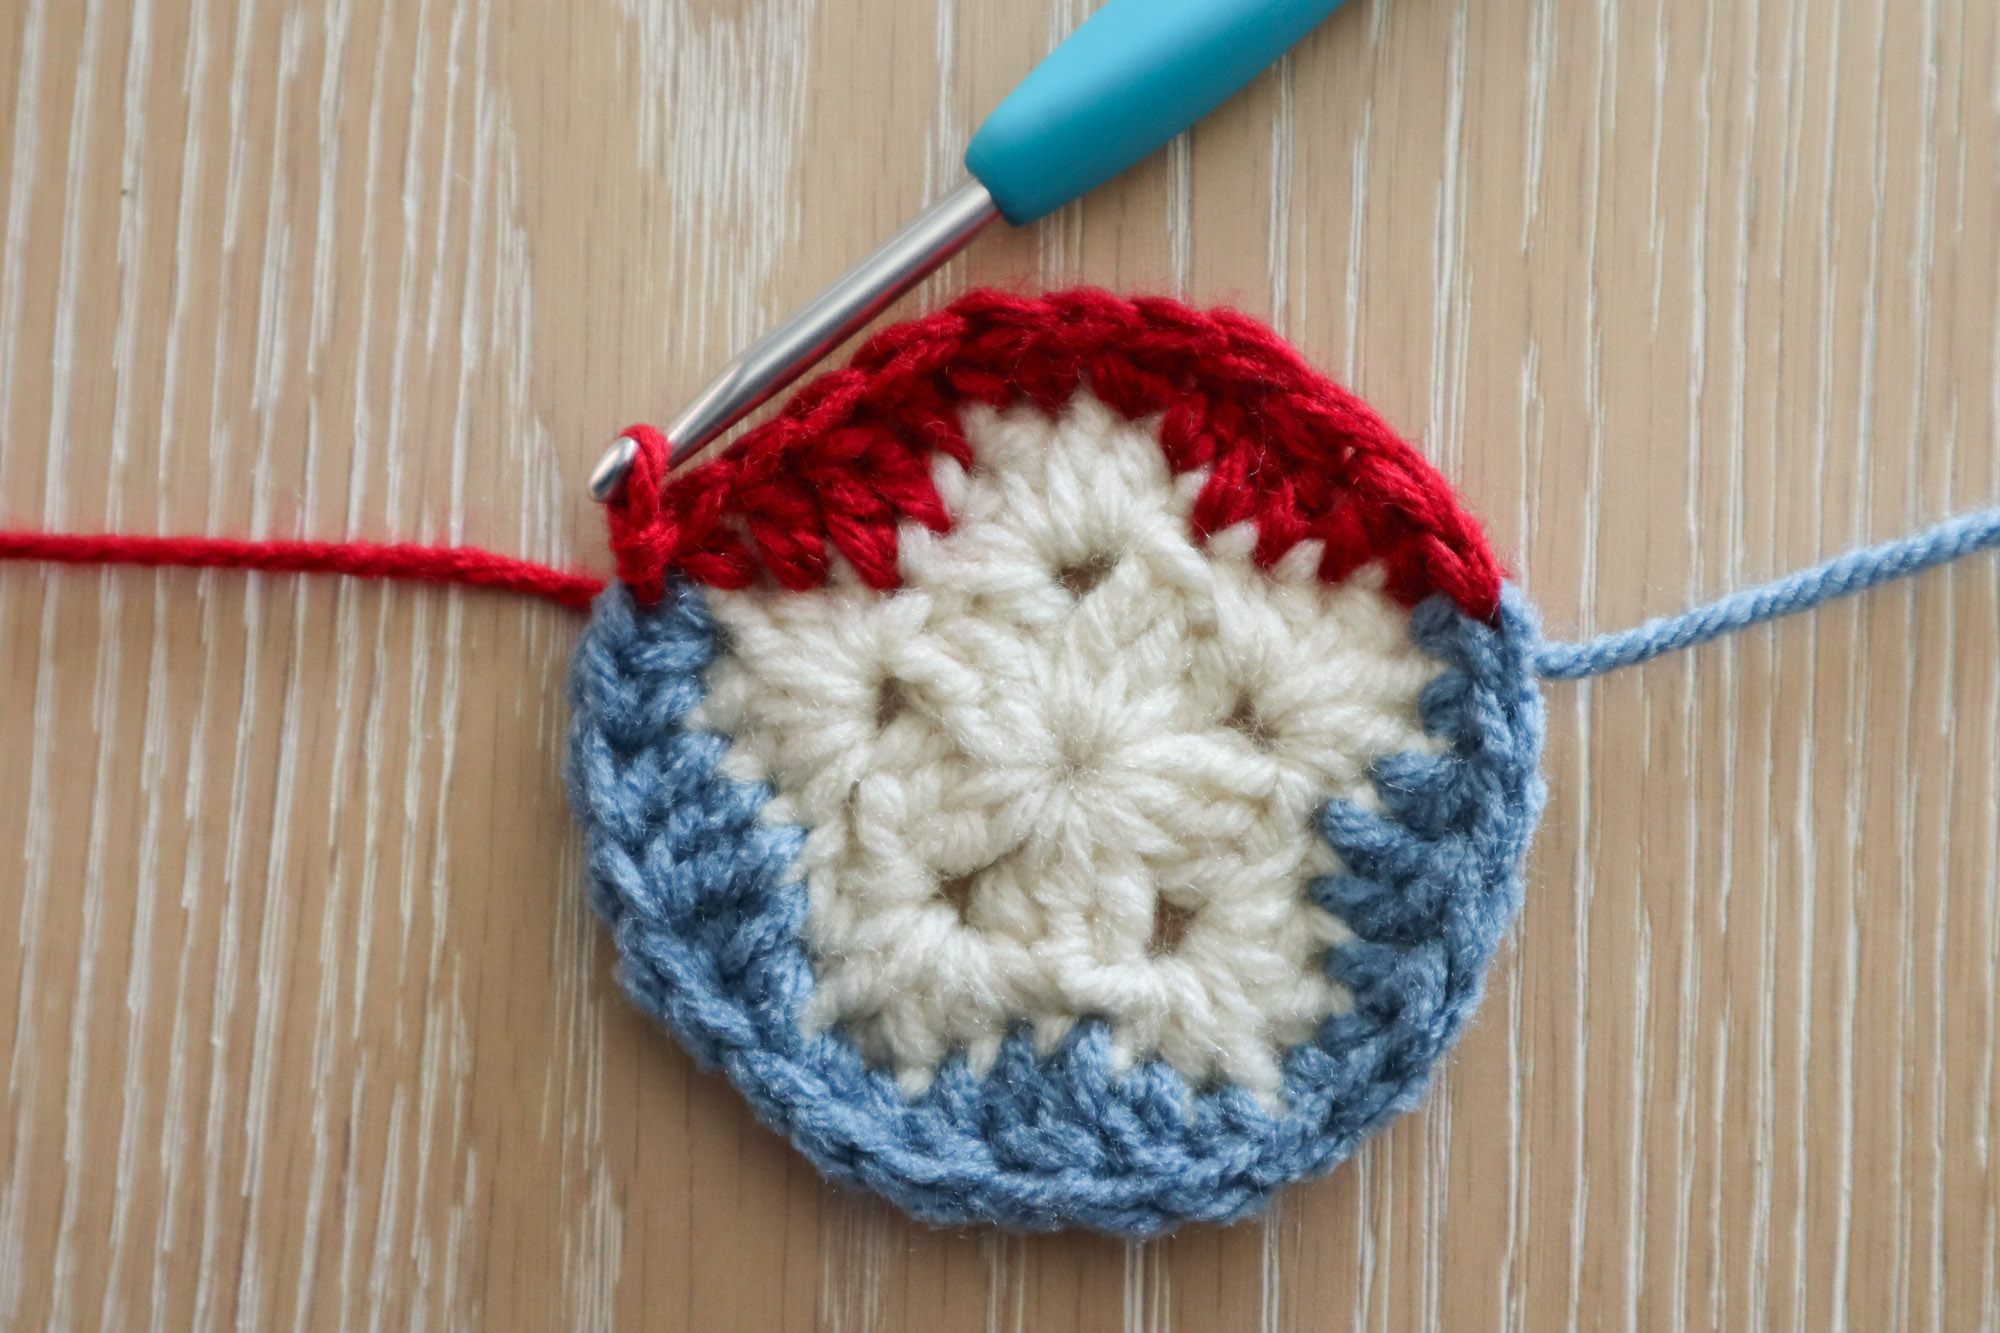
Round 3
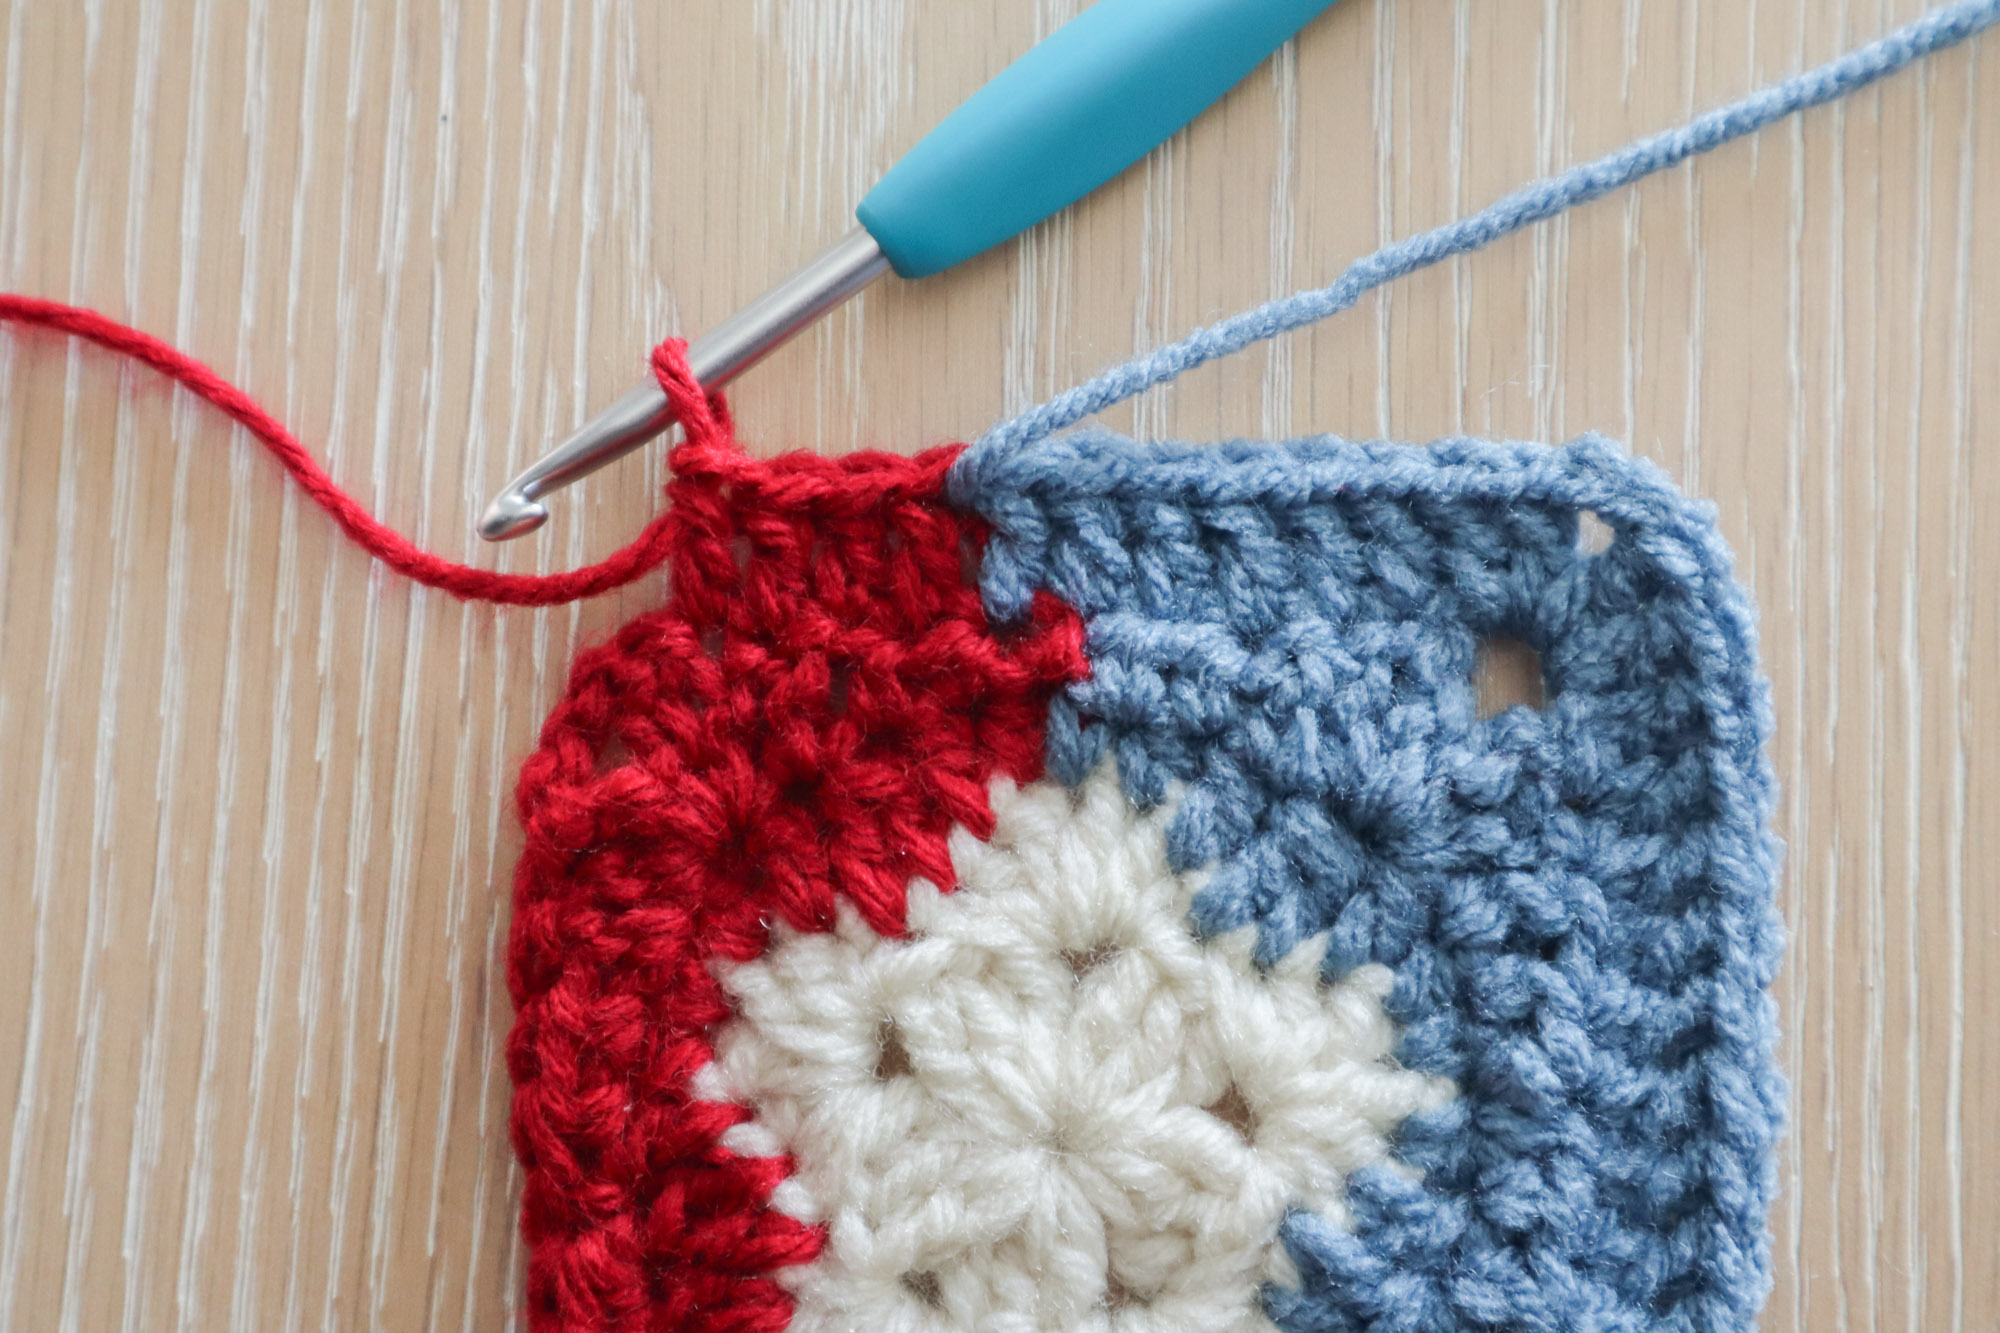
Attach your border color at any chain 1 space. *1sc in the ch sp. 1hdc in the next st. 1dc in the next st. Dc2tog across the next two sts (two scs from the prev rnd). 1dc in the next st, 1hdc in the next st.* Repeat between ** two times. Work 1sc in the next ch 1 sp (4th star point) then switch to the shooting star tail color (leave border yarn attached) and continue the repeat stitch pattern until you’ve worked into every stitch from the prev rnd. Sl st to the first sc to complete the rnd.
Squaring The Star
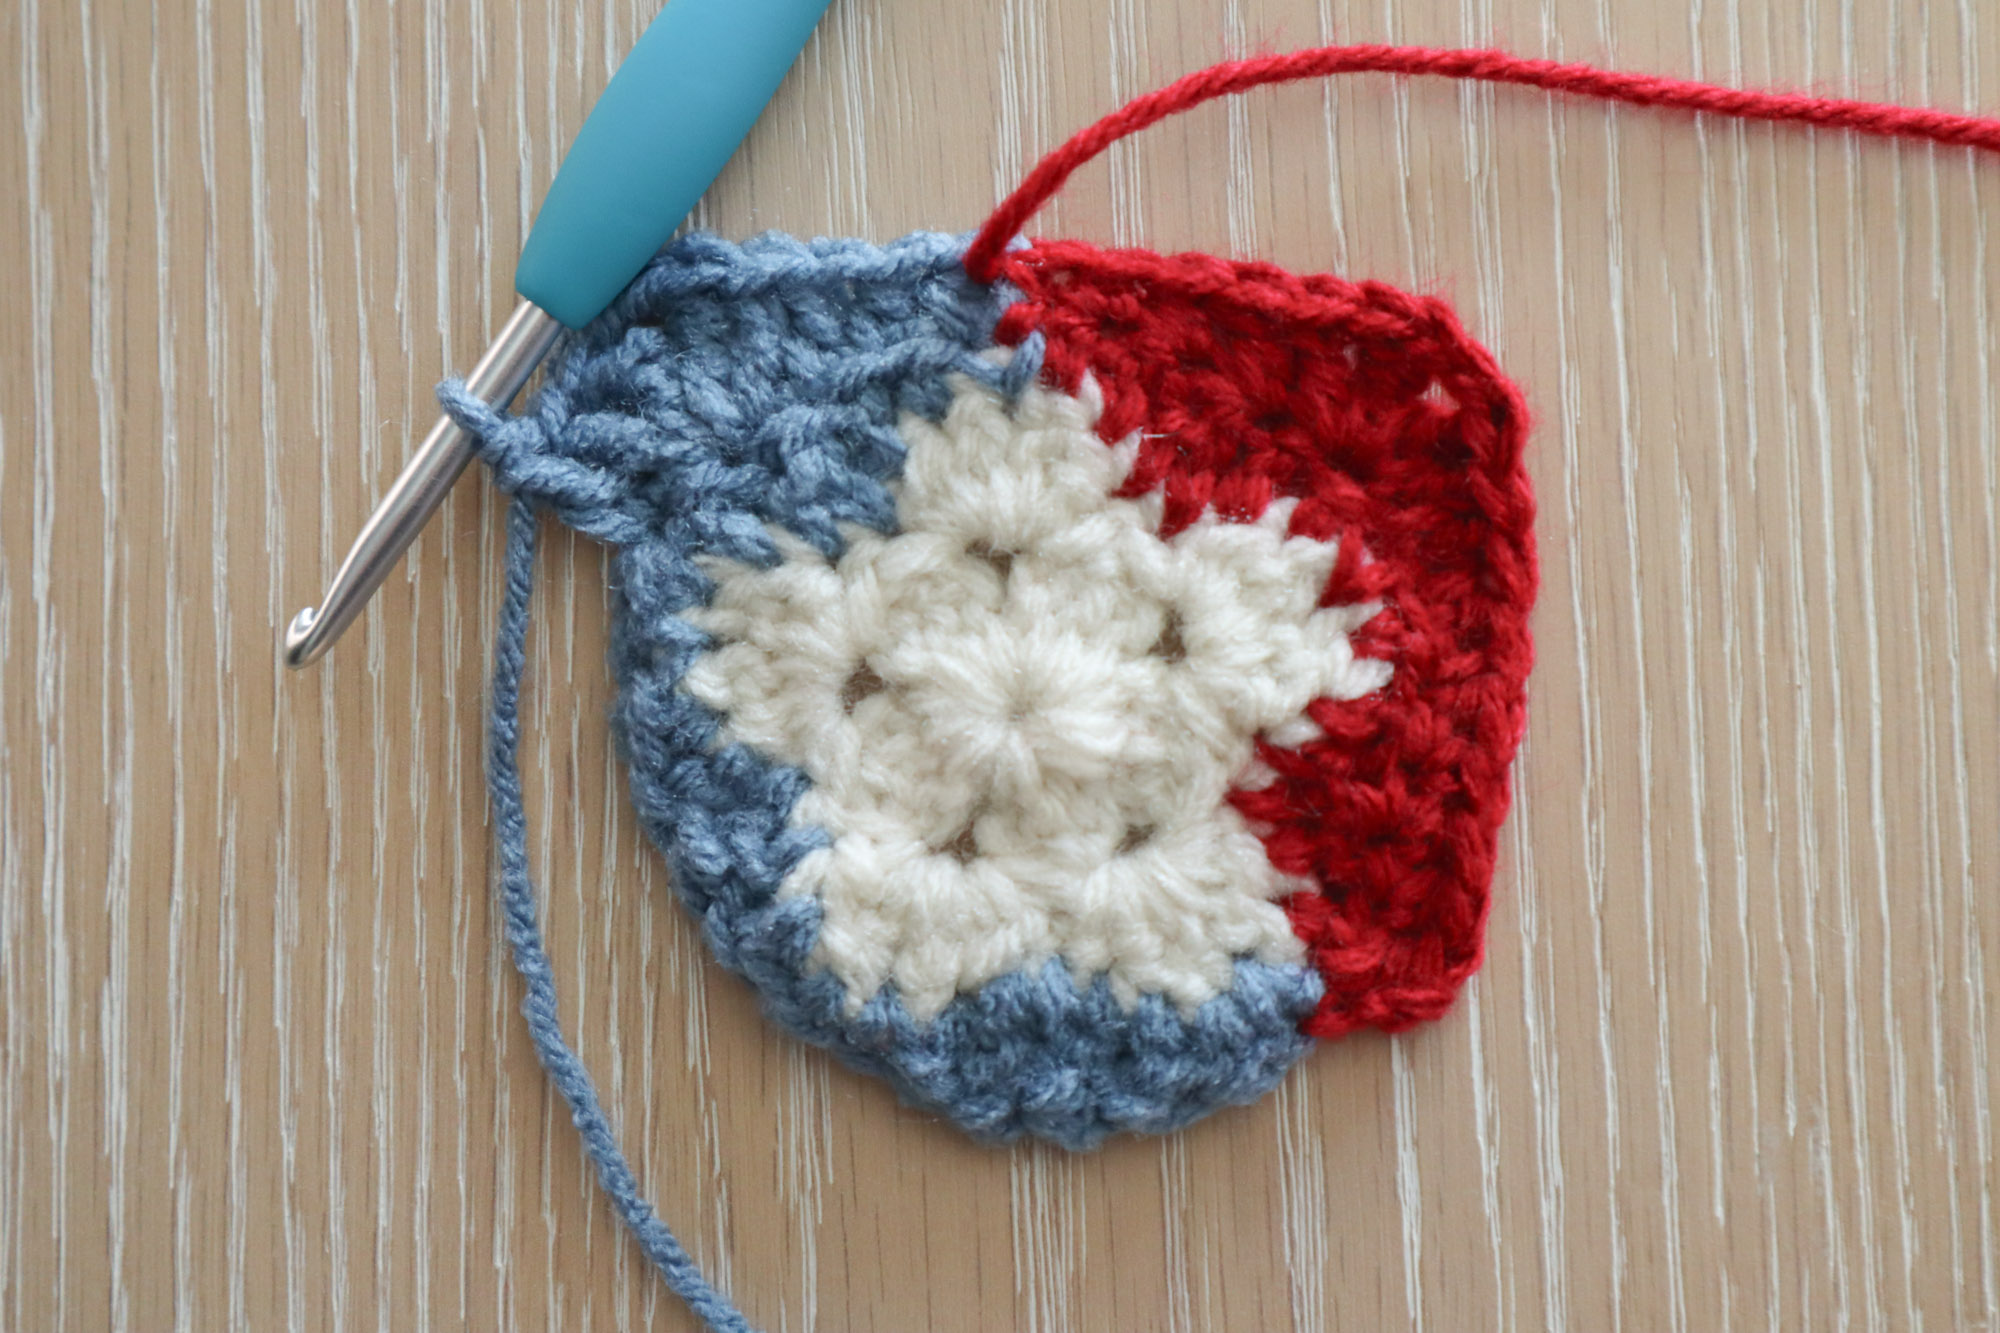
We have a beautiful circle around the star but it is two stitches too few for the squaring process. To add a stitch, still in star tail color, ch2 (doesn’t count as a stitch) and work 1dc into the sl st from the prev rnd, this will add 1 to your stitch count.
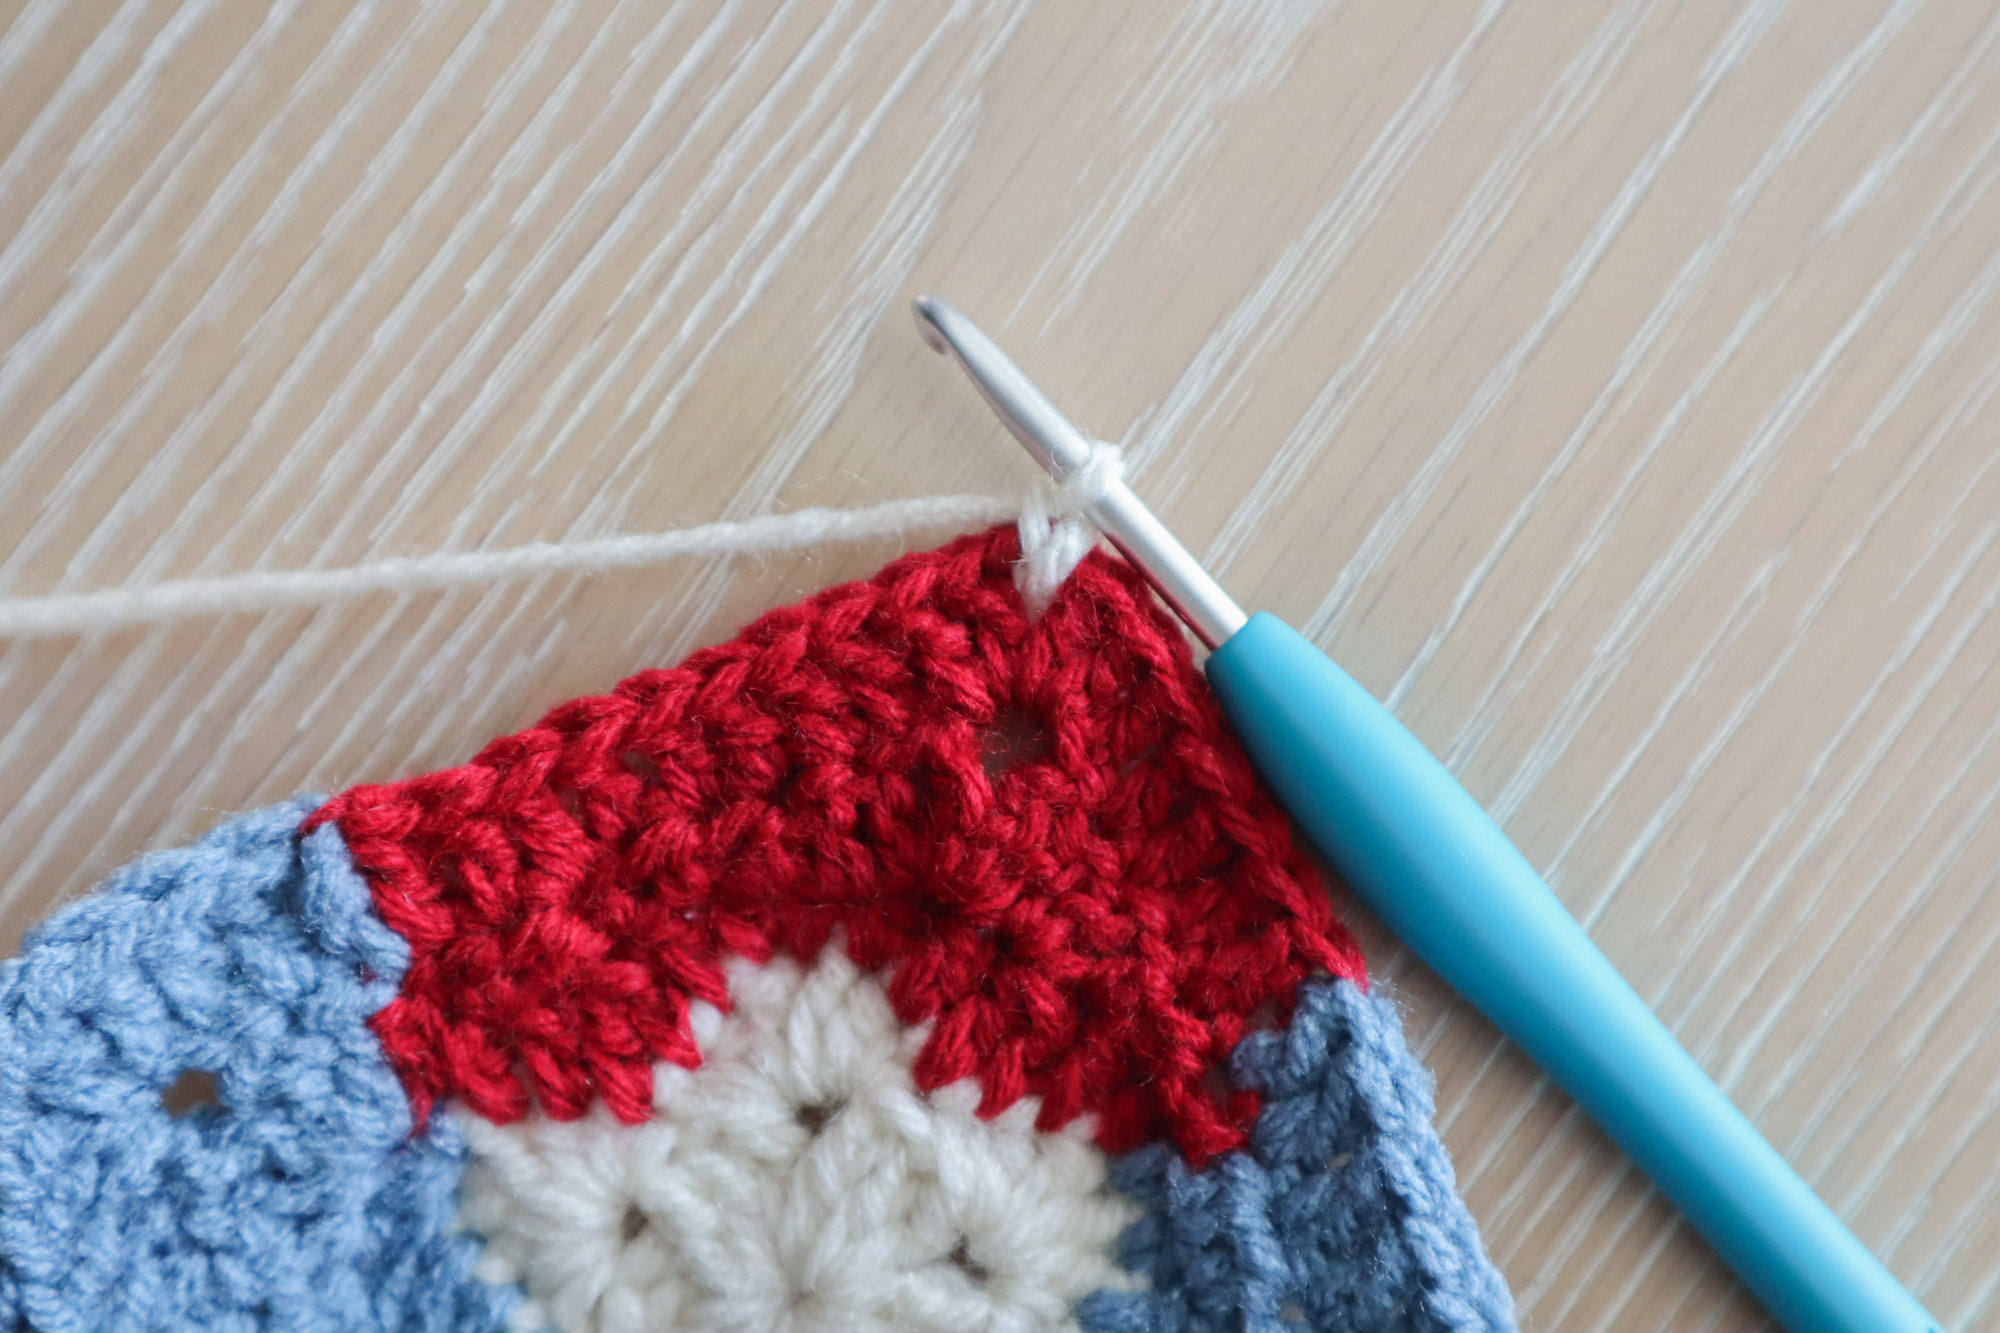
Then, work 1hdc, 1hdc, 1sc, 1hdc, 1hdc, 1dc across the next six sts. In the next stitch, work a “corner” by making (1dc, 1tr, ch2, 1tr, 1dc) all in the same stitch. Across the next 7 sts, work 1dc, 1hdc, 1hdc, 1sc, 1hdc, 1hdc, 1dc (change to border color after the sc).
Make another corner (1dc, 1tr, ch2, 1tr, 1dc all in the same stitch) and begin the 1dc, 1hdc, 1hdc, 1sc, 1hdc, 1hdc, 1dc “flat side” sequence again. This time, to add that second stitch we need, work the 1hdc and 1sc into the same stitch this time only.
Make the 3rd corner. Repeat the 1dc, 1hdc, 1hdc, 1sc, 1hdc, 1hdc, 1dc sequence across the next 7 sts. Make the final corner and sl st to the first dc of the rnd to complete the rnd.
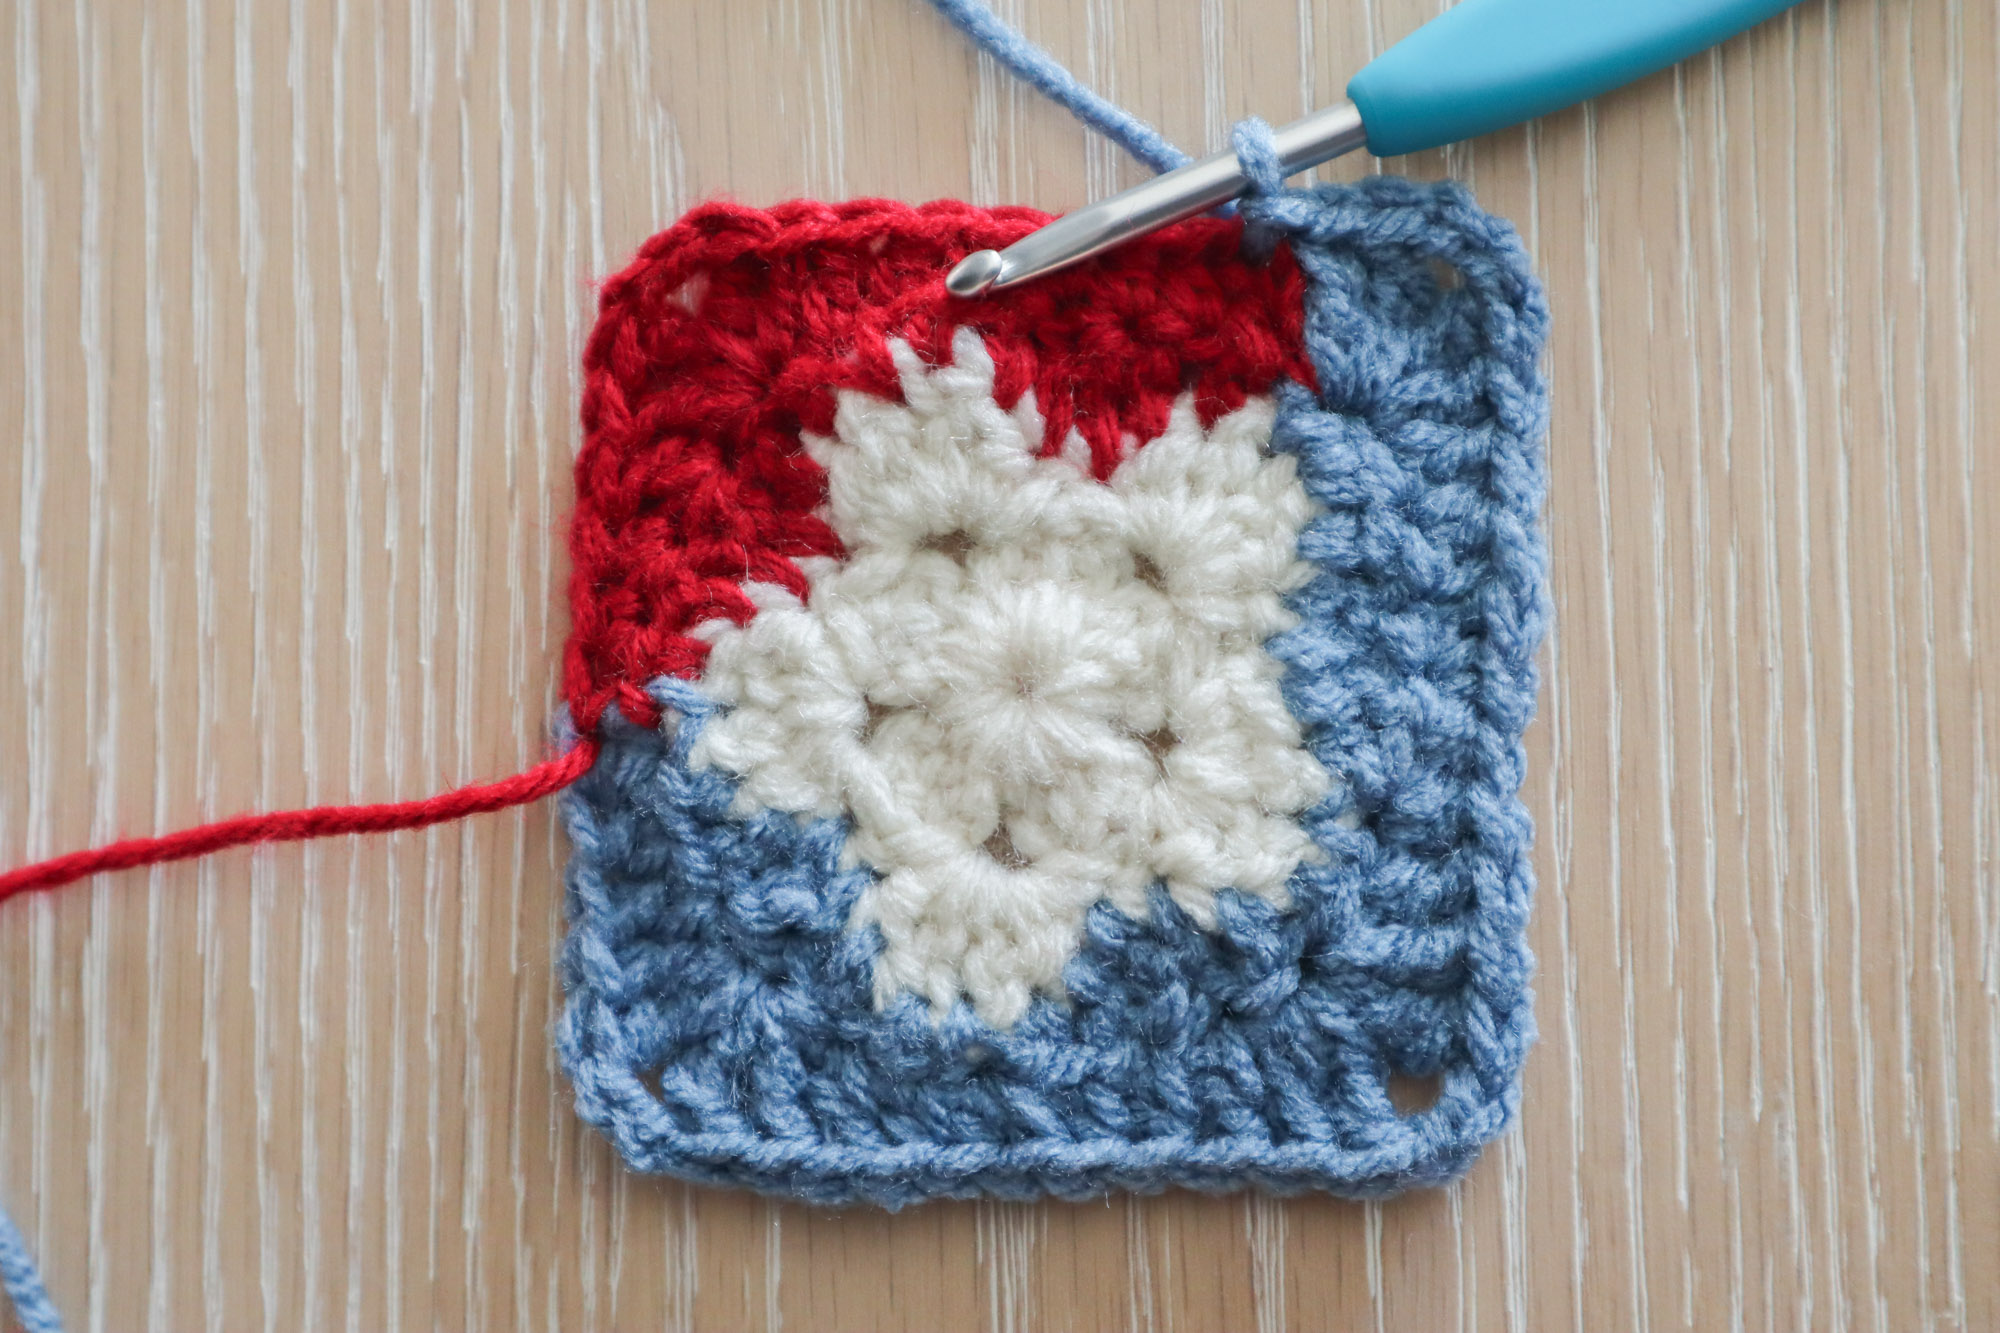
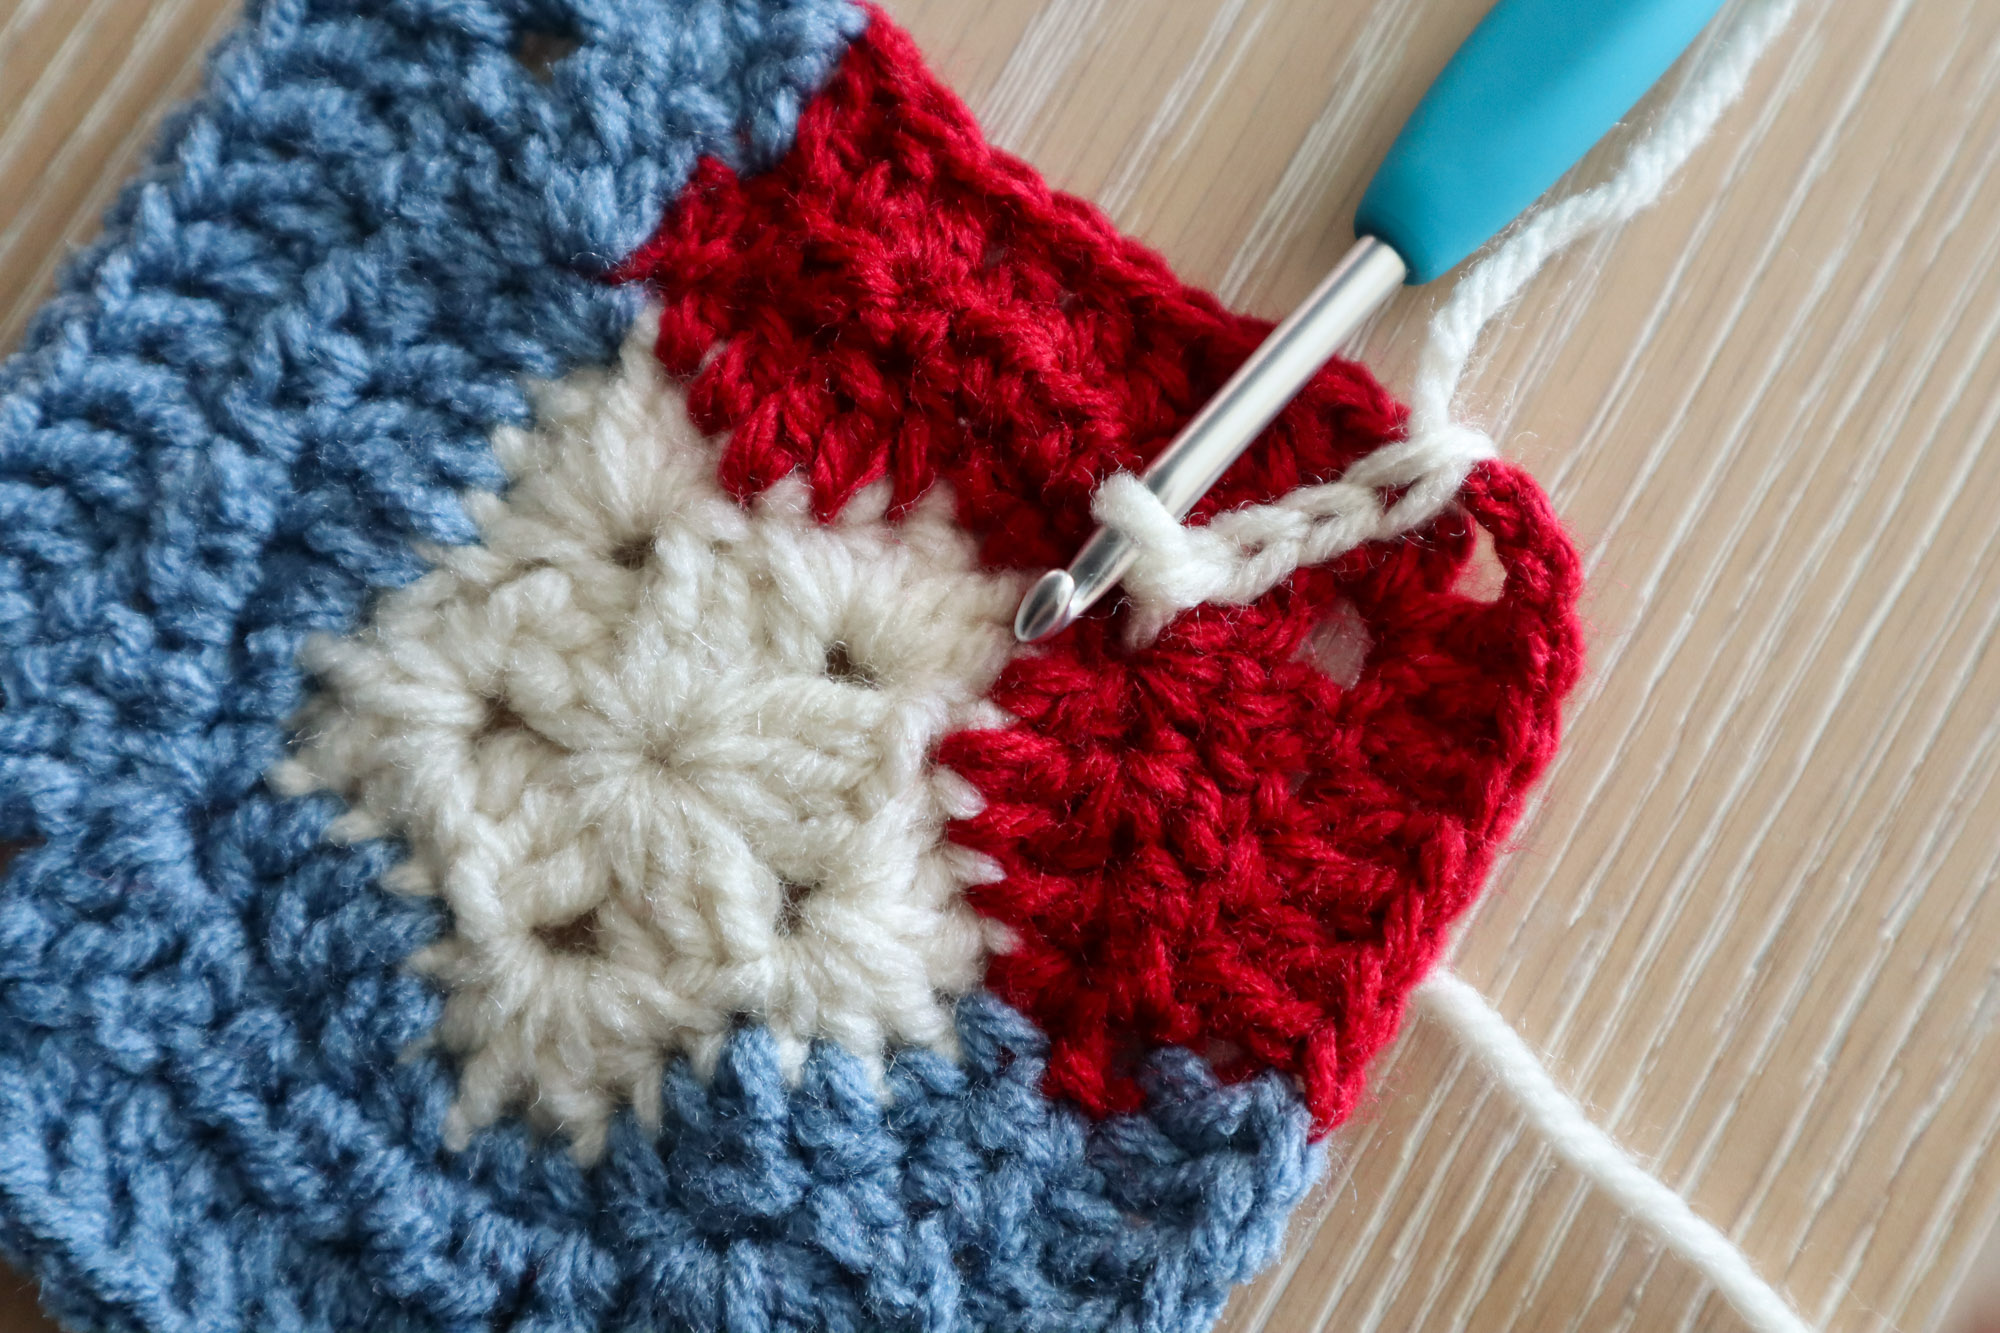
Round 5
Ch3 and turn, still in border color (counts as 1dc) and work 1dc in each stitch from the prev rnd. Into each ch2 corner, work 2dc, ch2, 2dc.
When you reach your color change, work 1 border color stitch into the first star tail stitch, then change to start tail color for the remainder of the square. Sl st to the starting ch 3 to complete the rnd.

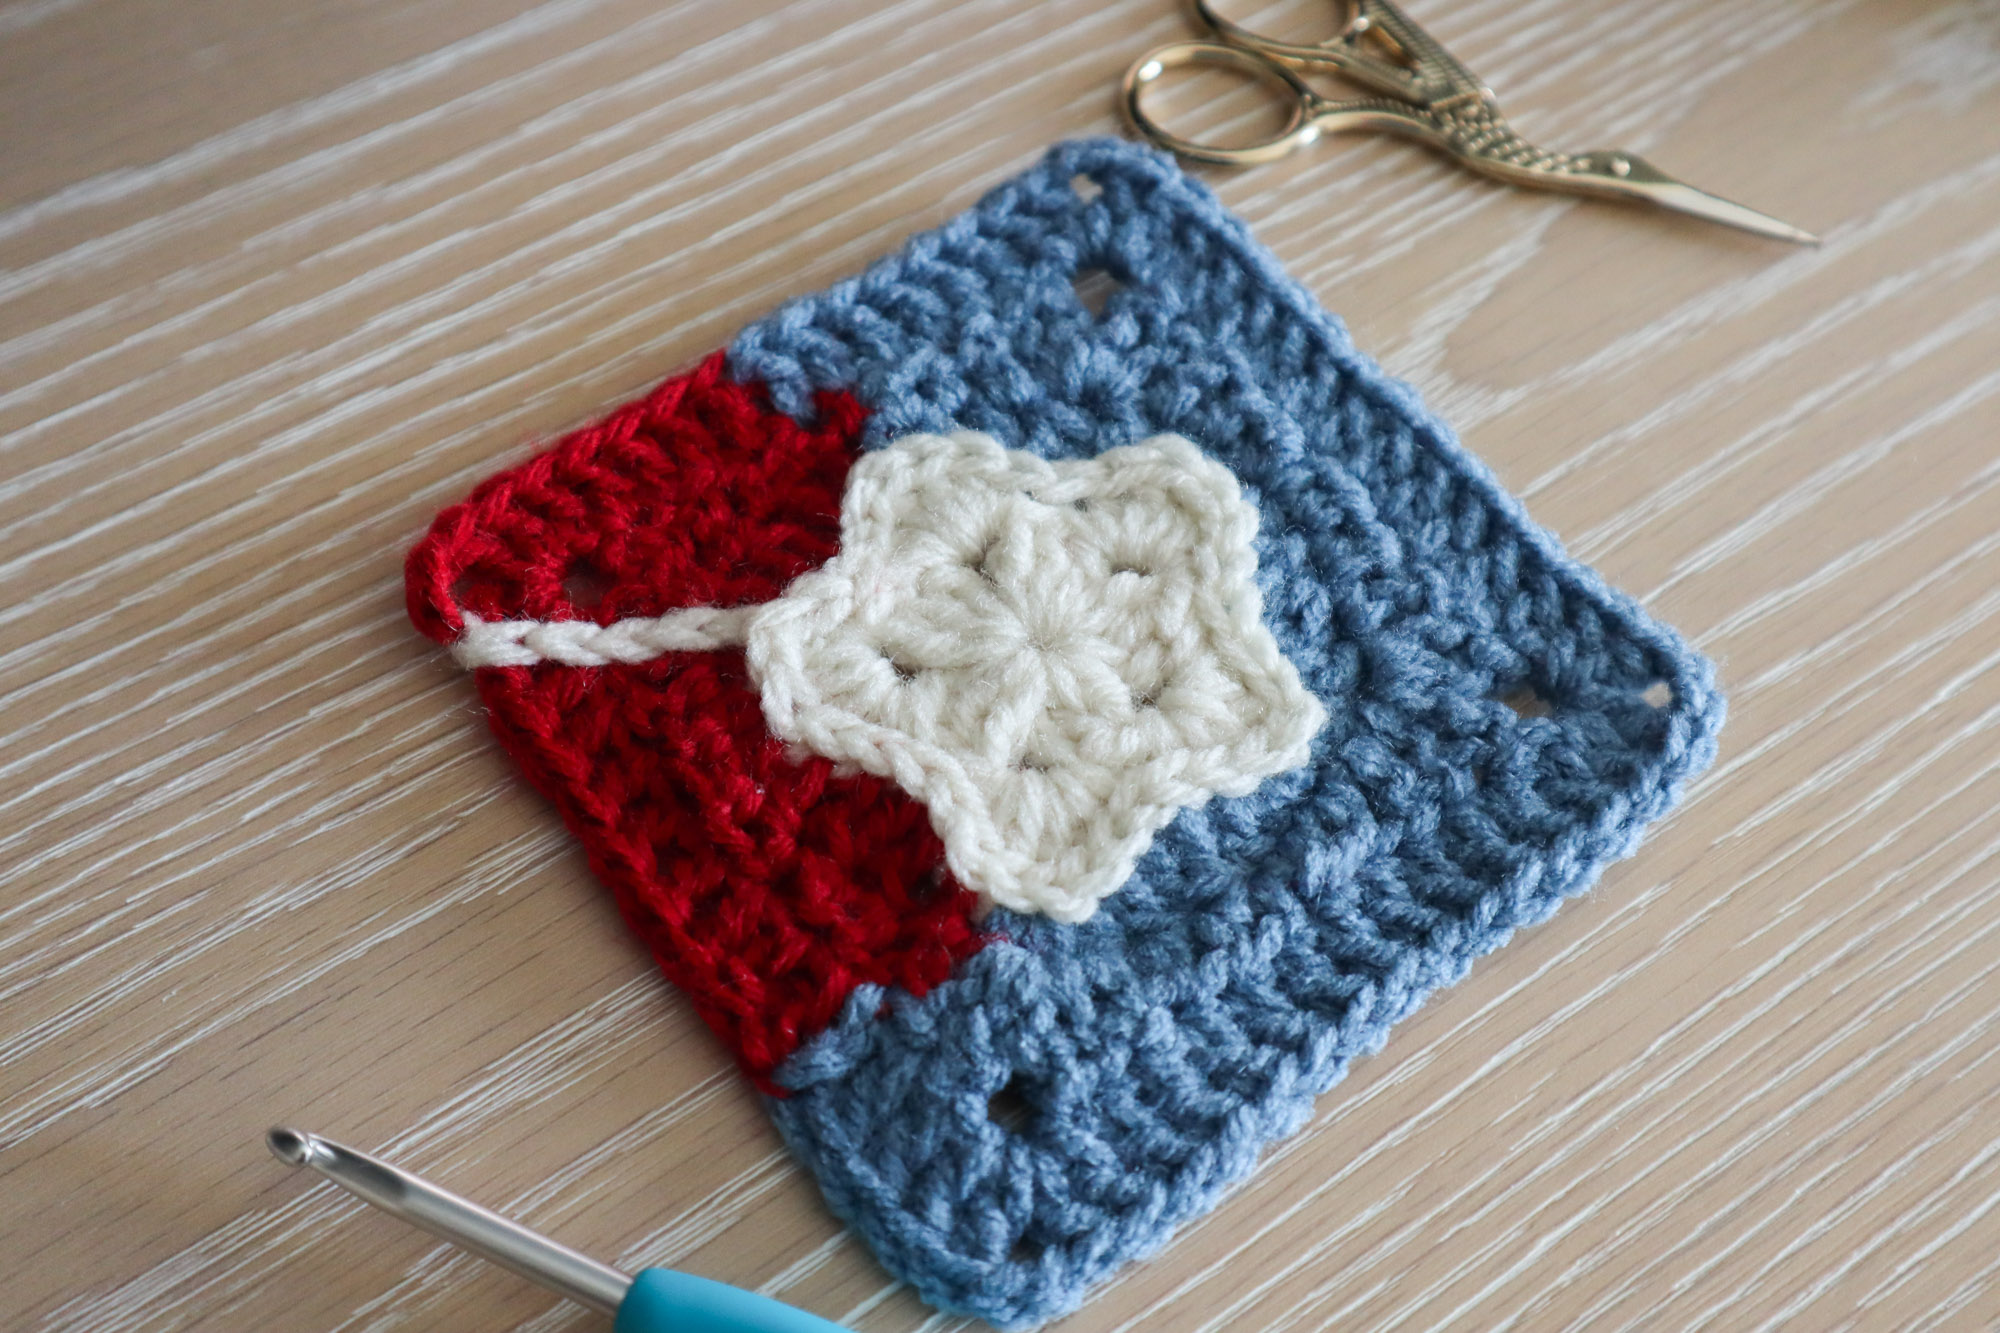
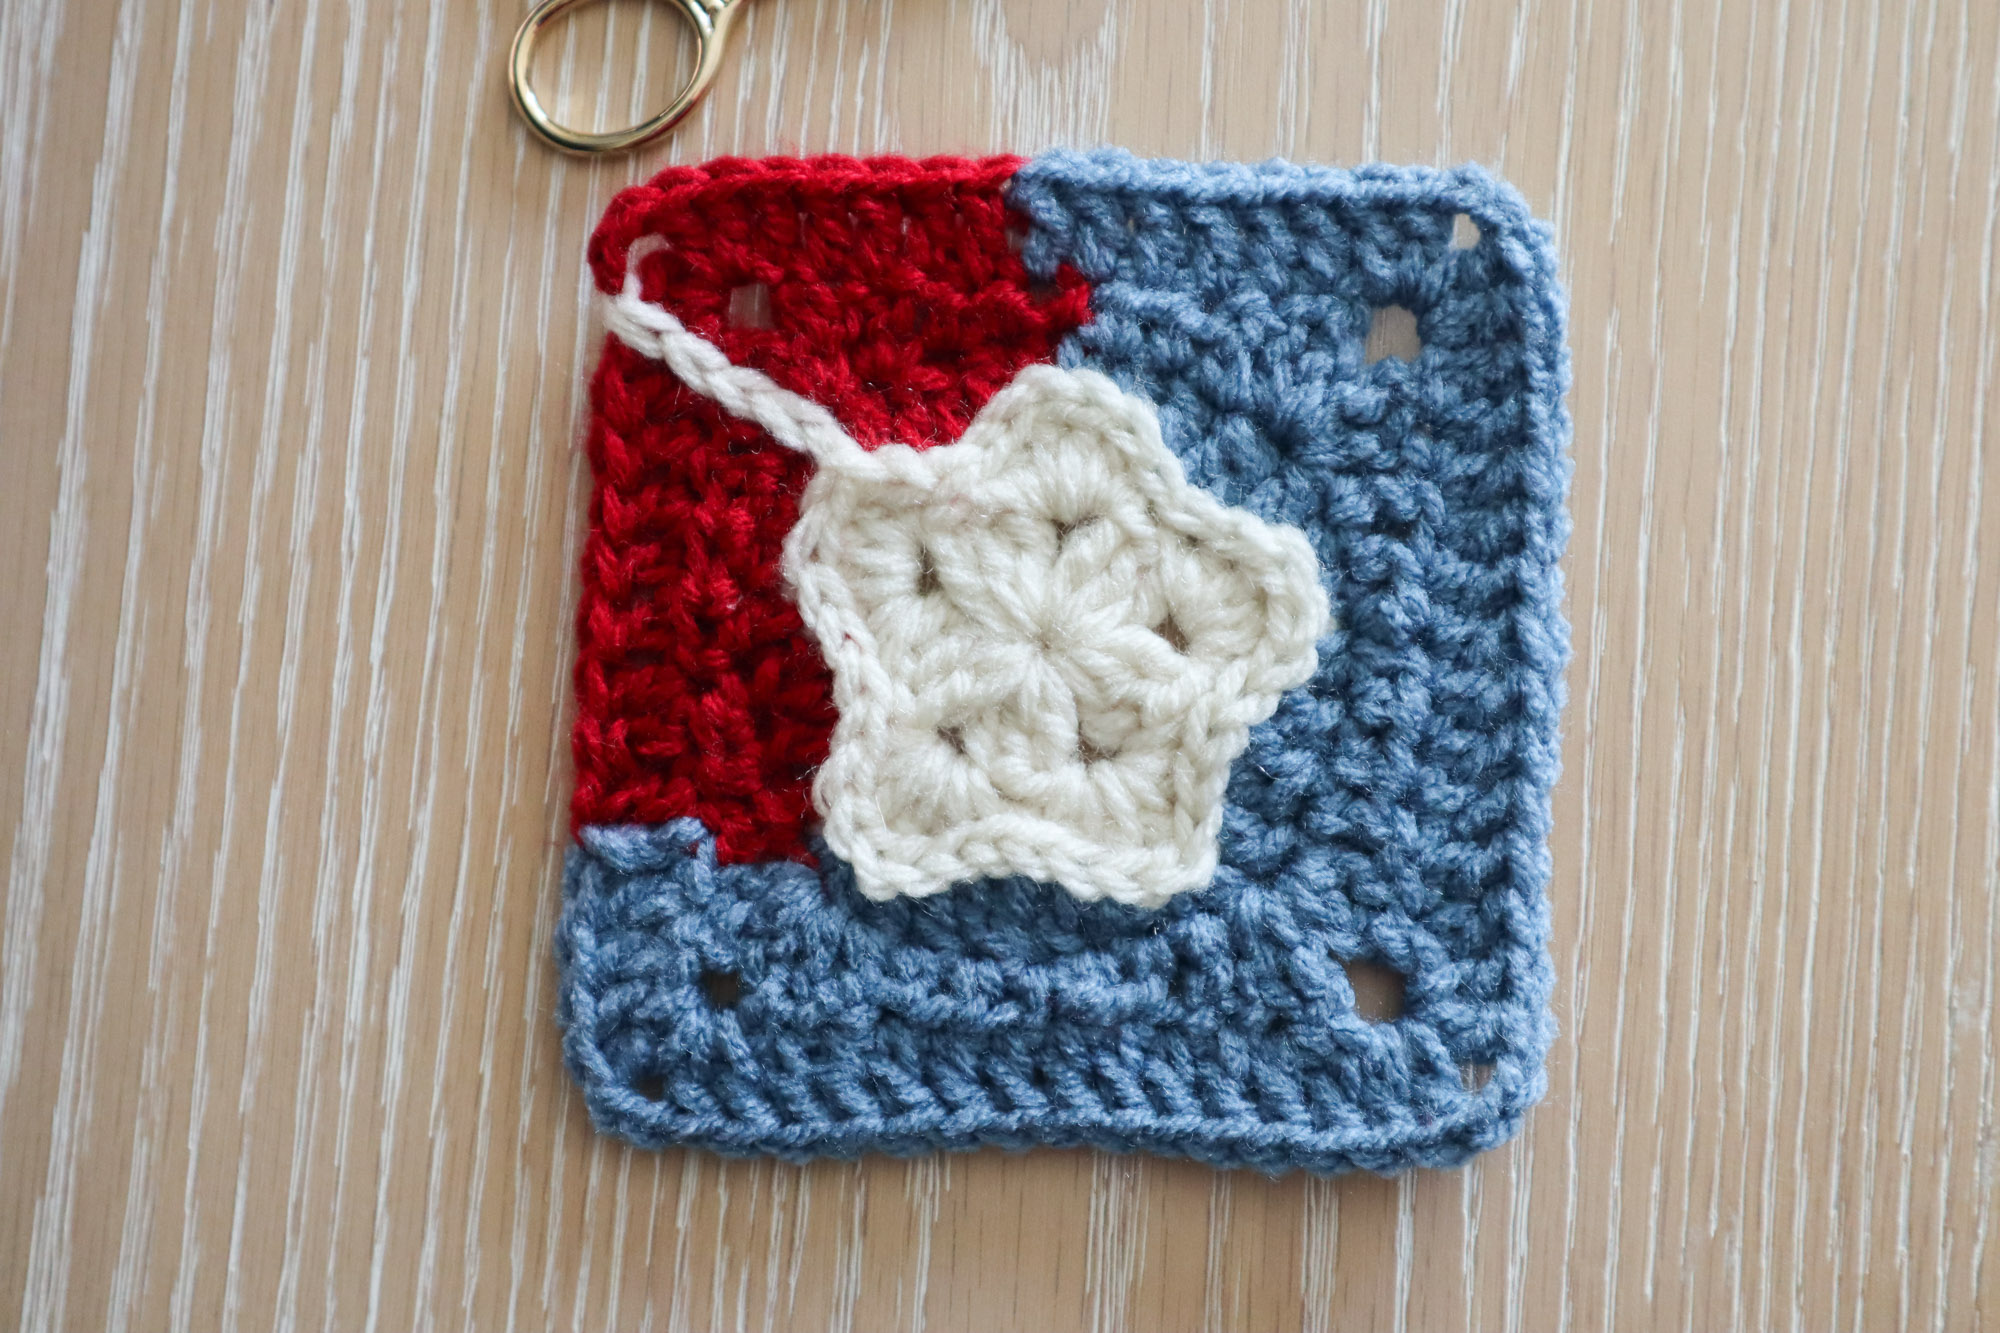
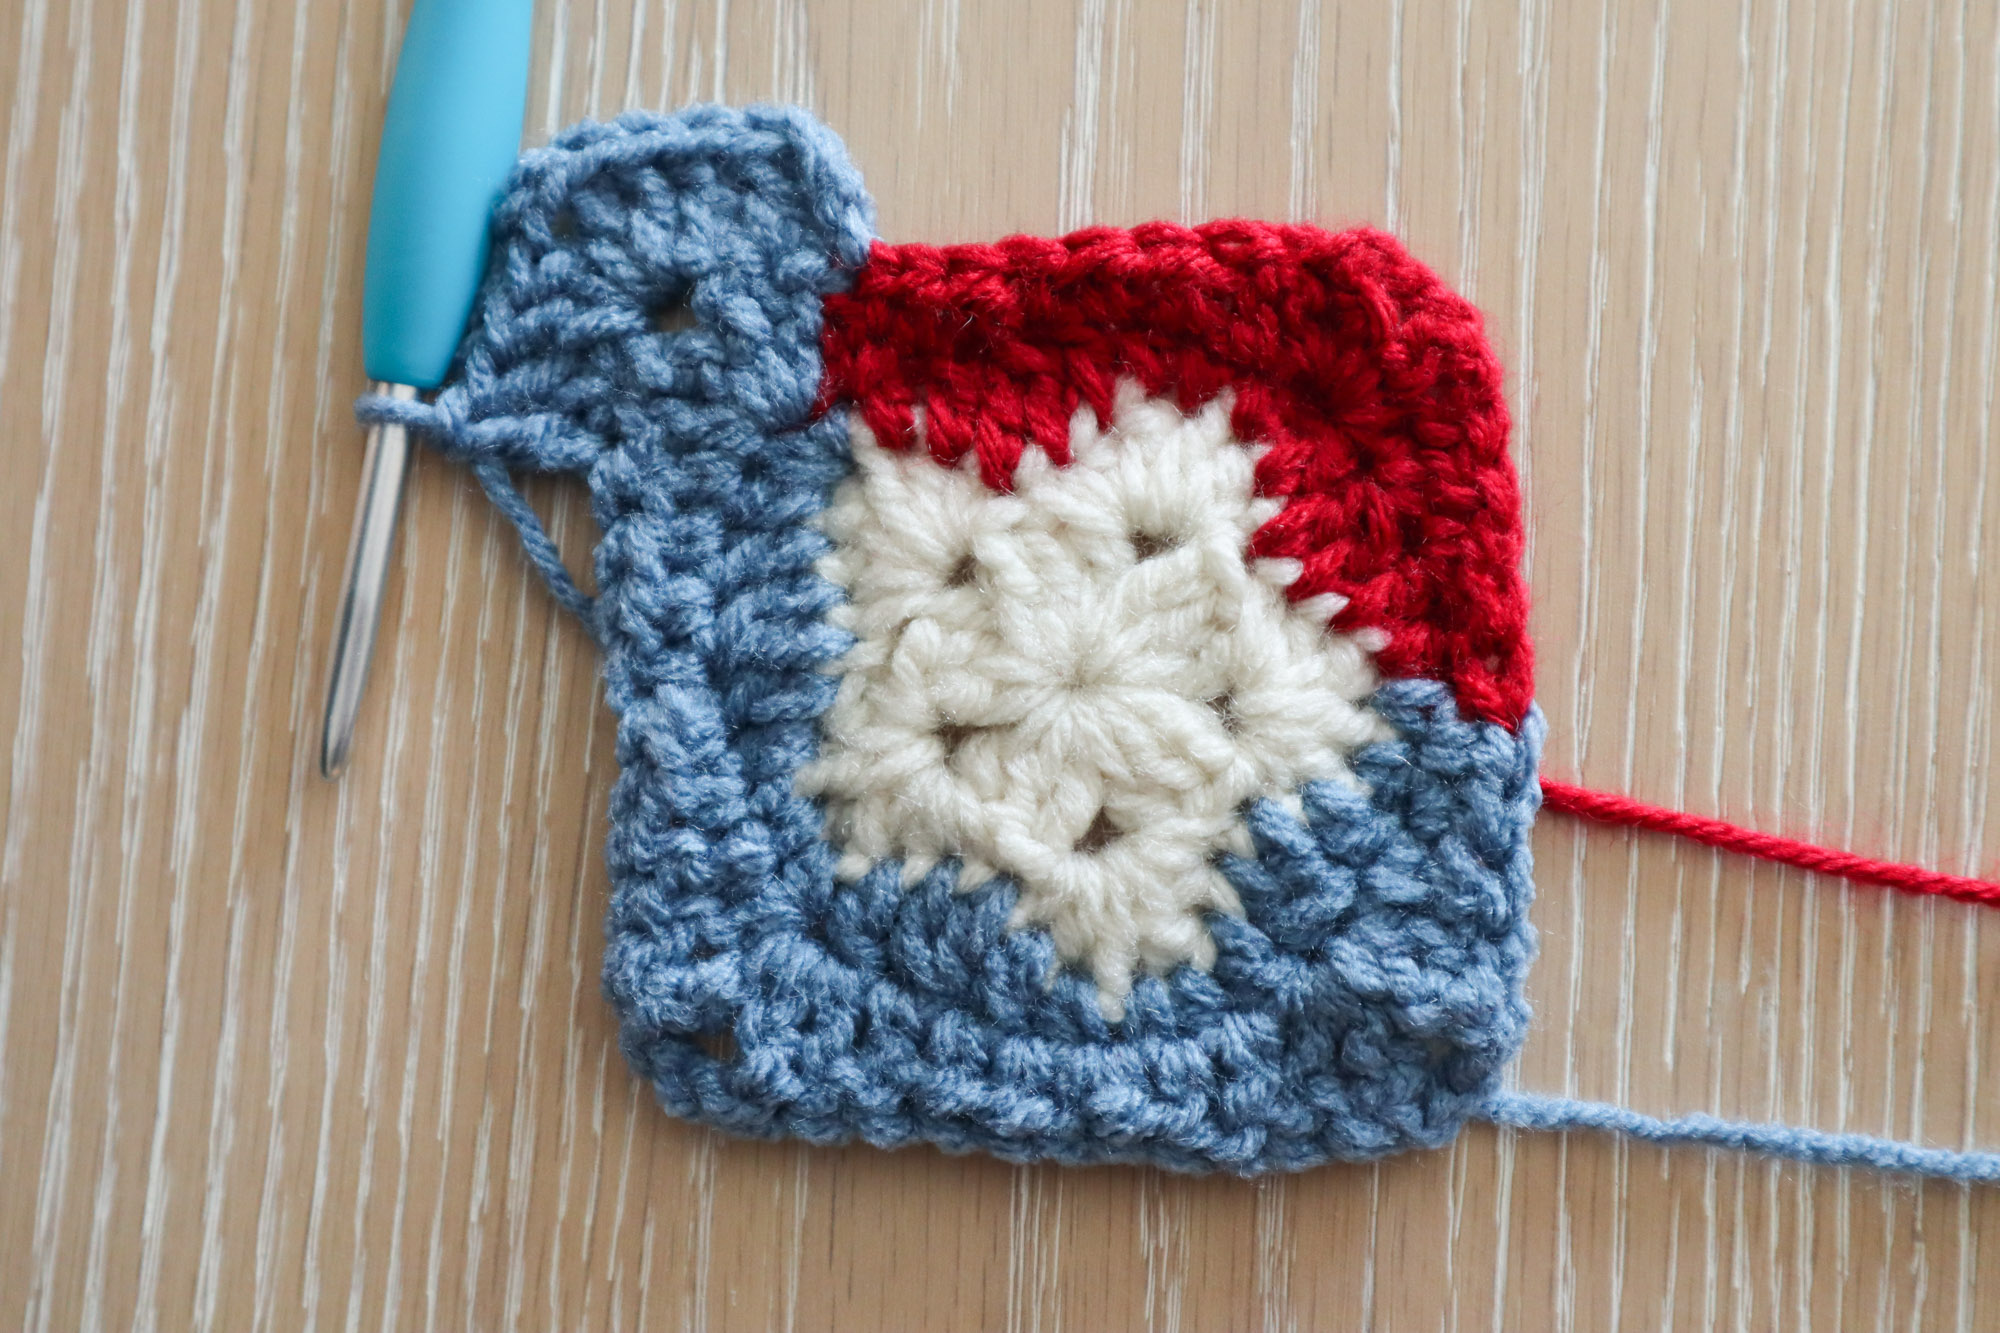
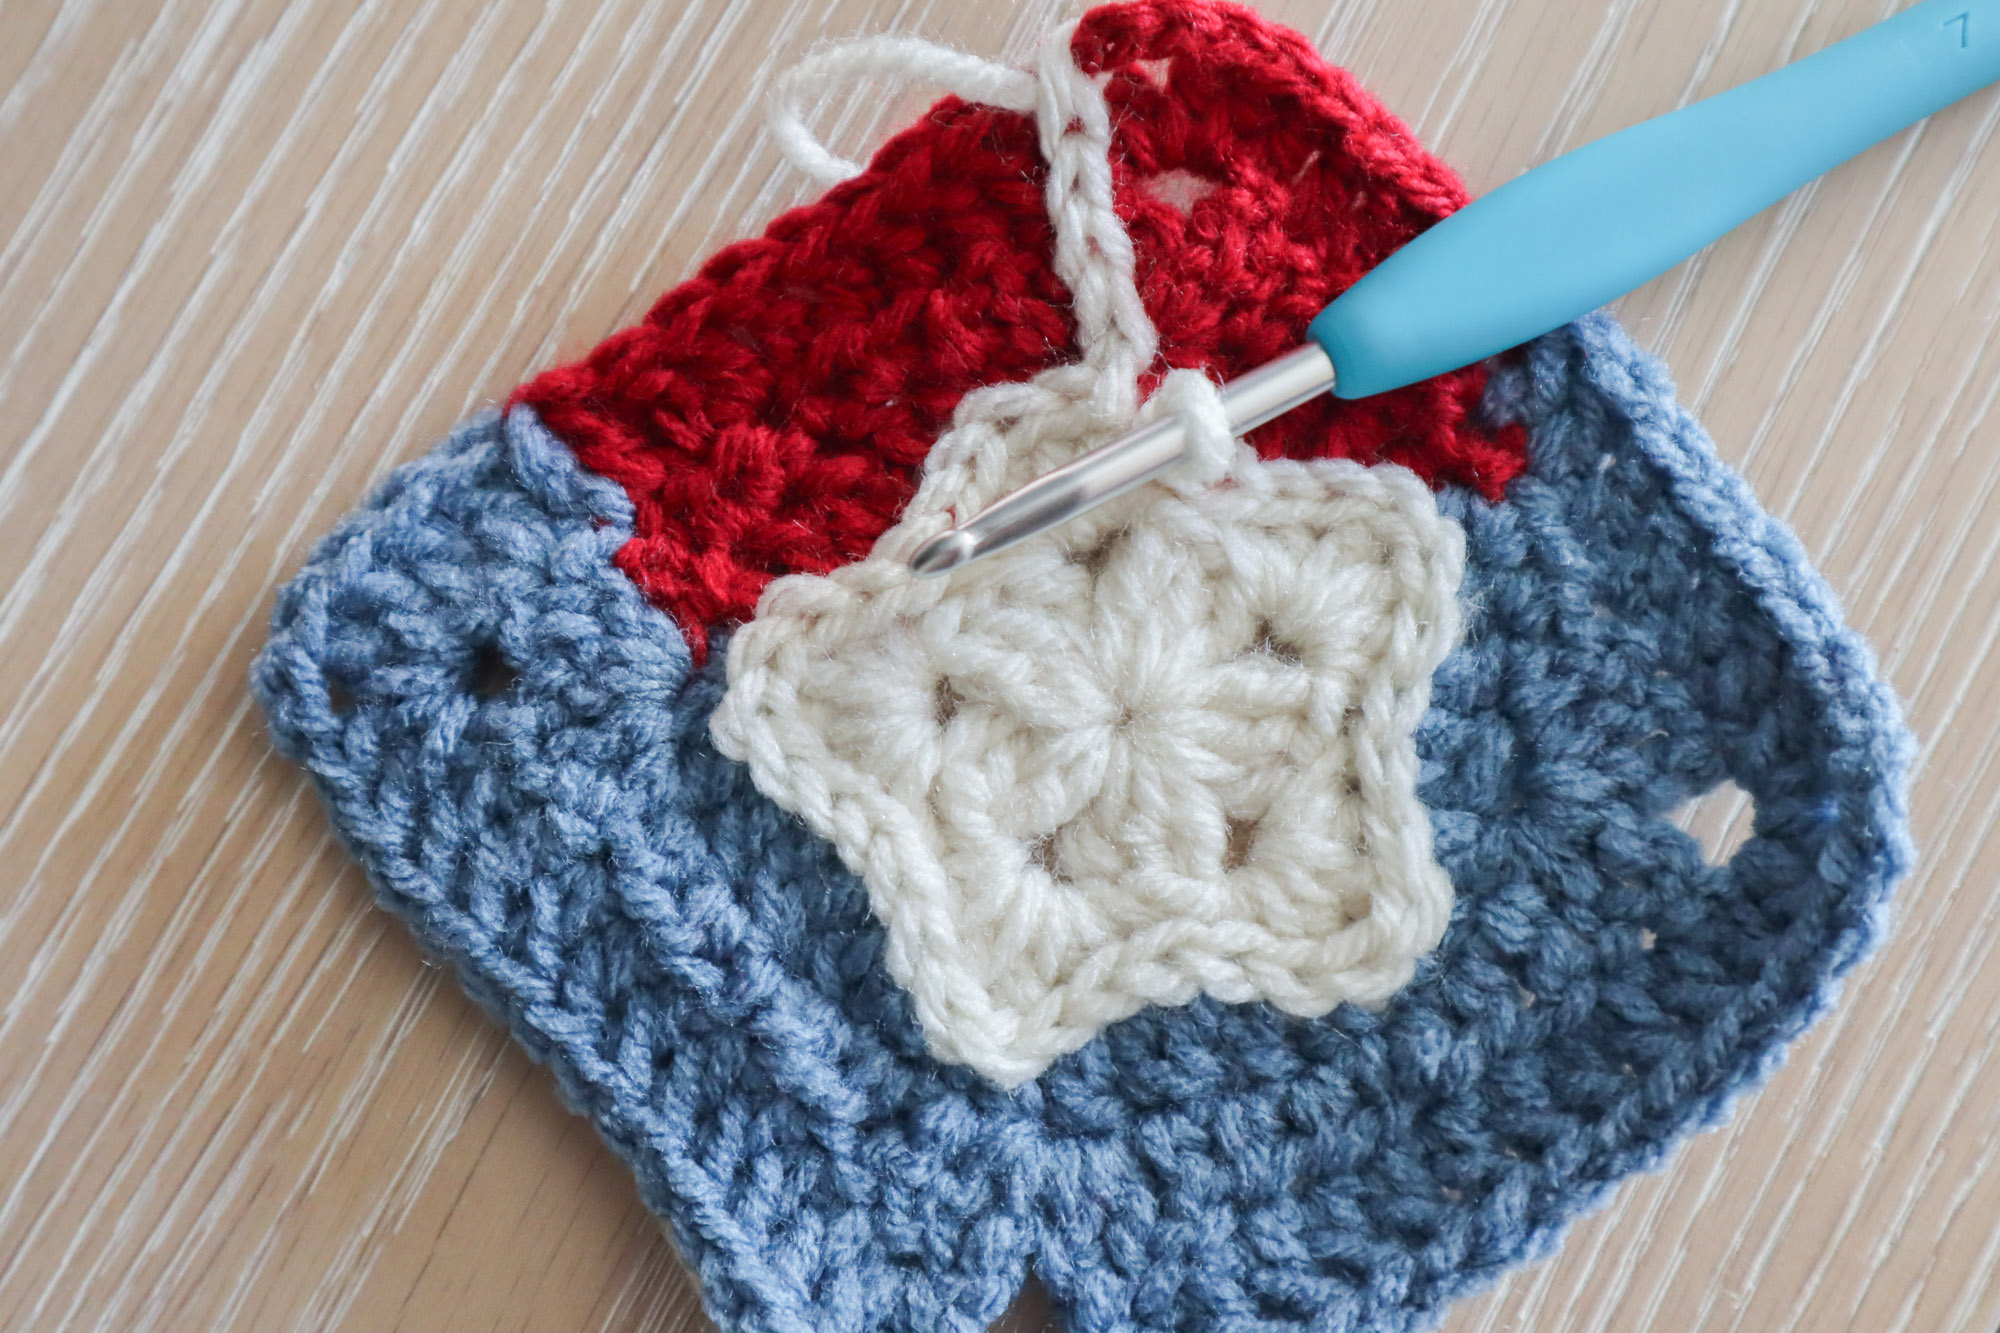
Surface Crochet Border And Shooting Star Flair
Reattach your star color at the outer, star tail colored corner. With the yarn held in back, work a line of surface crochet towards your star. Then, keeping the yarn in back, make a surface crochet border around the star shape. Fasten off.
And there you have it
That’s the Shooting Star Granny Square! No appliqué, just clean, intentional colorwork from the very first stitch. That’s a real skill to add to your crafter’s toolkit, and it’ll open up a whole new world of granny square design possibilities for you!
Take what you’ve learned here and run with it! I bet you’ll want to try changing color in the middle of all kinds of granny squares to create unique designs. Happy hooking! 🌟
Pin for later!