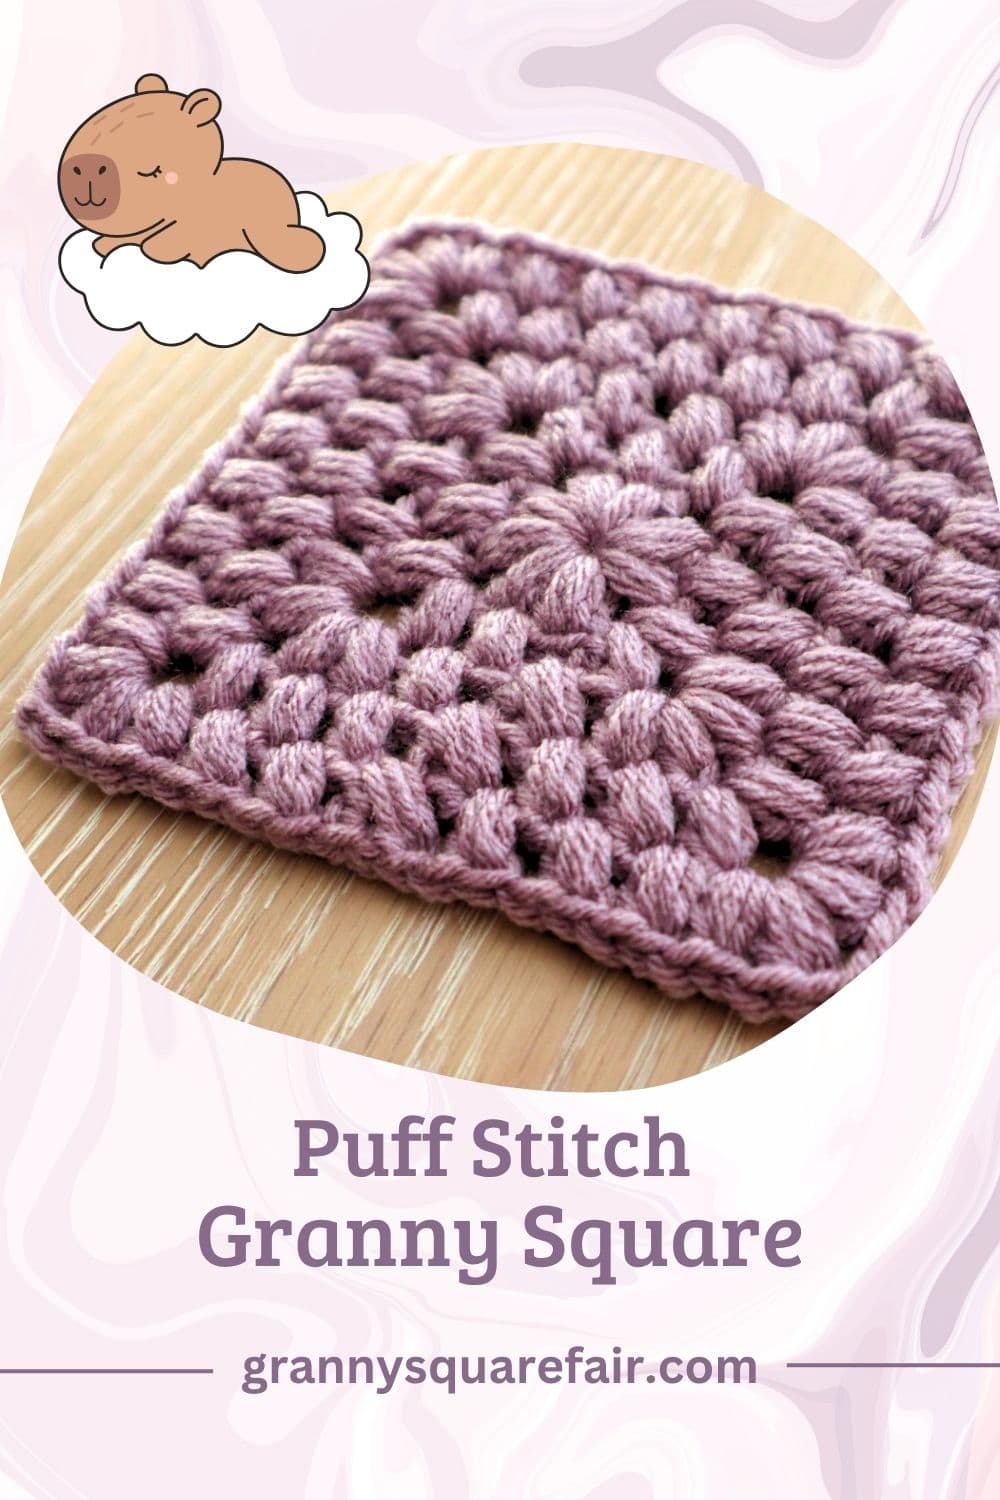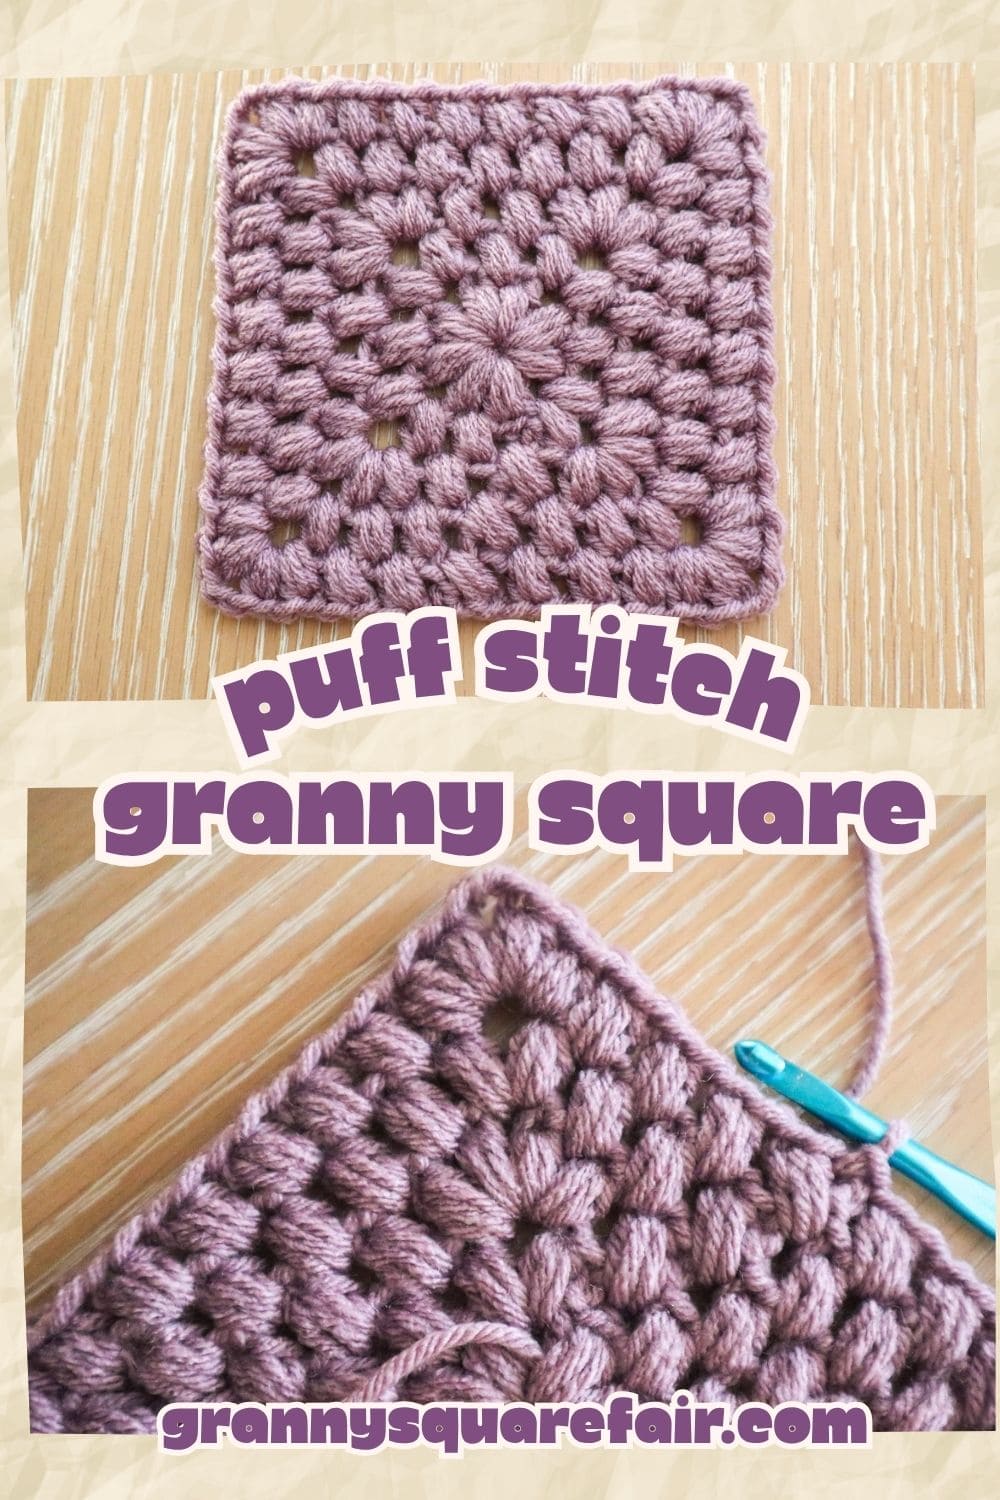
Puff Stitch Granny Square
There are a few puff stitch granny square patterns out there but THIS is the only one that is made of pure puff stitches, lays perfectly square and can be continued out to any size!
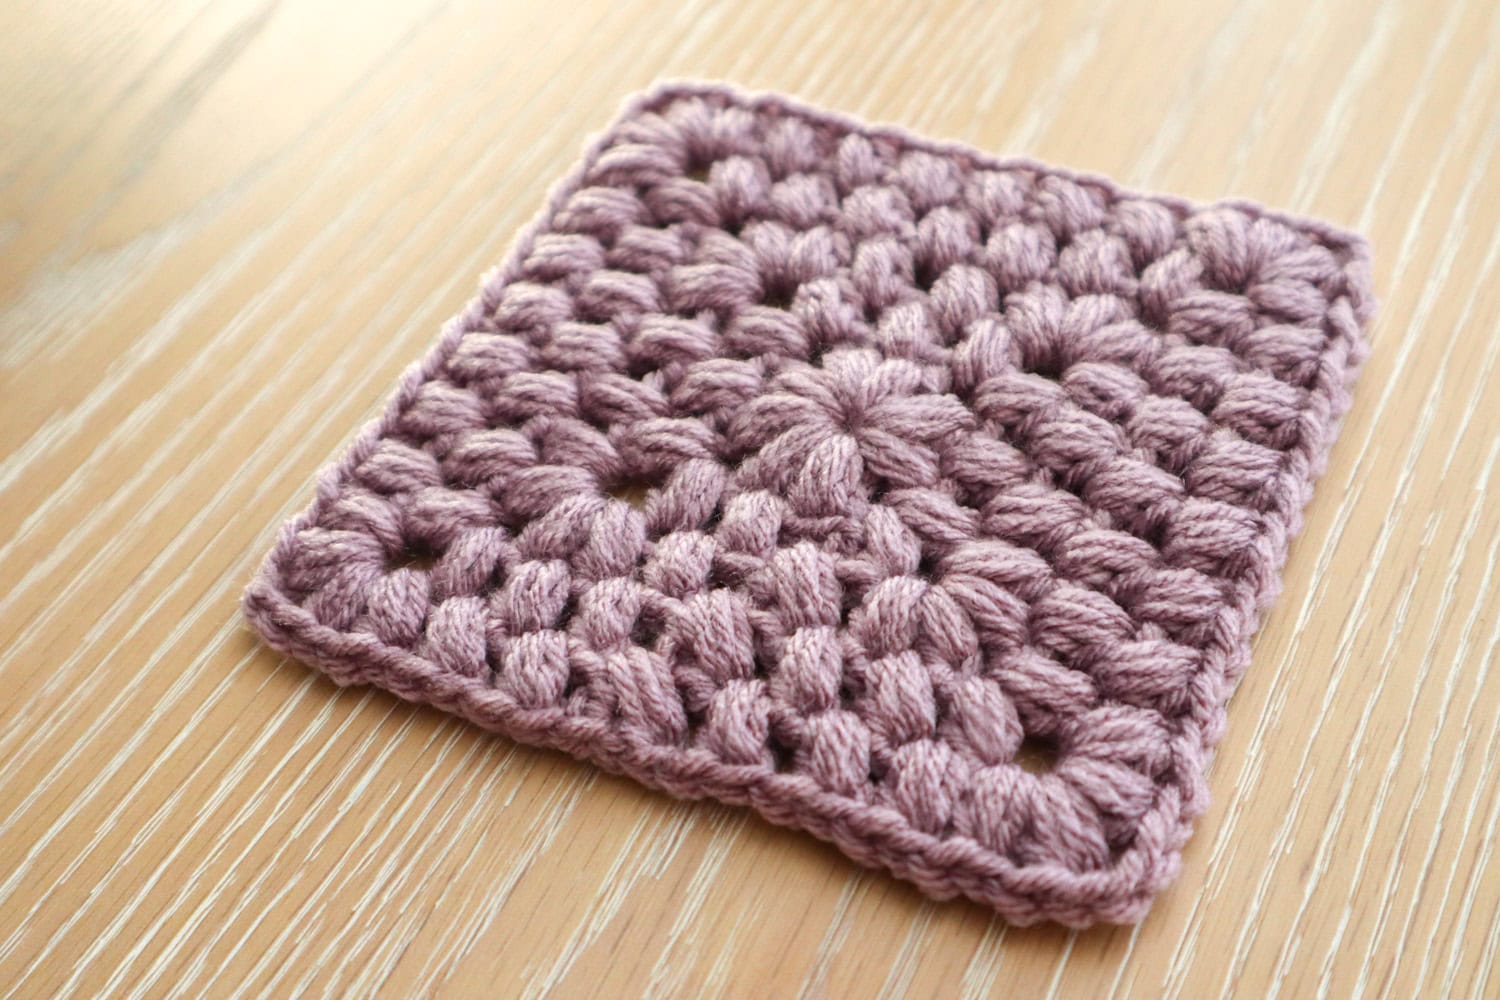
If you’re familiar with the puff stitch, you know it can be a real yarn-eater. Depending on the project, this can be a pro rather than a con! If you have a little too much of one type of yarn and you want to make something practical that works up quick, a puff stitch square makes a great pot holder or dish cloth!
If you’re looking for an afghan square that is weighty and dense without being tediously slow to crochet, this puff stitch granny square’s got ya covered.
Though the puff stitch can be a bit more difficult, this square gives a great opportunity to practice puffs in a way that’s more accessible than the advanced jasmine. The construction of this granny square will be familiar to anyone with granny square experience… it’s just the puff version!
Jump to:
Skill Level
Intermediate – Comfort with the puff stitch is essential for this pattern. It involves yarning over multiple times before pulling through the loops on your hook. This can be a little tricky for beginners to manage but a granny square is a great, low-stakes way to practice the puff stitch. So don’t be afraid to give it a try!
Stitch Abbreviations Used in the Pattern (U.S. Terms)
| Abbreviation | Stitch Name |
|---|---|
| ch | chain |
| sl st | slip stitch |
| ps | puff stitch – (yarn over, insert hook, yarn over, pull up a loop)x3. 7 loops on the hook, yarn over and pull through 7. Ch1 |
| sp | space |
| st(s) | stitch(es) |
| rep | repeat |
What You’ll Need
- Yarn: Any weight yarn you love. I used a worsted weight (4) acrylic yarn.
- Hook: I used a 5mm hook for a quite dense square with minimal drape.
- Notions: Scissors, optional yarn needle, and a clear sky with some puffy clouds floating by for inspiration.
Gauge & Size
In typical 4 weight yarn and a 5mm hook, my square measured almost 5″ wide after 5 rounds.
Pattern Notes
- Worked in the round, joining each round with a slip stitch.
- We will not turn the work at the beginning of each round.
- Starting chains do not count as stitches.
- You will work the first puff stitch of the round into the chain space that sits slightly behind the starting chains.
Single Color Puff Stitch Granny Square Pattern
To begin:
Ch 4, sl st to the first ch to form a ring (you may also use the magic circle method).
Round 1
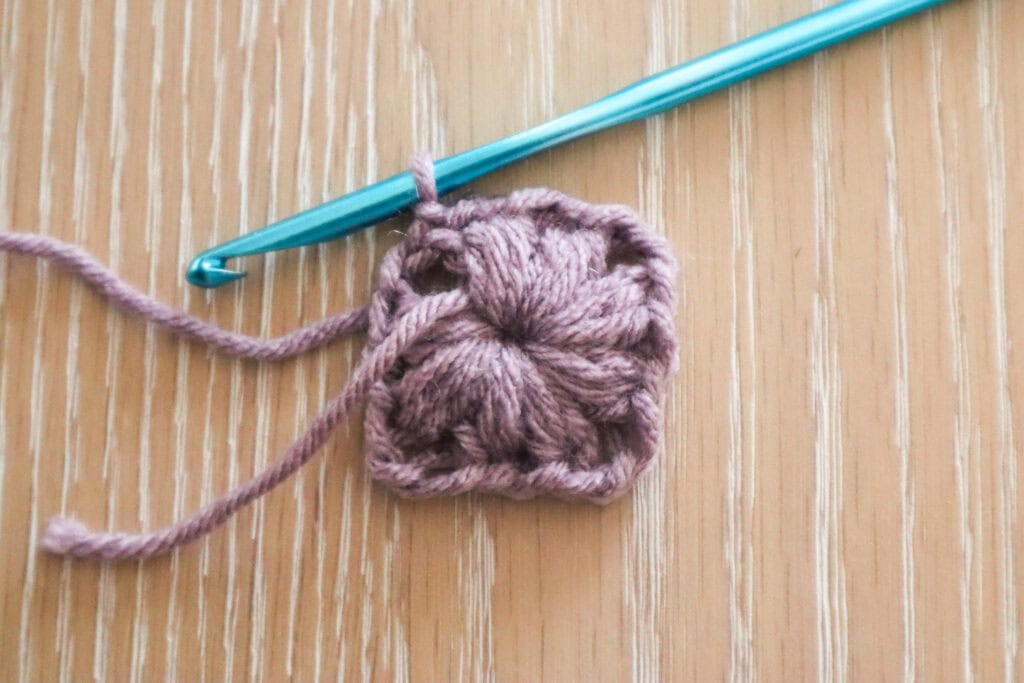
Ch2 (for height only, does not count as a stitch). *Ps (puff stitch)x2, ch1* rep a total of 4 times. You will have you will have 8 puff stitches and 4 ch1 spaces. Sl st to the top of your starting ch2 to complete rnd 1.
**For puff stitch instructions, see abbreviations above. Remember that the puff stitch sequence includes a ch1 at the end. So “ch 1 corners” of this pattern will be an additional ch1 after the puff stitch ch1.
Round 2
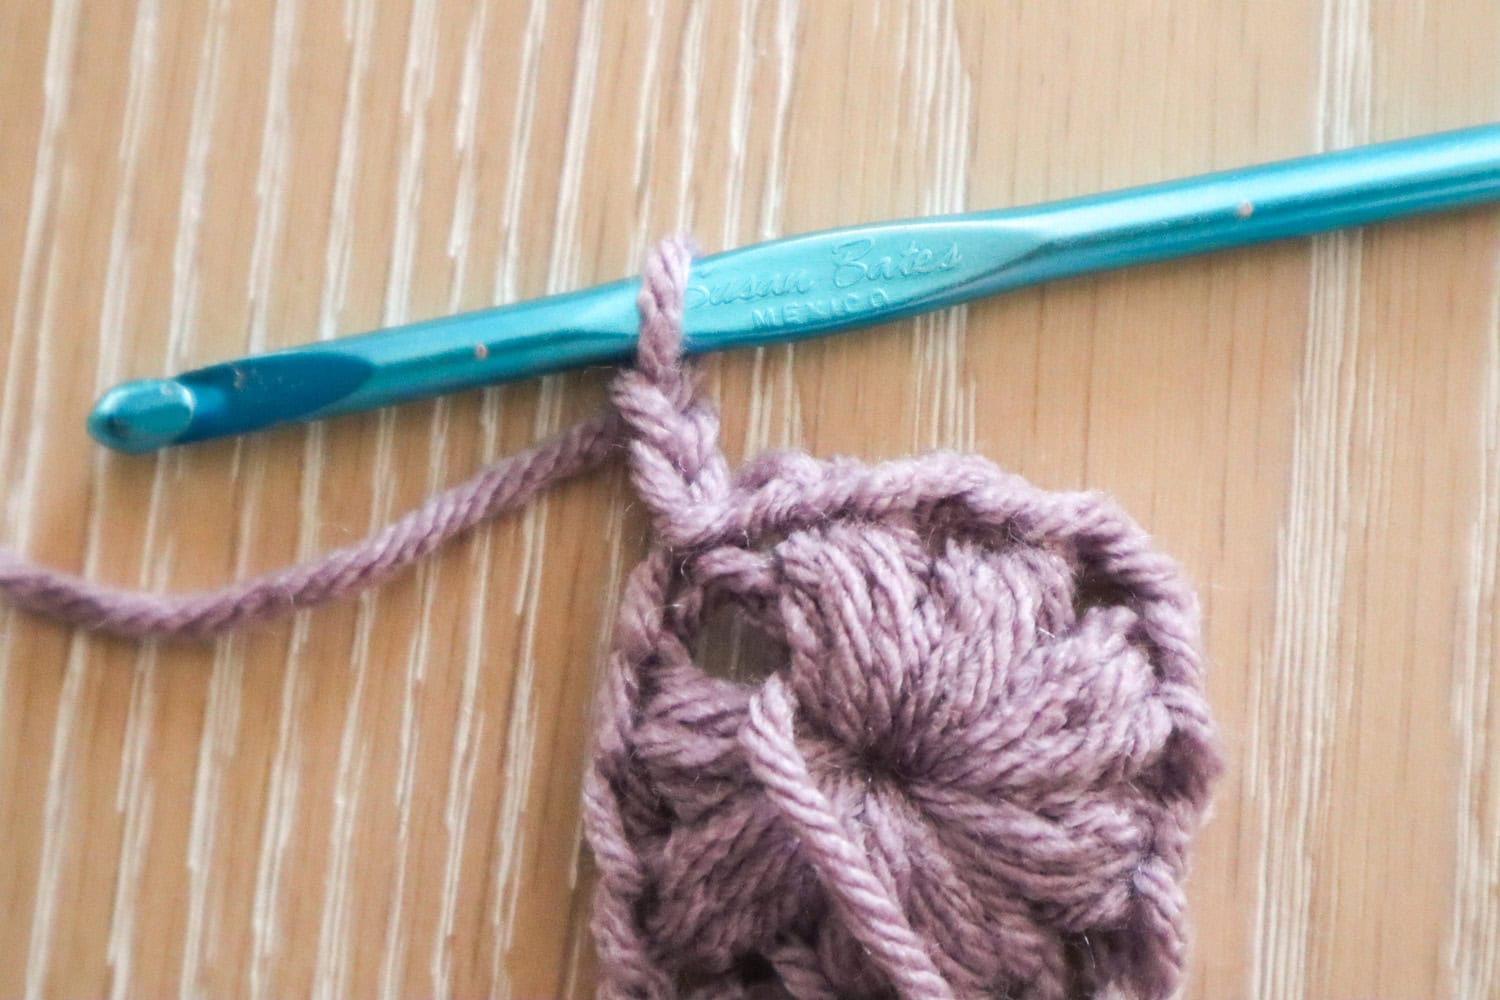
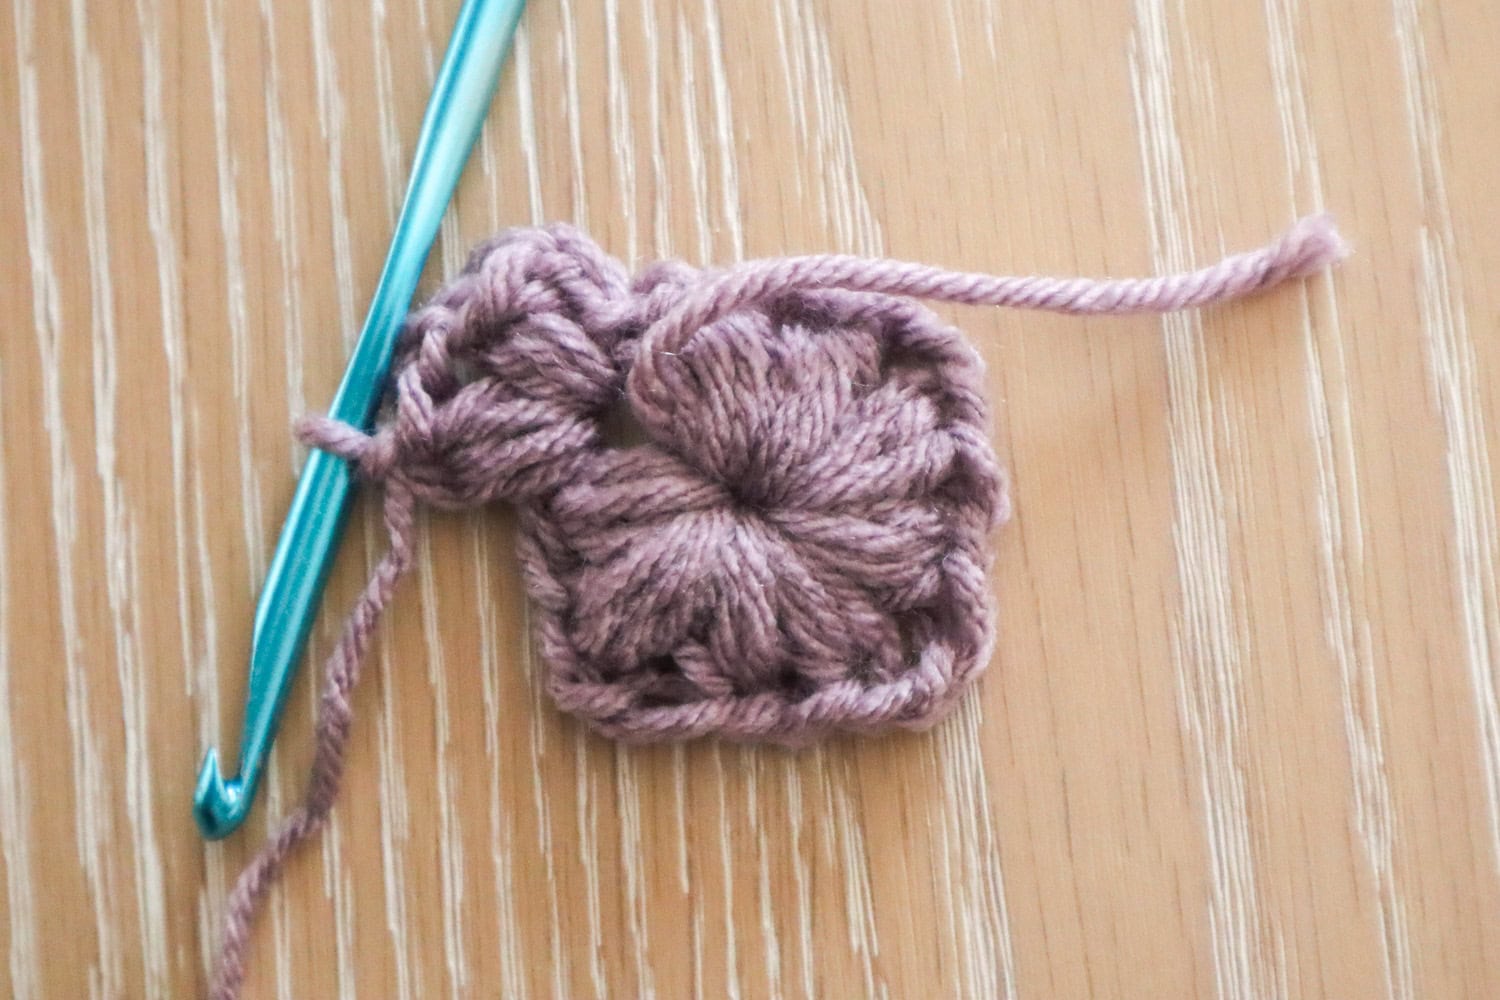
Ch2 (do not turn, doesn’t count as a st). Ps, ch1, ps all into the nearest ch1 sp. In space between the next two puff sts, 1ps.
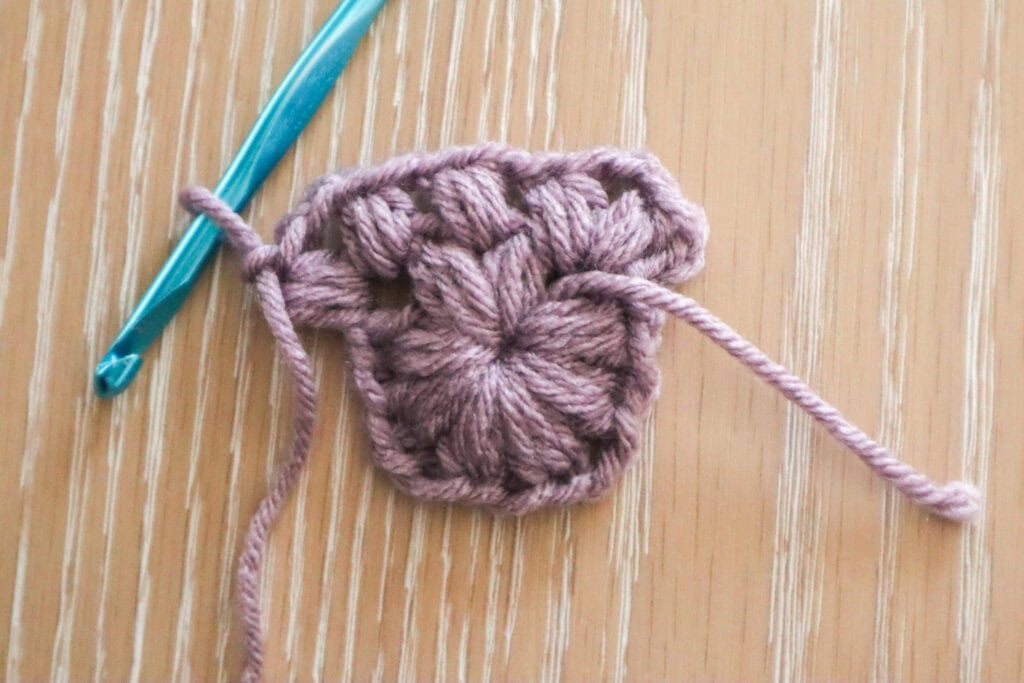
Continue, ps, ch1, ps into ch1 corners. 1ps into space between regular puff stitches.
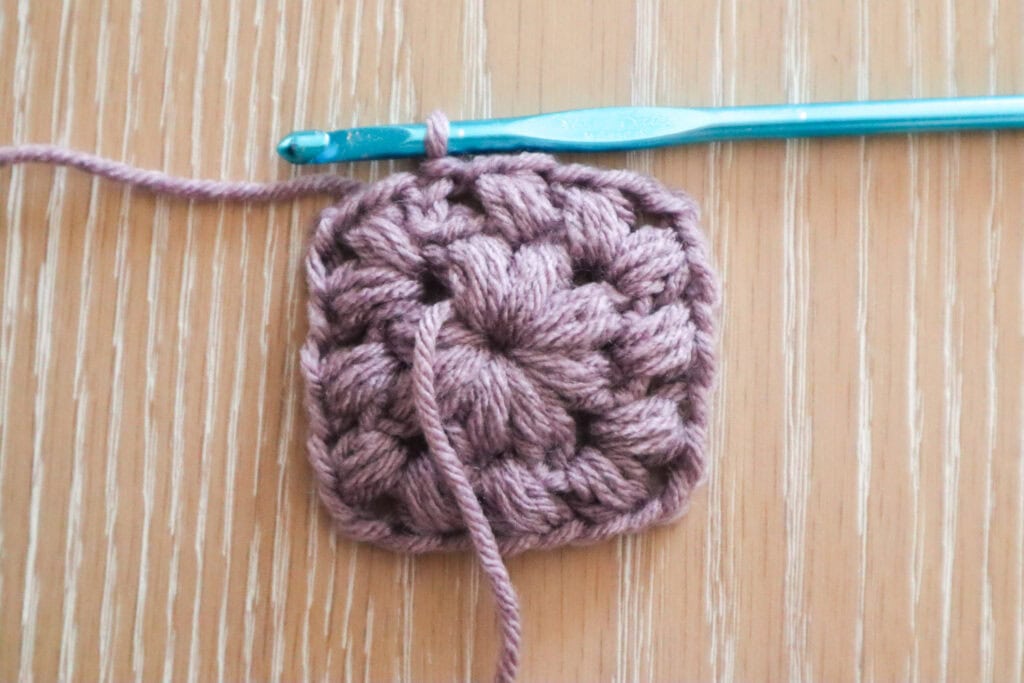
Sl st to the top of your starting ch2 to complete the rnd.
Round 3
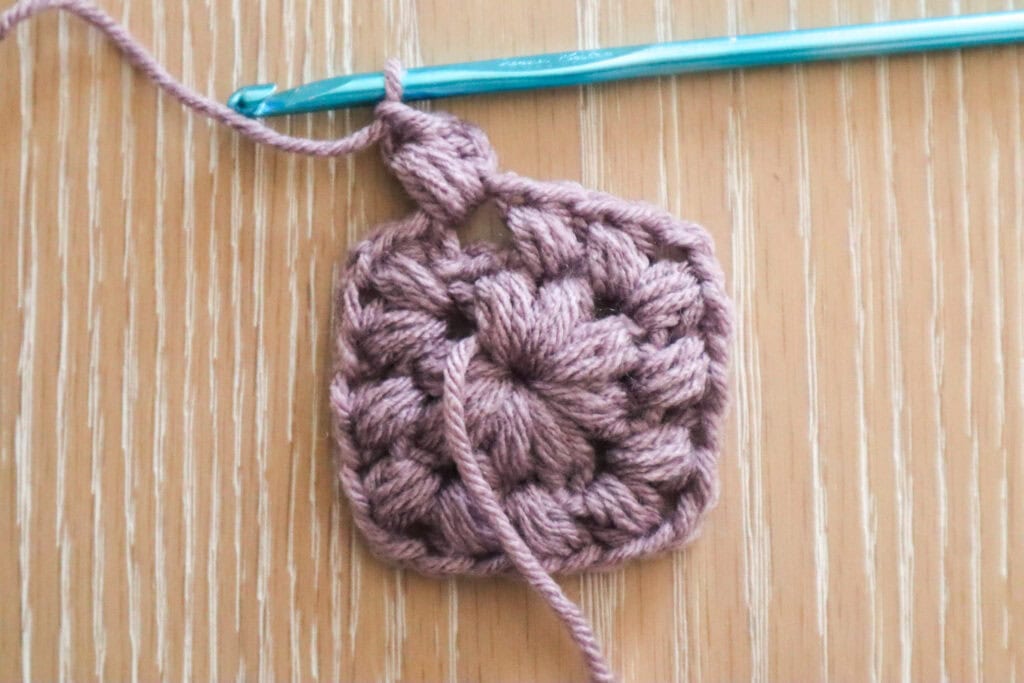
Ch2 (doesn’t count as a st). Ps in space between nearest puff sts (slightly behind ch2 from prev rnd). On odd rounds, corner ch1 sps get 2ps, ch1, 2ps. 1ps into each space between regular puff stitches.
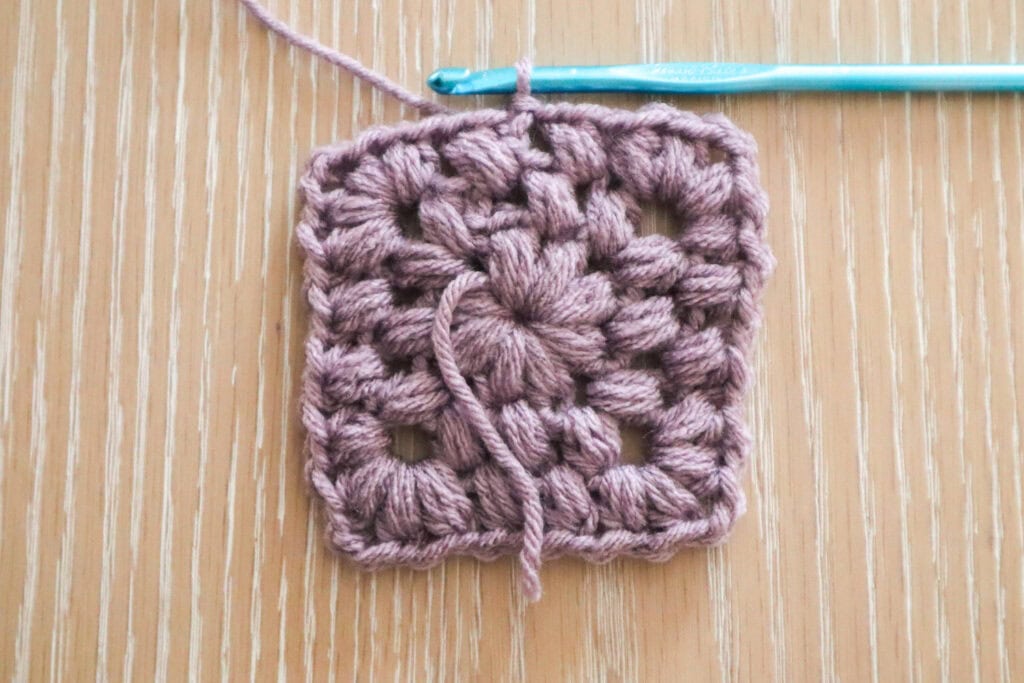
Continue working the 2ps, ch1, 2ps “odd round” corners into ch1 sps and regular puff stitches between puff stitches from prev rnds. Sl st to top of starting ch2 to complete rnd 3.
Round 4
Ch2 (doesn’t count as a st). Ps in space between nearest puff sts (slightly behind ch2 from prev rnd). On even rounds, corner ch1 sps get 1ps, ch1, 1ps. 1ps into each space between regular puff stitches.
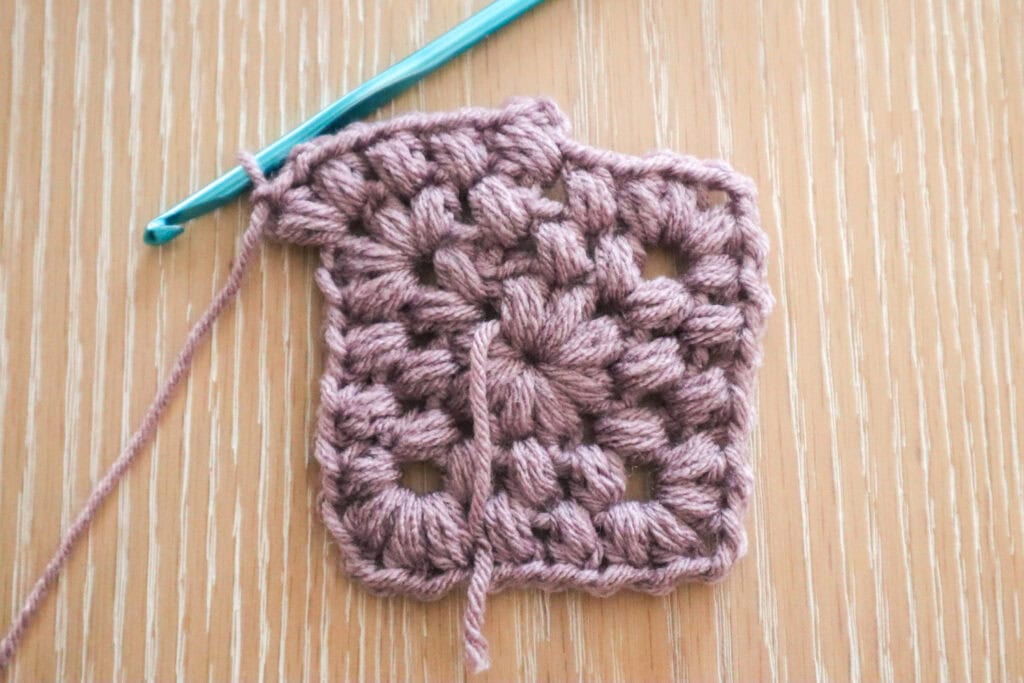
Continue working the 1ps, ch1, 1ps “even round” corners into ch1 sps and regular puff stitches between puff stitches from prev rnds. Sl st to top of starting ch2 to complete rnd 3.
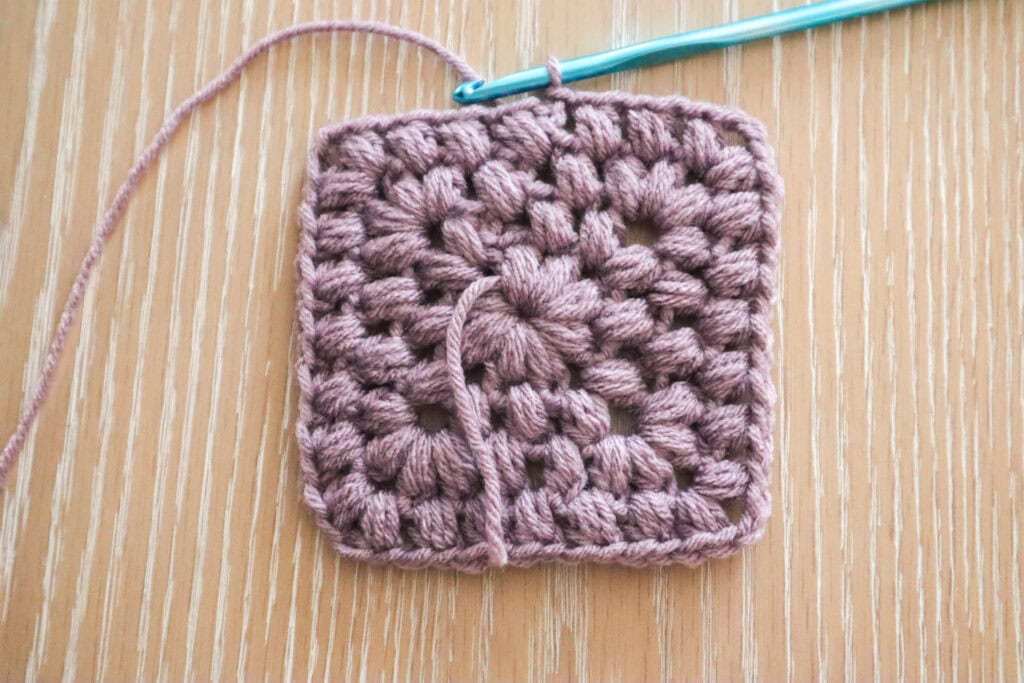
Growing The Puff Stitch Square
You may continue repeating rounds 3 and 4 until your square is as wide as you’d like! It’s important to alternate the 2ps, ch1, 2ps corners and the 1ps, ch1, 1ps corners in order for your project to lay flat and not curl or ruffle.
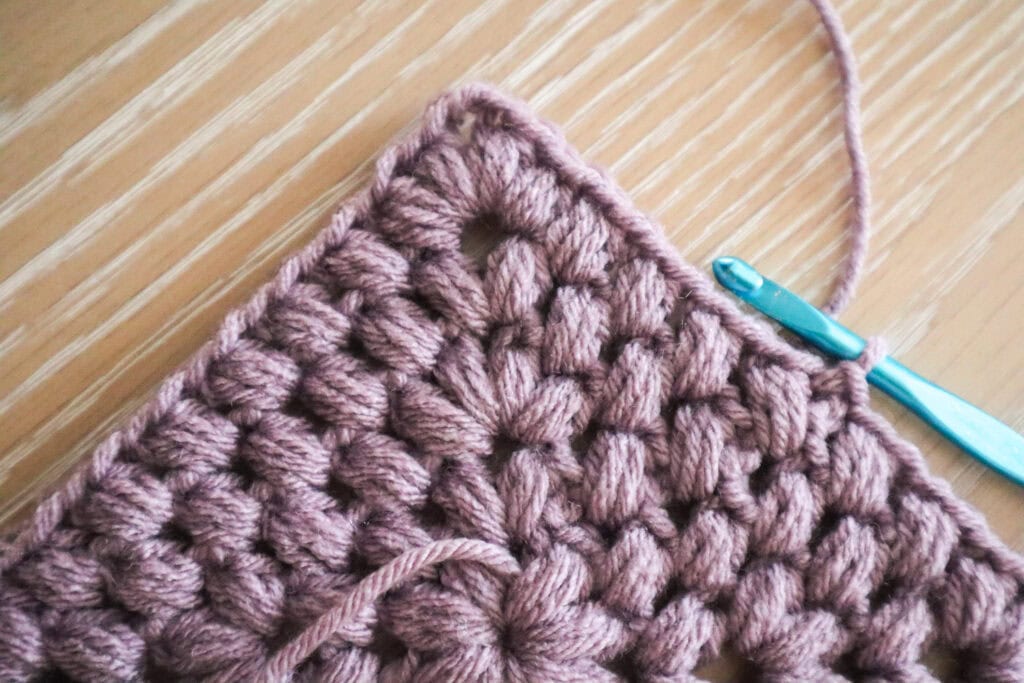
Consider making the final round an “odd numbered” round for pointier corners.
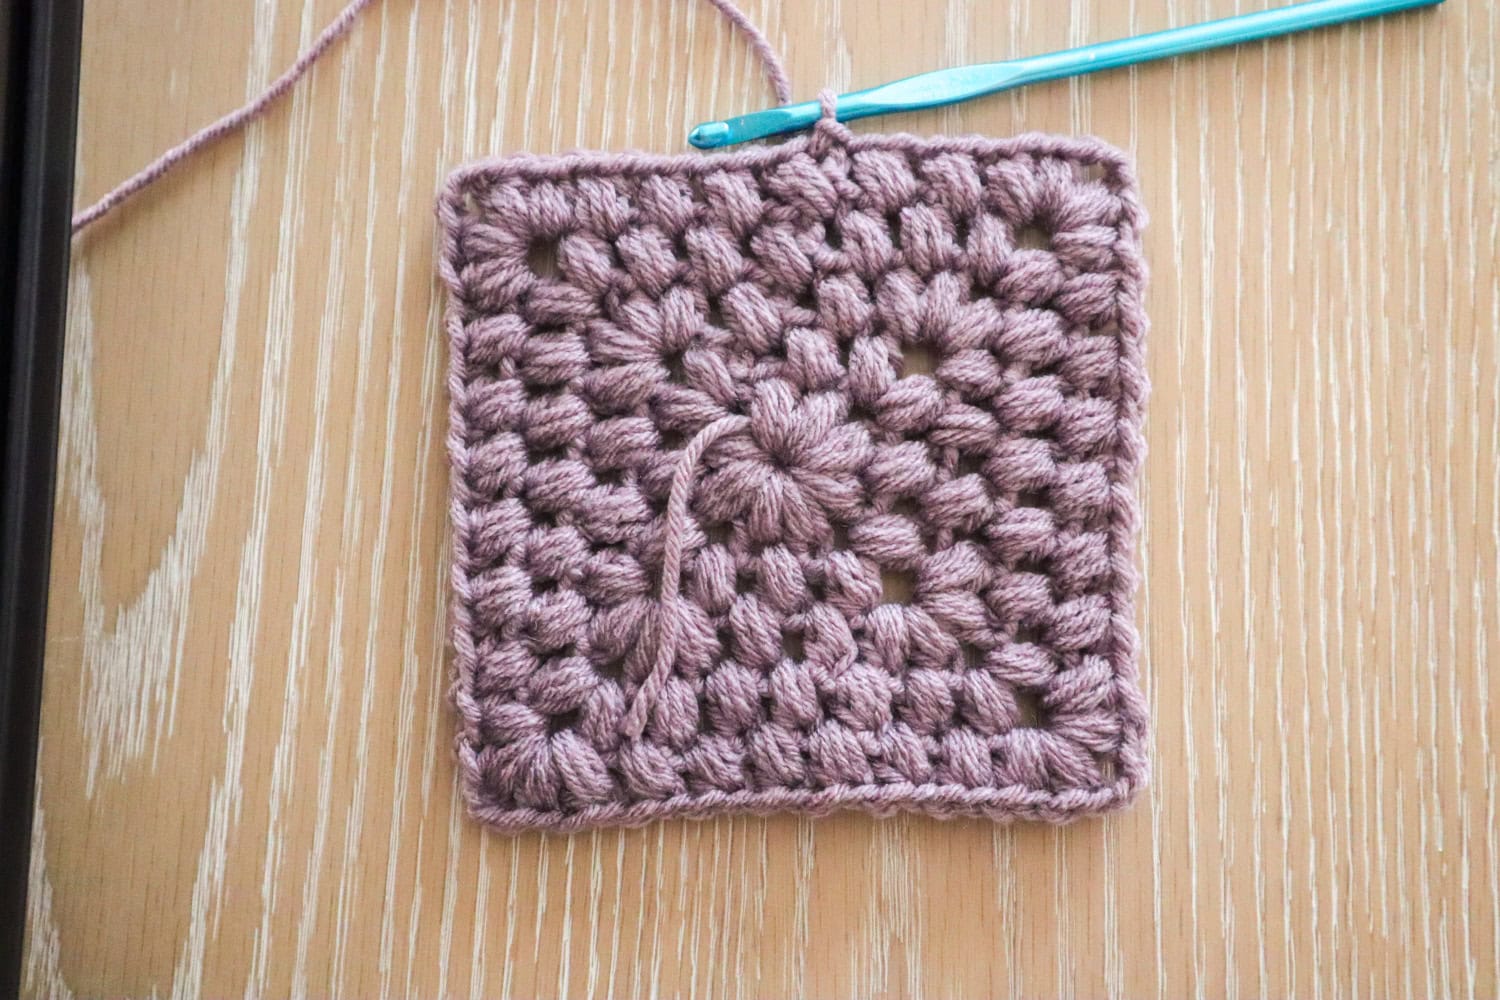
There Ya’ Have It!
That’s the secret to perfect puff stitch granny squares. You can do the WHOLE THING in only puffs! Just be sure to work those two puff stitch corners followed by one puff stitch corners. The alternating is the key to a square that lays flat and can be continued indefinitely.
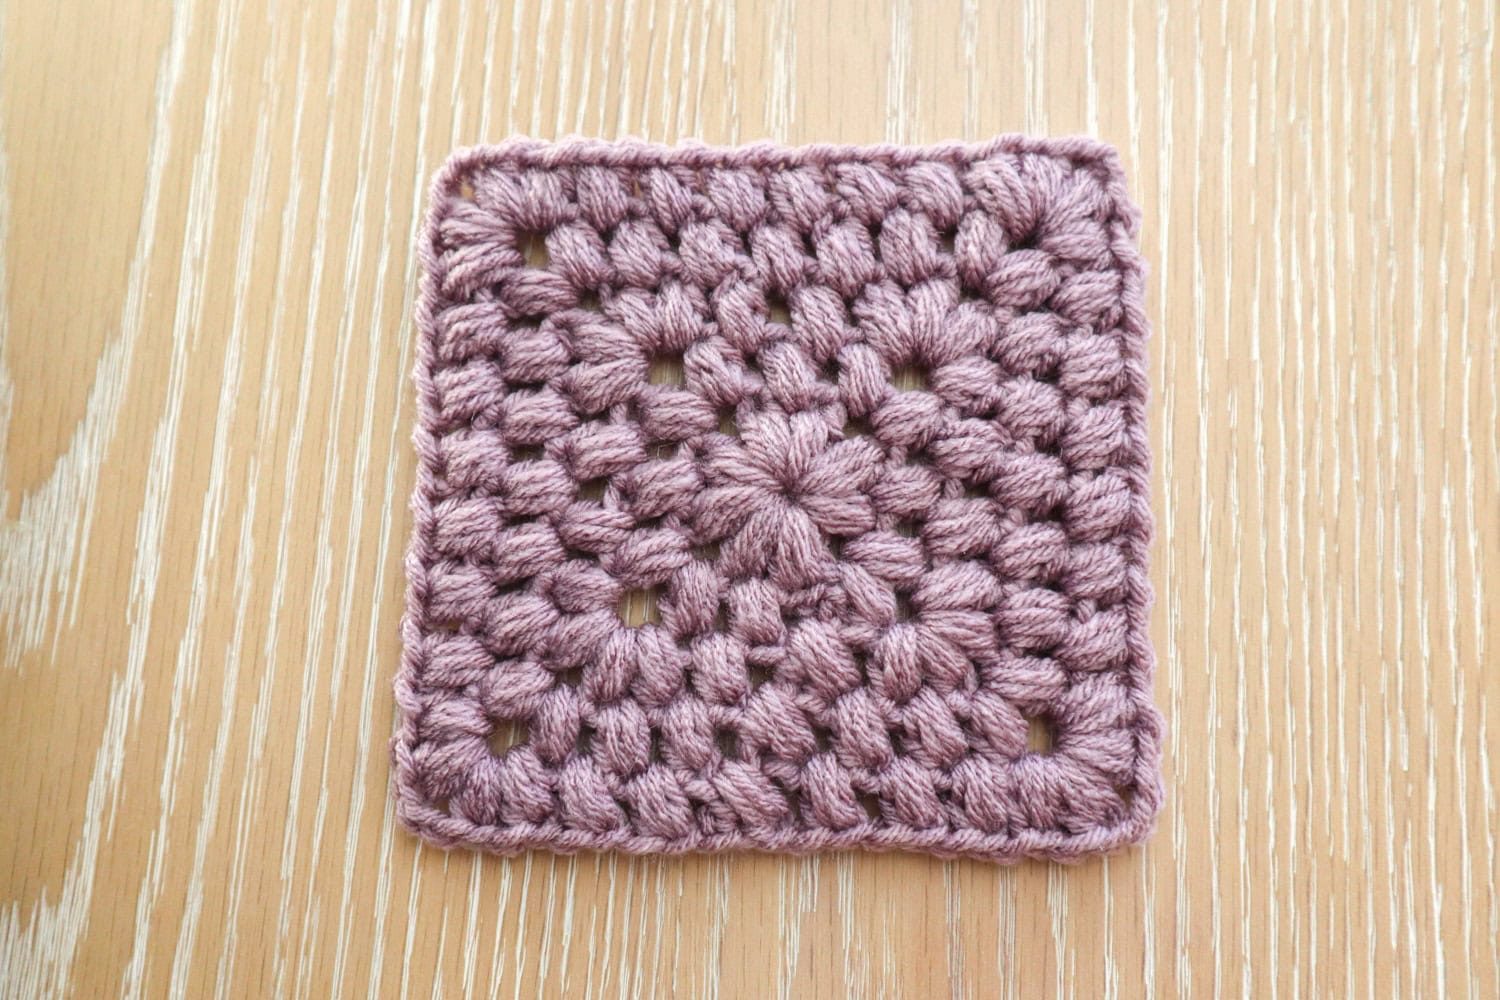
Puff stitch squares to infinity! Consider going up a hook size or two more than your yarn calls for to get some added drape into this dense stitch. Or, keep it dense for an instant trivet or pot holder! Make sure to pin this pattern to save it for later! Till next time, we’ll see ya around the Granny Square Fair.
Pin for later